Page 318 of 655
Control Buttons
The Compass/Temperature control buttons are located
on the left spoke of the steering wheel.
Press and release the STEP button on the steering wheel
to access the options in the Compass display. NOTE: The system will display the last known outside
temperature when starting the vehicle and may need to
be driven several minutes before the updated tempera-
ture is displayed. Engine temperature can also affect the
displayed temperature; therefore, temperature readings
are not updated when the vehicle is not moving.
The following displays can be reset or changed:
• Compass/Temperature
• AVG ECO (changes to present fuel economy)
• ET (will reset display)
• DTE (distance to empty)
These messages can be cycled through by pressing the
STEP button on the steering wheel. To reset the AVG ECO
or ET, press and hold the STEP button for approximately
three seconds.Mini-Trip Control Buttons316 UNDERSTANDING YOUR INSTRUMENT PANEL
Page 319 of 655
Compass/Temperature Display
NOTE: If the vehicle is equipped with a Chrysler
Uconnect™ gps (Navigation Radio), the NAV system will
provide the compass direction, and the variance and
calibration menus will be unavailable. The compass will
perform accurately, based on GPS signals instead of the
Earth’s magnetic field.
Compass Variance
Compass Variance is the difference between Magnetic
North and Geographic North. To compensate for the
differences, the variance should be set for the zone where
the vehicle is driven, per the zone map. Once properly
set, the compass will automatically compensate for the
differences and provide the most accurate compass head-
ing. To Set The Variance
Start the engine and leave the transmission gear selector
lever in the PARK position. Press and hold the RESET
button on the steering wheel (for approximately ten sec-
onds) until the current variance zone number is displayed. Compass Variance Map
4 UNDERSTANDING YOUR INSTRUMENT PANEL 317
Page 324 of 655
This system conveniently allows the driver to select a
variety of useful information by pressing the switches
mounted on the steering wheel. The EVIC consists of the
following:
• Compass Heading (N, S, E, W, NE, NW, SE, SW)
• Outside Temperature (°F or °C)
• ECO Display
• Fuel Economy
• Miles/kilometers To Empty
• Timer
• Display Units Selection
• System Warnings (Door Ajar, etc.)
• Personal Settings (Customer-Programmable Features) The system allows the driver to select information by
pressing the following buttons mounted on the steering
wheel:
EVIC Steering Wheel Buttons322 UNDERSTANDING YOUR INSTRUMENT PANEL
Page 391 of 655
STEERING WHEEL AUDIO CONTROLS
The remote sound system controls are located on the rear
surface of the steering wheel. Reach behind the wheel to
access the switches. The right-hand control is a rocker-type switch with a
pushbutton in the center and controls the volume and
mode of the sound system. Pressing the top of the rocker
switch will increase the volume, and pressing the bottom
of the rocker switch will decrease the volume.
Pressing the center button will make the radio switch
between the various modes available (AM/FM/SAT/
CD/HDD/AUX/VES, etc.).
The left-hand control is a rocker-type switch with a
pushbutton in the center. The function of the left-hand
control is different depending on which mode you are in.
The following describes the left-hand control operation in
each mode.
Remote Sound System Controls (Back View Of
Steering Wheel)
4 UNDERSTANDING YOUR INSTRUMENT PANEL 389
Page 408 of 655
 . . . .428
▫ Operating Instructions/Precautions ....... .428
▫ Shift Positions ....................... .430
▫ Shifting Procedure")
� FOUR–WHEEL DRIVE OPERATION
(COMMAND-TRAC I � OR ROCK-TRAC � ) . . . .428
▫ Operating Instructions/Precautions ....... .428
▫ Shift Positions ....................... .430
▫ Shifting Procedure .................... .431
� TRAC-LOK � REAR AXLE — IF EQUIPPED . . . .432
� AXLE LOCK (TRU–LOK � ) — RUBICON
MODELS ........................... .433
� ELECTRONIC SWAY BAR DISCONNECT — IF
EQUIPPED .......................... .434
� ON-ROAD DRIVING TIPS ............... .436
� OFF-ROAD DRIVING TIPS ............... .437
▫ Side Step Removal – If Equipped ......... .437
▫ The Basics Of Off-Road Driving .......... .438 ▫ When To Use 4L (Low) Range ............ .438
▫ Simultaneous Brake And Throttle Operation. . .439
▫ Driving In Snow, Mud And Sand ......... .439
▫ Crossing Obstacles (Rocks And Other High
Points) ............................ .441
▫ Hill Climbing ....................... .443
▫ Driving Through Water ................ .446
▫ After Driving Off-Road ................ .449
� POWER STEERING .................... .450
▫ Power Steering Fluid Check ............. .451
� PARKING BRAKE ..................... .452
� ANTI-LOCK BRAKE SYSTEM ............ .455
� ELECTRONIC BRAKE CONTROL SYSTEM . . . .456406 STARTING AND OPERATING
Page 435 of 655
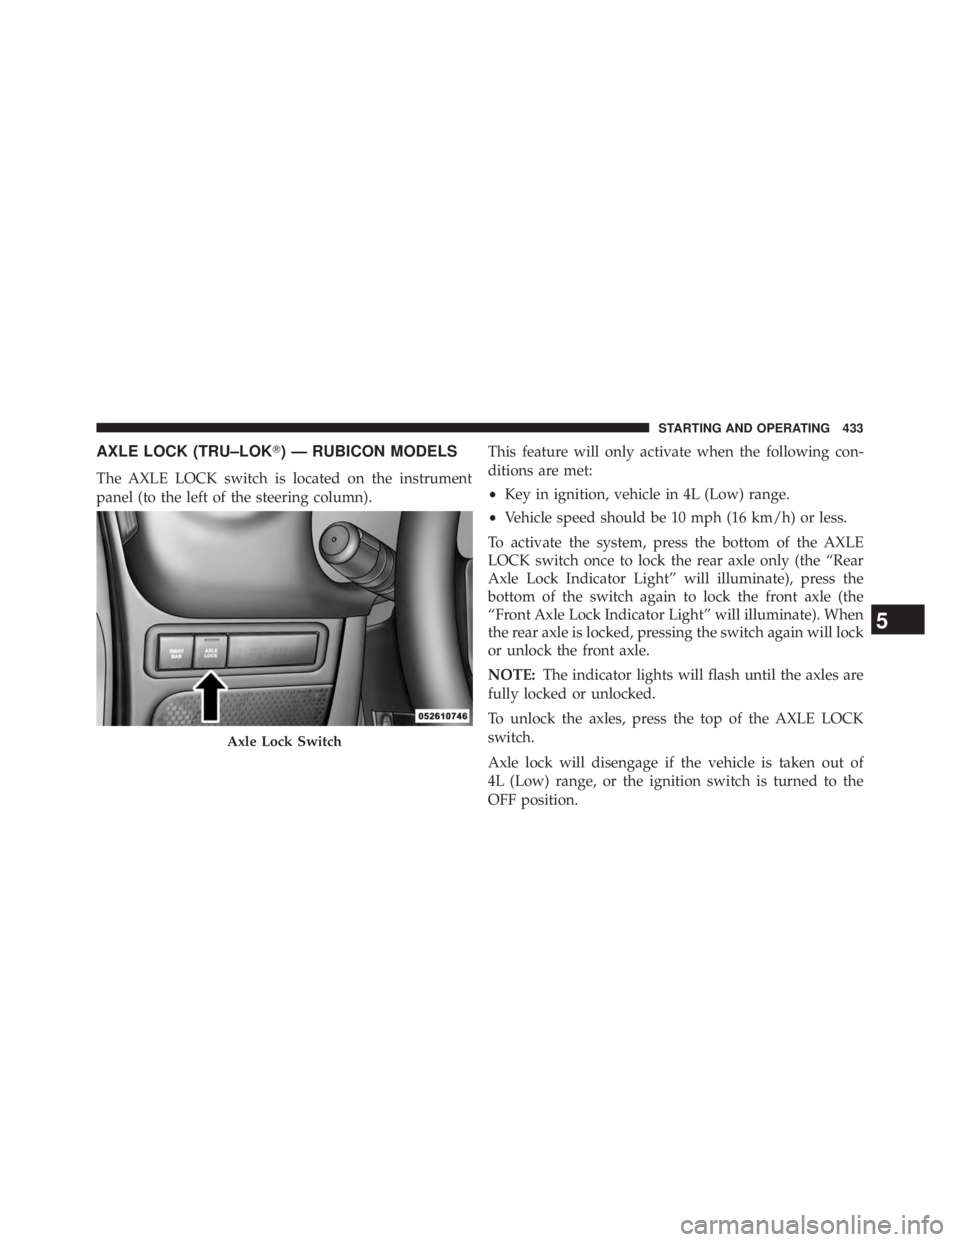
AXLE LOCK (TRU–LOK � ) — RUBICON MODELS
The AXLE LOCK switch is located on the instrument
panel (to the left of the steering column). This feature will only activate when the following con-
ditions are met:
• Key in ignition, vehicle in 4L (Low) range.
• Vehicle speed should be 10 mph (16 km/h) or less.
To activate the system, press the bottom of the AXLE
LOCK switch once to lock the rear axle only (the “Rear
Axle Lock Indicator Light” will illuminate), press the
bottom of the switch again to lock the front axle (the
“Front Axle Lock Indicator Light” will illuminate). When
the rear axle is locked, pressing the switch again will lock
or unlock the front axle.
NOTE: The indicator lights will flash until the axles are
fully locked or unlocked.
To unlock the axles, press the top of the AXLE LOCK
switch.
Axle lock will disengage if the vehicle is taken out of
4L (Low) range, or the ignition switch is turned to the
OFF position.Axle Lock Switch
5 STARTING AND OPERATING 433
Page 436 of 655
ELECTRONIC SWAY BAR DISCONNECT —
IF EQUIPPED
Your vehicle may be equipped with an electronic discon-
necting stabilizer/sway bar. This system allows greater
front suspension travel in off-road situations.
This system is controlled by the SWAY BAR switch
located on the instrument panel (to the left of the steering
column).
Press the SWAY BAR switch to activate the system. Press
the switch again to deactivate the system. The “Sway Bar
Indicator Light” (located in the instrument cluster) will
illuminate when the bar is disconnected. The “Sway Bar
Indicator Light” will flash during activation transition, or
when activation conditions are not met. The stabilizer/ Sway Bar Switch434 STARTING AND OPERATING
Page 440 of 655

The Basics Of Off-Road Driving
You will encounter many types of terrain driving off-
road. You should be familiar with the terrain and area
before proceeding. There are many types of surface
conditions: hard-packed dirt, gravel, rocks, grass, sand,
mud, snow and ice. Every surface has a different effect on
your vehicle’s steering, handling and traction. Control-
ling your vehicle is one of the keys to successful off-road
driving, so always keep a firm grip on the steering wheel
and maintain a good driving posture. Avoid sudden
accelerations, turns or braking. In most cases, there are no
road signs, posted speed limits or signal lights. Therefore,
you will need to use your own good judgment on what is
safe and what is not. When on a trail, you should always
be looking ahead for surface obstacles and changes in
terrain. The key is to plan your future driving route while
remembering what you are currently driving over. CAUTION!Never park your vehicle over dry grass or other
combustible materials. The heat from your vehicle
exhaust system could cause a fire.
WARNING!Always wear your seat belt and firmly tie down
cargo. Unsecured cargo can become projectiles in an
off-road situation.
When To Use 4L (Low) Range
When off-road driving, shift into 4L (Low) for additional
traction and control on slippery or difficult terrain,
ascending or descending steep hills, and to increase low
speed pulling power. This range should be limited to438 STARTING AND OPERATING

, the NAV system will
provide the compass direction, and the variance and
calibration men")