Page 227 of 525
 Activation/
Malfunction Indicator Light — If EquippedThe “ESC Activation/Malfunction Indicator
Light” in the instrument cluster will come on
when the ignit")
29. Electronic Stability Control (ESC) Activation/
Malfunction Indicator Light — If EquippedThe “ESC Activation/Malfunction Indicator
Light” in the instrument cluster will come on
when the ignition switch is turned to the
ON/RUN position. It should go out with the
engine running. If the “ESC Activation/Malfunction In-
dicator Light” comes on continuously with the engine
running, a malfunction has been detected in the ESC
system. If this light remains on after several ignition
cycles, and the vehicle has been driven several miles
(kilometers) at speeds greater than 30 mph (48 km/h), see
your authorized dealer as soon as possible to have the
problem diagnosed and corrected.
NOTE:
The “ESC Off Indicator Light” and the “ESC Activation/
Malfunction Indicator Light” come on momentarily each
time the ignition switch is turned to ON/RUN. Each time the ignition is turned to ON/RUN, the ESC
system will be ON, even if it was turned off previously.
The ESC system will make buzzing or clicking sounds
when it is active. This is normal; the sounds will stop
when ESC becomes inactive following the maneuver that
caused the ESC activation.
30. 4WD! Warning Light
This light monitors the 4-Wheel Drive (4WD)
system. The light will come on, for a bulb
check, when the ignition key is turned to the
ON/RUN position and may stay on for as long
as three seconds.
When lit solid: There is an 4WD system fault. 4WD
performance will be at a reduced level . Service the 4WD
system soon.
When blinking: The 4WD system is temporarily dis-
abled due to overload condition.
4
UNDERSTANDING YOUR INSTRUMENT PANEL 225
Page 229 of 525
STEP Button
Press the STEP button located on the steering wheel to
scroll through sub menus (i.e., Temperature, Trip Func-
tions: Odometer, Trip A, Trip B).
RESET Button
To reset the display shown, turn the ignition switch to the
ON position, then press and hold the RESET button
located on the steering wheel.
The following displays can be reset or changed:
•Trip A
• Trip B
Trip Odometer (ODO)
This display shows the distance traveled since the last
reset. Press and release the STEP button on the instru-
ment cluster to switch from odometer, to Trip A or Trip B.
Trip A
Shows the total distance traveled for Trip A since the last
reset.
Trip B
Shows the total distance traveled for Trip B since the last
reset.
4
UNDERSTANDING YOUR INSTRUMENT PANEL 227
Page 232 of 525

• Left Rear Turn Signal Lamp Out (with a single chime)
• Right Front Turn Signal Lamp Out (with a single
chime)
• Right Rear Turn Signal")
•Left Front Turn Signal Lamp Out (with a single chime)
• Left Rear Turn Signal Lamp Out (with a single chime)
• Right Front Turn Signal Lamp Out (with a single
chime)
• Right Rear Turn Signal Lamp Out (with a single chime)
• RKE Battery Low (with a single chime)
• Personal Settings Not Avail. — Vehicle not in PARK
(automatic transmission) or vehicle is in motion
(manual transmission).
• Door Ajar (with vehicle graphic showing which door is
open. A single chime sounds if the vehicle is in
motion).
• Doors Ajar (with vehicle graphic showing which doors
are open. A single chime sounds if the vehicle is in
motion). •
Gate (with vehicle graphic showing the Liftgate open
and A single chime )
• Headlamps or Park Lamps On
• Remote Start Aborted — Door Ajar
• Remote Start Aborted — Hood Ajar
• Remote Start Aborted — L/Gate Ajar
• Remote Start Aborted — Fuel Low
• Remote Start Aborted — System Fault
• Key In Ignition
• Low Tire
• Low Tire Pressure Display for Premium TPM System
• Service TPM System
230 UNDERSTANDING YOUR INSTRUMENT PANEL
Page 233 of 525

Engine Oil Change Indicator System — If
Equipped
Oil Change Required
Your vehicle is equipped with an engine oil change
indicator system. The “Oil Change Required” message
will flash in the EVIC display for approximately five
seconds after a single chime has sounded, to indicate the
next scheduled oil change interval. The engine oil change
indicator system is duty-cycle based, which means the
engine oil change interval may fluctuate dependent upon
your personal driving style.
Unless reset, this message will continue to display each
time you turn the ignition switch to the ON/RUN
position. To turn off the message temporarily, press and
release the Trip Odometer button on the instrument
cluster. To reset the oil change indicator system (after
performing the scheduled maintenance) refer to the fol-
lowing procedure.1. Turn the ignition switch to the ON position.
Do not
start the engine.
2. Fully depress the accelerator pedal, slowly, three times within 10 seconds.
3. Turn the ignition switch to the OFF/LOCK position.
NOTE: If the indicator message illuminates when you
start the vehicle, the oil change indicator system did not
reset. If necessary repeat this procedure.
EVIC Functions
• Compass/Temperature/Audio
• Average Fuel Economy
• Distance To Empty (DTE)
• Units In
• Elapsed Time
4
UNDERSTANDING YOUR INSTRUMENT PANEL 231
Page 235 of 525

to a text display of�LOW FUEL�. This display will
continue until the vehicle runs out of fuel. Adding a
significant amount of fuel to the vehicle will turn off the
�LOW FUEL� text and a new DTE value will be dis-
played, based on the current values in the DTE calcula-
tion and the current fuel tank level.
Tire Pressure Monitor (TPM)
Refer to “Starting And Operating”, “Tire Pressure Moni-
toring System (TPMS)” for system operation.
Elapsed Time
Shows the total elapsed time of travel since the last reset.
Elapsed time will increment when the ignition switch is
in the RUN/START position.
Elapsed time is displayed as follows:
hours:minutes:seconds Elapsed time can be reset by pressing and holding the
SELECT button (as prompted in the EVIC display). Upon
reset all digits will change to zeros and time will start
incrementing again if the ignition switch is in RUN or
START.
Personal Settings (Customer-Programmable
Features)
This allows the driver to set and recall features when the
transmission is in PARK (automatic transmission) or the
vehicle is stopped (manual transmission).
Press and release the MENU or DOWN buttons until
“Personal Settings” is displayed in the EVIC then press
the SELECT button.
Use the SELECT button to display one of the following
choices:4
UNDERSTANDING YOUR INSTRUMENT PANEL 233
Page 237 of 525

Flash Lamps with Lock
When ON is selected, the front and rear turn signals will
flash when the doors are locked or unlocked using the
RKE transmitter. This feature may be selected with or
without the sound horn with lock feature selected. Press
and hold the SELECT button when in this display until
“ON” or “OFF” appears to make your selection.
Sound Horn with Lock
When ON is selected, a short horn sound will occur when
the RKE transmitter LOCK button is pressed. This feature
may be selected with or without the Flash Lights with
Lock feature. Press and hold the SELECT button when in
this display until “ON” or “OFF” appears to make your
selection.
Headlamp Off Delay
When this feature is selected the driver can choose to
have the headlights remain on for 0, 30, 60, or 90 secondswhen exiting the vehicle. Press and hold the SELECT
button when in this display until 0, 30, 60, or 90 appears
to make your selection.
Key Off Power Delay
When this feature is selected the power window
switches, radio, Uconnect�
phone, power sunroof, and
power outlets will remain active for up to 10 minutes
after the ignition switch has been turned OFF. Opening
either front vehicle door will cancel this feature. Press
and hold the SELECT button when in this display until
“OFF”, “45 sec.”, “5 min.”, or “10 min.” appears to make
your selection.
Illuminated Approach
When this feature is selected the headlights will activate
and remain on for up to 90 seconds when the doors are
unlocked using the RKE transmitter. Press and hold the
4
UNDERSTANDING YOUR INSTRUMENT PANEL 235
Page 240 of 525
NOTE:Magnetic materials should be kept away from
the top of the right rear quarter window. This is where
the compass sensor is located. 1. Turn the ignition switch ON.
2. Press and hold the COMPASS button for approxi-
mately two seconds.
3. Press the DOWN button until “Compass Variance” message and the last variance zone number displays
in the EVIC.
4. Press and release the SELECT button until the proper variance zone is selected according to the map.
5. Press and release the COMPASS button to exit.
Compass Variance Map
238 UNDERSTANDING YOUR INSTRUMENT PANEL
Page 241 of 525
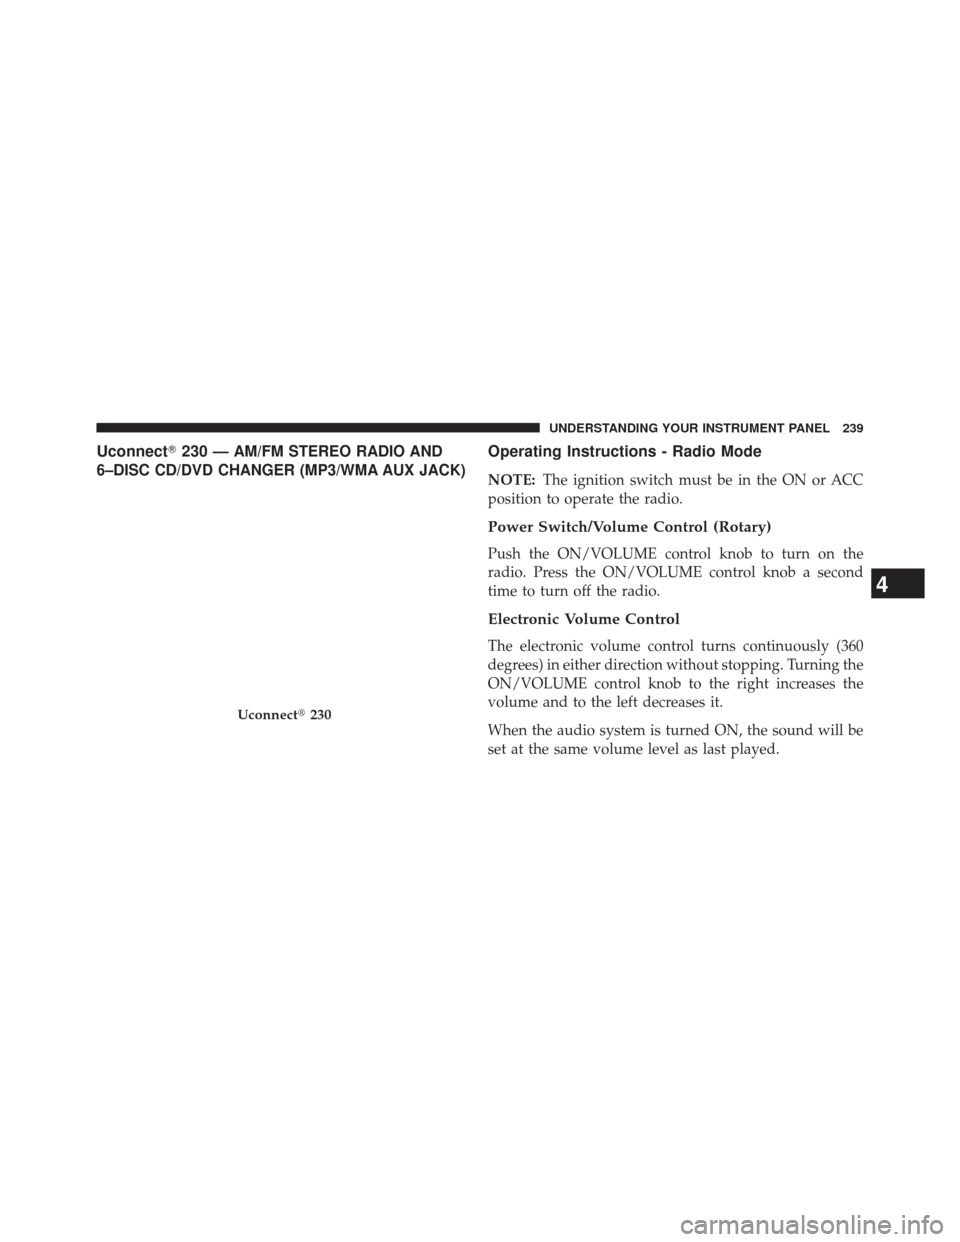
Uconnect�230 —AM/FM STEREO RADIO AND
6–DISC CD/DVD CHANGER (MP3/WMA AUX JACK)Operating Instructions - Radio Mode
NOTE: The ignition switch must be in the ON or ACC
position to operate the radio.
Power Switch/Volume Control (Rotary)
Push the ON/VOLUME control knob to turn on the
radio. Press the ON/VOLUME control knob a second
time to turn off the radio.
Electronic Volume Control
The electronic volume control turns continuously (360
degrees) in either direction without stopping. Turning the
ON/VOLUME control knob to the right increases the
volume and to the left decreases it.
When the audio system is turned ON, the sound will be
set at the same volume level as last played.
Uconnect� 230
4
UNDERSTANDING YOUR INSTRUMENT PANEL 239
.
RESET Button
To reset the display shown, tu")