Page 207 of 525
, and should be
uniform")
ROOF LUGGAGE RACK — IF EQUIPPED
The crossbars and siderails are designed to carry the
weight on vehicles equipped with a luggage rack. The
load must not exceed 150 lbs (68 kg), and should be
uniformly distributed over the luggage rack crossbars.
NOTE:If not equipped with crossbars, your authorized
dealer can order and install MOPAR� crossbars built
specifically for this roof rack system.
Distribute cargo weight evenly on the roof rack crossbars.
The roof rack does not increase the total load carrying
capacity of the vehicle. Be sure the total load of cargo
inside the vehicle plus that on the external rack does not
exceed the maximum vehicle load capacity.
The optional crossbars must also be secured in one of the
seven detent positions marked with an arrow on the
siderails to prevent movement. To move the crossbars,
loosen the thumb screws located at the upper edge of
each crossbar approximately eight turns, then move the crossbar to the desired position, keeping the crossbars
parallel to the rack frame. Once the crossbar is in one of
the seven detent positions, retighten the thumb screws to
lock the crossbar into position.
NOTE:
•
To help control wind noise when the crossbars are not
in use, place the front crossbar in the first detent from
the front of the vehicle and the rear crossbar in the
second detent from the rear of the vehicle.
• If the rear crossbar (or any metallic object) is placed
over the satellite radio antenna (if equipped), you may
experience interruption of satellite radio reception. For
improved satellite radio reception, place the rear cross-
bar in the second detent from the rear of the vehicle
when not in use.
• The grab handles on the back of the vehicle (if
equipped) are not to be used as a towing feature.
3
UNDERSTANDING THE FEATURES OF YOUR VEHICLE 205
Page 209 of 525
UNDERSTANDING YOUR INSTRUMENT PANEL
CONTENTS
�INSTRUMENT PANEL FEATURES ...........210
� INSTRUMENT CLUSTER .................211
� INSTRUMENT CLUSTER DESCRIPTIONS .....212
� MINI-TRIP COMPUTER — IF EQUIPPED .....226
▫ Control Buttons ...................... .226
� ELECTRONIC VEHICLE INFORMATION
CENTER (EVIC) — IF EQUIPPED ...........228
▫ Engine Oil Change Indicator System —
If Equipped ........................ .231
▫ EVIC Functions ...................... .231
▫ Compass/Temperature/Audio ............232▫
Average Fuel Economy ..................232
▫ Distance To Empty (DTE) ................232
▫ Tire Pressure Monitor (TPM) ..............233
▫ Elapsed Time ....................... .233
▫ Personal Settings (Customer-Programmable
Features) .......................... .233
� Uconnect� 230 — AM/FM STEREO RADIO
AND 6–DISC CD/DVD CHANGER
(MP3/WMA AUX JACK) .................239
▫ Operating Instructions - Radio Mode ........239
4
Page 210 of 525
 . . .248
▫ Notes On Playing MP3/WMA Files .........250
▫ LIST Button (DISC Mode for MP3/WMA
Play) .................")
▫Operation Instructions - (DISC MODE for CD
and MP3/WMA Audio Play, DVD-VIDEO) . . .248
▫ Notes On Playing MP3/WMA Files .........250
▫ LIST Button (DISC Mode for MP3/WMA
Play) ............................. .252
▫ INFO Button (DISC Mode for MP3/WMA
Play) ............................. .253
▫ Uconnect� (Satellite Radio) — If Equipped . . . .255
� Uconnect� 730N/430/430N CD/DVD/
HDD/NAV — IF EQUIPPED ..............259
▫ Operating Instructions (Voice Command
System) — If Equipped .................259
▫ Operating Instructions (Uconnect� Phone) —
If Equipped ......................... .259�
UCONNECT� 130 ..................... .260
▫ Operating Instructions — Radio Mode .......269
▫ Operation Instructions — CD MODE For
CD And MP3 Audio Play ................263
▫ Notes on Playing MP3 Files ..............265
▫ Operation Instructions - Auxiliary Mode .....268
� UCONNECT� 130 WITH SATELLITE RADIO . . .269
▫ Operating Instructions — Radio Mode .......269
▫ Operation Instructions — CD MODE for
CD and MP3 Audio Play ................275
▫ Notes On Playing MP3 Files ..............278
▫ LIST Button (CD Mode for MP3 Play) .......280
▫ INFO Button (CD Mode for MP3 Play) ......280
▫ Uconnect� (Satellite Radio) — If Equipped . . . .255
208 UNDERSTANDING YOUR INSTRUMENT PANEL
Page 211 of 525
�iPod�/USB/MP3 CONTROL — IF EQUIPPED . . .286
▫Connecting The iPod� Or External USB
Device ............................ .286
▫ Using This Feature .....................287
▫ Controlling The iPod� Or External
USB Device Using Radio Buttons ..........287
▫ Play Mode ......................... .287
▫ List Or Browse Mode ...................289
▫ Bluetooth Streaming Audio (BTSA) .........291
� STEERING WHEEL AUDIO CONTROLS ......293
▫ Radio Operation ..................... .293
▫ CD Player .......................... .294�
CD/DVD DISC MAINTENANCE ...........294
�RADIO OPERATION AND MOBILE PHONES . . .295
� CLIMATE CONTROLS ...................295
▫ Manual Heating And Air Conditioning ......296
▫ Automatic Temperature Control (ATC) —
If Equipped ........................ .300
▫ Operating Tips ...................... .306
4
UNDERSTANDING YOUR INSTRUMENT PANEL 209
Page 212 of 525
INSTRUMENT PANEL FEATURES
1 — Air Outlet5 — Storage Bin9 — Heated Seat Switch – If Equipped
2 — Demisters 6 — Glove Compartment10 — Hazard Warning Flasher
3 — Instrument Cluster 7 — Climate Controls11 — ESC OFF Switch – If Equipped
4 — Radio 8 — Power Outlet12 — Heated Seat Switch – If Equipped
210 UNDERSTANDING YOUR INSTRUMENT PANEL
Page 234 of 525

• Personal Settings
To Reset The Display
Pressing and holding the SELECT button once will clear
the function currently being displayed. Reset will only
occur if a rese")
•Tire Pressure Monitor (TPM)
• Personal Settings
To Reset The Display
Pressing and holding the SELECT button once will clear
the function currently being displayed. Reset will only
occur if a resettable function is currently being displayed.
To reset all resettable functions, press and release the
SELECT button a second time within three seconds of
resetting the currently displayed function. Reset ALL will
be displayed during this three-second window.
Compass/Temperature/Audio
Press and release the COMPASS button to display one of
eight compass headings to indicate the direction the
vehicle is facing, the outside temperature, and the current
radio station.
For additional information regarding the compass, refer
to Personal Settings (Customer-Programmable Features).
Average Fuel Economy
Shows the average fuel economy since the last reset.
When the fuel economy is reset, the display will read
“RESET” or show dashes for two seconds. Then, the
history information will be erased, and the averaging will
continue from the last fuel reading before the reset.
Distance To Empty (DTE)
Shows the estimated distance that can be traveled with
the fuel remaining in the tank. This estimated distance is
determined by a weighted average of the instantaneous
and average fuel economy, according to the current fuel
tank level. This is not resettable.
NOTE: Significant changes in driving style or vehicle
loading will greatly affect the actual drivable distance of
the vehicle, regardless of the DTE displayed value.
When the DTE value is less than 30 miles (48 km)
estimated driving distance, the DTE display will change
232 UNDERSTANDING YOUR INSTRUMENT PANEL
Page 237 of 525

Flash Lamps with Lock
When ON is selected, the front and rear turn signals will
flash when the doors are locked or unlocked using the
RKE transmitter. This feature may be selected with or
without the sound horn with lock feature selected. Press
and hold the SELECT button when in this display until
“ON” or “OFF” appears to make your selection.
Sound Horn with Lock
When ON is selected, a short horn sound will occur when
the RKE transmitter LOCK button is pressed. This feature
may be selected with or without the Flash Lights with
Lock feature. Press and hold the SELECT button when in
this display until “ON” or “OFF” appears to make your
selection.
Headlamp Off Delay
When this feature is selected the driver can choose to
have the headlights remain on for 0, 30, 60, or 90 secondswhen exiting the vehicle. Press and hold the SELECT
button when in this display until 0, 30, 60, or 90 appears
to make your selection.
Key Off Power Delay
When this feature is selected the power window
switches, radio, Uconnect�
phone, power sunroof, and
power outlets will remain active for up to 10 minutes
after the ignition switch has been turned OFF. Opening
either front vehicle door will cancel this feature. Press
and hold the SELECT button when in this display until
“OFF”, “45 sec.”, “5 min.”, or “10 min.” appears to make
your selection.
Illuminated Approach
When this feature is selected the headlights will activate
and remain on for up to 90 seconds when the doors are
unlocked using the RKE transmitter. Press and hold the
4
UNDERSTANDING YOUR INSTRUMENT PANEL 235
Page 241 of 525
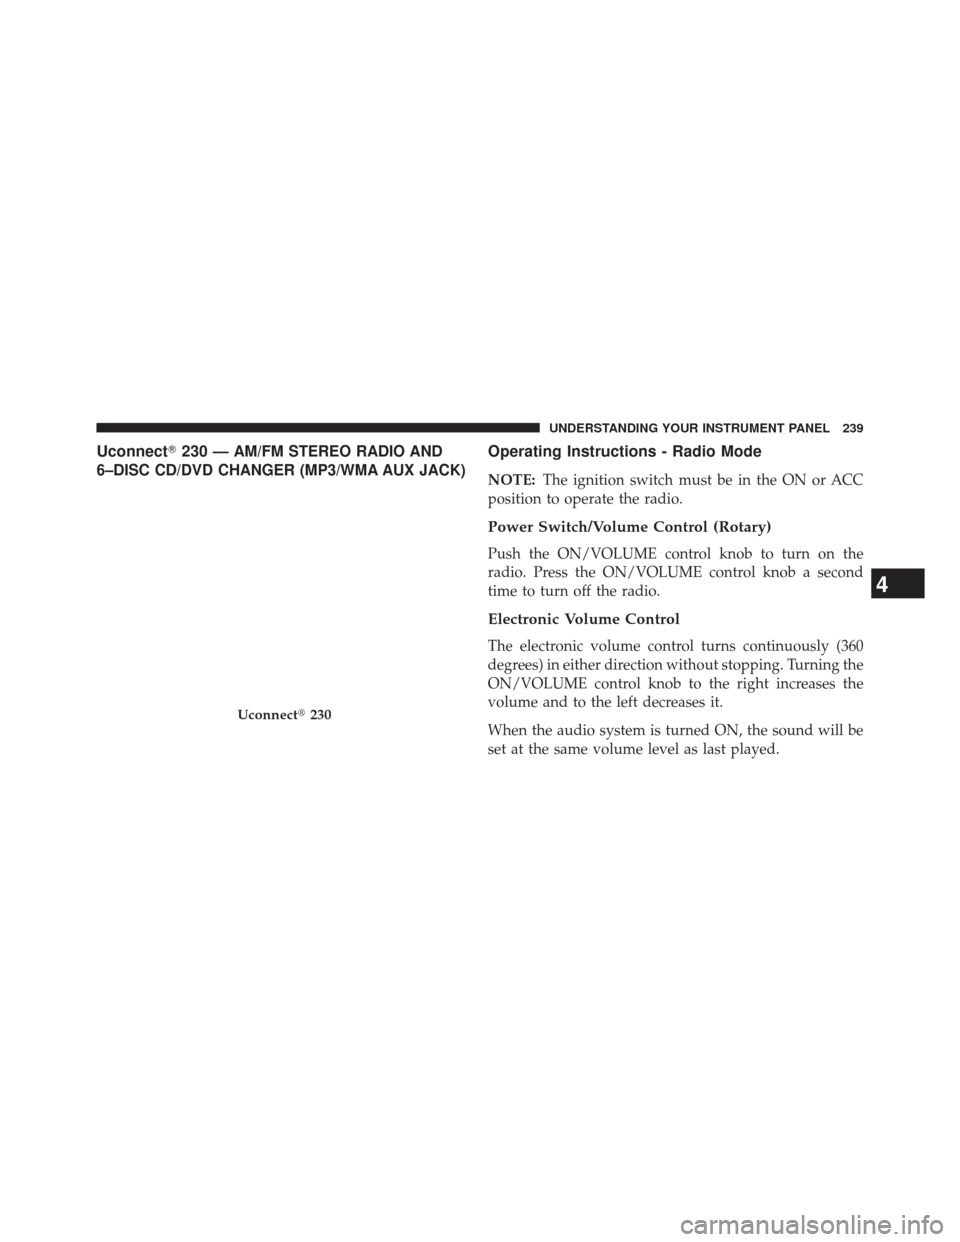
Uconnect�230 —AM/FM STEREO RADIO AND
6–DISC CD/DVD CHANGER (MP3/WMA AUX JACK)Operating Instructions - Radio Mode
NOTE: The ignition switch must be in the ON or ACC
position to operate the radio.
Power Switch/Volume Control (Rotary)
Push the ON/VOLUME control knob to turn on the
radio. Press the ON/VOLUME control knob a second
time to turn off the radio.
Electronic Volume Control
The electronic volume control turns continuously (360
degrees) in either direction without stopping. Turning the
ON/VOLUME control knob to the right increases the
volume and to the left decreases it.
When the audio system is turned ON, the sound will be
set at the same volume level as last played.
Uconnect� 230
4
UNDERSTANDING YOUR INSTRUMENT PANEL 239