Page 241 of 525
Uconnect�230 —AM/FM STEREO RADIO AND
6–DISC CD/DVD CHANGER (MP3/WMA AUX JACK)Operating Instructions - Radio Mode
NOTE: The ignition switch must be in the ON or ACC
position to operate the radio.
Power Switch/Volume Control (Rotary)
Push the ON/VOLUME control knob to turn on the
radio. Press the ON/VOLUME control knob a second
time to turn off the radio.
Electronic Volume Control
The electronic volume control turns continuously (360
degrees) in either direction without stopping. Turning the
ON/VOLUME control knob to the right increases the
volume and to the left decreases it.
When the audio system is turned ON, the sound will be
set at the same volume level as last played.
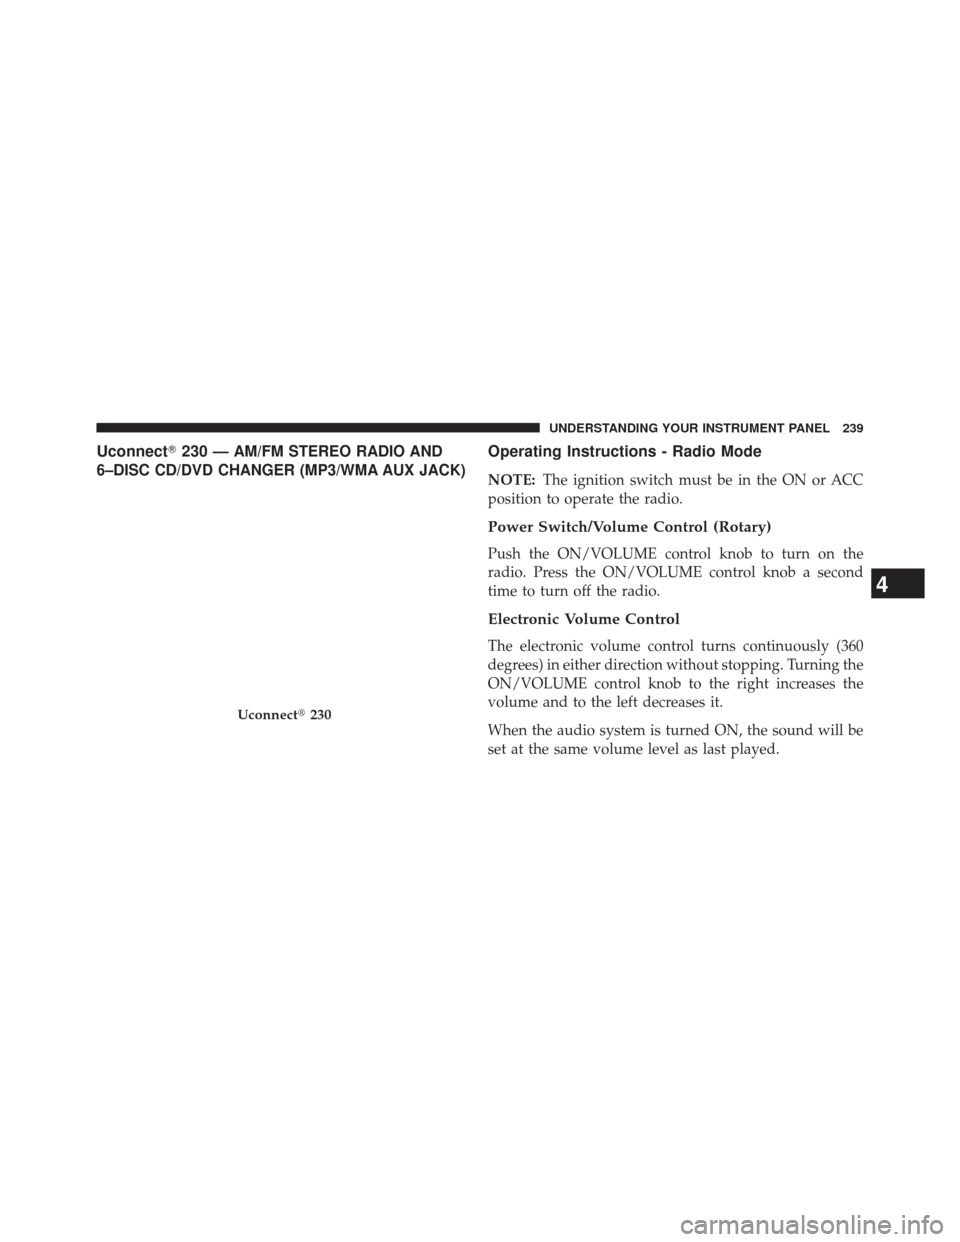
Uconnect� 230
4
UNDERSTANDING YOUR INSTRUMENT PANEL 239
Page 246 of 525

By pressing the SEEK button when the Music Type icon is
displayed, the radio will be tuned to the next frequency
station with the same selected Music Type name. The
Music Type function only operates when in the FM mode.
If a preset button is activated while in the Music Type
(Program Type) mode, the Music Type mode will be
exited and the radio will tune to the preset station.
SETUP Button
Pressing the SETUP button allows you to select between
the following items:
NOTE:Turn the TUNE/SCROLL control knob to scroll
through the entries. Push the AUDIO/SELECT button to
select an entry and make changes.
• DVD Enter - When the disc is in DVD Menu mode,
selecting DVD Enter will allow you to play the current
highlighted selection. Use the remote control to scroll
up and down the menu (if equipped). •
DISC Play/Pause -
You can toggle between playing the DVD and
pausing the DVD by pushing the SELECT
button (if equipped).
• DVD Play Options - Selecting the DVD Play Options
will display the following:
• Subtitle – Repeatedly pressing SELECT will switch
subtitles to different subtitle languages that are avail-
able on the disc (if equipped).
• Audio Stream – Repeatedly pressing SELECT will
switch to different audio languages (if supported on
the disc) (if equipped).
• Angle – Repeatedly pressing SELECT will change
the viewing angle if supported by the DVD disc (if
equipped).
244 UNDERSTANDING YOUR INSTRUMENT PANEL
Page 247 of 525

NOTE:
•The available selections for each of the above entries
varies depending upon the disc.
•
These selections can only be made while playing a DVD.
• VES™ Power - Allows you to turn VES™ ON and OFF
(if equipped).
• VES™ Lock - Locks out rear VES™ remote controls
(if equipped).
• VES™ CH1/CH2 -Allows the user to change the mode
of either the IR1 or IR2 wireless headphones by
pressing the AUDIO/SELECT button (if equipped).
• Set Home Clock -Pressing the SELECT button allows
you to set the clock. Turn the TUNE/SCROLL control
knob to adjust the hours and then press and turn the
TUNE/SCROLL control knob to adjust the minutes.
Press the TUNE/SCROLL control knob again to save
changes. •
Player Defaults -Selecting this item will allow the user
to scroll through the following items and set defaults
according to customer preference.
Menu Language — If Equipped
Selecting this item will allow the user to choose the
default startup DVD menu language (effective only if
language supported by disc). If you want to select a
language not listed, then scroll down and select �other.�
Enter the four-digit country code using the TUNE/
SCROLL control knob to scroll up and down to select the
number and then push to select.
Audio Language — If Equipped
Selecting this item allows you to choose a default audio
language (effective only if the language is supported by
the disc). You can select a language not listed by scrolling
down and selecting �other.�Enter the country code using
4
UNDERSTANDING YOUR INSTRUMENT PANEL 245
Page 248 of 525

the TUNE/SCROLL control knob to scroll up and down
to select the number and then push to select.
Subtitle Language — If Equipped
Selecting this item allows you to choose a default subtitle
language (effective only if the language is supported by
the disc). You can select a language not listed by scrolling
down and selecting�other.�Enter the country code using
the TUNE/SCROLL control knob to scroll up and down
to select the number and then push to select.
Subtitles — If Equipped
Selecting this item allows you to choose between subtitle
Off or On. Audio DRC — If Equipped
Selecting this item allows you to limit maximum audio
dynamic range. The default is set to
�High,�and under
this setting, dialogues will play at 11 db higher than if the
setting is �Normal.�
Aspect Ratio — If Equipped
Selecting this item allows you to choose between wide
screen, pan scan, and letter box.
AutoPlay — If Equipped
When this is set to On and a DVD video is inserted, it will
bypass the DVD menu screen and automatically play the
movie. In some rare cases, the DVD player may not
auto-play the main title. In such cases, use the MENU
button on the remote control to select desired title to play.
246 UNDERSTANDING YOUR INSTRUMENT PANEL
Page 250 of 525

The radio DVD player and man")
DISC Button
Pressing the DISC button will allow you to switch from
AM/FM modes to Disc modes.
Operation Instructions - (DISC MODE for CD and
MP3/WMA Audio Play, DVD-VIDEO)
The radio DVD player and many DVD discs are coded by
geographic region. These region codes must match in
order for the disc to play. If the region code for the DVD
disc does not match the region code for the radio DVD
player, it will not play the disc. Customers may take their
vehicle to an authorized dealer to change the region code
of the player a maximum of five times.
CAUTION!
The radio may shut down during extremely hot
conditions. When this occurs, the radio will indicate
(Continued)
CAUTION!(Continued)
“Disc Hot” and shut off until a safe temperature is
reached. This shutdown is necessary to protect the
optics of the DVD player and other radio internal
components.
NOTE: The ignition switch must be in the ON or ACC
position to operate the radio.
LOAD Button — Loading Compact Disc(s)
Press the LOAD button and the pushbutton with the
corresponding number (1-6) where the CD is being
loaded. The radio will display PLEASE WAIT and
prompt when to INSERT DISC. After the radio displays
�INSERT DISC,� insert the CD into the player.
Radio display will show �LOADING DISC�when the disc
is loading and “READING DISC” when the radio is
reading the disc.
248 UNDERSTANDING YOUR INSTRUMENT PANEL
Page 253 of 525
. Discs created with an option")
Multisession disc formats are supported by the radio.
Multisession discs may contain combinations of normal
CD audio tracks and computer files (including MP3/
WMA files). Discs created with an option such as�keep
disc open after writing� are most likely multisession
discs. The use of multisession for CD audio or MP3/
WMA playback may result in longer disc loading times.
If a disc contains multi-formats, such as CD audio and
MP3/WMA tracks, the radio will only play the MP3/
WMA tracks on that disc.
Supported MP3/WMA File Formats
The radio will recognize only files with the *.MP3/WMA
extension as MP3/WMA files. Non-MP3/WMA files
named with the *.MP3/WMA extension may cause play-
back problems. The radio is designed to recognize the file
as an invalid MP3/WMA and will not play the file. When using the MP3/WMA encoder to compress audio
data to an MP3/WMA file, the bit rate and sampling
frequencies in the following table are supported. In
addition, variable bit rates (VBR) are also supported. The
majority of MP3/WMA files use a 44.1 kHz sampling rate
and a 192, 160, 128, 96 or VBR bit rates.
MPEG
Specification Sampling Fre-
quency (kHz) Bit Rate (kbps)
MPEG-1 Audio Layer 3 48, 44.1, 32 320, 256, 224,
192, 160, 128,
112, 96, 80, 64, 56, 48
MPEG-2 Audio Layer 3 24, 22.05, 16 160, 128, 144,
112, 96, 80, 64,56, 484
UNDERSTANDING YOUR INSTRUMENT PANEL 251
Page 255 of 525
.
The folder list")
folder by pressing the TUNE/SCROLL control knob will
begin playing the files contained in that folder (or the
next folder in sequence if the selection does not contain
playable files).
The folder list will time out after five seconds.
INFO Button (DISC Mode for MP3/WMA Play)
Pressing the INFO button repeatedly will scroll through
the following TAG information: Song Title, Artist, File
Name, and Folder Name (if available).
Press the INFO button once more to return to�elapsed
time� priority mode.
Press and hold the INFO button for three seconds or
more and radio will display song titles for each file.
Press and hold the INFO button again for three seconds
to return to �elapsed time� display.
Operation Instructions - Auxiliary Mode
The auxiliary (AUX) jack is an audio input jack which
allows the user to plug in a portable device such as an
MP3/WMA player, cassette player, or microphone and
utilize the vehicle’s audio system to amplify the source
and play through the vehicle speakers.
Pressing the AUX button will change the mode to auxil-
iary device if the AUX jack is connected.
NOTE:The AUX device must be turned on and the
device’s volume set to the proper level. If the AUX audio
is not loud enough, turn the device’s volume up. If the
AUX audio sounds distorted, turn the device’s volume
down.
SEEK Button (Auxiliary Mode)
No function.
4
UNDERSTANDING YOUR INSTRUMENT PANEL 253
Page 257 of 525

Macrovision
This product incorporates copyright protection technol-
ogy that is protected by U.S. patents and other intellec-
tual property rights. Use of this copyright protection
technology must be authorized by Macrovision, and is
intended for home and other limited viewing uses only,
unless otherwise authorized by Macrovision. Reverse
engineering or disassembly is prohibited.
DTS™
“DTS™ and “DTS™ 2.0” are trademarks of Digital The-
ater Systems, Inc.
Uconnect�(Satellite Radio) — If Equipped
Satellite radio uses direct satellite-to-receiver broadcast-
ing technology to provide clear digital sound, coast to
coast. The subscription service provider is Sirius Satellite
Radio. This service offers over 130 channels of music, sports, news, entertainment, and programming for chil-
dren, directly from its satellites and broadcasting studios.
NOTE:
Sirius service is not available in Hawaii and has
limited coverage in Alaska.
System Activation
Sirius Satellite Radio service is pre-activated, and you
may begin listening immediately to the one year of audio
service that is included with the factory-installed satellite
radio system in your vehicle. Sirius will supply a wel-
come kit that contains general information, including
how to setup your on-line listening account. For further
information, call the toll-free number 888-539-7474, or
visit the Sirius web site at www.sirius.com, or at
www.siriuscanada.ca for Canadian residents.4
UNDERSTANDING YOUR INSTRUMENT PANEL 255