Page 2 of 28
*See your Owner’s Manual for information.
01
INSTRUMENT BRIGHTNESS
cONTROL SwITcH*
02
TRIP cOMPUTER S wITcHES
03
LO w TIRE PRESSURE wARNING LIGHT
04
HEADLIGHT AND TURN SIGNAL cONTROL
05 wINDSHIELD wIPER / w
ASHER SwITcH
06
STEERING wHEEL SwITcHE S FOR
AUDIO* / BLUETOOTH® / NAVIGATION
07
INTELLIGENT cRUISE c ONTROL BUTTONS
08
PUSH BUTTON IGNITION
09 w
ARNING SYSTEMS S wITcH*
10
INTELLIGENT BRAKE ASSIST (IBA)
OFF S wITcH*
11
DYNAMIc DRIVER ASSISTANc E SwIT cH*
12
INTELLIGENT KEY PORT
13
TILT / TELESc OPIc STEERING
wHEEL S wITcH*
14
HOOD RELEASE*
15
VEHIcLE DYNAMIc cONTROL (VDc)
OFF S wITcH*
16 c
ONTROL PANEL DISPLAY ScREEN*
17
AUDIO SYSTEM
18
AUTOMATIc cLIMATE cONTROLS
19
FRONT PASSENGER AIR BAG STATUS LIGHT*
01
Behind
steering wheel Behind
steering wheel
On
steering column
0405
08
0910
16
17
18
19
11
1213
14
02
03
0706
15Behind
steering wheel
Page 13 of 28

11
FM/AM/SiriusXM™* Satellite Radio with CD/DVD Player (with Navigation System -
if so equipped)
01 VOLUME/ON•OFF CONTROL KNOB
Press the VOL/ON•OFF control knob to turn the system on or off. Turn the knob right or left
to increase or decrease the volume.
02 SEEK•CAT AND TRACK BUTTONS
To scan quickly through each broadcasting station, press the SEEK•CAT button or the
trACk button to stop at the previous or next broadcast station.
For SiriusXM™ satellite radio, press the SEEK•CAT button or the trACk button to switch to
the first channel of the previous or next category.
Press the SEEK•CAT button or the trACk button to change tracks on a cD.
Press and hold the SEEK•CAT button or the trACk button to fast forward or rewind a
track on a cD.
03 tUNE/FOLDEr/AUDIO CONtrOL kNOB
To manually tune the radio, turn the tUNE/FOLDEr/AUDIO knob left or right.
04 S
tA tION PrESEt BUtt ONS
Twelve stations can be set for the FM band, six for the AM band and eighteen for
SiriusXM satellite radio.
To store a station in a preset, you must first select a radio band by pressing the
AM•FM/SAT button
05 , then tune to the desired AM, FM or SiriusXM satellite station.
Then press and hold the desired station preset button (1-6) until the preset number
is updated on the display and the sound is briefly muted. The channel indicator will then
display and the sound will resume. Programming is now complete.
To retrieve a previously set station, select the radio band where the preset was stored, then
press the corresponding station select button (1-6).
*SiriusXM™ Satellite Radio is only available on vehicles equipped with optional SiriusXM™ satellite subscription service.
For more information, refer to the “Monitor, climate, audio, phone and voice recognition systems (section 4)” of your Owner’s Manual.
05
010203
04
Page 23 of 28

21
06 INFINITI c
ontroller
• ENtEr button – Press to select the highlighted item on the screen. If this button is pressed
while a map is displayed, the map menu screen is displayed.
• Main directional buttons – Use to move across the map, highlight an item on the screen or
adjust a setting (volume, brightness, etc.).
• Additional directional buttons – Use to move across the map or highlight an item on the
character input screen.
• center dial – Use to highlight an item on the screen or adjust a setting. The center dial can
also be used to adjust the map scale.
07 INFO button – Press to display the vehicle (if so equipped), weather (if so equipped) or voice
recognition information.
08 button – Press to switch between the day screen (bright) and the night screen (dark).
Press and hold to turn off the display. Press again to turn on the display.
09 ZOOM IN button – Press to zoom the map in.
10 MAP button – Press to display the map.
while following a programmed route, press multiple
times to change the type of route information displayed.
11 SEttING button – Press to access the system settings.
12 BAC
k button – Press to return to the previous screen. In a settings screen, this button is also
used to apply the setting. In a character input screen, this button is also used to delete the
characters that have been entered.
13 VOICE button – Press to hear the current guidance for a programmed route.
For more information, please refer to your Navigation System Owner’s Manual.
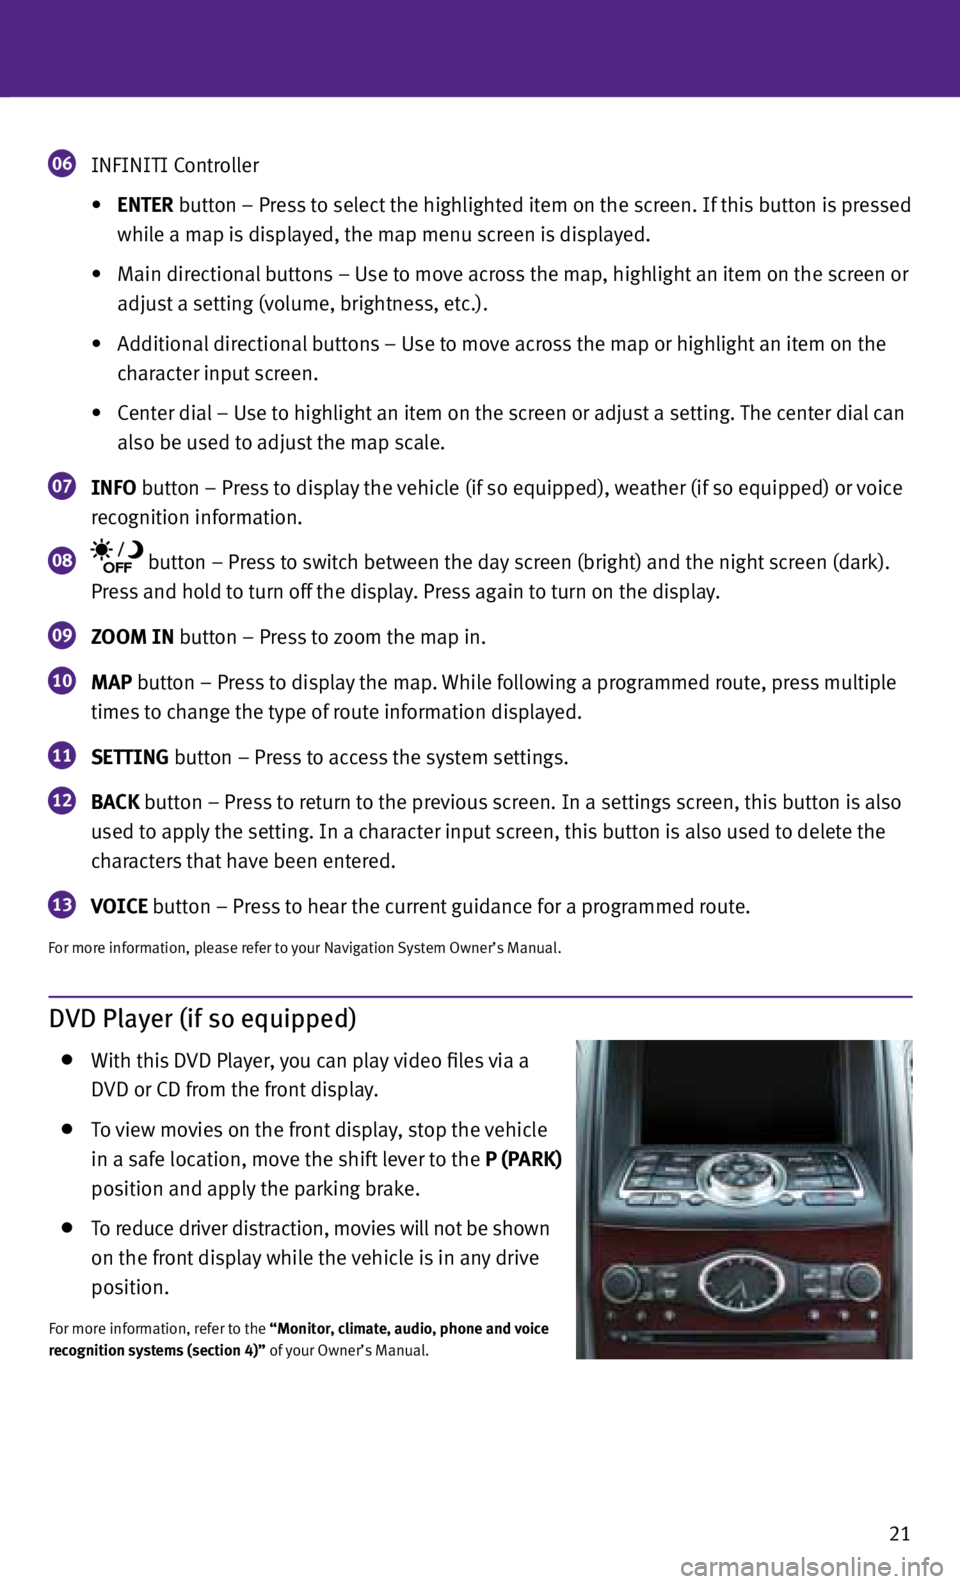
DVD Player (if so equipped)
with this DVD Player, you can play video files via a
DVD or cD from the front display.
To view movies on the front display, stop the vehicle
in a safe location, move the shift lever to the P (PArk)
position and apply the parking brake.
To reduce driver distraction, movies will not be shown
on the front display while the vehicle is in any drive
position.
For more information, refer to the “Monitor, climate, audio, phone and voice
recognition systems (section 4)” of your Owner’s Manual.