2013 Hyundai H-1 (Grand Starex) key
[x] Cancel search: keyPage 88 of 353

Features of your vehicle
18 4
D080103ATQ
Ty p e C
Auto up/down window
(Driver’s window, if equipped)
Depressing or pulling up the power win-
dow switch momentarily to the second
detent position (4) completely lowers or
lifts the window even when the switch is
released. To stop the window at the
desired position while the window is in
operation, pull up or depress and release
the switch to the opposite direction of the
movement.
CAUTION
• To prevent possible damage to
the power window system, do not
open or close two windows or
more at the same time. This will
also ensure the longevity of the
fuse.
• Never try to operate the main
switch on the driver's door and
the individual door window
switch in opposing directions at
the same time. If this is done, the
window will stop and cannot be
opened or closed.WARNING - Windows
• NEVER leave the keys in your
vehicle with unsupervised chil-
dren, when the engine is running.
• NEVER leave any child unattend-
ed in the vehicle. Even very
young children may inadvertently
cause the vehicle to move, entan-
gle themselves in the windows,
or otherwise injure themselves or
others.
• Always double check to make
sure all arms, hands, head and
other obstructions are safely out
of the way before closing a win-
dow.
• Do not allow children to play with
the power windows. Serious
injury can result from uninten-
tional window operation by the
child.
• Do not extend face or arms out-
side through the window opening
while driving.
OTQ047204E
Page 113 of 353

443
Features of your vehicle
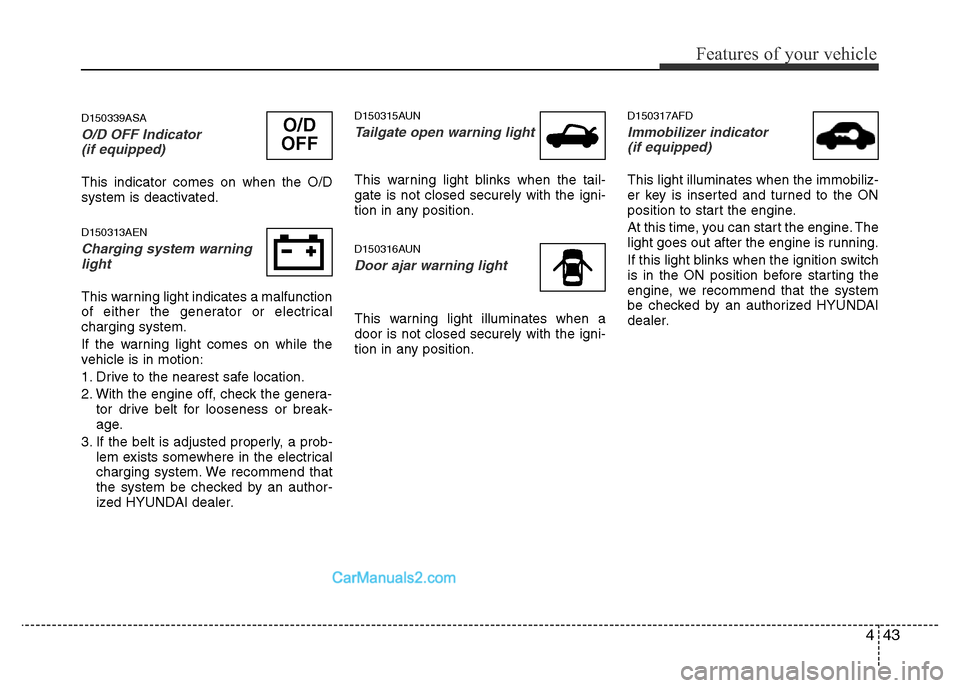
D150339ASA
O/D OFF Indicator
(if equipped)
This indicator comes on when the O/D
system is deactivated.
D150313AEN
Charging system warning
light
This warning light indicates a malfunction
of either the generator or electrical
charging system.
If the warning light comes on while the
vehicle is in motion:
1. Drive to the nearest safe location.
2. With the engine off, check the genera-
tor drive belt for looseness or break-
age.
3. If the belt is adjusted properly, a prob-
lem exists somewhere in the electrical
charging system. We recommend that
the system be checked by an author-
ized HYUNDAI dealer.
D150315AUN
Tailgate open warning light
This warning light blinks when the tail-
gate is not closed securely with the igni-
tion in any position.
D150316AUN
Door ajar warning light
This warning light illuminates when a
door is not closed securely with the igni-
tion in any position.
D150317AFD
Immobilizer indicator
(if equipped)
This light illuminates when the immobiliz-
er key is inserted and turned to the ON
position to start the engine.
At this time, you can start the engine. The
light goes out after the engine is running.
If this light blinks when the ignition switch
is in the ON position before starting the
engine, we recommend that the system
be checked by an authorized HYUNDAI
dealer.
O/D
OFF
Page 117 of 353

447
Features of your vehicle
D150327AUN
Key reminder warning chime
(if equipped)
If the driver’s door is opened while the
ignition key is left in the ignition switch
(ACC or LOCK position), the key
reminder warning chime will sound. This
is to prevent you from locking your keys
in the vehicle. The chime sounds until the
key is removed from the ignition switch or
the driver’s door is closed.
D170000AEN
The rear parking assist system assists
the driver during backward movement of
the vehicle by chiming if any object is
sensed within a distance of 120 cm (47
in.) behind the vehicle. This system is a
supplemental system and it is not intend-
ed to nor does it replace the need for
extreme care and attention of the driver.
The sensing range and objects
detectable by the back sensors are limit-
ed. Whenever backing-up, pay as much
attention to what is behind you as you
would in a vehicle without a rear parking
assist system.
REAR PARKING ASSIST SYSTEM (IF EQUIPPED)
OTQ047055
WARNING
The rear parking assist system is a
supplementary function only. The
operation of the rear parking assist
system can be affected by several
factors (including environmental
conditions). It is the responsibility
of the driver to always check the
area behind the vehicle before and
while backing up.
Sensors
Page 120 of 353

Features of your vehicle
50 4
D180000AUN
The hazard warning flasher should be
used whenever you find it necessary to
stop the car in a hazardous location. When
you must make such an emergency stop,
always pull off the road as far as possible.
The hazard warning lights are turned on by
pushing in the hazard switch. This causes
all turn signal lights to blink. The hazard
warning lights will operate even though the
key is not in the ignition switch.
To turn the hazard warning lights off, push
the switch a second time.
D190100CUN
Battery saver function
• The purpose of this feature is to pre-
vent the battery from being dis-
charged. The system automatically
turns off the parking lights when the
driver removes the ignition key and
opens the driver-side door.
• With this feature, the parking lights will
be turned off automatically if the driver
parks on the side of road at night.
If necessary, to keep the lights on
when the ignition key is removed, per-
form the following:
1) Open the driver-side door.
2) Turn the parking lights OFF and ON
again using the light switch on the
steering column.
D190400ATQ
Lighting control
The light switch has a Headlight and a
Parking light position.
To operate the lights, turn the knob at the
end of the control lever to one of the fol-
lowing positions:
(1) OFF position
(2) Parking light position
(3) Headlight position
LIGHTING
OTQ049131
CAUTION
If the driver gets out of the vehicle
through other doors (except dri-
ver’s door), the battery saver func-
tion does not operate. Therefore, it
causes the battery to be dis-
charged. In this case, make sure to
turn off the lamp before getting out
of the vehicle.
HAZARD WARNING FLASHER
OTQ067001L
OTQ067001R
Right-Hand drive type
Left-Hand drive type
Page 126 of 353

Features of your vehicle
56 4
✽NOTICE
If there is heavy accumulation of snow
or ice on the windshield, defrost the
windshield for about 10 minutes, or
until the snow and/or ice is removed
before using the windshield wipers to
ensure proper operation.
If you do not remove the snow and/or ice
before using the wiper and washer, it
may damage the wiper and washer sys-
tem.
✽NOTICE
• When you operate the wipers, if your
vehicle has a problem in any part of
the wiper operation system, the wiper
may operate in the LO mode regard-
less of the wiper switch position.
In this case, we recommend that the
system be checked by an authorized
HYUNDAI dealer.
• When the ignition key is removed, the
wiper blade sometimes may move to
properly position slightly for reducing
the deterioration of the windshield
wipers.
D200200AUN
Windshield washers
In the OFF (0) position, pull the lever
gently toward you to spray washer fluid
on the windshield and to run the wipers
1-3 cycles.
Use this function when the windshield is
dirty.
The spray and wiper operation will con-
tinue until you release the lever.
If the washer does not work, check the
washer fluid level. If the fluid level is not
sufficient, you will need to add appropri-
ate non-abrasive windshield washer fluid
to the washer reservoir.
The reservoir filler neck is located in the
front of the engine compartment on the
passenger side.
CAUTION
To prevent possible damage to the
washer pump, do not operate the
washer when the fluid reservoir is
empty.
WARNING
Do not use the washer in freezing
temperatures without first warming
the windshield with the defrosters;
the washer solution could freeze on
contact with the windshield and
obscure your vision.
CAUTION
• To prevent possible damage to
the wipers or windshield, do not
operate the wipers when the
windshield is dry.
• To prevent damage to the wiper
blades, do not use gasoline,
kerosene, paint thinner, or other
solvents on or near them.
• To prevent damage to the wiper
arms and other components, do
not attempt to move the wipers
manually.
• To prevent possible damage to
the wipers and washer system,
use anti-freezing washer fluids in
the winter season or cold weath-
er.
Page 158 of 353

Features of your vehicle
88 4
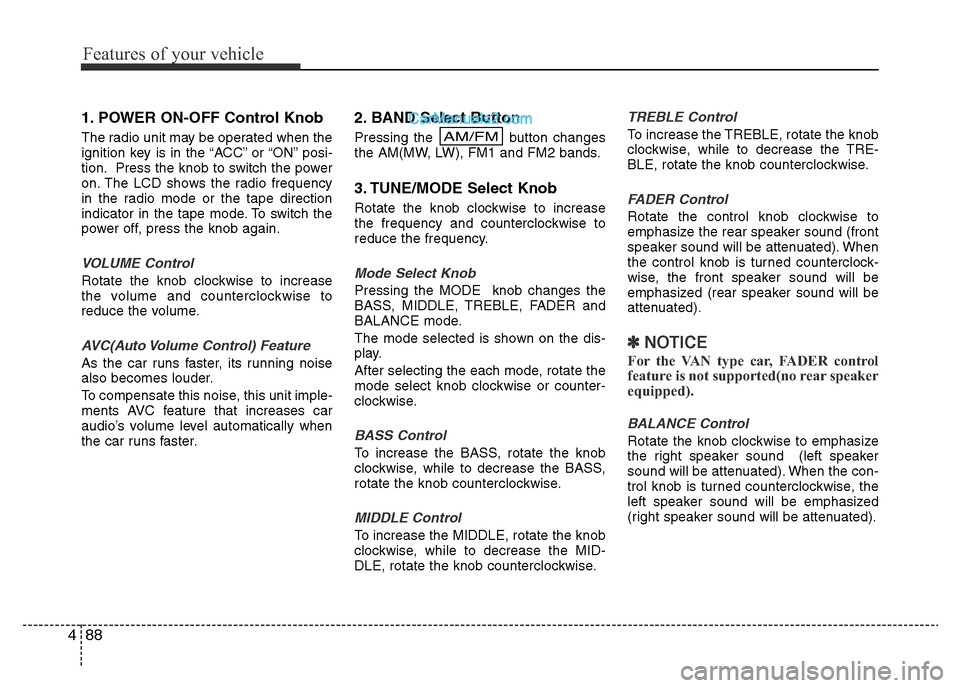
1. POWER ON-OFF Control Knob
The radio unit may be operated when the
ignition key is in the “ACC” or “ON” posi-
tion. Press the knob to switch the power
on. The LCD shows the radio frequency
in the radio mode or the tape direction
indicator in the tape mode. To switch the
power off, press the knob again.
VOLUME Control
Rotate the knob clockwise to increase
the volume and counterclockwise to
reduce the volume.
AVC(Auto Volume Control) Feature
As the car runs faster, its running noise
also becomes louder.
To compensate this noise, this unit imple-
ments AVC feature that increases car
audio’s volume level automatically when
the car runs faster.
2. BAND Select Button
Pressing the button changes
the AM(MW, LW), FM1 and FM2 bands.
3. TUNE/MODE Select Knob
Rotate the knob clockwise to increase
the frequency and counterclockwise to
reduce the frequency.
Mode Select Knob
Pressing the MODE knob changes the
BASS, MIDDLE, TREBLE, FADER and
BALANCE mode.
The mode selected is shown on the dis-
play.
After selecting the each mode, rotate the
mode select knob clockwise or counter-
clockwise.
BASS Control
To increase the BASS, rotate the knob
clockwise, while to decrease the BASS,
rotate the knob counterclockwise.
MIDDLE Control
To increase the MIDDLE, rotate the knob
clockwise, while to decrease the MID-
DLE, rotate the knob counterclockwise.
TREBLE Control
To increase the TREBLE, rotate the knob
clockwise, while to decrease the TRE-
BLE, rotate the knob counterclockwise.
FADER Control
Rotate the control knob clockwise to
emphasize the rear speaker sound (front
speaker sound will be attenuated). When
the control knob is turned counterclock-
wise, the front speaker sound will be
emphasized (rear speaker sound will be
attenuated).
✽NOTICE
For the VAN type car, FADER control
feature is not supported(no rear speaker
equipped).
BALANCE Control
Rotate the knob clockwise to emphasize
the right speaker sound (left speaker
sound will be attenuated). When the con-
trol knob is turned counterclockwise, the
left speaker sound will be emphasized
(right speaker sound will be attenuated).
AM/FM
Page 159 of 353

489
Features of your vehicle
4. AUTO SEEK Select Button
(Automatic Channel Selection)
Press the AUTO SEEK select button.
When the side is pressed, the unit
will automatically tune to the next higher
frequency and when the side is
pressed, it will automatically tune to the
next lower frequency.
5. Best Station Memory (BSM)
Button
When the BSM button is pressed, the six
channels from the highest field intensity
are selected next and stored in memory.
The stations selected are stored in the
sequence of frequency from the first pre-
set key.
6. PRESET STATION Select
Buttons
Six stations for AM(MW, LW), FM1 and
FM2 respectively can be preset in the
electronic memory circuit.
HOW TO PRESET STATIONS
Six AM(MW, LW) and twelve FM stations
may be programmed into the memory of
the radio. Then, by simply pressing the
AM(MW, LW) / FM select button and/or
one of the six station select buttons, you
may recall any of these stations instantly.
To program the stations, follow these
steps:
• Press AM(MW, LW)/FM selector to set
the band for AM(MW, LW), FM1 and
FM2.
• Select the desired station to be stored
by seek or manual tuning.
• Determine the preset station select
button you wish to use to access that
station.
• Press the station select button for more
than two seconds. A select button indi-
cator will show in the display indicating
which select button you have
depressed. The frequency display will
flash after it has been stored into the
memory. You should then release the
button, and proceed to program the
next desired station. A total of 24 sta-
tions can be programmed by selecting
one AM(MW, LW) and two FM station
per button.• When completed, any preset station
may be recalled by selecting AM(MW,
LW), FM1 or FM2 band and the appro-
priate station button.
CAUTION
• Do not place beverages close to
the audio system. The audio sys-
tem mechanism may be damaged
if you spill them.
• Do not strike or allow anything to
impact the audio system, damage
to the system mechanisms could
occur.
Page 163 of 353

493
Features of your vehicle
1. POWER ON-OFF Control Knob
The radio unit may be operated when the
ignition key is in the "ACC" or “ON” posi-
tion. Press the knob to switch the power
on. The LCD shows the radio frequency
in the radio mode, the tape direction indi-
cator in the tape mode or CD track in
either the CD mode or CD AUTO
CHANGER mode. To switch the power
off, press the knob again.
VOLUME Control
Rotate the knob clockwise to increase
the volume and counterclockwise to
reduce the volume.
AVC(Auto Volume Control) Feature
As the car runs faster, its running noise
also becomes louder.
To compensate this noise, this unit imple-
ments AVC feature that increases car
audio’s volume level automatically when
the car runs faster.
2. BAND Select Button
Pressing the FM/AM button changes the
AM(MW, LW), FM1 and FM2 bands. The
mode selected is shown on the display.
3. TUNE/AUDIO Control Knob
Rotate the knob clockwise to increase
the frequency and counterclockwise to
reduce the frequency.
AUDIO Control Knob
Pressing the AUDIO Mode select button
changes the BASS, MIDDLE, TREBLE,
FADER and BALANCE mode. The mode
selected is shown on the display.
BASS Control
To increase the BASS, rotate the knob
clockwise, while to decrease the BASS,
rotate the knob counterclockwise.
MIDDLE Control
To increase the MIDDLE, rotate the knob
clockwise, while to decrease the MID-
DLE, rotate the knob counterclockwise.
TREBLE Control
To increase the TREBLE, rotate the knob
clockwise, while to decrease the TRE-
BLE, rotate the knob counterclockwise.
FADER Control
Rotate the control knob clockwise to
emphasize the rear speaker sound (front
speaker sound will be attenuated). When
the control knob is turned counterclock-
wise, the front speaker sound will be
emphasized (rear speaker sound will be
attenuated).
✽NOTICE
For the VAN type car, FADER Control
feature is not supported(no rear speaker
equipped).
BALANCE Control
Rotate the knob clockwise to emphasize
the right speaker sound (left speaker
sound will be attenuated). When the con-
trol knob is turned counterclockwise, the
left speaker sound will be emphasized
(right speaker sound will be attenuated).
4. AUTO SEEK Select Button
(Automatic Channel Selection)
Press the AUTO SEEK select button.
When the side is pressed, the unit will
automatically tune to the next higher fre-
quency and when the side is pressed,
it will automatically tune to the next lower
frequency.