Page 78 of 422

This indicator normally comes
on for a few seconds when you
turn the ignition switch to the
ON (II) position.
If this happens, pull to the side of the
road when it is saf e, check which tire
has lost pressure on the multi-
inf ormation display, and determine
the cause. If it is because of a flat tire,
have the flat tire repaired as soon as
possible. If two or more tires are
underinf lated, call a prof essional
towing service. For more
inf ormation, see page . If this indicator begins to flash,
there is a problem with the tire
pressure monitoring system
(TPMS). You will also see a
‘‘CHECK TPMS SYSTEM’’
message on the multi-information
display. The indicator continues to
flash for a while (approximately 1
minute), then stays on. If this
happens, have your dealer check
the system as soon as possible.
For more information, see
page
. If this indicator comes on and stays
on at any other time, or if it does not
come on when you turn the ignition
switch to the ON (II) position, there
is a problem with the TPMS. With
this indicator on, the low tire
pressure indicator will not come on
when a tire loses pressure. Take the
vehicle to your dealer to have the
system checked. For more
inf ormation, see page .
2.
381 282
277
On models without navigation system
Tire Pressure Monitoring
System (T PMS) Indicator
Instrument Panel Indicators
73
12/08/09 16:08:51 31SJC670_080
Inst rument s and Cont rols
Page 86 of 422

The inf ormation display in the
instrument panel shows you the
engine oil lif e and maintenance
service items when the ignition
switch is in the ON (II) position. This
inf ormation helps to keep you aware
of the periodic maintenance your
vehicle needs f or continued trouble-
f ree driving. Ref er to page f or
more inf ormation.Your vehicle’s onboard diagnostic
system will detect a loose or missing
f uel f ill cap as an evaporative system
leak. The f irst time a leak is detected
a ‘‘CHECK FUEL CAP’’ message
appears on the information display.
If the system still detects a leak in
your vehicle’s evaporative emissions
system, the malf unction indicator
lamp (MIL) comes on. If the f uel f ill
cap was not already tightened, turn
the engine of f , and check or
retighten the f uel f ill cap until it
clicks at least once. The MIL should
go off after several days of normal
driving once the cap is tightened or
replaced. If the MIL does not go of f ,
have your vehicle inspected by a
dealer. For more inf ormation, see
page
.
Turn the engine of f , and conf irm the
f uel f ill cap is installed. If it is, loosen
it, then retighten it until it clicks at
least once. The message should go
off after several days of normal
driving once you tighten or replace
the f uel f ill cap. To scroll to another
display, press the SELECT button or
TRIP/RESET button.
The ‘‘CHECK FUEL CAP’’ message
will appear each time you restart the
engine until the system turns the
message of f .
311
373
Maint enance MinderCheck Fuel Cap Message
Gauges
81
TM
12/08/09 16:09:54 31SJC670_088
Inst rument s and Cont rols
Page 177 of 422

Depending on where you drive, you
may experience reception problems.
Interf erence can be caused by any of
these conditions:Driving on the north side of a
large commercial truck on an
east/west road.
Driving in tunnels.
Driving on a road beside a vertical
wall, steep clif f , or hill to the south
of you.
Driving on the lower level of a
multi-tiered road.
Driving on a single lane road
alongside dense trees taller than
50 ft. (15 m) to the south of you. Driving on the north side of an
east/west mountain road.
Large items carried on a roof rack. If your XM Radio service has expired
or you purchased your vehicle f rom
a previous owner, you can listen to a
sampling of the broadcasts available
on XM Radio. With the ignition
switch in the ACCESSORY (I) or ON
(II) position, push the PWR button to
turn on the audio system and press
the XM button. A variety of music
types and styles will play.
There may be other geographic
situations that could af f ect XM Radio
reception.
This device complies with the
appropriate requirements or the
required standards. See page f or
more inf ormation.
400
Playing the XMRadio
Receiving XM Radio Service
172
12/08/09 16:22:07 31SJC670_179
Features
Page 178 of 422

If you decide to purchase XM Radio
service, contact XM Radio at,orat
1-800-852-9696. In Canada, contact
XM CANADA
at , or
at 1-877-209-0079. You will need to
give them your radio I.D. number
and your credit card number. To get
your radio I.D. number, press the
TUNE bar until ‘‘0’’ appears in the
display. Your I.D. will appear in
After you’ve registered with XM
Radio, keep your audio system in the
XM radio mode while you wait f or
activation. This should take about While waiting f or activation, make
sure your vehicle remains in an open
area with good reception. Once your
audio system is activated, you’ll be
able to listen to XM Radio broadcasts.
XM Radio will continue to send an
activation signal to your vehicle f or
at least 12 hours from the activation
request. If the service has not been
activated after 36 hours, contact
XM
Radio. In Canada, contact
.
www.siriusxm.com
www.xmradio.ca
Playing the XMRadio
173
12/08/09 20:40:36 31SJC670_180
Features
the display.
30 minutes. XM CANADA
Page 248 of 422
Bef ore you begin driving your
vehicle, you should know what
gasoline to use and how to check the
levels of important f luids. You also
need to know how to properly store
luggage or packages. The
inf ormation in this section will help
you. If you plan to add any
accessories to your vehicle, please
read the information in this section
first..............................
Break-in Period .244
.................
Fuel Recommendation . 244
.........
Service Station Procedures . 246
....................................
Ref ueling .246
Opening and Closing the .......................................
Hood .250
...................................
Oil Check .251
.............
Engine Coolant Check . 251
...............................
Fuel Economy .252
...
Accessories and Modif ications . 255
.............................
Carrying Cargo .257
Bef ore Driving
243
12/08/09 16:31:31 31SJC670_250
Page 250 of 422

Because the level of detergency and
additives in gasoline vary in the
market, Honda endorses the use of
‘‘TOP TIER Detergent Gasoline’’
where available to help maintain the
perf ormance and reliability of your
vehicle. TOP TIER Detergent
Gasoline meets a new gasoline
standard jointly established by
leading automotive manuf acturers to
meet the needs of today’s advanced
engines. Qualif ying gasoline retailers
will, in most cases, identif y their
gasoline as having met ‘‘TOP TIER
Detergent Gasoline’’ standards at the
retail location. This f uel is
guaranteed to contain the proper
level of detergent additives and be
f ree of metallic additives. The proper
level of detergent additives, and
absence of harmf ul metallic additives
in gasoline, help avoid build-up of
deposits in your engine and emission
control system.For f urther important f uel-related
inf ormation f or your vehicle, or
inf ormation on gasoline that does not
contain MMT, visit Owner Link at
. In Canada, visit
f or additional
inf ormation on gasoline. For more
inf ormation on top tier gasoline, visit
Use of gasoline with these additives
may adversely affect performance,
and cause the malfunction indicator
lamp on your instrument panel to
come on. If this happens, contact
your dealer for service. Some
gasoline today is blended with
oxygenates such as ethanol. Your
vehicle is designed to operate on
oxygenated gasoline containing up to
10% ethanol by volume. Do not use
gasoline containing methanol. If you
notice any undesirable operating
symptoms, try another service
station or switch to another brand
of gasoline.
owners.honda.com
www.honda.ca
www.toptiergas.com.
Fuel Recommendation
Bef ore Driving
245
12/08/09 16:31:43 31SJC670_252
Page 251 of 422
Open the f uel f ill door by pulling
onthehandletotheleftof the
driver’s seat. Park with the driver’s side closest
to the service station pump.Remove the f uel f ill cap slowly.
You may hear a hissing sound as
pressure inside the tank escapes.
The fuel fill cap is attached to the
f uel f iller with a tether. Insert the
attachment on the fuel fill cap into
the slit on the f uel f ill door.
1.
2. 3.
Ref ueling
Service Station Procedures
246
Pull
FUEL FILL CAP
ATTACHMENT TETHER
Gasoline is highly flammable
and explosive. You can be
burned or seriously injured
when handling fuel.
Stop the engine, and keep
heat, sparks, and flame away.
Handle fuel only outdoors.
Wipe up spills immediately.
12/08/09 16:31:50 31SJC670_253
Bef ore Driving
Page 252 of 422

Screw the f uel f ill cap back on
until it clicks at least once.
If you do not properly tighten the
cap, you will see a ‘‘CHECK FUEL
CAP’’ message on the inf ormation
display (see page ).
Push the f uel f ill door closed until
it latches.
Stop f illing the tank af ter the f uel
nozzle automatically clicks of f . Do
not try to ‘‘top off’’ the tank. This
leaves some room in the f uel tank
for the fuel to expand with
temperature changes.
If thefuelnozzlekeepsclickingoff
even though the tank is not f ull,
there may be a problem with your
vehicle’s fuel vapor recovery
system. The system helps keep
f uel vapor f rom going into the
atmosphere. Try f illing at another
pump. If this does not f ix the
problem, consult your dealer.
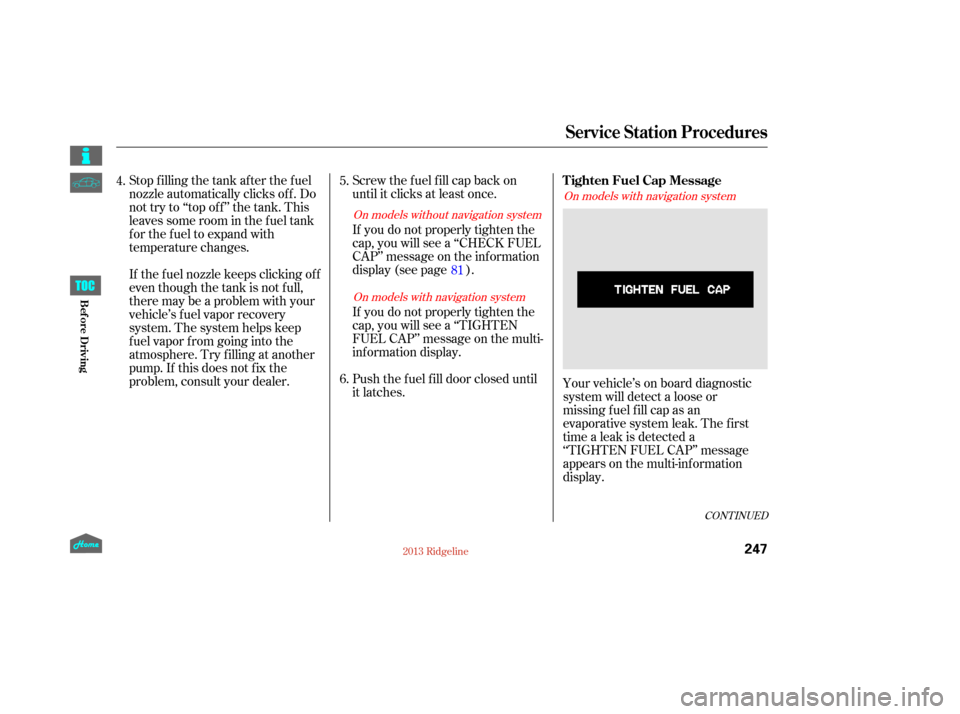
If you do not properly tighten the
cap, you will see a ‘‘TIGHTEN
FUEL CAP’’ message on the multi-
inf ormation display.
Your vehicle’s on board diagnostic
system will detect a loose or
missingf uel f ill cap as an
evaporative system leak. The f irst
time a leak is detected a
‘‘TIGHTEN FUEL CAP’’ message
appears on the multi-inf ormation
display.
5.
6.
81
4.
CONT INUED
On models without navigation system
On models with navigation system On models with navigation system
Service Station Procedures
Tighten Fuel Cap Message
247
12/08/09 16:31:58 31SJC670_254
Bef ore Driving