Page 227 of 286

uuChecking and Maintaining TiresuDOT Tire Quality Grading (U.S. Vehicles)
226
Maintenance
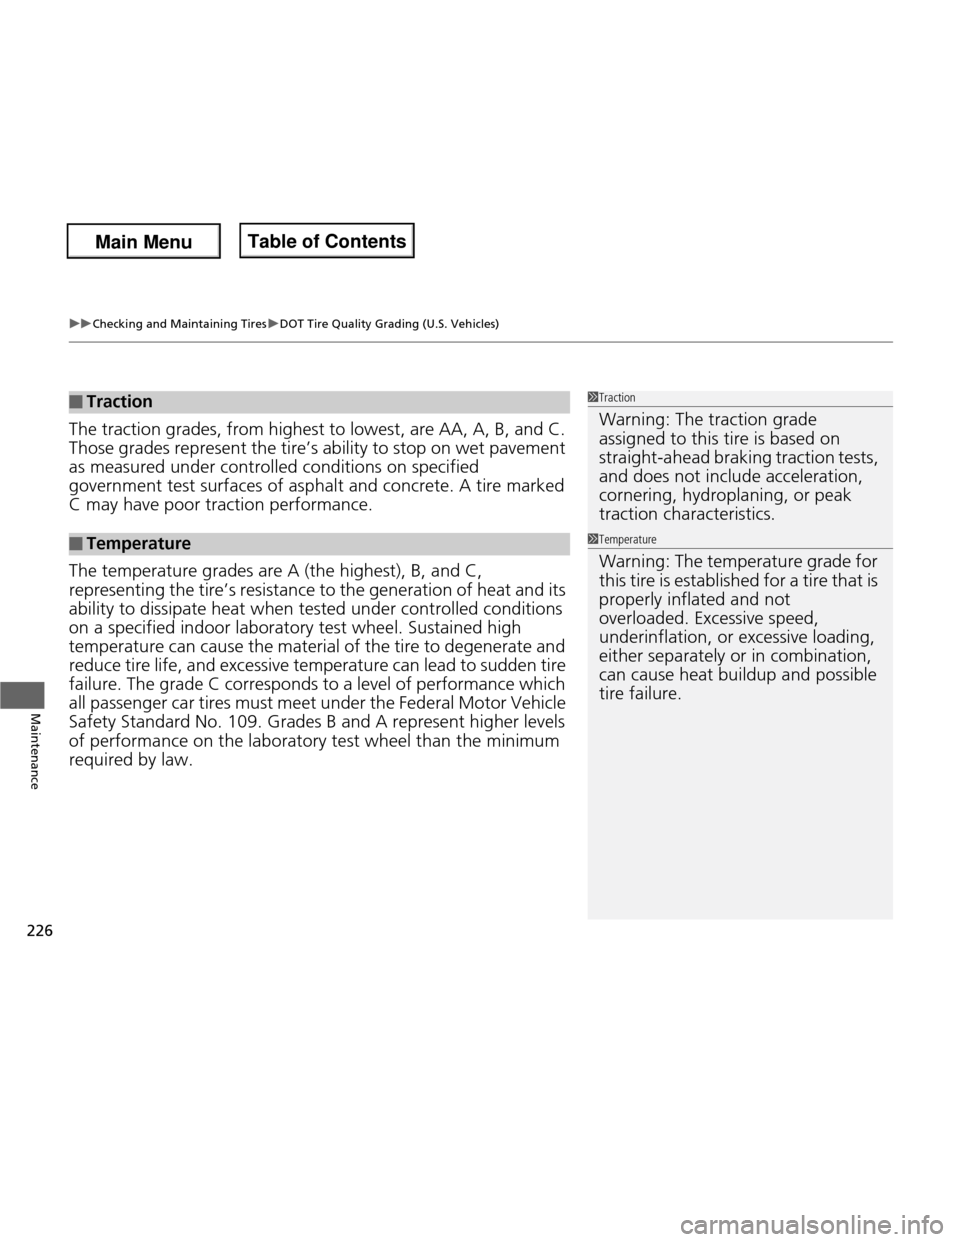
The traction grades, from high est to lowest, are AA, A, B, and C.
Those grades represent the tire ’s ability to stop on wet pavement
as measured under contro lled conditions on specified
government test surfac es of asphalt and concrete. A tire marked
C may have poor traction performance. The temperature grades are A (the highest), B, and C,
representing the tire’s resistance to the generation of heat and its ability to dissipate heat when tested under controlled conditions
on a specified indoor laborator y test wheel. Sustained high
temperature can cause the material of the tire to degenerate and
reduce tire life, and excessive temperature can lead to sudden tire
failure. The grade C corresponds to a level of performance which
all passenger car tires must meet under the Federal Motor Vehicle Safety Standard No. 109. Grades B and A represent higher levels
of performance on the laborator y test wheel than the minimum
required by law.
■Traction
■Temperature
1Traction
Warning: The traction grade assigned to this tire is based on straight-ahead braking traction tests,
and does not include acceleration, cornering, hydroplaning, or peak traction characteristics.
1TemperatureWarning: The temperature grade for
this tire is established for a tire that is properly inflated and not overloaded. Excessive speed, underinflation, or excessive loading, either separately or in combination, can cause heat buildup and possible tire failure.
Main Menu
Main MenuTable of Contents
Page 228 of 286
227
uuChecking and Maintaining TiresuWear Indicators
Maintenance
Wear IndicatorsThe groove where the wear indicator is
located is 1/16 inch (1.6 mm) shallower than
elsewhere on the tire. If the tread has worn so
that the indicator is exposed, replace the tire.
Worn out tires have poor traction on wet roads.
Tire Service Life
The life of your tires is dependent on man y factors, including driving habits, road
conditions, vehicle loading, inflation pr essure, maintenance history, speed, and
environmental conditions (even when the tires are not in use).
In addition to regular inspections and inflation pressure maintenance, it is recommended that you have annual inspections performed once the tires reach five
years old. All tires, including the spare, should be removed from service after 10
years from the date of manufacture, regardless of their condition or state of wear.
Example of a Wear
Indicator mark
Main Menu
Main MenuTable of Contents
Page 229 of 286
228
uuChecking and Maintaining TiresuTire and Wheel Replacement
Maintenance
Tire and Wheel Replacement
Replace your tires with radials of the same size, load range, speed rating, and
maximum cold tire pressure rating (as shown on the tire’s sidewall). Using tires of a
different size or construction can cause the ABS and VSA® (vehicle stability assist)
system to work incorrectly.
It is best to replace all four tires at the same time. If that isn’t possible, replace the
front or rear tires in pairs.
Make sure that the wheel’s specifications match those of the original wheels.
If you replace a wheel, only use TPMS specified wheels approved for your vehicle.
1Tire and Wheel Replacement
3WARNING
Installing improper tires on your vehicle can
affect handling and stability. This can cause
a crash in which you can be seriously hurt or killed.
Always use the size and type of tires
recommended in this owner’s manual.
U.S. models only
Main Menu
Main MenuTable of Contents
Page 230 of 286
229
uuChecking and Maintaining TiresuTire Rotation
Maintenance
Tire Rotation
Rotating tires according to the Maintenance Minder message on the information
display helps to distribute wear more evenly and increase tire life. ■ Tires without rotation marks
Rotate the tires as shown here.
■ Tires with rotation marks
Rotate the tires as shown here.
1Tire Rotation
Tires with directional tread patterns should only be
rotated front to back (not from one side to the other).
Directional tires should be mounted with the rotation
indication mark facing forward, as shown below.
Front
Direction MarkFront
Front
Main Menu
Main MenuTable of Contents
Page 231 of 286

230
uuChecking and Maintaining TiresuWinter Tires
Maintenance
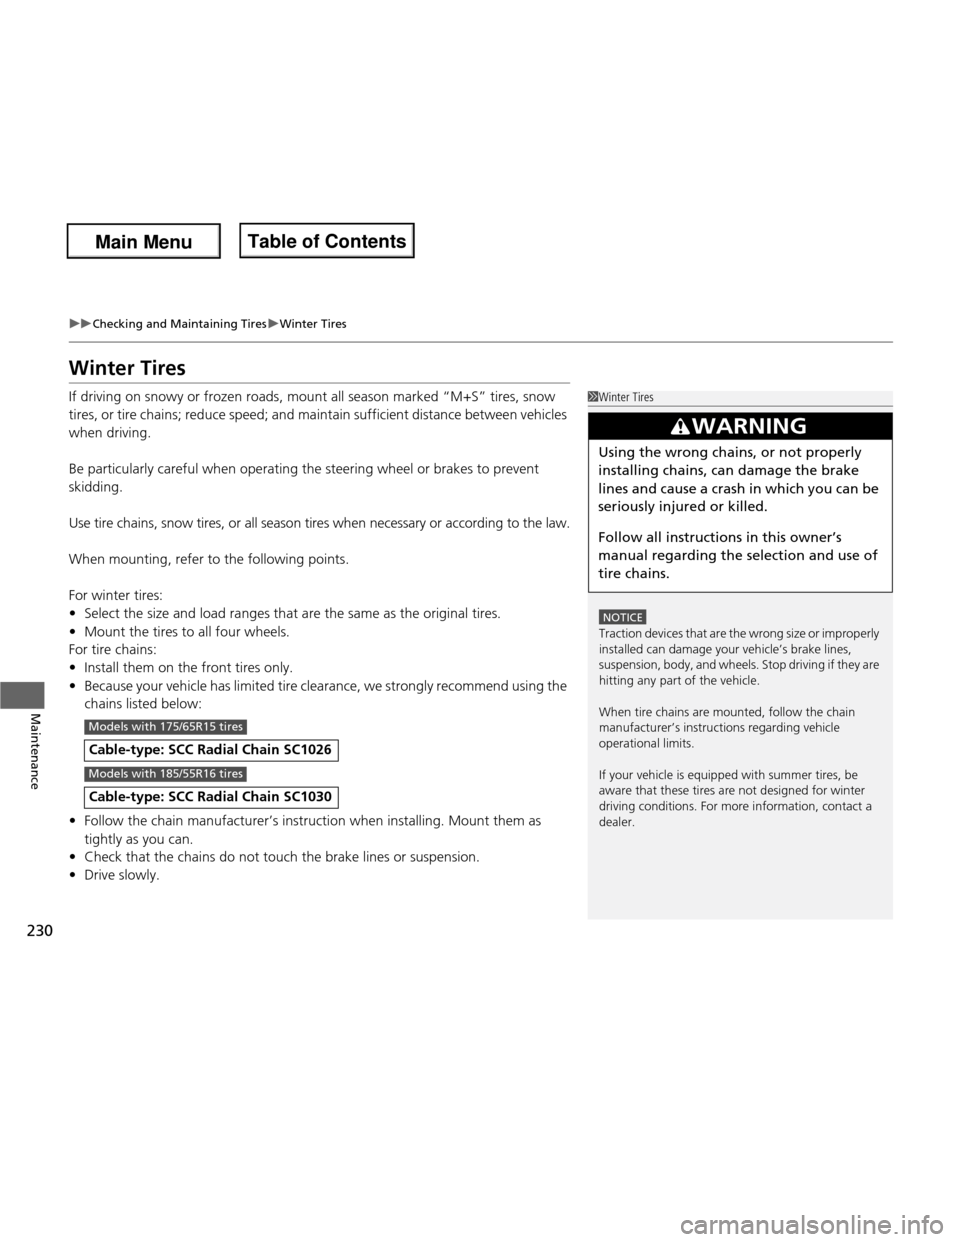
Winter Tires
If driving on snowy or frozen roads, mount all season marked “M+S” tires, snow
tires, or tire chains; reduce speed; and maintain sufficient distance between vehicles
when driving.
Be particularly careful when operating the steering wheel or brakes to prevent
skidding.
Use tire chains, snow tires, or all season tires when ne cessary or according to the law.
When mounting, refer to the following points.
For winter tires: • Select the size and load ranges that are the same as the original tires.
• Mount the tires to all four wheels.
For tire chains:• Install them on the front tires only.
• Because your vehicle has limited tire clearance, we strongly recommend using the
chains listed below:
• Follow the chain manufacturer’s instruction when installing. Mount them as
tightly as you can.
• Check that the chains do not touch the brake lines or suspension.
• Drive slowly.
Cable-type: SCC Radial Chain SC1026
Cable-type: SCC Radial Chain SC1030
1Winter Tires
NOTICE
Traction devices that are the wrong size or improperly
installed can damage your vehicle’s brake lines,
suspension, body, and wheels. Stop driving if they are
hitting any part of the vehicle.
When tire chains are mounted, follow the chain
manufacturer’s instructions regarding vehicle operational limits.
If your vehicle is equipped with summer tires, be
aware that these tires are not designed for winter
driving conditions. For more information, contact a
dealer.
3WARNING
Using the wrong chains, or not properly
installing chains, can damage the brake
lines and cause a crash in which you can be
seriously injured or killed.
Follow all instruc tions in this owner’s
manual regarding the selection and use of
tire chains.
Models with 175/65R15 tires
Models with 185/55R16 tires
Main Menu
Main MenuTable of Contents
Page 232 of 286

231
Maintenance
Battery
Checking the BatteryCheck the battery condition monthly. Look at
the test indicator window and check the
terminals for corrosion.
If your vehicle’s battery is disconnected or goes dead:
• The audio system *
is disabled.
2 Entering the Audio Security Code P. 124
• The clock resets.
2 Setting the Clock P. 76
• The navigation system *
is disabled.
2 Refer to the navigation system manual
Charging the Battery
Disconnect both battery cables to prevent damaging your vehicle’s electrical system.
Always disconnect the negative (–) cab le first, and reconnect it last.
1Battery
WARNING: Battery post, terminals,
and related accessori es contain lead
and lead compounds. Wash your hands after handling.
The test indicator’s color information is on the
battery.
When you find corrosion, clean the battery terminals
by applying a baking powder and water solution.
Rinse the terminals with water. Cloth/towel dry the
battery. Coat the terminals with grease to help
prevent future corrosion.
3WARNING
The battery gives off explosive hydrogen
gas during normal operation.
A spark or flame can cause the battery to
explode with enough force to kill or seriously hurt you.
When conducting any battery
maintenance, wear protective clothing and
a face shield, or have a skilled technician do
it.
Test Indicator Window
* Not available on all models
Main Menu
Main MenuTable of Contents
Page 233 of 286
232
Maintenance
Remote Transmitter Care*
Replacing the Battery
If the indicator does not come on when the button is pressed, replace the battery.
1.Unscrew the cover with a small Phillips-
head screwdriver.
uWrap the small flat-tip screwdriver with a
cloth to prevent scratching the
transmitter.
2. Open the keypad.
uWrap a coin with a cloth to prevent
scratching the transmitter.
3. Make sure to replace the battery with the
correct polarity.
1Replacing the Battery
NOTICE
An improperly disposed of battery can damage the
environment. Always confirm local regulations for
battery disposal.
Replacement batteries are commercially available or
at a dealer.
Keypad
Screw
Battery type: CR1616
Battery
Tab
* Not available on all models
Main Menu
Main MenuTable of Contents
Page 234 of 286
233
Maintenance
Heating and Cooling*
System Maintenance
Dust and Pollen Filter
The heating and cooling system is equipped with a dust and pollen filter that collects
pollen, dust, and other debris in the air. The Maintenance Minder message will let
you know when to replace the filter.
We recommend that you replace the dust and pollen filter sooner when using your
vehicle in areas with high concentrations of dust.
1Dust and Pollen Filter
If the airflow from the heating and cooling system
deteriorates noticeably, and the windows fog up
easily, the filter may need to be replaced. Please
contact a dealer for replacement.
* Not available on all models
Main Menu
Main MenuTable of Contents