2013 HONDA FIT light
[x] Cancel search: lightPage 6 of 198

5
lgMicrophone
(P20)
lh MODE Button (P135)
liVOL (Volume) Button
(P136)
mah (Pick-Up) Button (P153)
md K (Back) Button (P5)
mcd (Talk) Button (P5)
mb j (Hang-Up) Button (P153)
lj CH (Channel) Button
(P136)
Voice Control Operation
The audio system is muted during voice control mode.
Say “Help” to see all supported commands. A voice help
tutorial is also available.
Voice Help (P13)
Carefully read the usage note for the voice control.
Voice Control System (P20)
aPress and release the d (Talk) button.
The icon is displayed and the system beeps when ready for a
command. Press the K (Back) button to cancel.
Available voice commands are highlighted on the screen.
b Say a voice command.
Voice Command (P183)
d (Talk) Button A helpful prompt asks what you
would like to do. Press and release
the
d (Talk) button again to bypass
this prompt.
FIT_KA-31TK6830.book 5 ページ 2011年7月4日 月曜日 午後2時45分
QRG
Index
Home
Quick Reference Guide - 2013 Fit
Page 21 of 198
20
System Setup
Voice Control System
Your vehicle has a voice control system that allows hands-free operation of most of
the navigation system functions. You can also control the audio system, and make
and receive phone calls using Bluetooth® HandsFreeLink®.
The voice control system uses the d (Talk) and K (Back) buttons on the steering
wheel and a microphone near the map lights on the ceiling.
A “Voice Info” feature provides a tutorial that explains how to use the voice control
system.
2 Voice Help P. 13
Command Input
If the system does not understand a command or you wait too long to give a
command, it responds with “Pardon? No co mmand was heard. Please press the talk
button and say a command.”
When you give a command, the system ge nerally either repeats the command as a
confirmation or asks you for further informa tion. If you do not wish to hear this
feedback, you can turn it off. However, list ening to the feedback will help familiarize
you with the way the system expe cts commands to be phrased.
2Basic Settings P. 24
If the system cannot perform a command or the command is not appropriate for the
screen you are on, the system beeps.
If the system responds with prompts such as “Please use the touch screen to…” or
“Please use the joystick to…,” the system is asking for input that cannot be
performed using the voice control system.
On character input screens, a list of possi ble characters is displayed if the system
does not recognize your command.
You can find out which voice commands are available for a particular screen using
the d Help command. The system will disp lay and read the list of available
commands to you.
1 d (Talk) Button
When you press the d (Talk) button, a helpful
prompt asks what you would like to do. Press
and release the d (Talk) button again to bypass
this prompt and give a command.
1 Command Input
The audio system is muted while using the voice
control system.
FIT_KA-31TK6830.book 20 ページ 2011年7月4日 月曜日 午後2時45分
QRG
Index
Home
TOC
Page 29 of 198
28
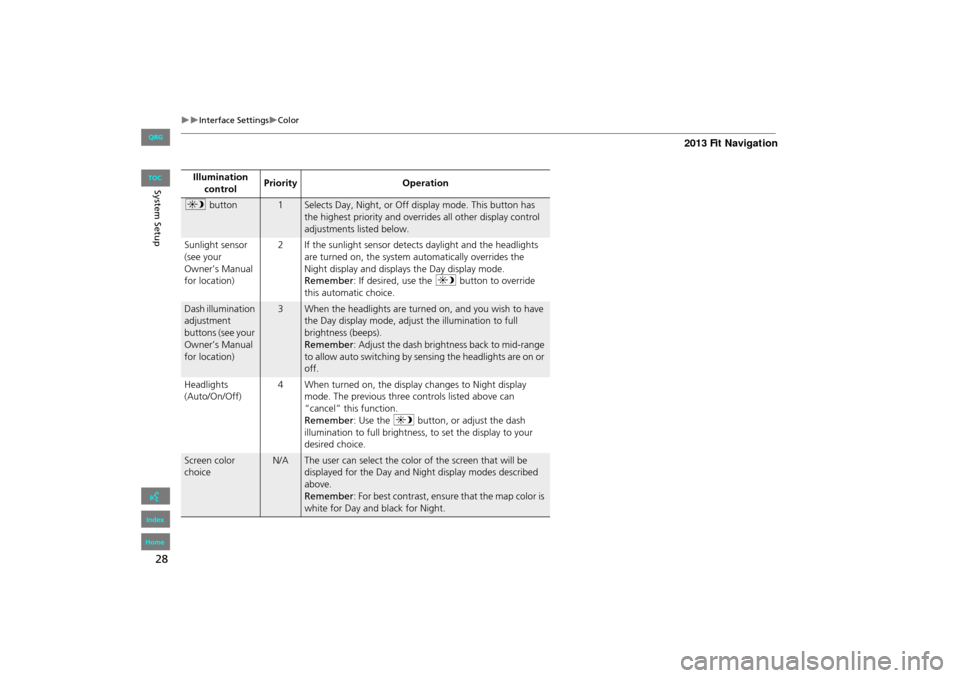
Interface SettingsColor
System SetupIllumination control Priority
Operation
a button1Selects Day, Night, or Off display mode. This button has
the highest priority and overrides all other display control
adjustments listed below.
Sunlight sensor
(see your
Owner’s Manual
for location) 2 If the sunlight sensor detects daylight and the headlights
are turned on, the system automatically overrides the
Night display and displays the Day display mode.
Remember : If desired, use the a button to override
this automatic choice.
Dash illumination
adjustment
buttons (see your
Owner’s Manual
for location)3When the headlights are turned on, and you wish to have
the Day display mode, adjust the illumination to full
brightness (beeps).
Remember : Adjust the dash brightness back to mid-range
to allow auto switching by sensing the headlights are on or
off.
Headlights
(Auto/On/Off) 4 When turned on, the display changes to Night display
mode. The previous three controls listed above can
“cancel” this function.
Remember : Use the a button, or adjust the dash
illumination to full brightness, to set the display to your
desired choice.
Screen color
choiceN/AThe user can select the color of the screen that will be
displayed for the Day and Night display modes described
above.
Remember : For best contrast, ensure that the map color is
white for Day and black for Night.
FIT_KA-31TK6830.book 28 ページ 2011年7月4日 月曜日 午後2時45分
QRG
Index
Home
TOC
Page 43 of 198
42
Routing & GuidanceUnverified Area Routing
System Setup
Unverified Area Routing
HINFO button Setup Other Routing & Guidance
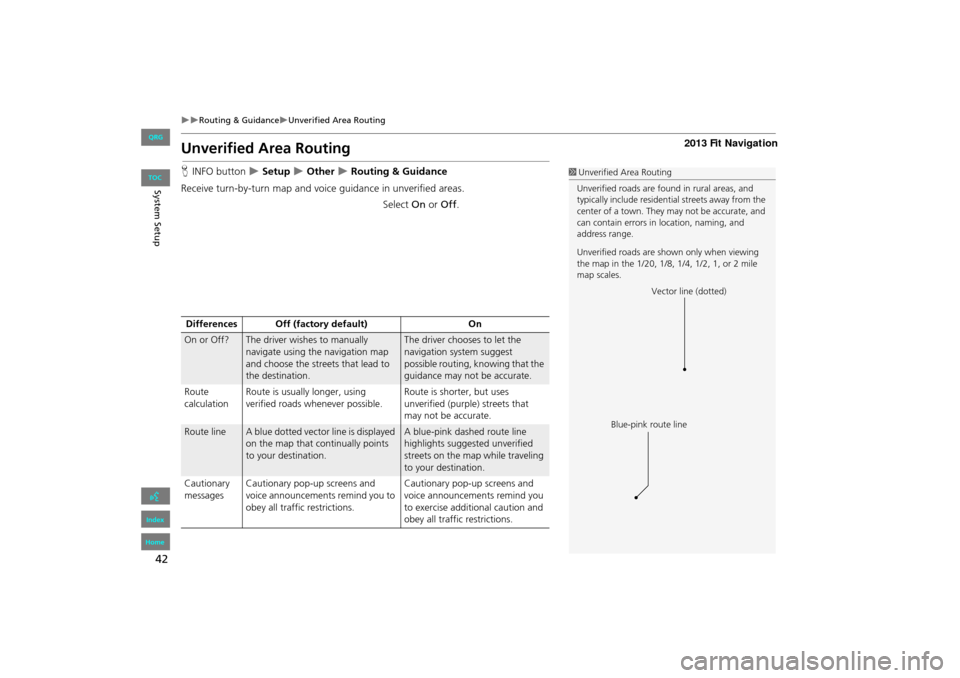
Receive turn-by-turn map and voice guidance in unverified areas. Select On or Off .1Unverified Area Routing
Unverified roads are found in rural areas, and
typically include residential streets away from the
center of a town. They may not be accurate, and
can contain errors in location, naming, and
address range.
Unverified roads are s hown only when viewing
the map in the 1/20, 1/8, 1/4, 1/2, 1, or 2 mile
map scales.
Vector line (dotted)
Blue-pink route line
Differences Off (factory default) On
On or Off?The driver wishes to manually
navigate using the navigation map
and choose the streets that lead to
the destination.The driver chooses to let the
navigation system suggest
possible routing, knowing that the
guidance may not be accurate.
Route
calculation Route is usually longer, using
verified roads whenever possible. Route is shorter, but uses
unverified (purple) streets that
may not be accurate.
Route lineA blue dotted vector line is displayed
on the map that continually points
to your destination.A blue-pink dashed route line
highlights suggested unverified
streets on the map while traveling
to your destination.
Cautionary
messages Cautionary pop-up screens and
voice announcements remind you to
obey all traffic restrictions. Cautionary pop-up screens and
voice announcements remind you
to exercise additional caution and
obey all traffic restrictions.
FIT_KA-31TK6830.book 42 ページ 2011年7月4日 月曜日 午後2時45分
QRG
Index
Home
TOC
Page 47 of 198

46
Routing & GuidanceEdit Waypoint Search Area
System Setup
Edit Waypoint Search Area
HINFO button Setup Other Routing & Guidance Edit Waypoint
Search Area “Edit”
Select the distance from your highlighted route line (on either side of your route)
that the system will search for a waypoint.
2 Adding Waypoints P. 101
You can specify a different search dist ance for freeways and surface streets.
1.Select a search distance.
2. Select OK.
The following options are available:
• On Freeways : 1, 2, 5, or 10 miles can be set. Factory default is 2 miles.
• On Surface Street : 1/2, 1, 2, or 5 miles can be set. Factory default is 1/2 mile.
1Edit Waypoint Search Area
The search distance does not affect the search
range used for the Find Nearest voice commands
(e.g., say
d “Find nearest gas station” ).
FIT_KA-31TK6830.book 46 ページ 2011年7月4日 月曜日 午後2時45分
QRG
Index
Home
TOC
Page 48 of 198
47
System Setup
Clock Adjustment
HINFO button Setup Other Clock Adjustment Clock Adjustment
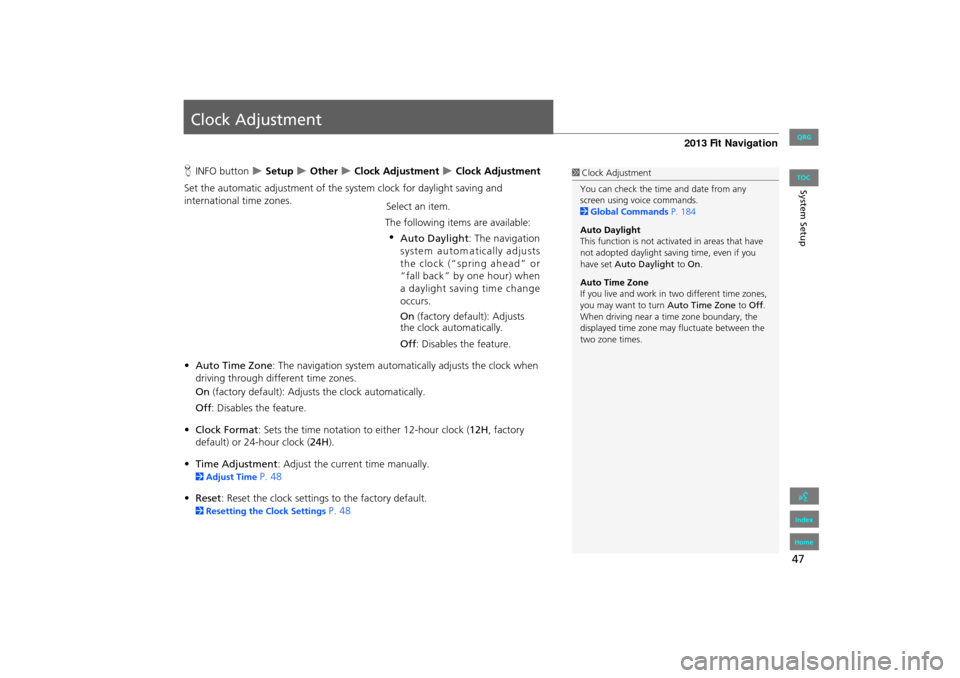
Set the automatic adjustment of the sy stem clock for daylight saving and
international time zones. Select an item.
The following items are available:
• Auto Time Zone : The navigation syst em automatically adju sts the clock when
driving through different time zones.
On (factory default): Adjusts the clock automatically.
Off : Disables the feature.
• Clock Format : Sets the time notation to either 12-hour clock ( 12H, factory
default) or 24-hour clock ( 24H).
• Time Adjustment : Adjust the current time manually.
2Adjust Time P. 48
• Reset : Reset the clock settings to the factory default.
2Resetting the Clock Settings P. 48
1Clock Adjustment
You can check the time and date from any
screen using voice commands.
2 Global Commands P. 184
Auto Daylight
This function is not activated in areas that have
not adopted daylight saving time, even if you
have set Auto Daylight to On.
Auto Time Zone
If you live and work in two different time zones,
you may want to turn Auto Time Zone to Off.
When driving near a time zone boundary, the
displayed time zone ma y fluctuate between the
two zone times.
FIT_KA-31TK6830.book 47 ページ 2011年7月4日 月曜日 午後2時45分
QRG
Index
Home
• Auto Daylight : The navigation
system autom atically adjusts
the clock (“spring ahead” or
“fall back” by one hour) when a daylight saving time change
occurs.
On (factory default): Adjusts
the clock automatically.
Off : Disables the feature.
TOC
Page 54 of 198
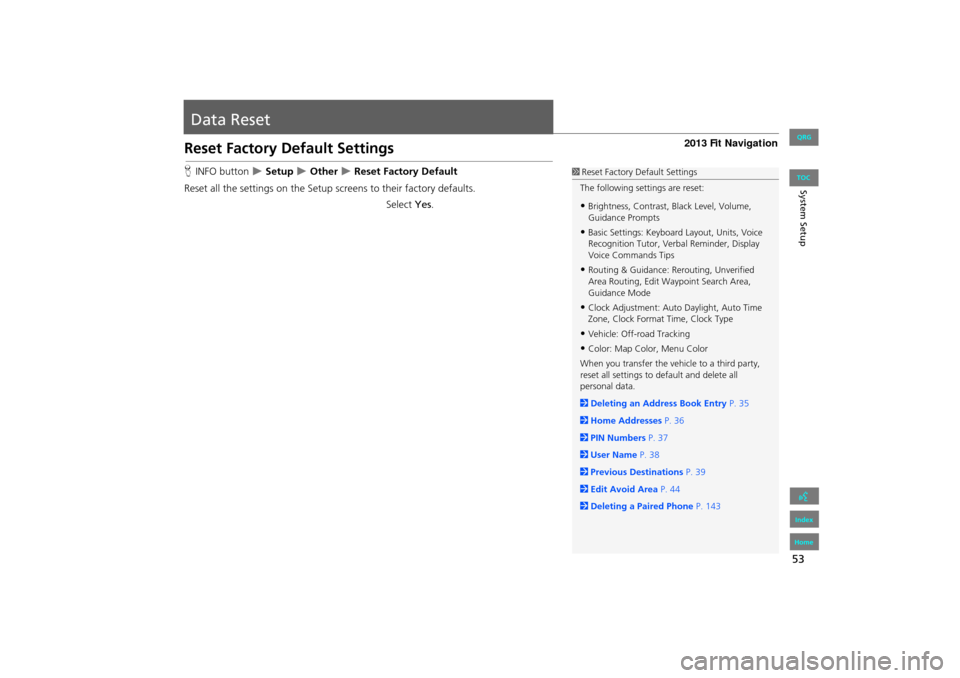
53
System Setup
Data Reset
Reset Factory Default Settings
HINFO button Setup Other Reset Factory Default
Reset all the settings on the Setup sc reens to their factory defaults.
Select Yes.1Reset Factory Default Settings
The following settings are reset:
•Brightness, Contrast, Black Level, Volume,
Guidance Prompts
•Basic Settings: Keyboard Layout, Units, Voice
Recognition Tutor, Verb al Reminder, Display
Voice Commands Tips
•Routing & Guidance: Rer outing, Unverified
Area Routing, Edit Wayp oint Search Area,
Guidance Mode
•Clock Adjustment: Auto Daylight, Auto Time
Zone, Clock Format Time, Clock Type
•Vehicle: Off-road Tracking
•Color: Map Color, Menu Color
When you transfer the vehicle to a third party,
reset all settings to default and delete all
personal data.
2 Deleting an Address Book Entry P. 35
2 Home Addresses P. 36
2 PIN Numbers P. 37
2 User Name P. 38
2 Previous Destinations P. 39
2 Edit Avoid Area P. 44
2 Deleting a Paired Phone P. 143
FIT_KA-31TK6830.book 53 ページ 2011年7月4日 月曜日 午後2時45分
QRG
Index
Home
TOC
Page 70 of 198

69
Entering a DestinationPlace Category
Navigation
4.Select a place name from the list.
5. Set the route to your destination.
2 Calculating the Route P. 77
H DEST button
Place Category Fav. Subcategory
Store up to 30 favorite subcategories.
1 Place Category
The straight line distance (as the crow flies, not
driving distance) and dire ction to the destination
are shown for the highlighted place.
■ Favorite Subcategories
Continued
FIT_KA-31TK6830.book 69 ページ 2011年7月4日 月曜日 午後2時45分
QRG
Index
Home
TOC