2013 FORD TRANSIT CONNECT clock
[x] Cancel search: clockPage 33 of 321

3. Clip the tether strap to the
anchor as shown.
If the tether strap is clipped incorrectly, the child safety seat may not be
retained properly in the event of a collision.
4. Tighten the child safety seat tether strap according to the
manufacturer’s instructions.
If the safety seat is not anchored properly, the risk of a child being
injured in a collision greatly increases.
If your child restraint system is equipped with a tether strap, and the
child restraint manufacturer recommends its use, Ford also recommends
its use.
CHILD SAFETY LOCKS
When these locks are set, the rear doors cannot be opened from the
inside.
The childproof locks are located on
the rear edge of each rear door and
must be set separately for each
door.
•Driver side: turn
counterclockwise to lock
and clockwise to unlock.
•Passenger side: turn clockwise to
lock and counterclockwise to
unlock.
32Child Safety
2013 Transit Connect(tst)
Owners Guide gf, 2nd Printing, November 2012
USA(fus)
Page 89 of 321

AM/FM
WARNING:Driving while distracted can result in loss of vehicle
control, crash and injury. We strongly recommend that you use
extreme caution when using any device that may take your focus off
the road. Your primary responsibility is the safe operation of your
vehicle. We recommend against the use of any hand-held device while
driving and encourage the use of voice-operated systems when possible.
Make sure you are aware of all applicable local laws that may affect the
use of electronic devices while driving.
A.CLK:Press this button to switch the display between the clock and
radio frequency. To set the time:
1. Press and holdCLKuntil the hours start to flash.
2. Press the arrow buttons to adjust the hours. Repeat Steps 1 and 2 to
set the minutes.
3. PressCLKagain to exit clock mode.
B.Tune:Press these arrow buttons to manually search through the radio
frequency band. Press and hold for a fast search. In AUDIO mode, press
the buttons to adjust different sound settings.
C.AUDIO:Press this button to access settings for Treble, Middle, Bass,
Fade and Balance.
D.SEEK:Press this button to go to the previous or next strong station
on the frequency band.
CLK
AUDIOC
EG
F
BA
D
88Audio System
2013 Transit Connect(tst)
Owners Guide gf, 2nd Printing, November 2012
USA(fus)
Page 116 of 321

Fuel filler cap
Your fuel tank filler cap has an indexed design with a 1/4 turn on/off
feature.
When fueling your vehicle:
1. Turn the engine off.
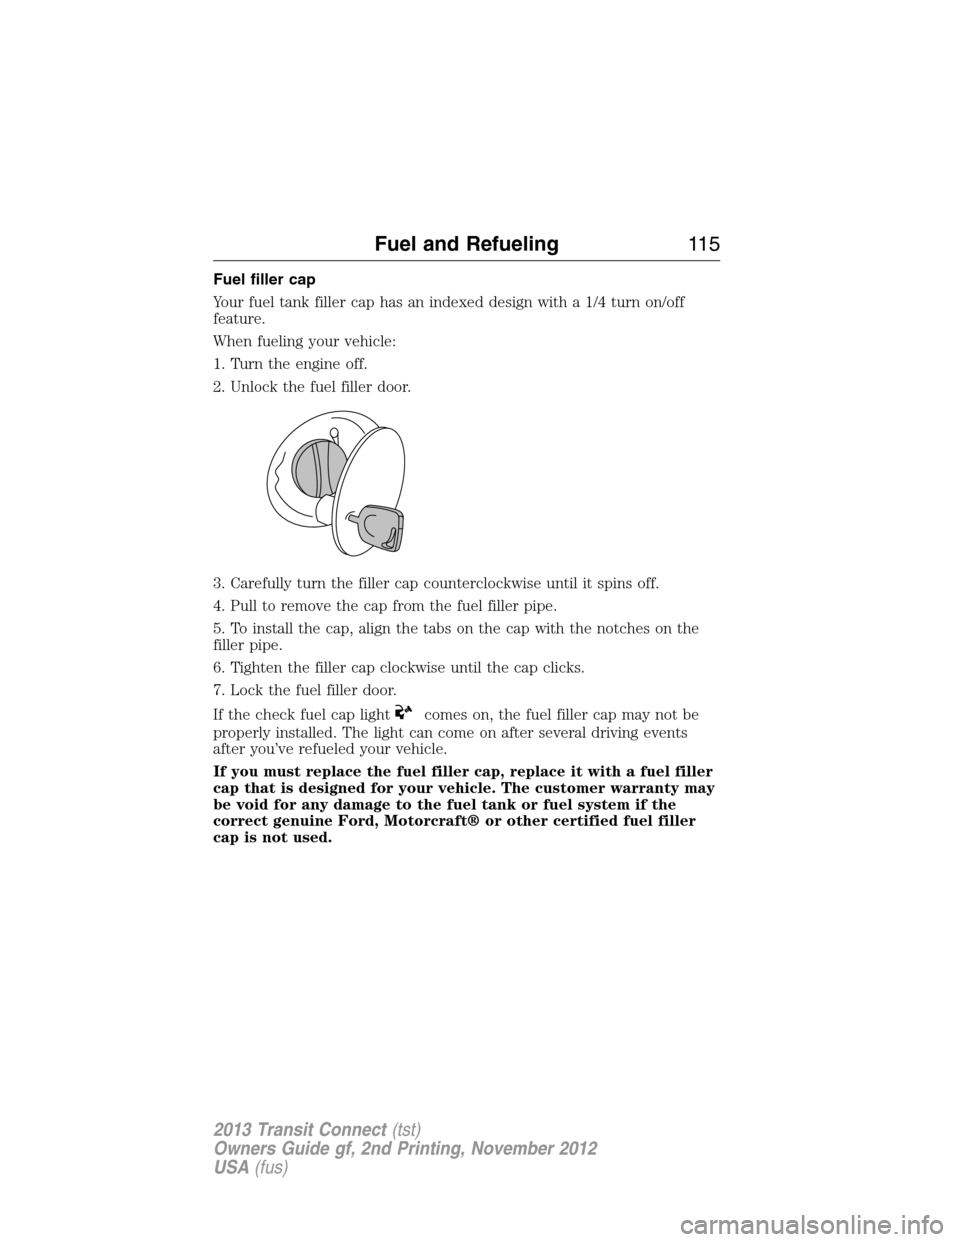
2. Unlock the fuel filler door.
3. Carefully turn the filler cap counterclockwise until it spins off.
4. Pull to remove the cap from the fuel filler pipe.
5. To install the cap, align the tabs on the cap with the notches on the
filler pipe.
6. Tighten the filler cap clockwise until the cap clicks.
7. Lock the fuel filler door.
If the check fuel cap light
comes on, the fuel filler cap may not be
properly installed. The light can come on after several driving events
after you’ve refueled your vehicle.
If you must replace the fuel filler cap, replace it with a fuel filler
cap that is designed for your vehicle. The customer warranty may
be void for any damage to the fuel tank or fuel system if the
correct genuine Ford, Motorcraft® or other certified fuel filler
cap is not used.
Fuel and Refueling11 5
2013 Transit Connect(tst)
Owners Guide gf, 2nd Printing, November 2012
USA(fus)
Page 178 of 321

Adding Engine Oil
Note:Do not remove the filler cap when the engine is running.
Note:Do not add engine oil further than the MAX mark. Oil levels above
the MAX mark may cause engine damage.
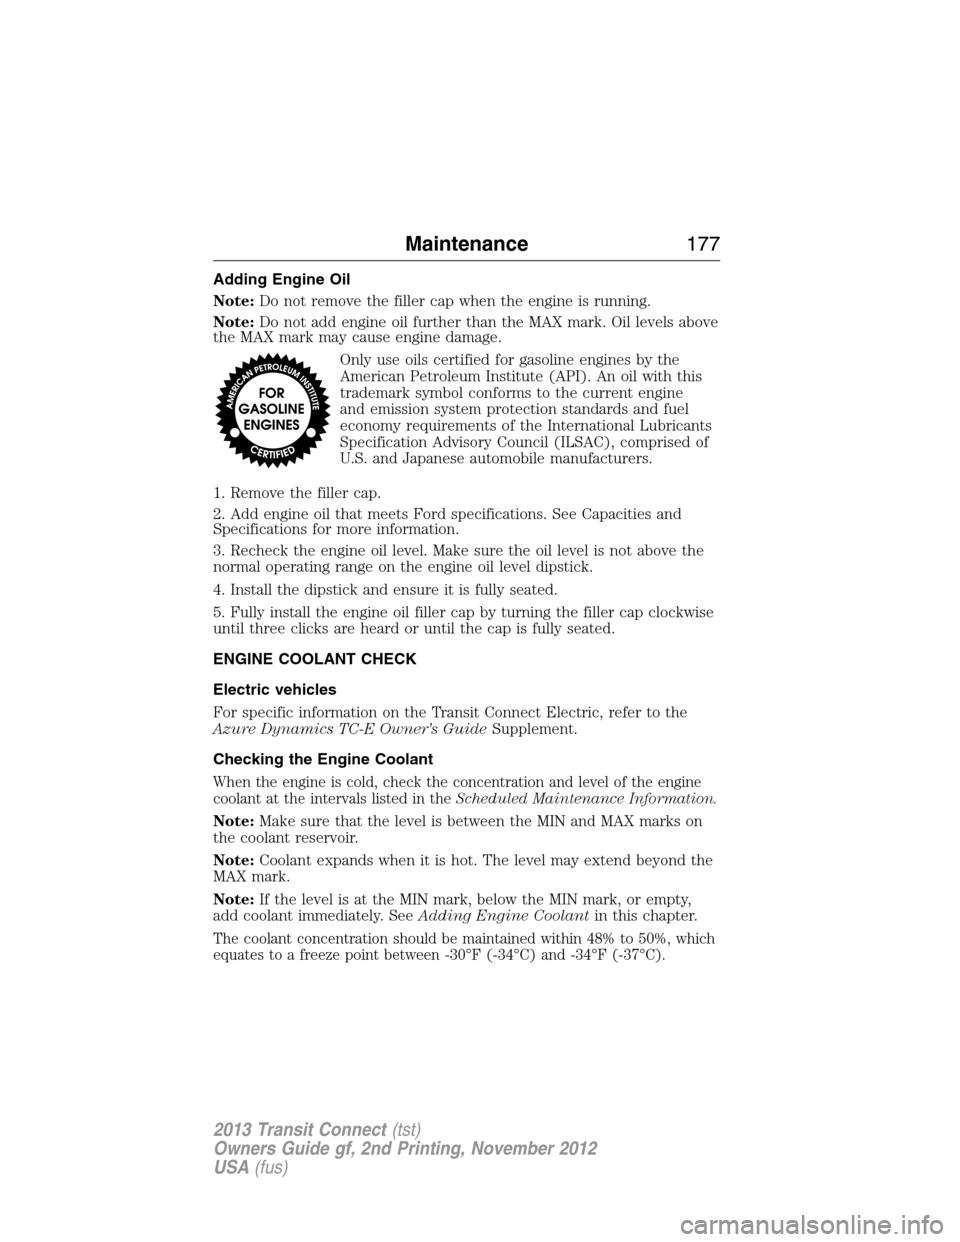
Only use oils certified for gasoline engines by the
American Petroleum Institute (API). An oil with this
trademark symbol conforms to the current engine
and emission system protection standards and fuel
economy requirements of the International Lubricants
Specification Advisory Council (ILSAC), comprised of
U.S. and Japanese automobile manufacturers.
1. Remove the filler cap.
2. Add engine oil that meets Ford specifications. See Capacities and
Specifications for more information.
3. Recheck the engine oil level. Make sure the oil level is not above the
normal operating range on the engine oil level dipstick.
4. Install the dipstick and ensure it is fully seated.
5. Fully install the engine oil filler cap by turning the filler cap clockwise
until three clicks are heard or until the cap is fully seated.
ENGINE COOLANT CHECK
Electric vehicles
For specific information on the Transit Connect Electric, refer to the
Azure Dynamics TC-E Owner’s GuideSupplement.
Checking the Engine Coolant
When the engine is cold, check the concentration and level of the engine
coolant at the intervals listed in theScheduled Maintenance Information.
Note:Make sure that the level is between the MIN and MAX marks on
the coolant reservoir.
Note:Coolant expands when it is hot. The level may extend beyond the
MAX mark.
Note:If the level is at the MIN mark, below the MIN mark, or empty,
add coolant immediately. SeeAdding Engine Coolantin this chapter.
The coolant concentration should be maintained within 48% to 50%, which
equates to a freeze point between -30°F (-34°C) and -34°F (-37°C).
Maintenance177
2013 Transit Connect(tst)
Owners Guide gf, 2nd Printing, November 2012
USA(fus)
Page 187 of 321

If you see any corrosion on the battery or terminals, remove the cables
from the terminals and clean with a wire brush. You can neutralize the
acid with a solution of baking soda and water.
It is recommended that the negative battery cable terminal be
disconnected from the battery if you plan to store your vehicle for an
extended period of time.
Note:Electrical or electronic accessories or components added to
the vehicle by the dealer or the owner may adversely affect battery
performance and durability and may also affect the performance of other
electrical systems in the vehicle.
When a battery replacement is required, the battery should only be
replaced with a Ford recommended replacement battery that matches
the electrical requirements of the vehicle.
When the battery is disconnected or a new battery installed, the
automatic transmission must relearn its adaptive strategy. As a result of
this, the transmission may shift firmly when first driven. This operation
is considered normal and will fully update transmission operation to its
optimum shift feel.
If the battery has been disconnected or a new battery has been installed,
the clock and the preset radio stations must be reset once the battery is
reconnected.
Note:Always dispose of automotive batteries in a responsible manner.
Follow your local authorized standards for disposal. Call your local
authorized recycling center to find out more about recycling automotive
batteries.
Because your vehicle’s engine is electronically controlled by a computer,
some control conditions are maintained by power from the battery. When
the battery is disconnected or a new battery is installed, the engine must
relearn its idle and fuel trim strategy for optimum driveability and
performance. To begin this process:
1. With the vehicle at a complete stop, set the parking brake.
2.
Put the gearshift in P (Park), turn off all accessories and start the engine.
3. Run the engine until it reaches normal operating temperature.
4. Allow the engine to idle for at least one minute.
5. Turn the A/C on and allow the engine to idle for at least one minute.
186Maintenance
2013 Transit Connect(tst)
Owners Guide gf, 2nd Printing, November 2012
USA(fus)
Page 188 of 321

6. Drive the vehicle to complete the relearning process.
•The vehicle may need to be driven 10 miles (16 km) or more to
relearn the idle and fuel trim strategy.
•Note:If you do not allow the engine to relearn its idle trim, the idle
quality of your vehicle may be adversely affected until the idle trim is
eventually relearned.
If the battery has been disconnected or a new battery has been installed,
the clock and radio settings must be reset once the battery is reconnected.
CHECKING THE WIPER BLADES
Run the tip of your fingers over the edge of the blade
to check for roughness.
Clean the wiper blades with washer fluid or water
applied with a soft sponge or cloth.
CHANGING THE WIPER BLADES
1. Pull the wiper arm away from the
vehicle. Turn the blade at an angle
from the wiper arm. Press the lock
tab to release the blade and pull
the wiper blade down toward the
windshield to remove it from the arm.
2. Attach the new wiper to the wiper
arm and press it into place until a
click is heard.
Replace wiper blades at least once per year for optimum performance.
Poor wiper quality can be improved by cleaning the wiper blades and the
windshield.
To prolong the life of the wiper blades, it is highly recommended to
scrape off the ice on the windshield before turning on the wipers.
The layer of ice has many sharp edges and can damage the micro edge
of the wiper rubber element.
Rear window wiper blades (if equipped)
Refer toChanging the wiper bladesin this section and follow the same
procedure given for checking and changing the wiper blades.
Maintenance187
2013 Transit Connect(tst)
Owners Guide gf, 2nd Printing, November 2012
USA(fus)
Page 191 of 321

4. Locate the vertical adjuster on
each headlamp. Using a Phillips #2
screwdriver or a 13 millimeter
socket on a wrench, turn the
adjuster either clockwise or
counterclockwise in order to adjust
the vertical aim of the headlamp.
The horizontal edge of the brighter
light should touch the horizontal
reference line.
5. Close the hood and turn off the lamps.
HORIZONTAL AIM IS NOT REQUIRED FOR THIS VEHICLE AND IS
NOT ADJUSTABLE.
CHANGING A BULB
Lamp Assembly Condensation
Exterior lamps are vented to accommodate normal changes in pressure.
Condensation can be a natural by-product of this design. When moist air
enters the lamp assembly through the vents, there is a possibility that
condensation can occur when the temperature is cold. When normal
condensation occurs, a thin film of mist can form on the interior of the
lens. The thin mist eventually clears and exits through the vents during
normal operation. Clearing time may take as long as 48 hours under dry
weather conditions.
These are examples of acceptable condensation:
•Presence of thin mist (no streaks, drip marks or droplets).
•Fine mist covers less than 50% of the lens.
These are examples of unacceptable moisture (usually caused by a lamp
water leak):
•Water puddle inside the lamp.
•Large water droplets, drip marks or streaks present on the interior of
the lens.
Take your vehicle to a dealer for service if any of the above conditions of
unacceptable moisture are present.
190Maintenance
2013 Transit Connect(tst)
Owners Guide gf, 2nd Printing, November 2012
USA(fus)
Page 192 of 321

Replacing Headlamp Bulbs
WARNING:Handle a halogen headlamp bulb carefully and keep
out of children’s reach. Grasp the bulb by only its plastic base
and do not touch the glass. The oil from your hand could cause the
bulb to break the next time the headlamps are operated.
Note:If the bulb is accidentally touched, clean it with rubbing alcohol
before using it.
1. Make sure the headlamp control
is in the off position.
2. Open the hood.
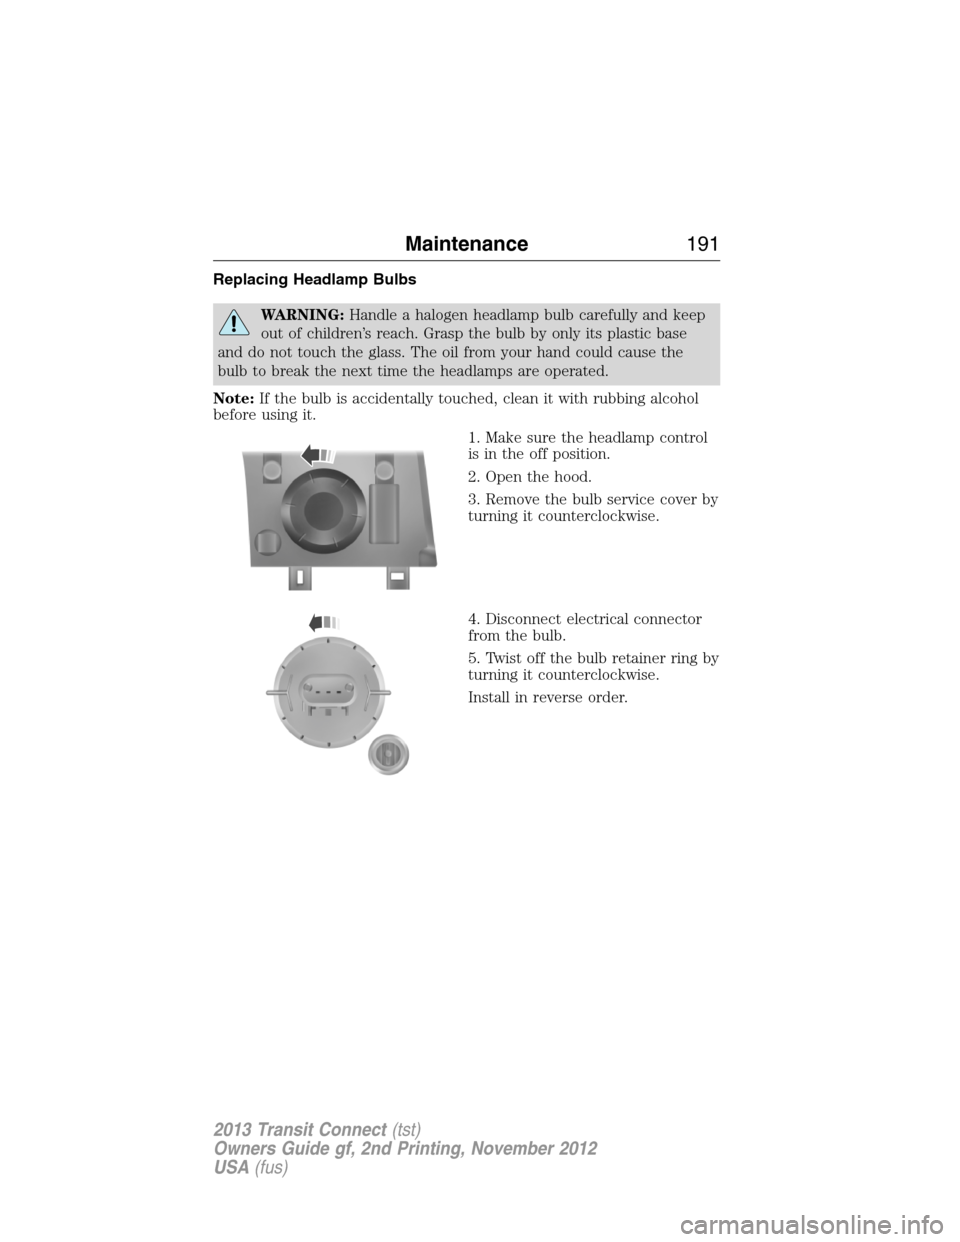
3. Remove the bulb service cover by
turning it counterclockwise.
4. Disconnect electrical connector
from the bulb.
5. Twist off the bulb retainer ring by
turning it counterclockwise.
Install in reverse order.
Maintenance191
2013 Transit Connect(tst)
Owners Guide gf, 2nd Printing, November 2012
USA(fus)