2013 FORD TAURUS remove seats
[x] Cancel search: remove seatsPage 21 of 541
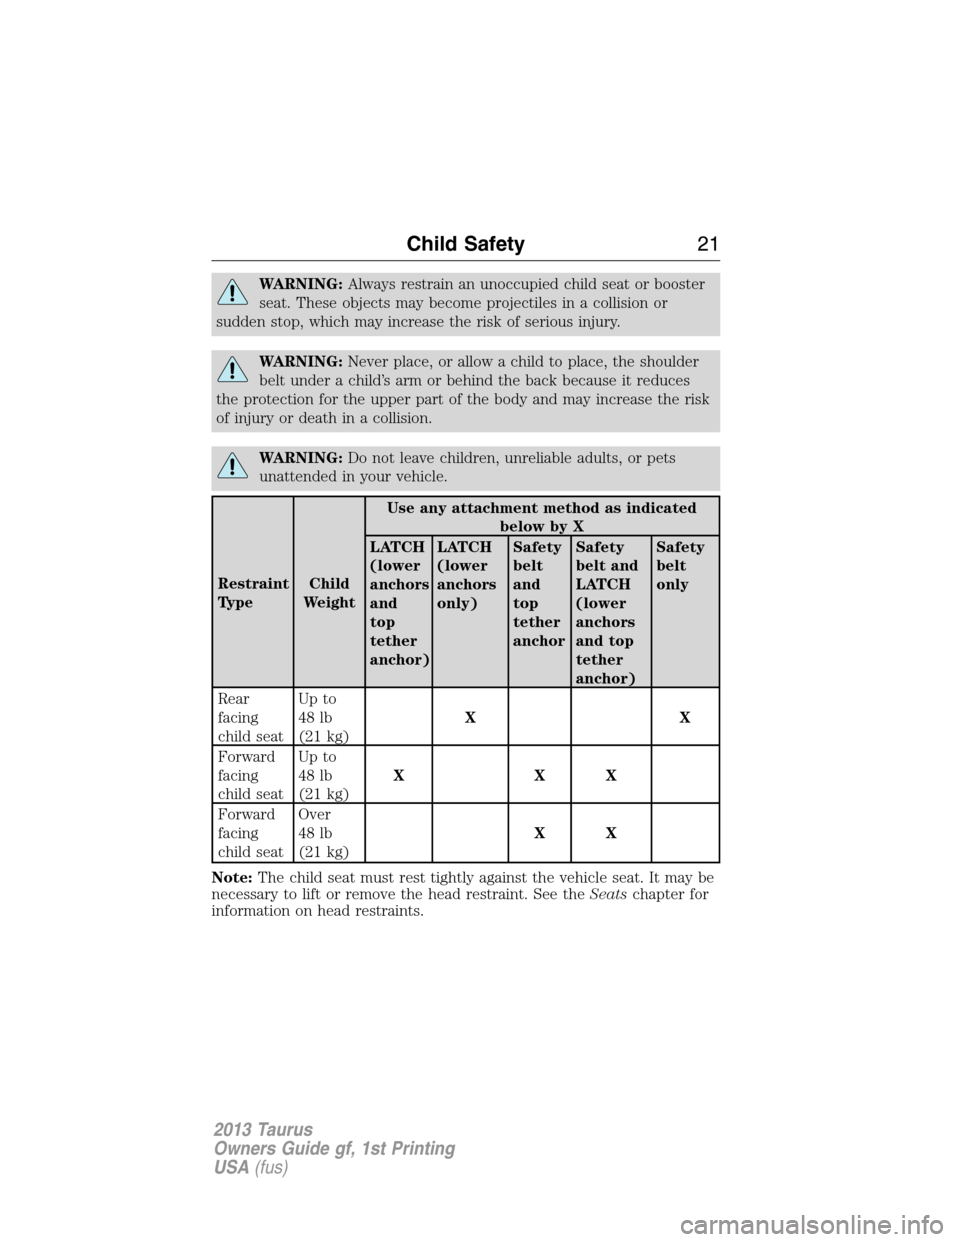
WARNING:Always restrain an unoccupied child seat or booster
seat. These objects may become projectiles in a collision or
sudden stop, which may increase the risk of serious injury.
WARNING:Never place, or allow a child to place, the shoulder
belt under a child’s arm or behind the back because it reduces
the protection for the upper part of the body and may increase the risk
of injury or death in a collision.
WARNING:Do not leave children, unreliable adults, or pets
unattended in your vehicle.
Restraint
TypeChild
WeightUse any attachment method as indicated
below by X
LATCH
(lower
anchors
and
top
tether
anchor)LATCH
(lower
anchors
only)Safety
belt
and
top
tether
anchorSafety
belt and
LATCH
(lower
anchors
and top
tether
anchor)Safety
belt
only
Rear
facing
child seatUp to
48 lb
(21 kg)XX
Forward
facing
child seatUp to
48 lb
(21 kg)XXX
Forward
facing
child seatOver
48 lb
(21 kg)XX
Note:The child seat must rest tightly against the vehicle seat. It may be
necessary to lift or remove the head restraint. See theSeatschapter for
information on head restraints.
Child Safety21
2013 Taurus
Owners Guide gf, 1st Printing
USA(fus)
Page 23 of 541
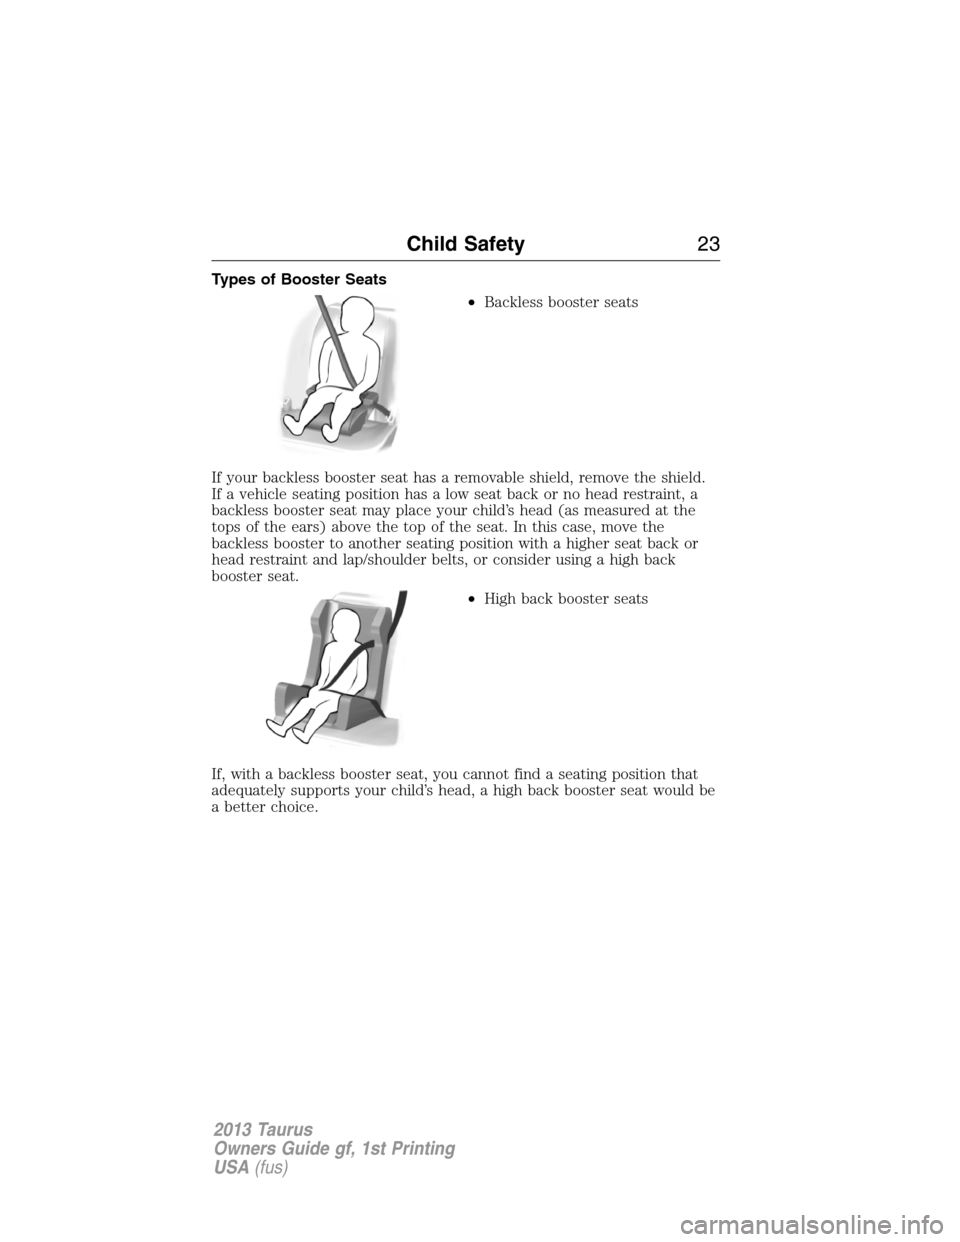
Types of Booster Seats
•Backless booster seats
If your backless booster seat has a removable shield, remove the shield.
If a vehicle seating position has a low seat back or no head restraint, a
backless booster seat may place your child’s head (as measured at the
tops of the ears) above the top of the seat. In this case, move the
backless booster to another seating position with a higher seat back or
head restraint and lap/shoulder belts, or consider using a high back
booster seat.
•High back booster seats
If, with a backless booster seat, you cannot find a seating position that
adequately supports your child’s head, a high back booster seat would be
a better choice.
Child Safety23
2013 Taurus
Owners Guide gf, 1st Printing
USA(fus)
Page 27 of 541
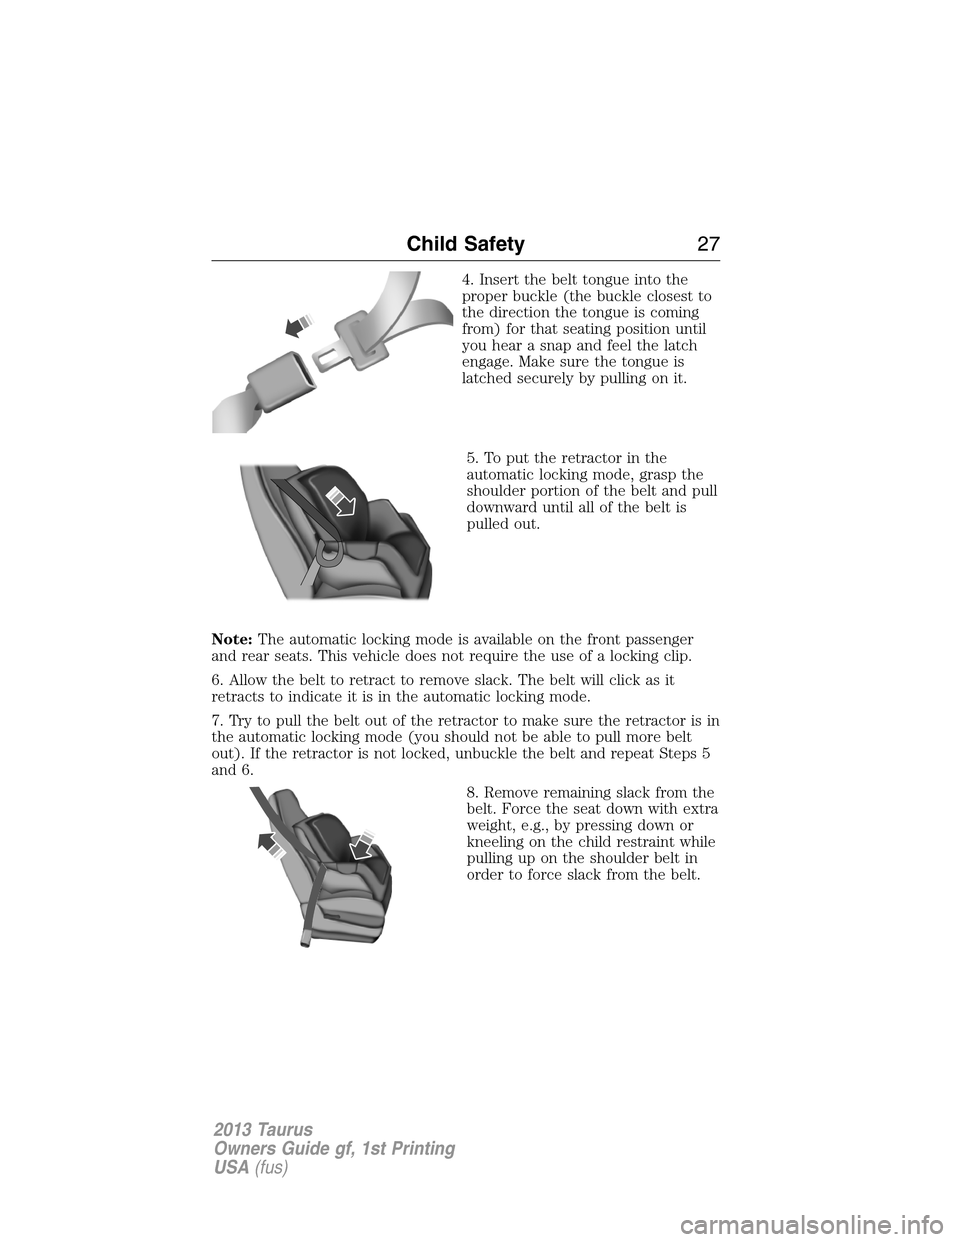
4. Insert the belt tongue into the
proper buckle (the buckle closest to
the direction the tongue is coming
from) for that seating position until
you hear a snap and feel the latch
engage. Make sure the tongue is
latched securely by pulling on it.
5. To put the retractor in the
automatic locking mode, grasp the
shoulder portion of the belt and pull
downward until all of the belt is
pulled out.
Note:The automatic locking mode is available on the front passenger
and rear seats. This vehicle does not require the use of a locking clip.
6. Allow the belt to retract to remove slack. The belt will click as it
retracts to indicate it is in the automatic locking mode.
7. Try to pull the belt out of the retractor to make sure the retractor is in
the automatic locking mode (you should not be able to pull more belt
out). If the retractor is not locked, unbuckle the belt and repeat Steps 5
and 6.
8. Remove remaining slack from the
belt. Force the seat down with extra
weight, e.g., by pressing down or
kneeling on the child restraint while
pulling up on the shoulder belt in
order to force slack from the belt.
Child Safety27
2013 Taurus
Owners Guide gf, 1st Printing
USA(fus)
Page 28 of 541
This is necessary to remove the remaining slack that will exist once the
additional weight of the child is added to the child restraint. It also helps
to achieve the proper snugness of the child seat to the vehicle.
Sometimes, a slight lean towards the buckle will additionally help to
remove remaining slack from the belt.
9. Attach the tether strap (if the child seat is equipped). Refer to
Installing child safety seats with tether strapslater in this chapter.
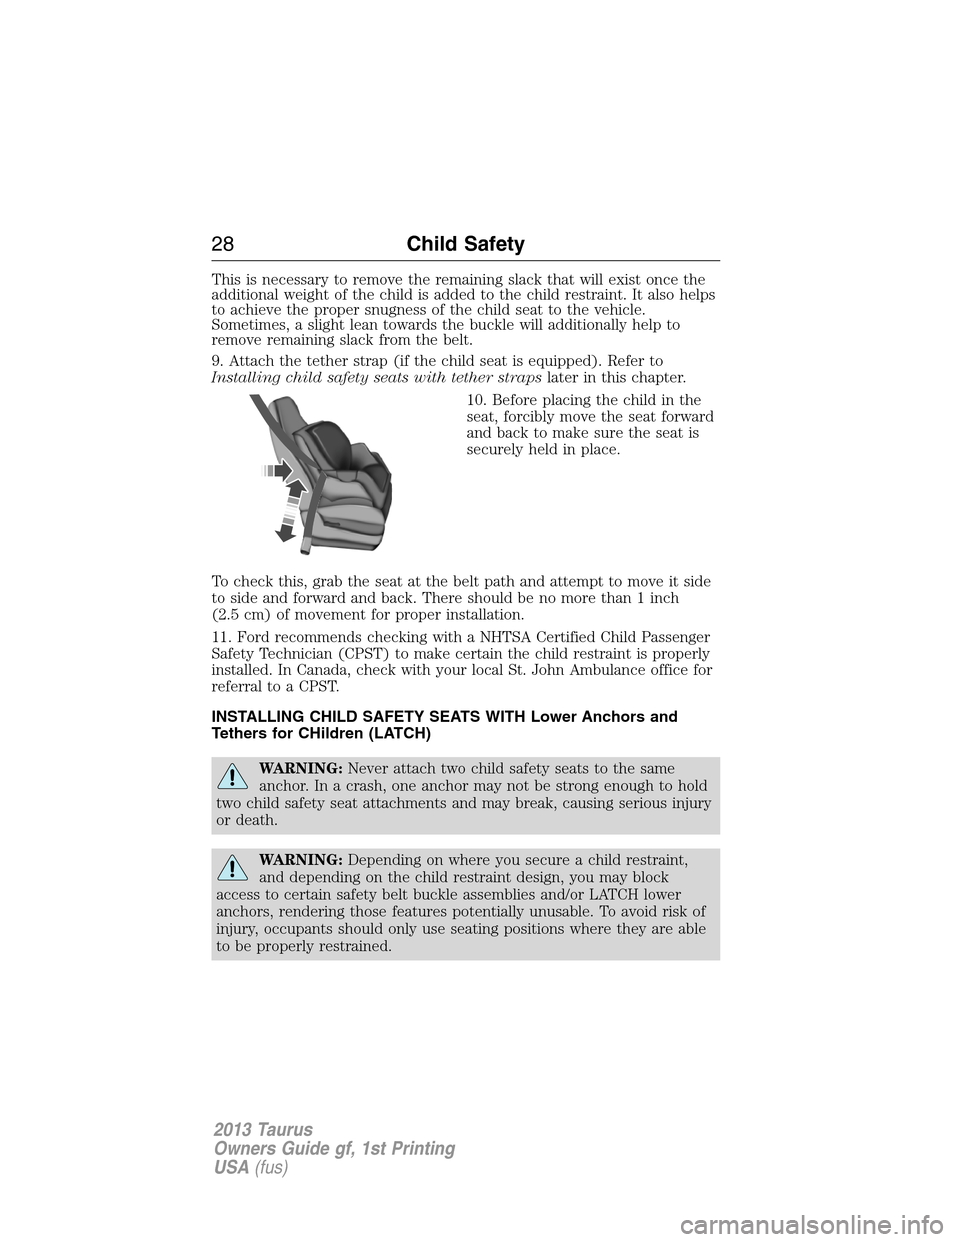
10. Before placing the child in the
seat, forcibly move the seat forward
and back to make sure the seat is
securely held in place.
To check this, grab the seat at the belt path and attempt to move it side
to side and forward and back. There should be no more than 1 inch
(2.5 cm) of movement for proper installation.
11. Ford recommends checking with a NHTSA Certified Child Passenger
Safety Technician (CPST) to make certain the child restraint is properly
installed. In Canada, check with your local St. John Ambulance office for
referral to a CPST.
INSTALLING CHILD SAFETY SEATS WITH Lower Anchors and
Tethers for CHildren (LATCH)
WARNING:Never attach two child safety seats to the same
anchor. In a crash, one anchor may not be strong enough to hold
two child safety seat attachments and may break, causing serious injury
or death.
WARNING:Depending on where you secure a child restraint,
and depending on the child restraint design, you may block
access to certain safety belt buckle assemblies and/or LATCH lower
anchors, rendering those features potentially unusable. To avoid risk of
injury, occupants should only use seating positions where they are able
to be properly restrained.
28Child Safety
2013 Taurus
Owners Guide gf, 1st Printing
USA(fus)
Page 97 of 541
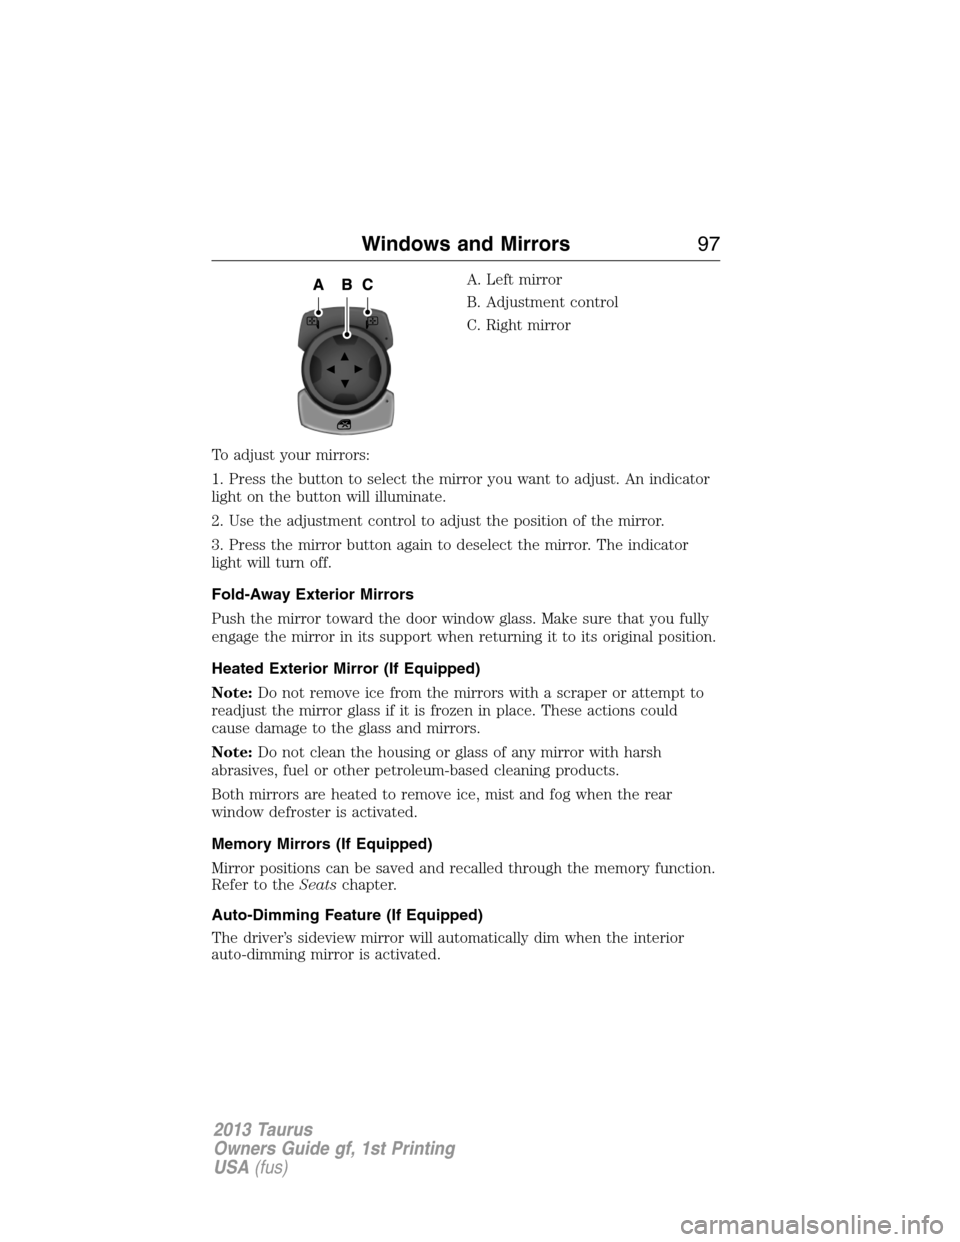
A. Left mirror
B. Adjustment control
C. Right mirror
To adjust your mirrors:
1. Press the button to select the mirror you want to adjust. An indicator
light on the button will illuminate.
2. Use the adjustment control to adjust the position of the mirror.
3. Press the mirror button again to deselect the mirror. The indicator
light will turn off.
Fold-Away Exterior Mirrors
Push the mirror toward the door window glass. Make sure that you fully
engage the mirror in its support when returning it to its original position.
Heated Exterior Mirror (If Equipped)
Note:Do not remove ice from the mirrors with a scraper or attempt to
readjust the mirror glass if it is frozen in place. These actions could
cause damage to the glass and mirrors.
Note:Do not clean the housing or glass of any mirror with harsh
abrasives, fuel or other petroleum-based cleaning products.
Both mirrors are heated to remove ice, mist and fog when the rear
window defroster is activated.
Memory Mirrors (If Equipped)
Mirror positions can be saved and recalled through the memory function.
Refer to theSeatschapter.
Auto-Dimming Feature (If Equipped)
The driver’s sideview mirror will automatically dim when the interior
auto-dimming mirror is activated.
Windows and Mirrors97
2013 Taurus
Owners Guide gf, 1st Printing
USA(fus)
Page 149 of 541
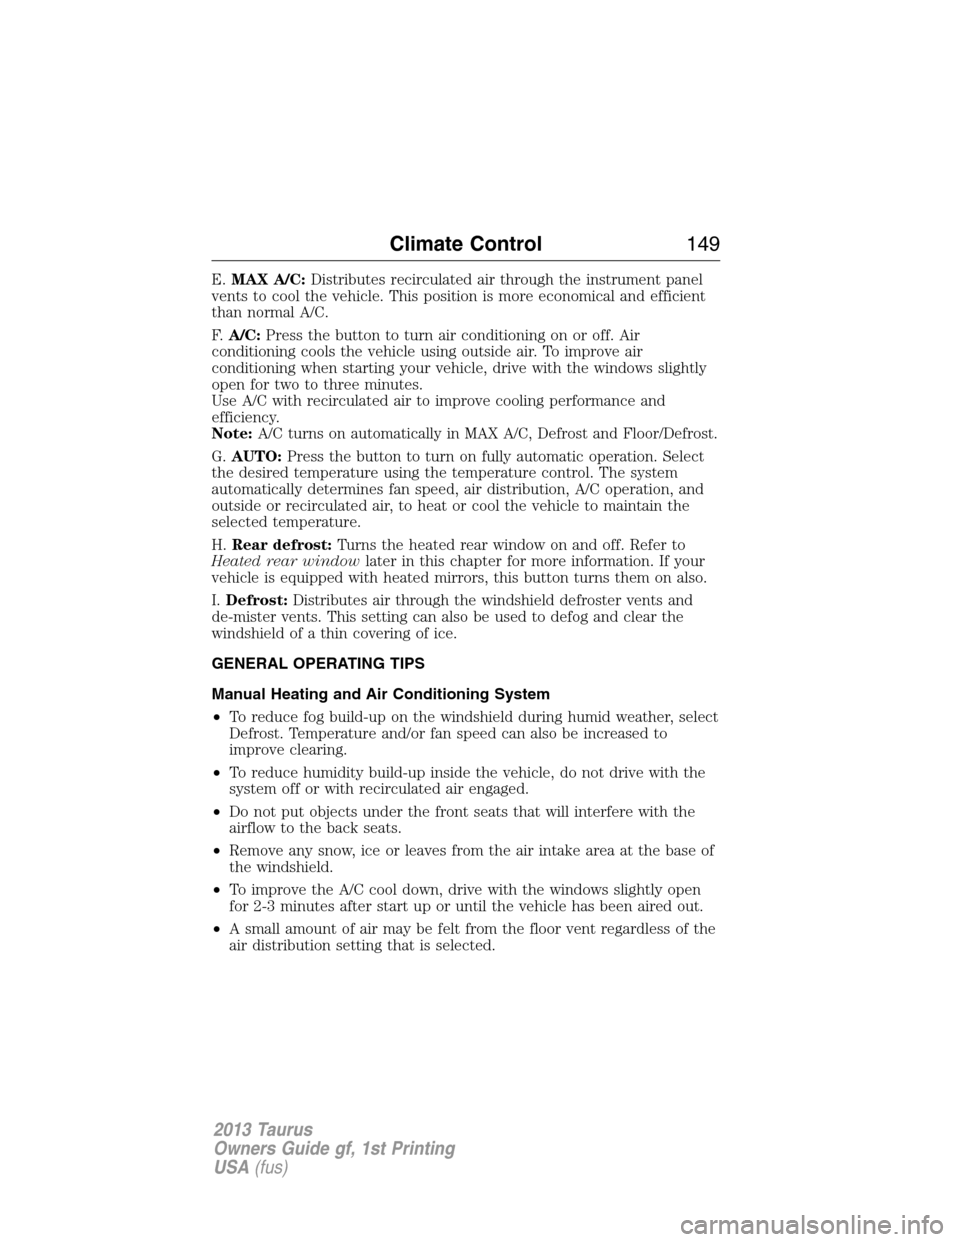
E.MAX A/C:Distributes recirculated air through the instrument panel
vents to cool the vehicle. This position is more economical and efficient
than normal A/C.
F.A/C:Press the button to turn air conditioning on or off. Air
conditioning cools the vehicle using outside air. To improve air
conditioning when starting your vehicle, drive with the windows slightly
open for two to three minutes.
Use A/C with recirculated air to improve cooling performance and
efficiency.
Note:A/C turns on automatically in MAX A/C, Defrost and Floor/Defrost.
G.AUTO:Press the button to turn on fully automatic operation. Select
the desired temperature using the temperature control. The system
automatically determines fan speed, air distribution, A/C operation, and
outside or recirculated air, to heat or cool the vehicle to maintain the
selected temperature.
H.Rear defrost:Turns the heated rear window on and off. Refer to
Heated rear windowlater in this chapter for more information. If your
vehicle is equipped with heated mirrors, this button turns them on also.
I.Defrost:Distributes air through the windshield defroster vents and
de-mister vents. This setting can also be used to defog and clear the
windshield of a thin covering of ice.
GENERAL OPERATING TIPS
Manual Heating and Air Conditioning System
•To reduce fog build-up on the windshield during humid weather, select
Defrost. Temperature and/or fan speed can also be increased to
improve clearing.
•To reduce humidity build-up inside the vehicle, do not drive with the
system off or with recirculated air engaged.
•Do not put objects under the front seats that will interfere with the
airflow to the back seats.
•Remove any snow, ice or leaves from the air intake area at the base of
the windshield.
•To improve the A/C cool down, drive with the windows slightly open
for 2-3 minutes after start up or until the vehicle has been aired out.
•A small amount of air may be felt from the floor vent regardless of the
air distribution setting that is selected.
Climate Control149
2013 Taurus
Owners Guide gf, 1st Printing
USA(fus)
Page 150 of 541
During extreme high ambient temperatures when idling stationary for
extended periods of time in gear, it is recommended to run the A/C in
the MAX A/C mode, adjust the blower fan speed to the lowest setting
and put the vehicle’s transmission into the P (Park) position (vehicles
equipped with an automatic transmission) to continue to receive cool air
from your A/C system.
For maximum cooling performance MAX A/C in AUTO, press MAX A/C.
1. Move temperature control to the coolest setting.
2. Set the fan to the highest speed initially, then adjust to maintain
comfort.
For maximum cooling performance in panel or panel/floor modes:
1. Move temperature control to the coolest setting.
2. Select A/C and recirculated air to provide colder airflow.
3. Set the fan to the highest speed initially, then adjust to maintain
comfort.
To aid in side window defogging/demisting in cold weather:
1. Select Floor/Panel.
2. Select A/C.
3. Adjust the temperature control to maintain comfort.
4. Set the fan speed to the highest setting.
5. Direct the outer instrument panel vents towards the side windows.
6. To increase airflow to the outer instrument panel vents, close the
vents located in the middle of the instrument panel.
Dual Zone Automatic Temperature Control
•To reduce fog build-up on the windshield during humid weather, select
Defrost. Temperature and/or fan speed can also be increased to
improve clearing.
•To reduce humidity build-up inside the vehicle, do not drive with the
system off or with recirculated air engaged.
•Do not put objects under the front seats that will interfere with the
airflow to the back seats.
•Remove any snow, ice or leaves from the air intake area at the base of
the windshield.
•To improve the A/C cool down, drive with the windows slightly open
for 2-3 minutes after start up or until the vehicle has been aired out.
•A small amount of air may be felt from the floor vent regardless of the
air distribution setting that is selected.
150Climate Control
2013 Taurus
Owners Guide gf, 1st Printing
USA(fus)
Page 155 of 541
HEAD RESTRAINTS
WARNING:To minimize the risk of neck injury in the event of a
crash, the driver and passenger occupants should not sit in
and/or operate the vehicle, until the head restraint is placed in its
proper position. The driver should never adjust the head restraint while
the vehicle is in motion.
WARNING:The adjustable head restraint is a safety device.
Whenever possible it should be installed and properly adjusted
when the seat is occupied.
WARNING:Install the head restraint properly to minimize the
risk of neck injury in the event of a crash.
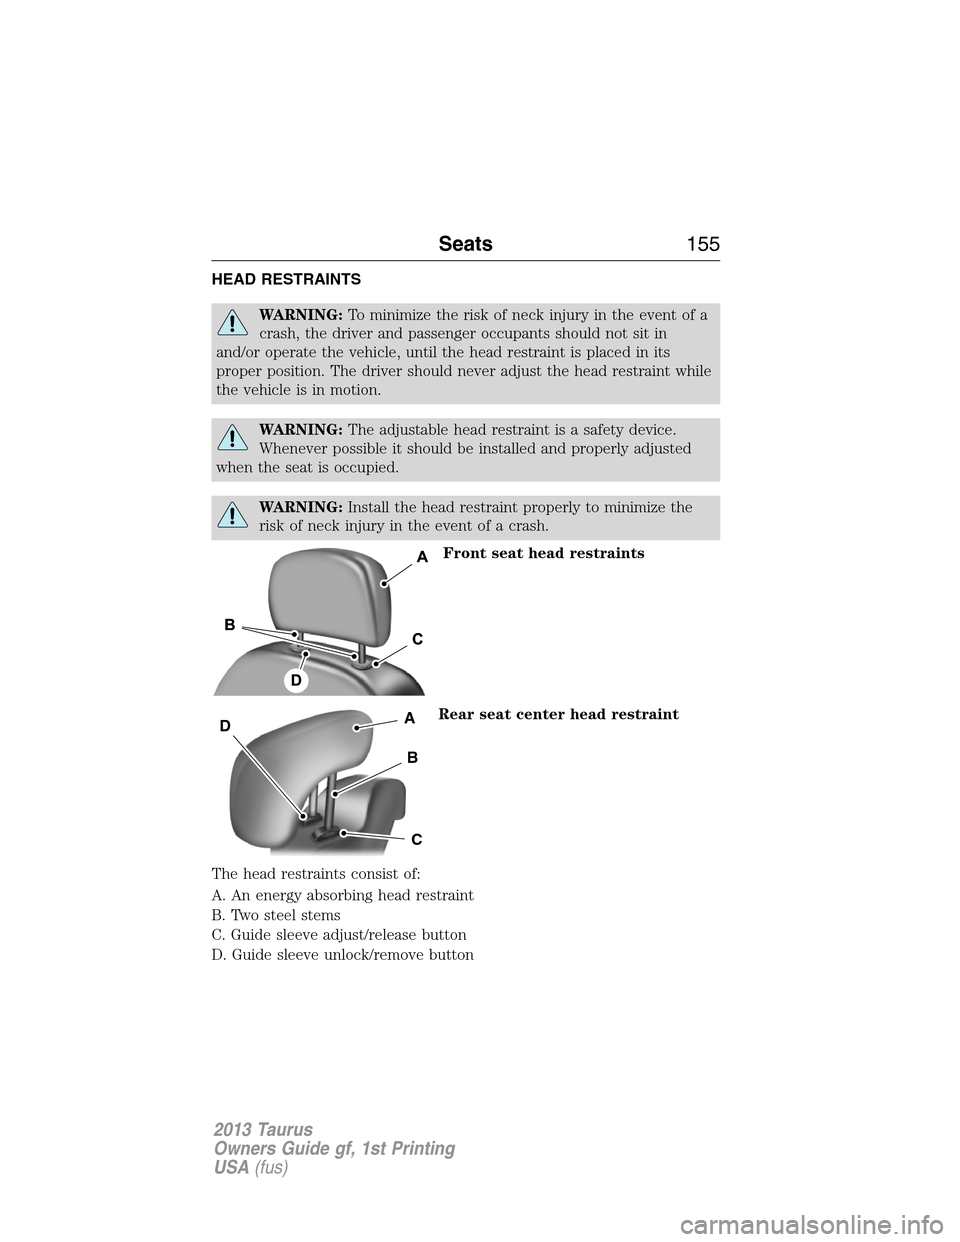
Front seat head restraints
Rear seat center head restraint
The head restraints consist of:
A. An energy absorbing head restraint
B. Two steel stems
C. Guide sleeve adjust/release button
D. Guide sleeve unlock/remove button
A
B
C
D
Seats155
2013 Taurus
Owners Guide gf, 1st Printing
USA(fus)