2013 FORD POLICE INTERCEPTOR SEDAN weight
[x] Cancel search: weightPage 178 of 375

TOWING A TRAILER
WARNING:Do not exceed the GVWR or the GAWR specified on
the certification label.
WARNING:Towing trailers beyond the maximum recommended
gross trailer weight exceeds the limit of the vehicle and could
result in engine damage, transmission damage, structural damage, loss
of vehicle control, vehicle rollover and personal injury.
Note:For information on electrical items such as fuses or relays, see the
Fuseschapter.
Your vehicle’s load capacity is designated by weight, not by volume, so
you cannot necessarily use all available space when loading a vehicle.
Towing a trailer places an additional load on your vehicle’s engine,
transmission, axle, brakes, tires and suspension. Inspect these
components periodically during, and after, any towing operation.
Load Placement
To help minimize how trailer movement affects the vehicle when driving:
•Load the heaviest items closest to the trailer floor.
•Load the heaviest items so they are centered between the left and
right side trailer tires.
•Load the heaviest items above the trailer axles or just slightly forward
toward the trailer tongue. Do not allow the final trailer tongue weight
to go above or below 10–15% of the loaded trailer weight.
•Select a tow bar with the correct rise or drop. When both the loaded
vehicle and trailer are connected, the trailer frame should be level, or
slightly angled down toward the vehicle, when viewed from the side.
When driving with a trailer or payload, a slight takeoff vibration or
shudder may be present due to the increased payload weight. Additional
information regarding proper trailer loading and setting your vehicle up
for towing is noted underLoad limitin theLoad Carryingchapter and
in theRV & Trailer Towing Guide,available at your authorized dealer.
178Towing
2013 Police(pol)
Owners Guide gf, 2nd Printing
USA(fus)
Page 179 of 375
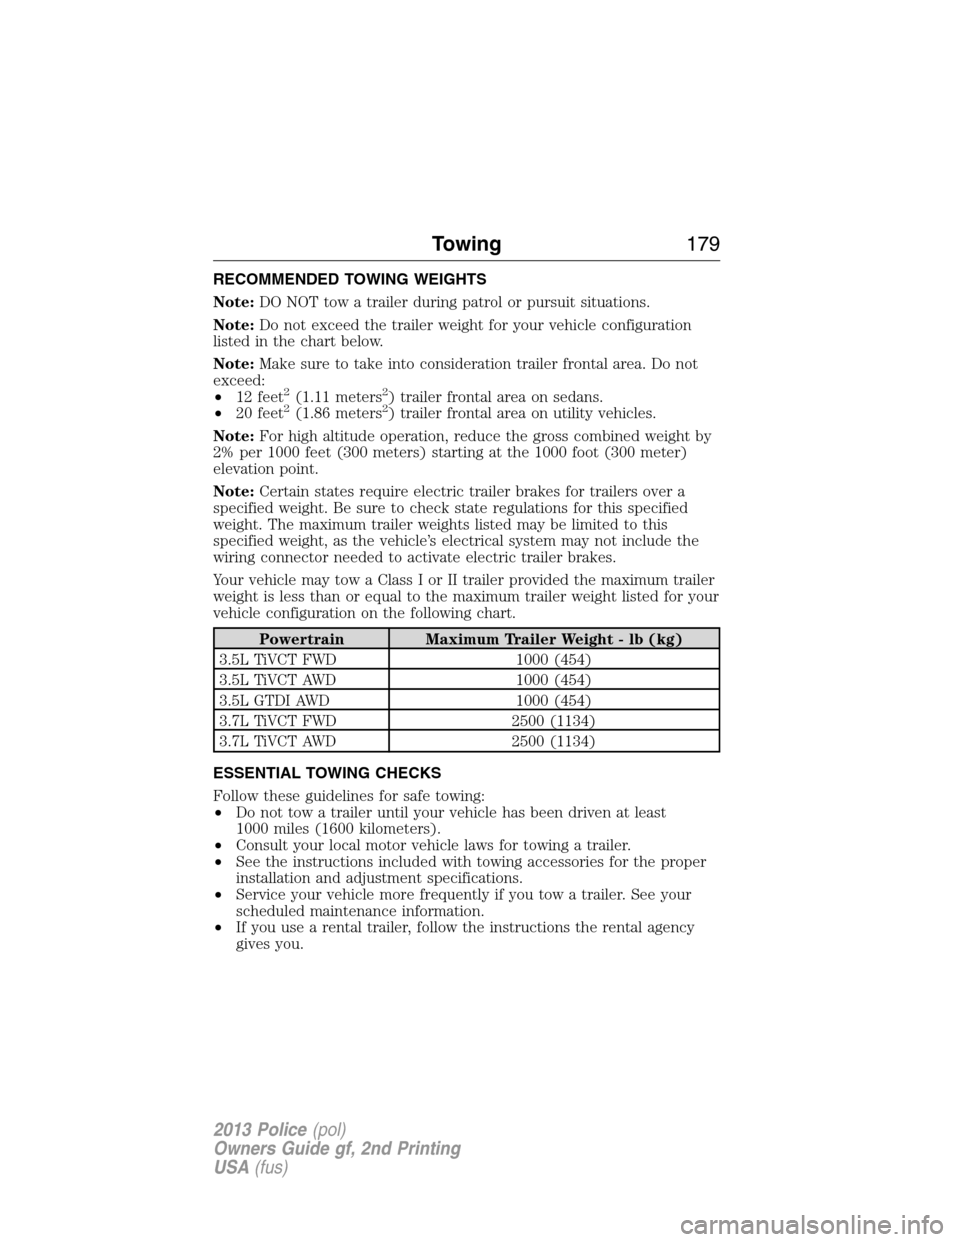
RECOMMENDED TOWING WEIGHTS
Note:DO NOT tow a trailer during patrol or pursuit situations.
Note:Do not exceed the trailer weight for your vehicle configuration
listed in the chart below.
Note:Make sure to take into consideration trailer frontal area. Do not
exceed:
•12 feet
2(1.11 meters2) trailer frontal area on sedans.
•20 feet2(1.86 meters2) trailer frontal area on utility vehicles.
Note:For high altitude operation, reduce the gross combined weight by
2% per 1000 feet (300 meters) starting at the 1000 foot (300 meter)
elevation point.
Note:Certain states require electric trailer brakes for trailers over a
specified weight. Be sure to check state regulations for this specified
weight. The maximum trailer weights listed may be limited to this
specified weight, as the vehicle’s electrical system may not include the
wiring connector needed to activate electric trailer brakes.
Your vehicle may tow a Class I or II trailer provided the maximum trailer
weight is less than or equal to the maximum trailer weight listed for your
vehicle configuration on the following chart.
Powertrain Maximum Trailer Weight - lb (kg)
3.5L TiVCT FWD 1000 (454)
3.5L TiVCT AWD 1000 (454)
3.5L GTDI AWD 1000 (454)
3.7L TiVCT FWD 2500 (1134)
3.7L TiVCT AWD 2500 (1134)
ESSENTIAL TOWING CHECKS
Follow these guidelines for safe towing:
•Do not tow a trailer until your vehicle has been driven at least
1000 miles (1600 kilometers).
•Consult your local motor vehicle laws for towing a trailer.
•See the instructions included with towing accessories for the proper
installation and adjustment specifications.
•Service your vehicle more frequently if you tow a trailer. See your
scheduled maintenance information.
•If you use a rental trailer, follow the instructions the rental agency
gives you.
Towing179
2013 Police(pol)
Owners Guide gf, 2nd Printing
USA(fus)
Page 180 of 375
For load specification terms found on the tire label and Safety
Compliance label and for instructions on calculating your vehicle’s load,
refer toLoad limitin theLoad Carryingchapter.
Remember to account for the trailer tongue weight as part of the vehicle
load when calculating the total vehicle weight.
Hitches
Do not use a hitch that either clamps onto the bumper or attaches to the
axle.
Distribute the trailer load so 10-15% of the total trailer weight is on the
tongue.
Safety Chains
Note:Never attach safety chains to the bumper.
Always connect the safety chains to the hook retainers of the vehicle
hitch.
To connect the safety chains, cross them under the trailer tongue and
allow enough slack for turning tight corners. Do not allow the chains to
drag on the ground.
Trailer Brakes
WARNING:Do not connect a trailer’s hydraulic brake system
directly to your vehicle’s brake system. Your vehicle may not have
enough braking power and your chances of having a collision greatly
increase.
Electric brakes and manual, automatic or surge-type trailer brakes are
safe if installed properly and adjusted to the manufacturer’s
specifications. The trailer brakes must meet local and Federal
regulations.
The braking system of the tow vehicle is rated for operation at
the GVWR not GCWR.
Separate functioning brake systems are required for safe control
of towed vehicles and trailers weighing more than 1500 pounds
(680 kilograms) when loaded.
180Towing
2013 Police(pol)
Owners Guide gf, 2nd Printing
USA(fus)
Page 185 of 375
![FORD POLICE INTERCEPTOR SEDAN 2013 1.G Owners Manual •Drive a heavily loaded vehicle or tow a trailer.
•Carry unnecessary weight (approximately 1 mpg [0.4 km/L] is lost for
every 400 lb [180 kg] of weight carried).
•Add particular accessories to y FORD POLICE INTERCEPTOR SEDAN 2013 1.G Owners Manual •Drive a heavily loaded vehicle or tow a trailer.
•Carry unnecessary weight (approximately 1 mpg [0.4 km/L] is lost for
every 400 lb [180 kg] of weight carried).
•Add particular accessories to y](/manual-img/11/5315/w960_5315-184.png)
•Drive a heavily loaded vehicle or tow a trailer.
•Carry unnecessary weight (approximately 1 mpg [0.4 km/L] is lost for
every 400 lb [180 kg] of weight carried).
•Add particular accessories to your vehicle (e.g. bug deflectors,
rollbars/light bars, running boards, ski racks).
•Drive with the wheels out of alignment.
DRIVING THROUGH WATER
WARNING:Drive through water in an emergency only, and not
as part of normal driving.
WARNING:Engine damage can occur if water enters the air
filter.
Note:Driving through deep water may allow water into the transmission
or air intake and can cause internal vehicle damage or cause it to stall.
Note:Once through the water, always dry the brakes by moving your
vehicle slowly while applying light pressure on the brake pedal.
If driving through deep or standing water is unavoidable, proceed very
slowly. Never drive through water that is higher than the bottom of the
wheel rims (for cars) or the bottom of the hubs (for trucks).
When driving through water,
traction or brake capability may be
limited. Also, water may enter your
engine’s air intake and severely
damage your engine or your vehicle
may stall.
Wet brakes do not stop the vehicle
as quickly as dry brakes.
Driving Hints185
2013 Police(pol)
Owners Guide gf, 2nd Printing
USA(fus)
Page 257 of 375
Glossary of Tire Terminology
•Tire label:A label showing the OE (Original Equipment) tire sizes,
recommended inflation pressure and the maximum weight the vehicle
can carry.
•Tire Identification Number (TIN):A number on the sidewall of
each tire providing information about the tire brand and
manufacturing plant, tire size and date of manufacture. Also referred
to as DOT code.
•Inflation pressure:A measure of the amount of air in a tire.
•Standard load:A class of P-metric or Metric tires designed to carry a
maximum load at 35 psi [37 psi (2.5 bar) for Metric tires]. Increasing
the inflation pressure beyond this pressure will not increase the tire’s
load carrying capability.
•Extra load:A class of P-metric or Metric tires designed to carry a
heavier maximum load at 41 psi [43 psi (2.9 bar) for Metric tires].
Increasing the inflation pressure beyond this pressure will not increase
the tire’s load carrying capability.
•kPa:Kilopascal, a metric unit of air pressure.
•PSI:Pounds per square inch, a standard unit of air pressure.
•Cold inflation pressure:The tire pressure when the vehicle has
been stationary and out of direct sunlight for an hour or more and
prior to the vehicle being driven for 1 mile (1.6 kilometers).
•Recommended inflation pressure:The cold inflation pressure found
on the Safety Compliance Certification Label (affixed to either the
door hinge pillar, door-latch post, or the door edge that meets the
door-latch post, next to the driver’s seating position), or Tire Label
located on the B-Pillar or the edge of the driver’s door.
•B-pillar:The structural member at the side of the vehicle behind the
front door.
•Bead area of the tire:Area of the tire next to the rim.
•Sidewall of the tire:Area between the bead area and the tread.
•Tread area of the tire:Area of the perimeter of the tire that
contacts the road when mounted on the vehicle.
•Rim:The metal support (wheel) for a tire or a tire and tube assembly
upon which the tire beads are seated.
Wheels and Tires257
2013 Police(pol)
Owners Guide gf, 2nd Printing
USA(fus)
Page 259 of 375
E.15:Indicates the wheel or rim diameter in inches. If you change your
wheel size, you will have to purchase new tires to match the new wheel
diameter.
F.95:Indicates the tire’s load index. It is an index that relates to how
much weight a tire can carry. You may find this information in your
owner’s manual. If not, contact a local tire dealer.
Note:You may not find this information on all tires because it is not
required by federal law.
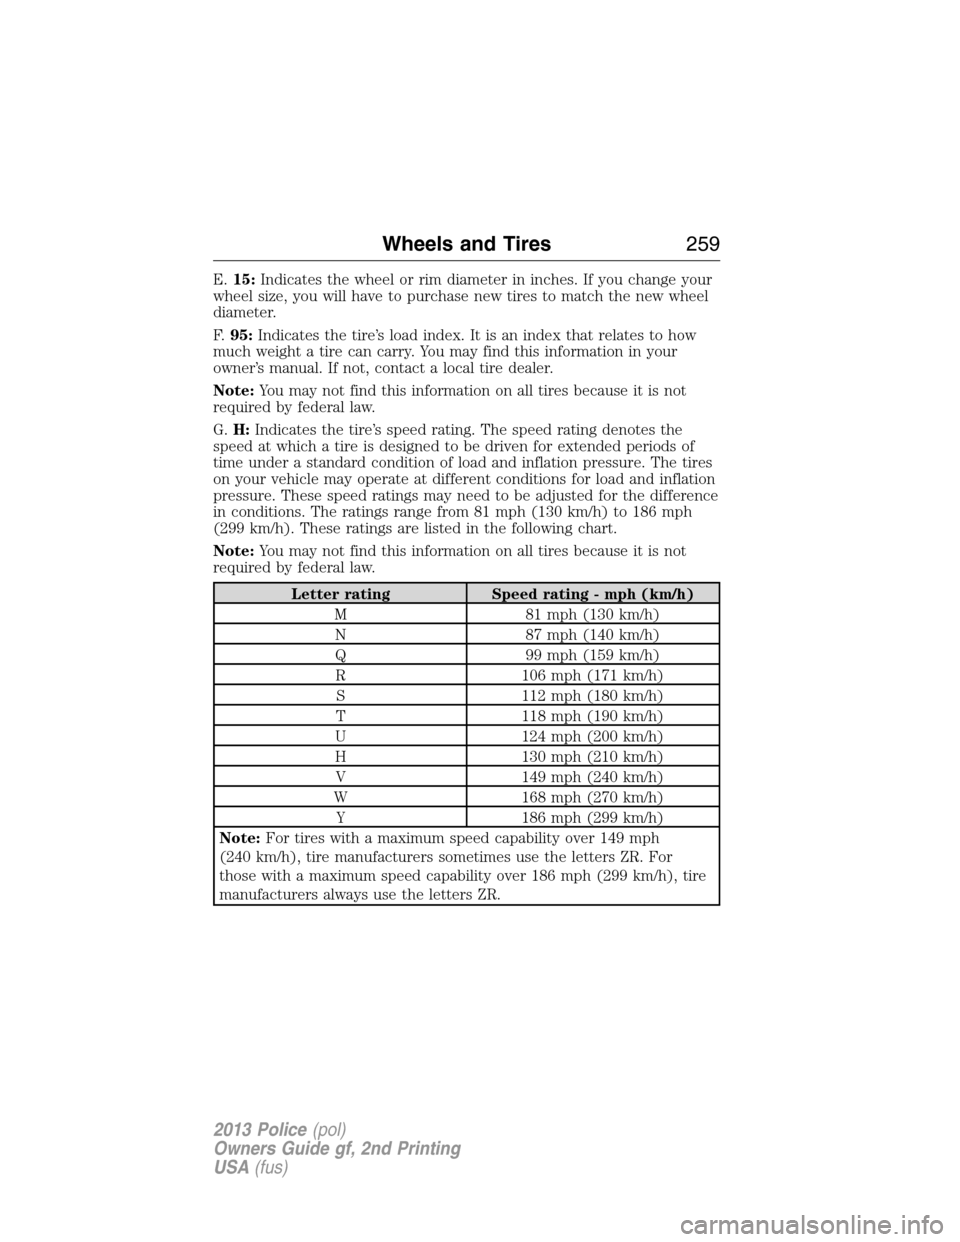
G.H:Indicates the tire’s speed rating. The speed rating denotes the
speed at which a tire is designed to be driven for extended periods of
time under a standard condition of load and inflation pressure. The tires
on your vehicle may operate at different conditions for load and inflation
pressure. These speed ratings may need to be adjusted for the difference
in conditions. The ratings range from 81 mph (130 km/h) to 186 mph
(299 km/h). These ratings are listed in the following chart.
Note:You may not find this information on all tires because it is not
required by federal law.
Letter rating Speed rating - mph (km/h)
M 81 mph (130 km/h)
N 87 mph (140 km/h)
Q 99 mph (159 km/h)
R 106 mph (171 km/h)
S 112 mph (180 km/h)
T 118 mph (190 km/h)
U 124 mph (200 km/h)
H 130 mph (210 km/h)
V 149 mph (240 km/h)
W 168 mph (270 km/h)
Y 186 mph (299 km/h)
Note:For tires with a maximum speed capability over 149 mph
(240 km/h), tire manufacturers sometimes use the letters ZR. For
those with a maximum speed capability over 186 mph (299 km/h), tire
manufacturers always use the letters ZR.
Wheels and Tires259
2013 Police(pol)
Owners Guide gf, 2nd Printing
USA(fus)
Page 279 of 375
Tire Change Procedure
WARNING:When one of the front wheels is off the ground, the
transmission alone will not prevent the vehicle from moving or
slipping off the jack, even if the transmission selector lever is in
positionP.
WARNING:To help prevent the vehicle from moving when you
change a tire, be sure to place the transmission selector lever in
positionP, set the parking brake and block (in both directions) the
wheel that is diagonally opposite (other side and end of the vehicle) to
the tire being changed.
WARNING:Never get underneath a vehicle that is supported
only by a jack. If the vehicle slips off the jack, you or someone
else could be seriously injured.
WARNING:Do not attempt to change a tire on the side of the
vehicle close to moving traffic. Pull far enough off the road to avoid
the danger of being hit when operating the jack or changing the wheel.
WARNING:Always use the jack provided as original equipment
with your vehicle. If using a jack other than the one provided as
original equipment with your vehicle, make sure the jack capacity is
adequate for the vehicle weight, including any vehicle cargo or
modifications.
Note:Passengers should not remain in the vehicle when the vehicle is
being jacked.
Note:For sedan, only the original equipment tire or 245/55R18 tire with
outer diameter less than 725 mm will stow in the tire tub.
Utility:
1. Park on a level surface, set the parking brake and activate the hazard
flashers.
2. Place the transmission selector lever in positionPand turn the engine
off.
Wheels and Tires279
2013 Police(pol)
Owners Guide gf, 2nd Printing
USA(fus)
Page 293 of 375
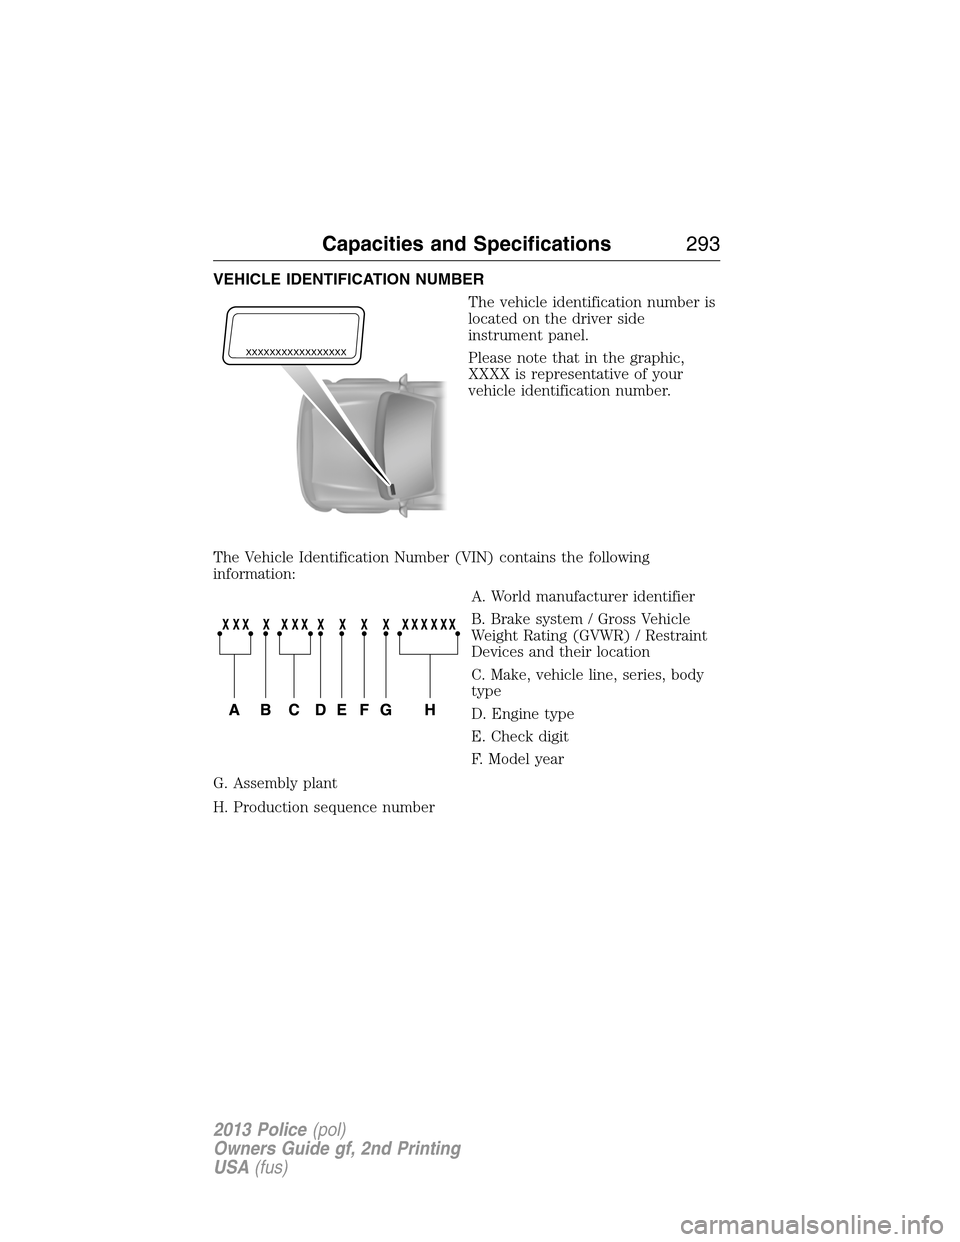
VEHICLE IDENTIFICATION NUMBER
The vehicle identification number is
located on the driver side
instrument panel.
Please note that in the graphic,
XXXX is representative of your
vehicle identification number.
The Vehicle Identification Number (VIN) contains the following
information:
A. World manufacturer identifier
B. Brake system / Gross Vehicle
Weight Rating (GVWR) / Restraint
Devices and their location
C. Make, vehicle line, series, body
type
D. Engine type
E. Check digit
F. Model year
G. Assembly plant
H. Production sequence number
XXXXXXXXXXXXXXXXX
Capacities and Specifications293
2013 Police(pol)
Owners Guide gf, 2nd Printing
USA(fus)