2013 FORD FUSION (AMERICAS) bulb
[x] Cancel search: bulbPage 7 of 458

The Better Business Bureau (BBB) Auto
Line Program (U.S. Only)......................223
Utilizing the Mediation/Arbitration Program (Canada Only)
.......................223
Getting Assistance Outside the U.S. and Canada........................................................224
Ordering Additional Owner's Literature.....................................................225
Reporting Safety Defects (U.S. Only).............................................................225
Reporting Safety Defects (Canada Only).............................................................226
Roadside Emergencies
Roadside Assistance
...................................227
Hazard Warning Flashers..........................228
Fuel Shutoff
...................................................228
Jump-Starting the Vehicle.......................228
Fuses
Changing a Fuse
............................................231
Fuse Specification Chart............................231
Maintenance
General Information
....................................241
Opening and Closing the Hood...............241
Under Hood Overview - 1.6L EcoBoost™................................................243
Under Hood Overview - 2.0L EcoBoost™................................................244
Under Hood Overview - 2.5L...................245
Engine Oil Dipstick - 1.6L EcoBoost™................................................245
Engine Oil Dipstick......................................246
Engine Oil Check..........................................246
Engine Coolant Check................................247
Automatic Transmission Fluid Check...........................................................250
Brake Fluid Check........................................250
Power Steering Fluid Check....................250
Fuel Filter
........................................................250
Washer Fluid Check....................................250 Changing the 12V Battery
..........................251
Checking the Wiper Blades......................252
Changing the Wiper Blades.....................252
Changing the Engine Air Filter.................253
Adjusting the Headlamps
.........................254
Removing a Headlamp..............................255
Changing a Bulb...........................................257
Bulb Specification Chart..........................260
Vehicle Care
General Information
...................................262
Cleaning Products
.......................................262
Cleaning the Exterior..................................262
Repairing Minor Paint Damage
..............263
Waxing
.............................................................263
Cleaning the Engine
...................................264
Cleaning the Windows and Wiper Blades..........................................................264
Cleaning the Interior...................................264
Cleaning the Instrument Panel and Instrument Cluster Lens
.......................265
Cleaning Leather Seats
.............................266
Cleaning the Alloy Wheels.......................266
Vehicle Storage
.............................................267
Wheels and Tires
Tire Care
..........................................................269
Tire Pressure Monitoring System...........283
Using Snow Chains.....................................287
Changing a Road Wheel
...........................288
Technical Specifications...........................292
Capacities and Specific- ations
Engine Specifications
................................293
Motorcraft Parts
..........................................294
Vehicle Identification Number
................295
Vehicle Certification Label
.......................295
Transmission Code Designation
............296
Technical Specifications...........................297
4
Fusion/Mondeo (CC7) Table of Contents
Page 83 of 458

If it illuminates when you are driving, check
that the parking brake is not engaged. If
the parking brake is not engaged, this
indicates low brake fluid level or a brake
system malfunction. Have the system
checked immediately by your authorized
dealer.
WARNING
Driving your vehicle with the warning
lamp on is dangerous. A significant
decrease in braking performance
may occur. It will take you longer to stop
your vehicle. Have your vehicle checked by
your authorized dealer immediately. Driving
extended distances with the parking brake
engaged can cause brake failure and the
risk of personal injury. Cruise Control (If Equipped)
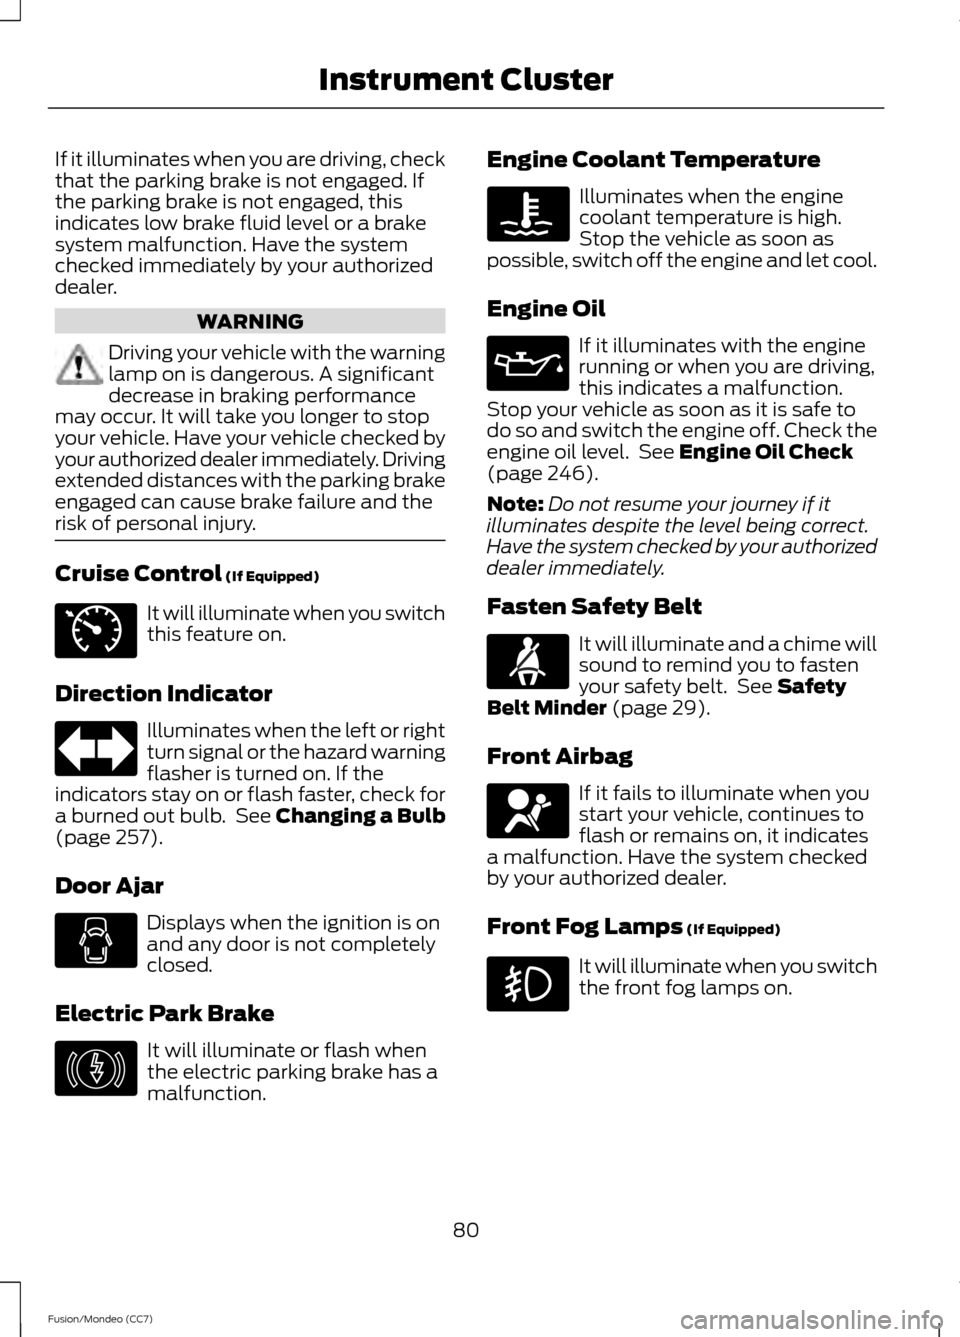
It will illuminate when you switch
this feature on.
Direction Indicator Illuminates when the left or right
turn signal or the hazard warning
flasher is turned on. If the
indicators stay on or flash faster, check for
a burned out bulb. See
Changing a Bulb
(page 257).
Door Ajar Displays when the ignition is on
and any door is not completely
closed.
Electric Park Brake It will illuminate or flash when
the electric parking brake has a
malfunction. Engine Coolant Temperature Illuminates when the engine
coolant temperature is high.
Stop the vehicle as soon as
possible, switch off the engine and let cool.
Engine Oil If it illuminates with the engine
running or when you are driving,
this indicates a malfunction.
Stop your vehicle as soon as it is safe to
do so and switch the engine off. Check the
engine oil level. See
Engine Oil Check
(page 246).
Note: Do not resume your journey if it
illuminates despite the level being correct.
Have the system checked by your authorized
dealer immediately.
Fasten Safety Belt It will illuminate and a chime will
sound to remind you to fasten
your safety belt. See
Safety
Belt Minder (page 29).
Front Airbag If it fails to illuminate when you
start your vehicle, continues to
flash or remains on, it indicates
a malfunction. Have the system checked
by your authorized dealer.
Front Fog Lamps
(If Equipped) It will illuminate when you switch
the front fog lamps on.
80
Fusion/Mondeo (CC7) Instrument ClusterE71340 E146190
Page 85 of 458

The service engine soon indicator light
illuminates when the ignition is first turned
on prior to engine start to check the bulb
and to indicate whether the vehicle is ready
for Inspection/Maintenance (I/M) testing.
Normally, the service engine soon light will
stay on until the engine is cranked, then
turn itself off if no malfunctions are
present. However, if after 15 seconds the
service engine soon light blinks eight times,
it means that the vehicle is not ready for
I/M testing. See Emission Control
System (page 157).
Stability Control It will flash when the system is
active. If it remains illuminated
or does not illuminate when you
switch the ignition on, this indicates a
malfunction. During a malfunction the
system will switch off. Have the system
checked by your authorized dealer
immediately. See
Using Stability
Control (page 176).
Stability Control Off It will illuminate when you switch
the system off. It will go out
when you switch the system
back on or when you switch the ignition
off. See
Using Stability Control (page
176).
Trunk Ajar Displays when the ignition is on
and the trunk is not completely
closed. AUDIBLE WARNINGS AND
INDICATORS
Key in Ignition Warning Chime
Sounds when you open the driver's door
and you have left the key in the ignition
with it in the off or accessory position.
Keyless Warning Alert
(If Equipped)
Chirps the horn twice when you exit the
vehicle and the keyless vehicle is in RUN,
indicating the vehicle is still on.
Headlamps On Warning Chime
Sounds when you remove the key from the
ignition and open the driver's door and you
have left the headlamps or parking lamps
on.
Parking Brake On Warning Chime
Sounds when you have left the parking
brake on and drive your vehicle. If the
warning chime remains on after you have
released the parking brake, have the
system checked by your authorized dealer
immediately.
82
Fusion/Mondeo (CC7) Instrument ClusterE138639 E159323
Page 161 of 458

Do not make any unauthorized changes to
your vehicle or engine. By law, vehicle
owners and anyone who manufactures,
repairs, services, sells, leases, trades
vehicles, or supervises a fleet of vehicles
are not permitted to intentionally remove
an emission control device or prevent it
from working. Information about your
vehicle
’s emission system is on the Vehicle
Emission Control Information Decal
located on or near the engine. This decal
also lists engine displacement
Please consult your warranty information
for complete details.
On-Board Diagnostics (OBD-II)
Your vehicle is equipped with a computer
that monitors the engine ’s emission control
system. This system is commonly known
as the on-board diagnostics system
(OBD-II). The OBD-II system protects the
environment by ensuring that your vehicle
continues to meet government emission
standards. The OBD-II system also assists
your authorized dealer in properly servicing
your vehicle. When the service engine soon
indicator illuminates, the OBD-II
system has detected a
malfunction. Temporary malfunctions may
cause the service engine soon indicator to
illuminate. Examples are:
1. The vehicle has run out of fuel —the
engine may misfire or run poorly.
2. Poor fuel quality or water in the fuel —the engine may misfire or run
poorly.
3. The fuel fill inlet may not have been properly closed. See Refueling (page
153).
4. Driving through deep water —the
electrical system may be wet. These temporary malfunctions can be
corrected by filling the fuel tank with good
quality fuel, properly closing the fuel fill
inlet or letting the electrical system dry out.
After three driving cycles without these or
any other temporary malfunctions present,
the service engine soon indicator should
stay off the next time the engine is started.
A driving cycle consists of a cold engine
startup followed by mixed city/highway
driving. No additional vehicle service is
required.
If the service engine soon indicator remains
on, have your vehicle serviced at the first
available opportunity. Although some
malfunctions detected by the OBD-II may
not have symptoms that are apparent,
continued driving with the service engine
soon indicator on can result in increased
emissions, lower fuel economy, reduced
engine and transmission smoothness, and
lead to more costly repairs.
Readiness for
Inspection/Maintenance (I/M)
Testing
Some state/provincial and local
governments may have
Inspection/Maintenance (I/M) programs
to inspect the emission control equipment
on your vehicle. Failure to pass this
inspection could prevent you from getting
a vehicle registration.
If the service engine soon
indicator is on or the bulb does
not work, the vehicle may need
to be serviced. See On-Board Diagnostics.
Your vehicle may not pass the I/M test if
the service engine soon indicator is on or
not working properly (bulb is burned out),
or if the OBD-II system has determined
that some of the emission control systems
have not been properly checked. In this
case, the vehicle is considered not ready
for I/M testing.
158
Fusion/Mondeo (CC7) Fuel and Refueling
Page 257 of 458

2.5L Engine
1.
Release the clamps that secure the air
filter housing cover.
2. Carefully lift the air filter housing cover.
3. Remove the air filter element from the
air filter housing.
4. Wipe any dirt or debris from the air filter
housing and cover to make sure no dirt
gets in the engine and to make sure you
have a good seal.
5. Install a new air filter element. Be careful not to crimp the filter element
edges between the air filter housing
and cover. This could cause filter
damage and allow unfiltered air to
enter the engine if not properly seated.
6. Install the air filter housing cover.
7. Engage the clamps to secure the air filter housing cover to the air filter
housing.
ADJUSTING THE HEADLAMPS
Vertical Aim Adjustment
The headlamps on your vehicle are
properly aimed at the assembly plant. If
your vehicle has been in an accident, the
alignment of your headlamps should be
checked by your authorized dealer. Headlamp Aiming Target
8 feet (2.4 meters)
A
Center height of lamp to ground
B
25 feet (7.6 meters)
C
Horizontal reference line
D
Vertical Aim Adjustment Procedure
1. Park the vehicle directly in front of a wall or screen on a level surface,
approximately 25 feet (7.6 meters)
away.
2. Measure the height of the headlamp bulb center from the ground and mark
an 8 foot (2.4 meter) horizontal
reference line on the vertical wall or
screen at this height.
Note: To see a clearer light pattern for
adjusting, you may want to block the light
from one headlamp while adjusting the
other.
3. Turn on the low beam headlamps to illuminate the wall or screen and open
the hood.
254
Fusion/Mondeo (CC7) MaintenanceE146047 E142592
Page 260 of 458

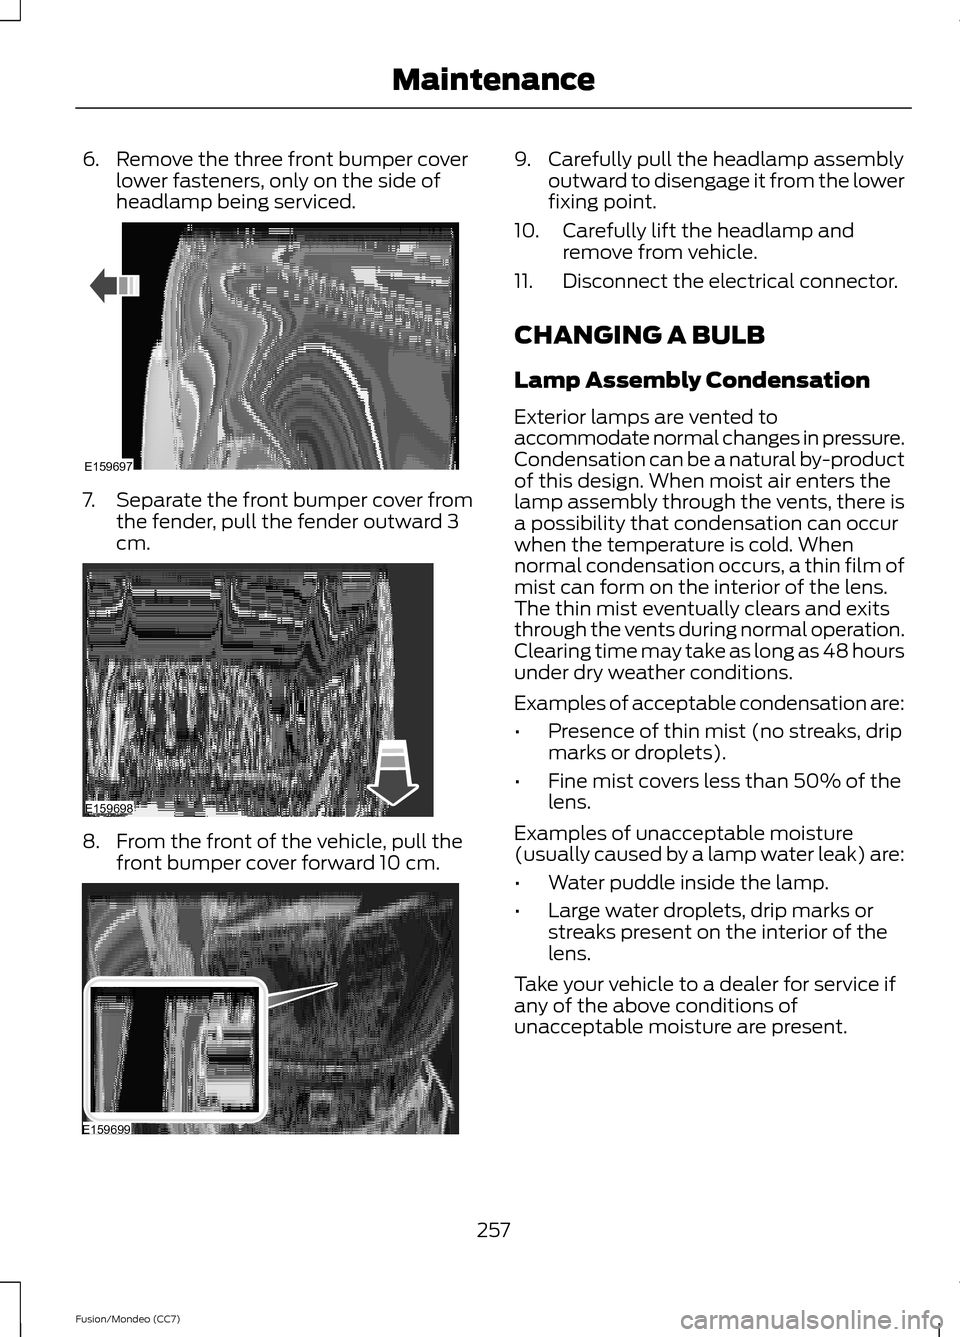
6. Remove the three front bumper cover
lower fasteners, only on the side of
headlamp being serviced. 7.
Separate the front bumper cover from
the fender, pull the fender outward 3
cm. 8. From the front of the vehicle, pull the
front bumper cover forward 10 cm. 9. Carefully pull the headlamp assembly
outward to disengage it from the lower
fixing point.
10. Carefully lift the headlamp and remove from vehicle.
11. Disconnect the electrical connector.
CHANGING A BULB
Lamp Assembly Condensation
Exterior lamps are vented to
accommodate normal changes in pressure.
Condensation can be a natural by-product
of this design. When moist air enters the
lamp assembly through the vents, there is
a possibility that condensation can occur
when the temperature is cold. When
normal condensation occurs, a thin film of
mist can form on the interior of the lens.
The thin mist eventually clears and exits
through the vents during normal operation.
Clearing time may take as long as 48 hours
under dry weather conditions.
Examples of acceptable condensation are:
• Presence of thin mist (no streaks, drip
marks or droplets).
• Fine mist covers less than 50% of the
lens.
Examples of unacceptable moisture
(usually caused by a lamp water leak) are:
• Water puddle inside the lamp.
• Large water droplets, drip marks or
streaks present on the interior of the
lens.
Take your vehicle to a dealer for service if
any of the above conditions of
unacceptable moisture are present.
257
Fusion/Mondeo (CC7) MaintenanceE159697 E159698 E159699
Page 261 of 458

Replacing the Headlamp Bulbs
WARNING
Handle a halogen headlamp bulb
carefully and keep out of children
’s
reach. Grasp the bulb by only its
plastic base and do not touch the glass.
The oil from your hand could cause the
bulb to break the next time the headlamps
are operated. Note:
If the bulb is accidentally touched, it
should be cleaned with rubbing alcohol
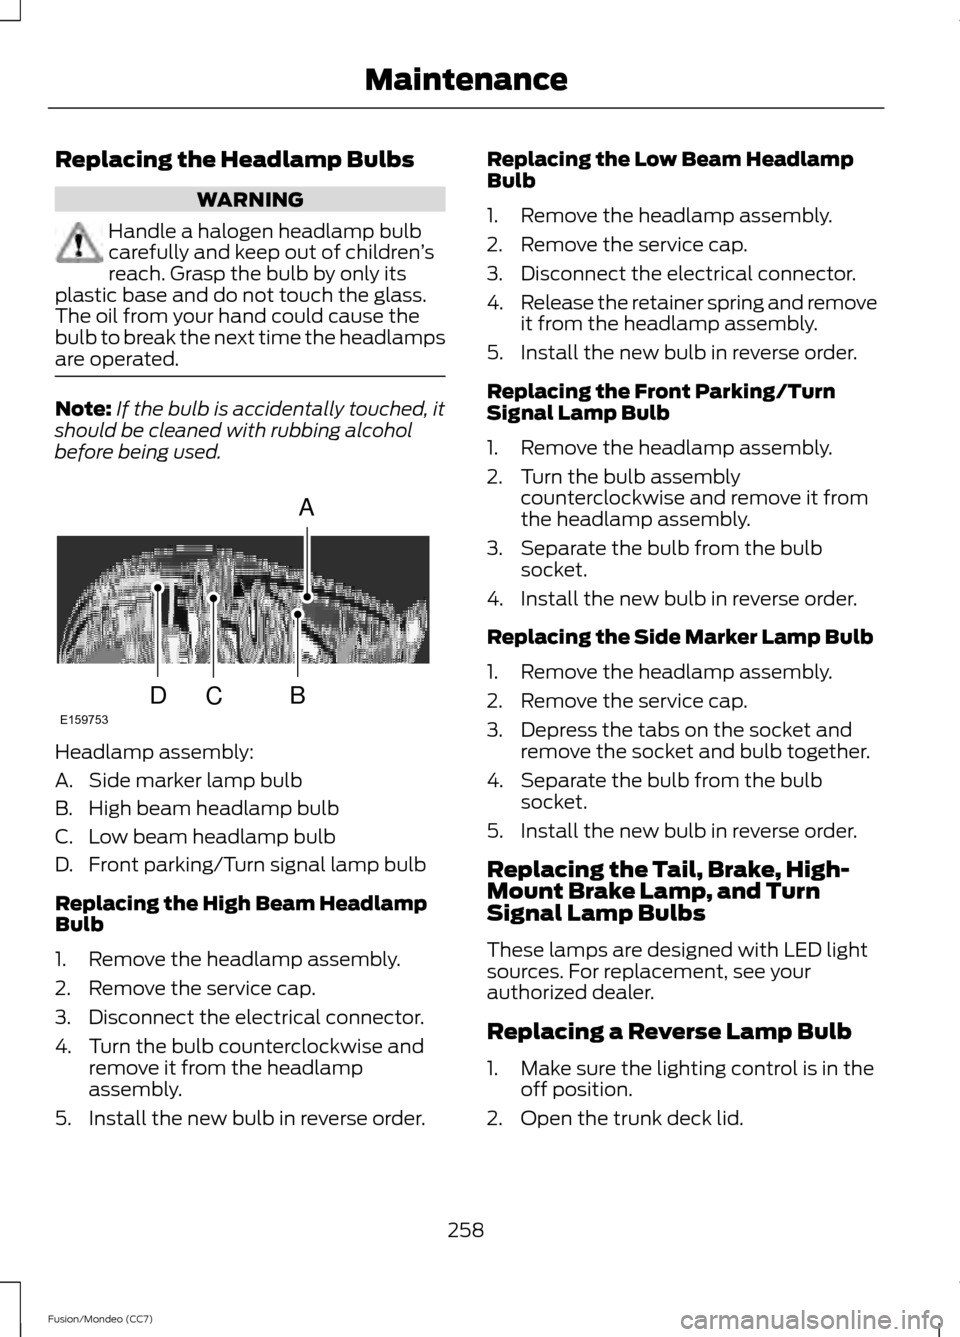
before being used. Headlamp assembly:
A. Side marker lamp bulb
B. High beam headlamp bulb
C. Low beam headlamp bulb
D. Front parking/Turn signal lamp bulb
Replacing the High Beam Headlamp
Bulb
1. Remove the headlamp assembly.
2. Remove the service cap.
3. Disconnect the electrical connector.
4. Turn the bulb counterclockwise and
remove it from the headlamp
assembly.
5. Install the new bulb in reverse order. Replacing the Low Beam Headlamp
Bulb
1. Remove the headlamp assembly.
2. Remove the service cap.
3. Disconnect the electrical connector.
4.
Release the retainer spring and remove
it from the headlamp assembly.
5. Install the new bulb in reverse order.
Replacing the Front Parking/Turn
Signal Lamp Bulb
1. Remove the headlamp assembly.
2. Turn the bulb assembly counterclockwise and remove it from
the headlamp assembly.
3. Separate the bulb from the bulb socket.
4. Install the new bulb in reverse order.
Replacing the Side Marker Lamp Bulb
1. Remove the headlamp assembly.
2. Remove the service cap.
3. Depress the tabs on the socket and remove the socket and bulb together.
4. Separate the bulb from the bulb socket.
5. Install the new bulb in reverse order.
Replacing the Tail, Brake, High-
Mount Brake Lamp, and Turn
Signal Lamp Bulbs
These lamps are designed with LED light
sources. For replacement, see your
authorized dealer.
Replacing a Reverse Lamp Bulb
1. Make sure the lighting control is in the off position.
2. Open the trunk deck lid.
258
Fusion/Mondeo (CC7) MaintenanceA
BCDE159753
Page 262 of 458

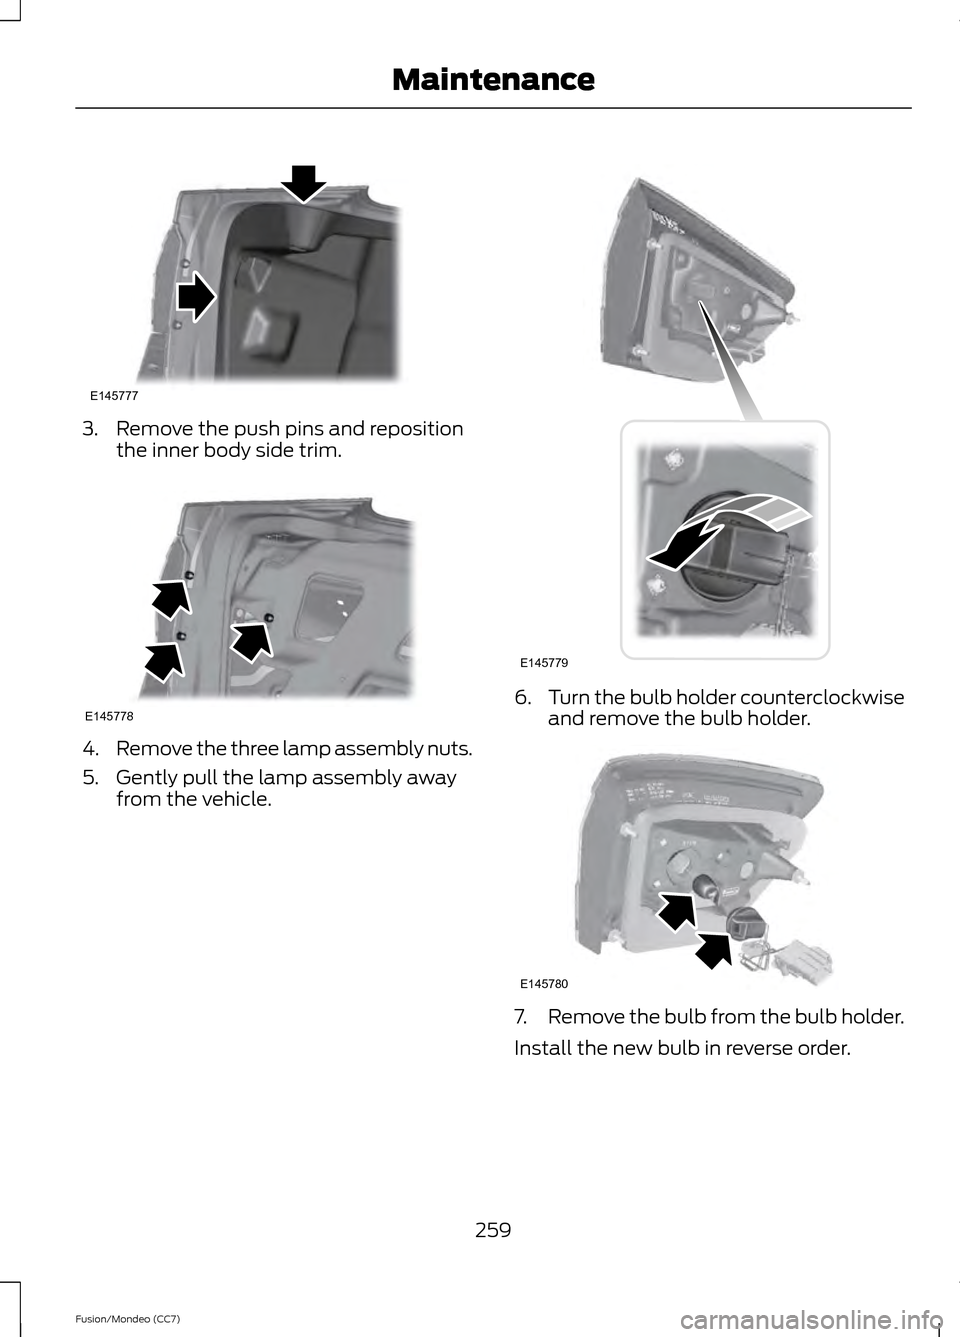
3. Remove the push pins and reposition
the inner body side trim. 4.
Remove the three lamp assembly nuts.
5. Gently pull the lamp assembly away from the vehicle. 6.
Turn the bulb holder counterclockwise
and remove the bulb holder. 7.
Remove the bulb from the bulb holder.
Install the new bulb in reverse order.
259
Fusion/Mondeo (CC7) MaintenanceE145777 E145778 E145779 E145780