Page 50 of 497

•A flexible headliner which opens above the side doors to allow air
curtain deployment.
•Crash sensors and monitoring system with readiness
indicator. SeeCrash Sensors and Airbag Indicatorin this
chapter.
Children 12 years old and under should always be properly restrained in
the rear seats. The Safety Canopy will not interfere with children
restrained using a properly installed child or booster seat because it is
designed to inflate downward from the headliner above the doors along
the side window opening.
The design and development of the Safety Canopy included
recommended testing procedures that were developed by a group of
automotive safety experts known as the Side Airbag Technical Working
Group. These recommended testing procedures help reduce the risk of
injuries related to the deployment of side airbags (including the Safety
Canopy).
CRASH SENSORS AND AIRBAG INDICATOR
WARNING:Modifying or adding equipment to the front end of
your vehicle (including frame, bumper, front end body structure
and tow hooks) may affect the performance of the airbag system,
increasing the risk of injury. Do not modify the front end of your
vehicle.
Your vehicle has a collection of crash and occupant sensors which
provide information to the restraints control module which deploys
(activates) the front safety belt pretensioners, driver airbag, passenger
airbag, seat mounted side airbags, and the Safety Canopy�. Based on the
type of accident (frontal impact, side impact or rollover) the restraints
control module will deploy the appropriate safety devices.
The restraints control module also monitors the readiness of the above
safety devices plus the crash and occupant sensors. The readiness of the
safety system is indicated by a warning indicator light in the instrument
cluster or by a backup tone if the warning light is not working. See
Warning Lamps and Indicatorsin theInstrument Clusterchapter.
Routine maintenance of the airbag is not required.
50Supplementary Restraints System
2013 Expedition(exd)
Owners Guide gf, 1st Printing
USA(fus)
Page 66 of 497

LIFTGATE
WARNING:It is extremely dangerous to ride in a cargo area,
inside or outside of a vehicle. In a collision, people riding in these
areas are more likely to be seriously injured or killed. Do not allow
people to ride in any area of your vehicle that is not equipped with
seats and safety belts. Be sure everyone in your vehicle is in a seat and
using a safety belt properly.
Manual Liftgate
WARNING:Make sure that the liftgate is closed to prevent
exhaust fumes from being drawn into the vehicle. This will also
prevent passengers and cargo from falling out. If you must drive with
the liftgate door open, keep the vehicle well ventilated so outside air
comes into the vehicle.
Note:Be careful when opening or closing the liftgate in a garage or
other enclosed area to avoid damaging the liftgate.
Note:Do not hang anything (bike rack, etc.) from the spoiler, glass or
liftgate. This could damage the liftgate and its components.
Note:Do not leave the liftgate open while driving. This could damage
the liftgate and its components.
The liftgate area is only intended for cargo, not passengers.
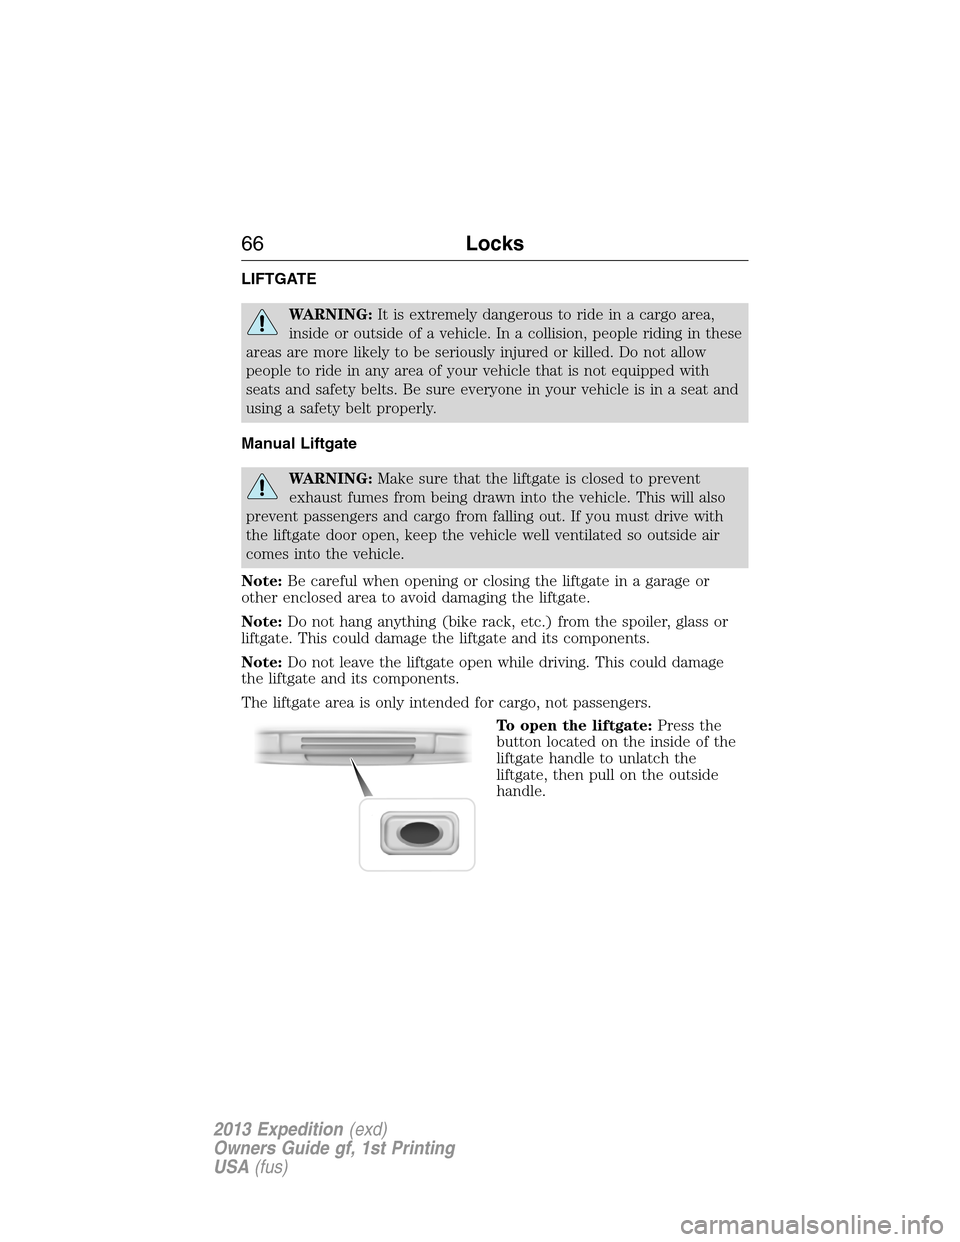
To open the liftgate:Press the
button located on the inside of the
liftgate handle to unlatch the
liftgate, then pull on the outside
handle.
66Locks
2013 Expedition(exd)
Owners Guide gf, 1st Printing
USA(fus)
Page 79 of 497
ADJUSTABLE PEDALS (IF EQUIPPED)
WARNING:Never adjust the accelerator and brake pedal with
feet on the pedals while the vehicle is moving.
The control is located on the left side of the steering column. Press and
hold the appropriate control to move the pedals.
A. Farther
B. Closer
The pedal positions are saved and recalled with the memory feature (if
equipped). Refer to theSeatschapter.
The pedals should only be adjusted when the vehicle is parked.
A
B
Pedals79
2013 Expedition(exd)
Owners Guide gf, 1st Printing
USA(fus)
Page 85 of 497

INTERIOR LAMPS
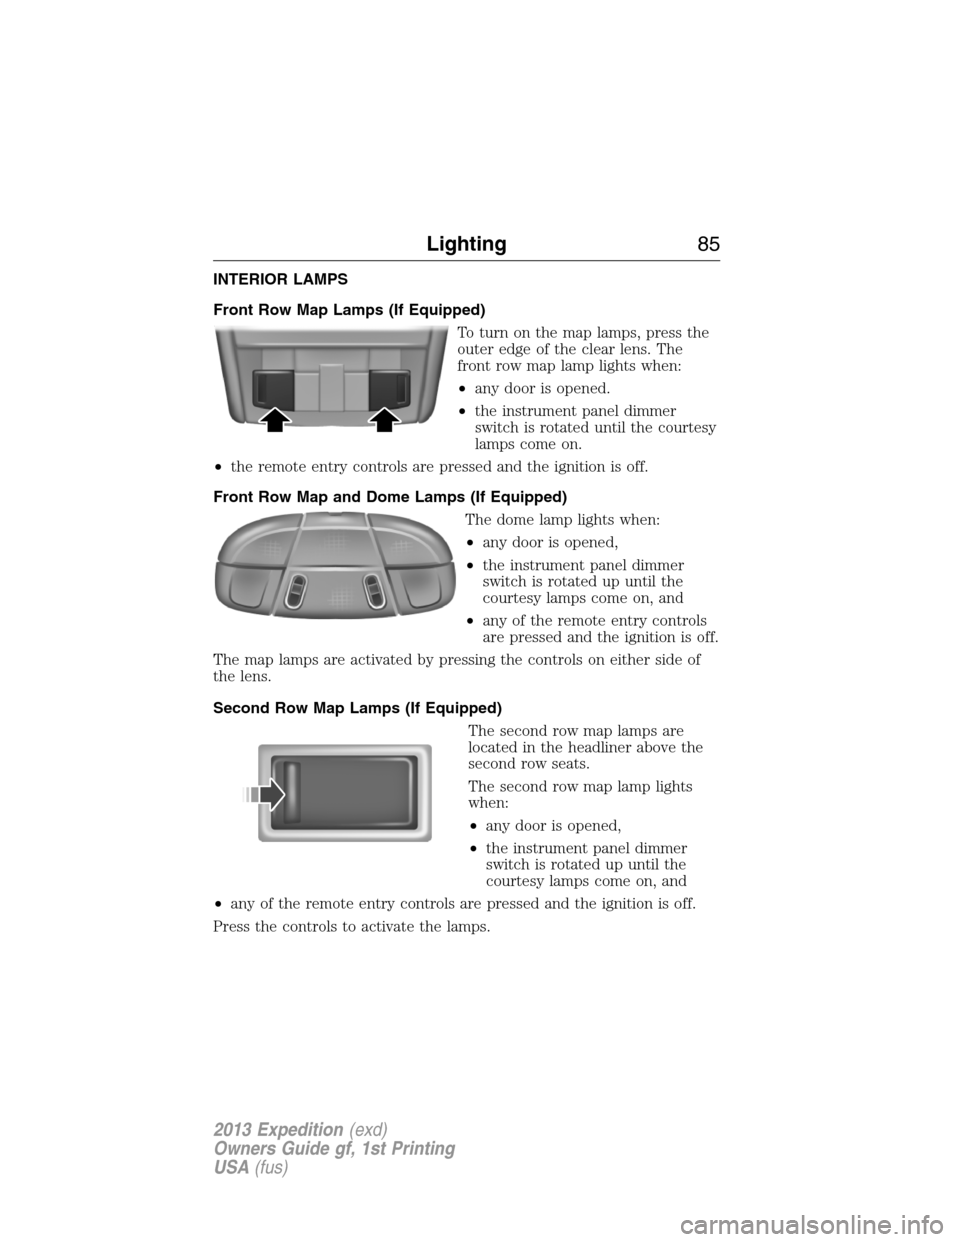
Front Row Map Lamps (If Equipped)
To turn on the map lamps, press the
outer edge of the clear lens. The
front row map lamp lights when:
•any door is opened.
•the instrument panel dimmer
switch is rotated until the courtesy
lamps come on.
•the remote entry controls are pressed and the ignition is off.
Front Row Map and Dome Lamps (If Equipped)
The dome lamp lights when:
•any door is opened,
•the instrument panel dimmer
switch is rotated up until the
courtesy lamps come on, and
•any of the remote entry controls
are pressed and the ignition is off.
The map lamps are activated by pressing the controls on either side of
the lens.
Second Row Map Lamps (If Equipped)
The second row map lamps are
located in the headliner above the
second row seats.
The second row map lamp lights
when:
•any door is opened,
•the instrument panel dimmer
switch is rotated up until the
courtesy lamps come on, and
•any of the remote entry controls are pressed and the ignition is off.
Press the controls to activate the lamps.
Lighting85
2013 Expedition(exd)
Owners Guide gf, 1st Printing
USA(fus)
Page 89 of 497

Fold-Away Exterior Mirrors
Push the mirror toward the door window glass. Make sure that you fully
engage the mirror in its support when returning it to its original position.
Power-Folding Mirrors (If Equipped)
Note:Activating the mirrors 10 or more times within one minute, or
repeated folding and unfolding of the mirrors while holding the control
down during full travel, may disable the system to protect motors from
overheating. Wait approximately three minutes with the vehicle running,
and up to 10 minutes with the vehicle off, for the system to reset and for
function to return to normal.
Pull the control back to fold the
mirrors in or out.
A mirror may also be manually folded by pulling it toward the door
window glass. This may cause the mirror to appear loose and it will need
to be re-synchronized. Pull and hold the control to fold the mirrors in
until movement stops. A click will be heard indicating re-synchronization.
If the click is not heard, use the control to fold the mirrors all the way
out, then in again. Once the click is heard the mirrors will operate
normally until they are again manually folded.
Memory Mirrors (If Equipped)
You can save and recall the mirror positions through the memory
function. SeeMemory functionin theSeatschapter.
Auto-Dimming Feature (If Equipped)
The driver’s side exterior mirror will automatically dim when the interior
auto-dimming mirror is activated.
Signal Indicator Mirrors (If Equipped)
The rear-facing portion of the appropriate mirror housing will blink when
the turn signal is activated.
Windows and Mirrors89
2013 Expedition(exd)
Owners Guide gf, 1st Printing
USA(fus)
Page 150 of 497

DUAL AUTOMATIC TEMPERATURE CONTROL SYSTEM WITHOUT
HEATED AND COOLED SEATS
A.AUTO:Press to turn on fully automatic operation. Select the desired
temperature using the temperature control. The system automatically
determines fan speed, air distribution, A/C operation, and outside or
recirculated air, to heat or cool the vehicle to maintain the selected
temperature.
B.EXT:Press to display the outside temperature. Press again to display
the interior temperature.
Note:The exterior temperature reading is more accurate when the
vehicle is moving.
C.REAR (on/off):Press to turn on the auxiliary climate controls in the
rear of the floor console. Press again to turn the auxiliary system off.
When this button is pressed, the display only shows the rear temperature
setting. After the rear setting changes are completed on the front
control, the display automatically shows both climate settings.
D.Defrost:Distributes air through the windshield defroster vents and
demister vents. This setting can also be used to defog and clear the
windshield of a thin covering of ice.
E.REAR (temperature control):Press to turn on the auxiliary
climate control system and to set the desired rear temperature with the
front control. The rear temperature is the same as the front temperature
when only the center rear temperature bar is lit. The rear temperature is
different from the front temperature when more than one rear
temperature bar is lit.
AUTO
OFF
EXT REAR
FA/C
R
R R
R
O
A
PNMLKJIH
DE
F
G
R
Q
BC
150Climate Control
2013 Expedition(exd)
Owners Guide gf, 1st Printing
USA(fus)
Page 152 of 497

DUAL AUTOMATIC TEMPERATURE CONTROL SYSTEM WITH
HEATED AND COOLED SEATS
A.AUTO:Press to turn on fully automatic operation. Select the desired
temperature using the temperature control. The system automatically
determines fan speed, air distribution, A/C operation, and outside or
recirculated air, to heat or cool the vehicle to maintain the selected
temperature.
B.A/C:Press to turn air conditioning on or off. Air conditioning cools
the vehicle using outside air. To improve air conditioning when starting
your vehicle, drive with the windows slightly open for two to three
minutes.
C.EXT:Press to display the outside temperature. Press again to display
the interior temperature.
Note:The exterior temperature reading is more accurate when the
vehicle is moving.
D.Recirculated air:Press to switch between outside air and
recirculated air. Using recirculated air can reduce the time needed to
cool the interior and reduce unwanted odors from entering your vehicle.
E.Defrost:Distributes air through the windshield defroster vents and
demister vents. This setting can also be used to defog and clear the
windshield of a thin covering of ice.
AUTO
OFF
A/C EXT
FREAR
R
R R
R
A
PONMLKJI
EF
G
H
R
Q
BDC
152Climate Control
2013 Expedition(exd)
Owners Guide gf, 1st Printing
USA(fus)
Page 153 of 497

F.REAR (temperature control):Press to turn on the auxiliary climate
control system and to set the desired rear temperature with the front
control. The rear temperature is the same as the front temperature when
only the center rear temperature bar is lit. The rear temperature is
different from the front temperature when more than one rear
temperature bar is lit.
When this button is pressed, the display only shows the rear temperature
setting. After the rear setting changes are completed on the front
control, the display automatically shows both climate settings.
G.Passenger temperature control:Press and turn to increase or
decrease the air temperature on the passenger side of the vehicle.
H.Rear defrost:Press to turn the heated windows and mirrors on and
off. SeeHeated windows and mirrorslater in this chapter for more
information.
I.Auxiliary climate control fan speed:Press to turn on the auxiliary
climate control system or to adjust the rear fan speed from the front
control.
J.Passenger heated seat control:Press to switch the passenger
heated seat on and off. SeeHeated seatsin theSeatschapter for more
information.
K.Passenger cooled seat control:Press to switch the passenger
cooled seat on and off. SeeHeated and cooled seatsin theSeats
chapter for more information.
L.REAR (on/off):Press to turn on the auxiliary climate controls in the
rear of the floor console. Press again to turn the auxiliary system off.
When this button is pressed, the display only shows the rear temperature
setting. After the rear setting changes are completed on the front
control, the display automatically shows both climate settings.
M.Air distribution control:Turn to set the air distribution to a
position listed below:
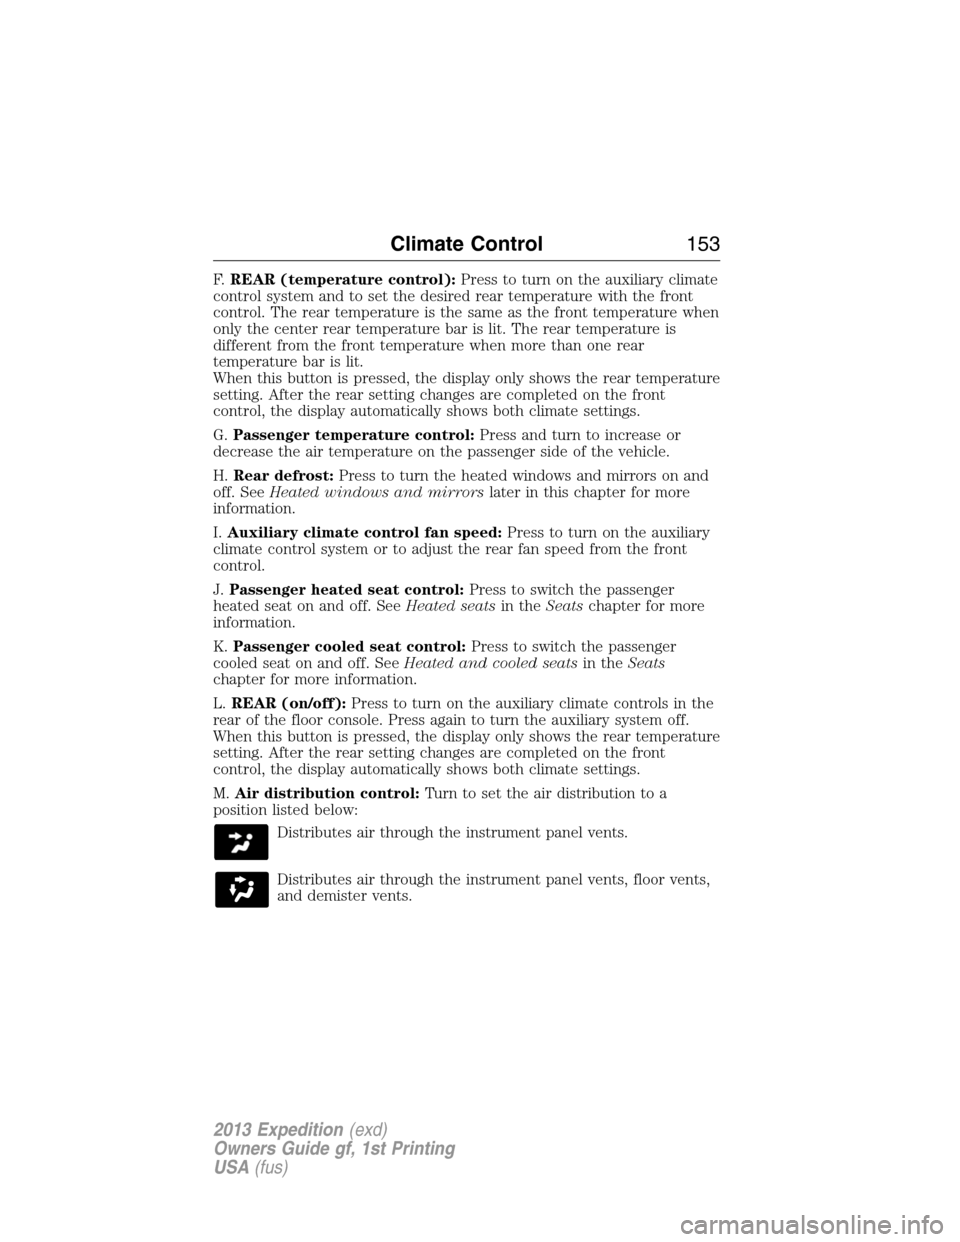
Distributes air through the instrument panel vents.
Distributes air through the instrument panel vents, floor vents,
and demister vents.
Climate Control153
2013 Expedition(exd)
Owners Guide gf, 1st Printing
USA(fus)