2013 DODGE VIPER light
[x] Cancel search: lightPage 3 of 100

INTRODUCTION/WELCOME
WELCOME FROM CHRYSLER
GROUP LLC..................2
CONTROLS AT A GLANCE
DRIVER COCKPIT ...............4
INSTRUMENT CLUSTER ...........6
GETTING STARTED
KEYFOB ....................8
ENGINE STARTING/STOPPING .......9
THEFT ALARM .................9
SEATBELT ...................10
SUPPLEMENTAL RESTRAINT
SYSTEM (SRS) — AIR BAGS ........10
CHILD RESTRAINTS .............11
FRONT SEATS ................14
ADJUSTABLE PEDALS ...........16
ADJUSTABLE FOOT REST ..........16
TILT / TELESCOPING STEERING
COLUMN ...................17
OPERATING YOUR VEHICLE
ENGINE BREAK-IN RECOMMENDATIONS —
SRT 10 VERSIONS .............18
TURN SIGNALS/WIPER/WASHER/HIGH
BEAMS LEVER ................19
HEADLIGHT SWITCH ............20
SPEED CONTROL ...............20
MANUAL TRANSMISSION 1 TO 4 SKIP
SHIFT .....................21
AUTOMATIC TEMPERATURE
CONTROL (ATC) ...............22
PARKVIEW
®REAR BACK-UP CAMERA . . 23
ELECTRONICS
YOUR VEHICLE'S SOUND SYSTEM ....24
IDENTIFYING YOUR RADIO .........26
Uconnect™ Access (Available on Uconnect™
8.4A and Uconnect™ 8.4AN) ........27
Uconnect™ 8.4A ...............30
Uconnect™ 8.4AN ..............43
STEERING WHEEL AUDIO CONTROLS . . 58
ELECTRONIC VEHICLE INFORMATION
CENTER (EVIC) ................58
PROGRAMMABLE FEATURES .......59
UNIVERSAL GARAGE DOOR OPENER
(HomeLink
®) .................61
POWER OUTLETS ..............63
UTILITY
TRAILER TOWING WEIGHTS
(MAXIMUM TRAILER WEIGHT
RATINGS)...................64
RECREATIONAL TOWING
(BEHIND MOTORHOME, ETC.) ......64
SRT
LAUNCH MODE................65
ELECTRONIC CONTROL DAMPING
SYSTEM ....................66
PERFORMANCE FEATURES ........67
SUMMER/THREE-SEASON TIRES .....67
WHAT TO DO IN EMERGENCIES
INSTRUMENT CLUSTER WARNING
LIGHTS....................68
IF YOUR ENGINE OVERHEATS .......71
TIREFIT KIT .................72
JUMP-STARTING ...............78
TOWING A DISABLED VEHICLE ......80
FREEING A STUCK VEHICLE ........80
EVENT DATA RECORDER (EDR) ......81
MAINTAINING YOUR VEHICLE
ENGINE COMPARTMENT..........82
FLUIDS AND CAPACITIES ..........83
MAINTENANCE CHART ...........84
SRT – MAINTENANCE RECORD ......85
FUSES .....................86
TIRE PRESSURES ..............89
WHEEL AND WHEEL TRIM CARE .....90
EXTERIOR BULBS ..............90
CONSUMER ASSISTANCE
CHRYSLER GROUP LLC
CUSTOMER CENTER ............91
CHRYSLER CANADA INC.
CUSTOMER CENTER ............91
ASSISTANCE FOR THE HEARING
IMPAIRED ...................91
PUBLICATIONS ORDERING ........91
REPORTING SAFETY DEFECTS IN
THE 50 UNITED STATES AND
WASHINGTON, D.C. .............92
MOPAR ACCESSORIES
AUTHENTIC ACCESSORIES
BY MOPAR®.................93
INDEX....................94
FAQ (How To?)
FREQUENTLY ASKED QUESTIONS ....96
TABLE OF CONTENTS
Page 7 of 100

A. Turn Signal/Wiper/Washer/High BeamsLever (behind steering wheel) pg. 19
B. Tachometer
C. Ignition Start/Stop Button (behind steering wheel) pg. 9
D. Uconnect™ 8.4AN pg. 43
E. Emergency Brake F. Hazard Button
G. Power Outlets pg. 63
H. Automatic Climate Control
• Automatic Climate Controls pg. 22
• Air Conditioning (A/C) pg. 22
• Recirculation pg. 22
• Heated Mirrors pg. 22 I. Electronic Speed Control pg. 20
J. Adjustable Pedals pg. 16
K. Electronic Vehicle Information Center
(EVIC) Messages pg. 58
L. Headlight Switch pg. 20
M. Power Mirrors
N. Power Door Locks
CONTROLS AT A GLANCE
5
Page 8 of 100

INSTRUMENT CLUSTER
Warning Lights
- Low Fuel Warning Light
- Battery Charge Light**
- Oil Pressure Warning Light
- Anti-Lock Brake (ABS) Light**
- Air Bag Warning Light**
- Electronic Throttle Control (ETC) Light
- Tire Pressure Monitoring System (TPMS) Light
- Engine Temperature Warning Light
- Seat Belt Reminder Light
BRAKE- Brake Warning Light**
- Malfunction Indicator Light (MIL)**
- Electronic Stability Control (ESC) Activation/Malfunction Indicator Light*
(See page 68 for more information.)
CONTROLS AT A GLANCE
6
Page 12 of 100

SEAT BELT
• Be sure everyone in your vehicle is in a seat and using a seat belt properly.
• Position the lap belt across your thighs, below your abdomen. To remove slack in the lapportion, pull up a bit on the shoulder belt. To loosen the lap belt if it is too tight, tilt the
latch plate and pull on the lap belt. A snug belt reduces the risk of sliding under the belt
in a collision.
• Position the shoulder belt on your chest so that it is comfortable and not resting on your neck. The retractor will withdraw any slack in the belt.
• A shoulder belt placed behind you will not protect you from injury during a collision. You are more likely to hit your head in a collision if you do not wear your shoulder belt.
The lap and shoulder belt are meant to be used together.
• A belt that is too loose will not protect you properly. In a sudden stop you could move too far forward, increasing the possibility of injury. Wear your seat belt snugly.
• A frayed or torn belt could rip apart in a collision and leave you with no protection. Inspect the belt system periodically, checking for cuts, frays, or loose parts. Damaged
parts must be replaced immediately. Do not disassemble or modify the system. Seat
belt assemblies must be replaced after a collision if they have been damaged (bent
retractor, torn webbing, etc.).
• The seat belts for both front seating positions are equipped with pretensioning devices that are designed to remove slack from the seat belt in the event of a collision.
• A deployed pretensioner or a deployed air bag must be replaced immediately.
WARNING!
In a collision, you and your passengers can suffer much greater injuries if you are not
buckled up properly. You can strike the interior of your vehicle or other passengers, or
you can be thrown out of the vehicle. Always be sure you and others in your vehicle are
buckled up properly.
SUPPLEMENTAL RESTRAINT SYSTEM (SRS) — AIR BAGS
• This vehicle has Advanced Front Air Bags for both the driver and right front passenger as a supplement to the seat belt restraint system. The Advanced Front Air Bags will not
deploy in every type of collision.
• Advanced Front Air Bags are designed to provide additional protection by supplement- ing the seat belts in certain frontal collisions depending on several factors, including
the severity and type of collision. Advanced Front Air Bags are not expected to reduce
the risk of injury in rear, side, or rollover collisions.
• If the Air Bag Warning Light
is not on during starting, stays on, or turns on while
driving, have the vehicle serviced by an authorized service center immediately.
• Refer to the Owner's Manual on the DVD for further details regarding the Supplemental Restraint System (SRS).
GETTING STARTED
10
Page 21 of 100

TURN SIGNALS/WIPER/WASHER/HIGH BEAMS LEVER
Wipers
Intermittent, Low And High Operation
• Rotate the end of the lever to the first detent position for one of five intermittentsettings, the second detent for low wiper operation and the third detent for high wiper
operation.
Washer Operation
• Push the end of the lever inward to the second detent and hold for as long as spray is desired.
Mist Feature
• When a single wipe to clear off road mist or spray from a passing vehicle is needed, push the washer knob, located on the end of the multifunction lever, inward to the first
detent and release. The wipers will cycle one time and automatically shut off.
High Beams
• Push the lever away from you to activate the high beams.
• A high beam symbol will illuminate in the cluster to indicate the high beams are on.
NOTE:
For safe driving, turn off the high beams when oncoming traffic is present to prevent
headlight glare and as a courtesy to other motorists.
OPERATING YOUR VEHICLE
19
Page 22 of 100

HEADLIGHT SWITCH
Automatic Headlights/Parking Lights/Headlights
•Rotate the headlight switch, located on
the instrument panel to the left of the
steering wheel, to the first detent from the
off position for parking light
and to
the second detent for headlight
.
• Rotate the headlight switch to “AUTO” for AUTO headlights.
• When set to AUTO, the system automati- cally turns the headlights on or off based
on ambient light levels.
Instrument Panel Dimmer
• Rotate the dimmer control to the extreme bottom position to fully dim the instrument
panel lights and prevent the interior lights from illuminating when a door is opened.
• Rotate the dimmer control up to increase the brightness of the instrument panel when the parking lights or headlights are on.
• Rotate the dimmer control up to the next detent position to fully brighten the odometer and radio when the parking lights or headlights are on. Refer to your Uconnect™/Radio
User Manual on the DVD for display dimming.
•
Rotate the dimmer control up to the last detent position to turn on the interior lighting.
SPEED CONTROL
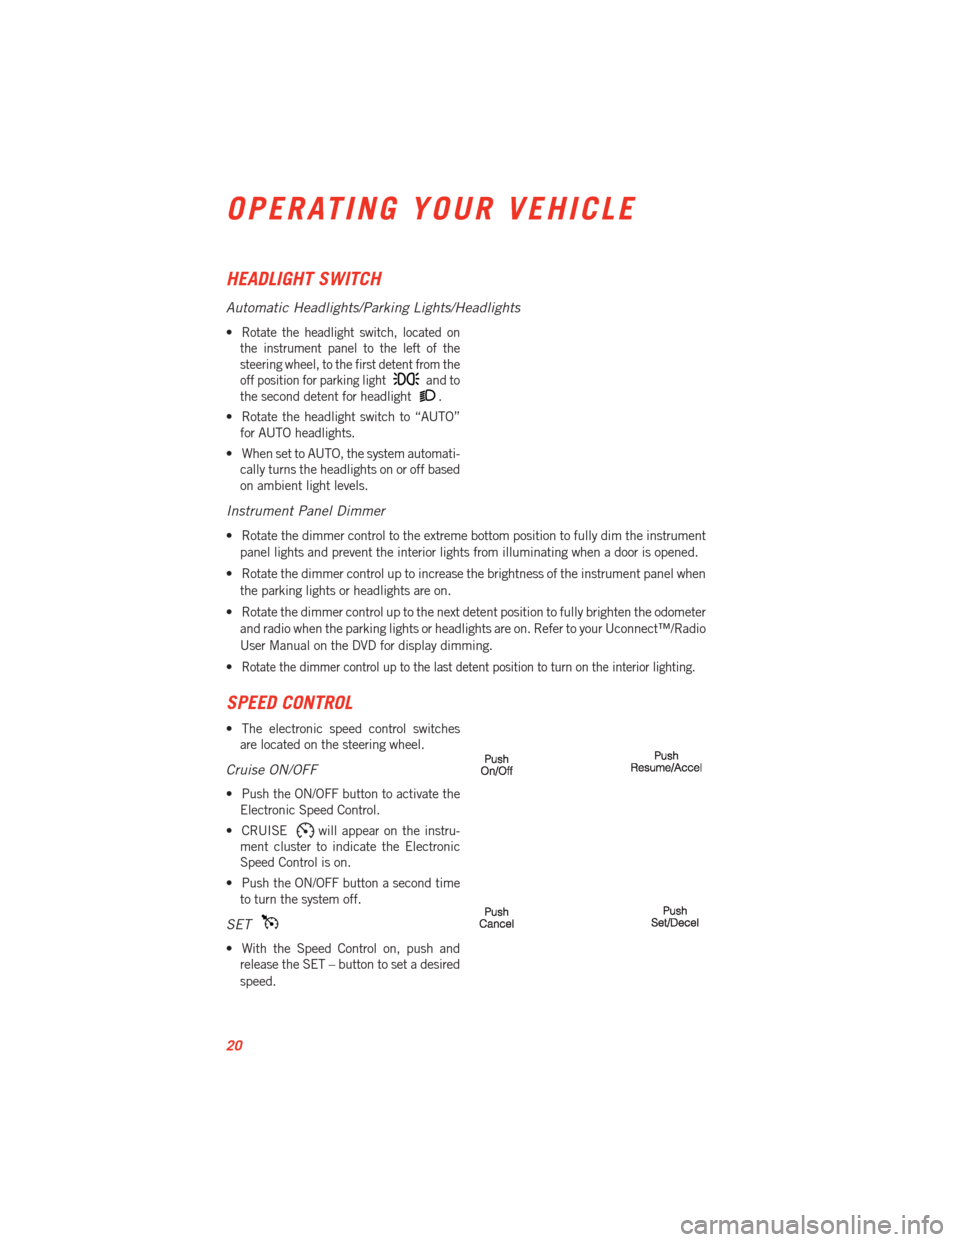
• The electronic speed control switches are located on the steering wheel.
Cruise ON/OFF
• Push the ON/OFF button to activate theElectronic Speed Control.
• CRUISE
will appear on the instru-
ment cluster to indicate the Electronic
Speed Control is on.
• Push the ON/OFF button a second time to turn the system off.
SET
• With the Speed Control on, push andrelease the SET – button to set a desired
speed.
OPERATING YOUR VEHICLE
20
Page 24 of 100

AUTOMATIC TEMPERATURE CONTROL (ATC)
• Press the AUTO button or AUTO soft-key.
• Select the desired temperature by pushing the up or down temperature buttons for thedriver or passenger.
• The system will maintain the set temperature automatically.
Air Conditioning (A/C)
• If the air conditioning button is pressed while in AUTO mode, the system will exit AUTO mode and stay in A/C. The mode and blower will go to the previous user setting.
Air Recirculation
• Use recirculation for maximum A/C operation.
• For window defogging turn the recirculation button off.
• If the recirculation button is pushed while in the AUTO mode, the indicator light mayflash three times to indicate the cabin air is being controlled automatically.
Heated Mirrors
• The mirrors are heated to melt frost or ice. This feature is activated whenever you turnon the rear window defroster.
OPERATING YOUR VEHICLE
22
Page 29 of 100

Uconnect™ Access (Available on Uconnect™ 8.4A and
Uconnect™ 8.4AN)
• With Uconnect™ Access, owners now have emergency and remote vehicle featuresand apps. In-vehicle features include 9-1-1 Call, and Roadside Assistance Call. Your
vehicle is also capable of remote vehicle features such as Remote Start, Remote Door
Lock/Unlock, and Remote Horn and Lights , once you are registered and have
downloaded the Uconnect™ Access Mobile App on a compatible smartphone.
• Your vehicle comes with an included trial period for use of the Uconnect™ Access features. To activate the trial, you must first register with Uconnect™. See the simple
registration steps below. Once registered, Uconnect™ Access customers can purchase
additional features and Apps as they become available. After the trial period, you
can subscribe for continued service . For Uconnect™ customer support, visit
www.Uconnect-Phone.com or call 1–877–855–8400. (U.S. Residents). Canadian
Residents call, 1-800-465–2001 (English) or 1-800-387-9983 (French).
Uconnect™ Access In-Vehicle Features
Uconnect™ Access in-vehicle features do not require that you have a compatible smart-
phone. Instead, they work by using the built-in 3G Cellular Connection. For additional
information, contact Uconnect™ Customer Care at 855-792-4241, or visit Owner Connect
at driveSRT.com/MoparOwnerConnect.
Assist Call
•
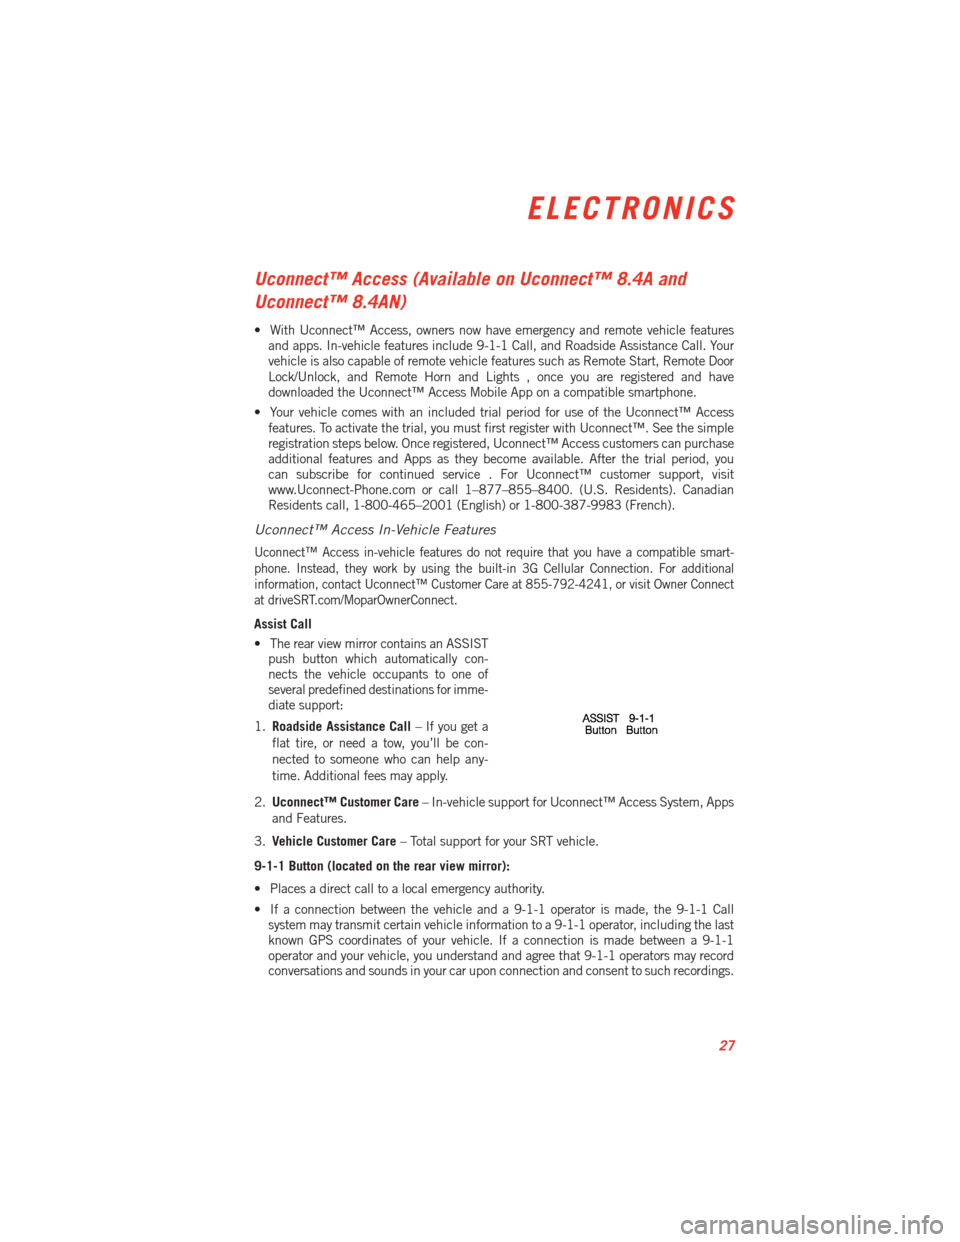
The rear view mirror contains an ASSIST
push button which automatically con-
nects the vehicle occupants to one of
several predefined destinations for imme-
diate support:
1. Roadside Assistance Call – If you get a
flat tire, or need a tow, you’ll be con-
nected to someone who can help any-
time. Additional fees may apply.
2. Uconnect™ Customer Care – In-vehicle support for Uconnect™ Access System, Apps
and Features.
3. Vehicle Customer Care – Total support for your SRT vehicle.
9-1-1 Button (located on the rear view mirror):
• Places a direct call to a local emergency authority.
• If a connection between the vehicle and a 9-1-1 operator is made, the 9-1-1 Call system may transmit certain vehicle information to a 9-1-1 operator, including the last
known GPS coordinates of your vehicle. If a connection is made between a 9-1-1
operator and your vehicle, you understand and agree that 9-1-1 operators may record
conversations and sounds in your car upon connection and consent to such recordings.
ELECTRONICS
27