2013 DODGE JOURNEY audio
[x] Cancel search: audioPage 59 of 116

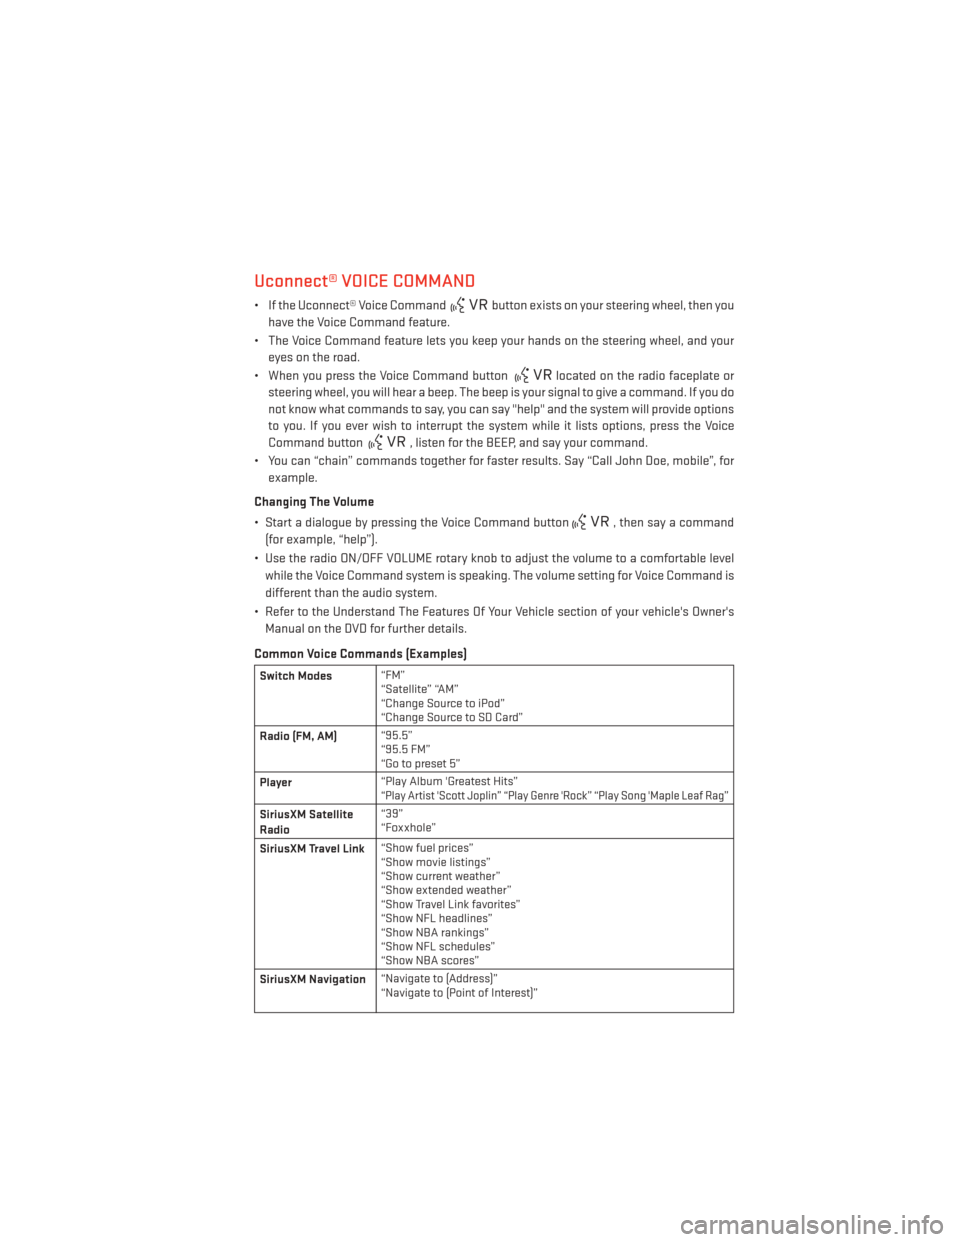
Uconnect® VOICE COMMAND
• If the Uconnect® Voice Commandbutton exists on your steering wheel, then you
have the Voice Command feature.
• The Voice Command feature lets you keep your hands on the steering wheel, and your eyes on the road.
• When you press the Voice Command button
located on the radio faceplate or
steering wheel, you will hear a beep. The beep is your signal to give a command. If you do
not know what commands to say, you can say "help" and the system will provide options
to you. If you ever wish to interrupt the system while it lists options, press the Voice
Command button
, listen for the BEEP, and say your command.
• You can “chain” commands together for faster results. Say “Call John Doe, mobile”, for example.
Changing The Volume
• Start a dialogue by pressing the Voice Command button
, then say a command
(for example, “help”).
• Use the radio ON/OFF VOLUME rotary knob to adjust the volume to a comfortable level while the Voice Command system is speaking. The volume setting for Voice Command is
different than the audio system.
• Refer to the Understand The Features Of Your Vehicle section of your vehicle's Owner's Manual on the DVD for further details.
Common Voice Commands (Examples)
Switch Modes “FM”
“Satellite” “AM”
“Change Source to iPod”
“Change Source to SD Card”
Radio (FM, AM) “95.5”
“95.5 FM”
“Go to preset 5”
Player “Play Album 'Greatest Hits”
“Play Artist 'Scott Joplin” “Play Genre 'Rock” “Play Song 'Maple Leaf Rag”
SiriusXM Satellite
Radio“39”
“Foxxhole”
SiriusXM Travel Link “Show fuel prices”
“Show movie listings”
“Show current weather”
“Show extended weather”
“Show Travel Link favorites”
“Show NFL headlines”
“Show NBA rankings”
“Show NFL schedules”
“Show NBA scores”
SiriusXM Navigation “Navigate to (Address)”
“Navigate to (Point of Interest)”
ELECTRONICS
57
Page 61 of 116

WARNING!
Any voice commanded system should be used only in safe driving conditions following
applicable laws regarding phone use. Your attention should be focused on safely oper-
ating the vehicle. Failure to do so may result in a collision causing you and others to be
severely injured or killed.
VIDEO ENTERTAINMENT SYSTEM (VES™)
System Operation
• The screen is located on the headliner behind the front seat. To lower the screen, pressthe release button located in the rear of the overhead console.
• The system may be controlled by the front seat occupants using the touch-screen radio, or by the rear seat occupants using the remote control.
• The video screen displays information in a split-screen format. The left side of the screen is referred to as Channel 1 and the right side of the screen is referred to as Channel 2.
All modes except video modes are displayed in a split-screen format.
• To use the headphones, press the power button located on the right ear cup. Select the channel on the headphones (1 or 2) that corresponds to the channel selected on the
VES™ screen.
Operation Of The Remote
•
The remote control operates similarly to any DVD remote you have used before and allows
the rear seat passengers to change stations, tracks, discs and audio/video modes.
• The remote control is designed to control either channel by using the selector switch located on the right side of the remote.
• Pressing the power button will turn the VES™ system ON/OFF.
• Pressing the MODE button causes the Mode Selection menu to appear on the VES™ screen. Use the remote control arrow buttons to scroll through the available modes, then
press ENTER to select the desired mode.
Auxiliary Audio/Video Input Jacks
• The Aux jacks are located on the rear of the center console.
• Connect the video game or other external media devices to the AUX jacks following the color coding for VES™ jacks.
• Using either the touch-screen radio or remote control, select AUX from the Rear VES™ Control or Mode Selection screen.
• Refer to your vehicle's Owners Manual on the DVD for further details.
ELECTRONICS
59
Page 63 of 116

Uconnect® 4.3 Customer Programmable Features
• The Uconnect® 4.3 system allows you to access Customer Programmable feature set-tings such as Display, Clock, Safety/Assistance, Lights, Doors & Locks, Heated Seats,
Engine Off Operation, Compass Settings, Audio, Phone/ Bluetooth and SIRIUS Setup
through hard-keys and soft-keys.
• Press the Settings hard-key to on the right side of the unit to access the Settings screen, use the Page Up/Down soft-keys to scroll through the following settings. The following
feature settings are available:
• Display • Engine Off Options
• Clock • Compass Settings
• Safety / Assistance • Audio
• Lights • Phone / Bluetooth
• Doors & Locks • SIRIUS Setup
• Heated Seats
Uconnect® 8.4 Customer Programmable Features
• The Uconnect® 8.4 system allows you to access Customer Programmable feature set- tings such as Display, Clock, Safety/Assistance, Lights, Doors & Locks, Heated Seats,
Engine Off Operation, Compass Settings, Audio, Phone/ Bluetooth and SIRIUS Setup
through soft-keys.
• Touch the More soft-key on the bottom of the screen, then touch the Settings soft-key to access the Settings screen. When making a selection, scroll up or down until the
preferred setting is highlighted, then press and release the preferred setting until a
check-mark appears next to the setting, showing that setting has been selected. The
following feature settings are available:
• Display • Engine Off Options
• Clock • Compass Settings
• Safety / Assistance • Audio
• Lights • Phone / Bluetooth
• Doors & Locks • SIRIUS Setup
• Heated Seats
ELECTRONICS
61
Page 99 of 116

FUSES
Interior Fuses
• The interior fuse panel is located on the passenger side under the instrument panel.
Cavity Cartridge Fuse Mini-FuseDescription
F100 30 Amp Pink 110V AC Inverter – If Equipped
F101 10 Amp RedInterior Lights
F102 20 Amp YellowCigar Lighter in Instrument Panel/
Left Rear Power Outlet
F103 20 Amp YellowPower Outlet in Console Bin/Power
Outlet in Rear of Console
F105 20 Amp Yellow Heated Seats – If Equipped
F106 20 Amp YellowRear Power Outlet
F107 10 Amp Red Rear Camera – If Equipped
F108 15 Amp BlueInstrument Panel
F109 10 Amp RedClimate Control/HVAC
F110 10 Amp Red Occupant Restraint Controller
F112 10 Amp Red Spare
F114 20 Amp Yellow Rear HVAC Blower/Motor
F115 20 Amp YellowRear Wiper Motor
F116 30 Amp Pink Rear Defroster (EBL)
F117 10 Amp RedHeated Mirrors
F118 10 Amp Red Occupant Restraint Controller
F119 10 Amp Red Steering Column Control Module
F120 10 Amp Red All Wheel Drive – If Equipped
F121 15 Amp Blue Wireless Ignition Node
F122 25 Amp Natural Driver Door Module
F123 25 Amp Natural Passenger Door Module
F124 10 Amp RedMirrors
F125 10 Amp Red Steering Column Control Module
F126 10 Amp RedAudio Amplifier
F127 20 Amp Yellow Trailer Tow – If Equipped
F128 15 Amp Blue Radio
F129 15 Amp Blue Video/DVD – If Equipped
F130 15 Amp Blue Climate Control/Instrument Panel
F131 10 Amp RedPassenger Assistance/Hands Free
System – If Equipped
F132 10 Amp RedTire Pressure Module
F133 10 Amp RedSpare
MAINTAINING YOUR VEHICLE
97
Page 108 of 116

Instrument ClusterIndicators ...............7
Instrument Cluster Warning Lights ....6
Interior Fuses ...............97
Intermittent Wipers (Delay Wipers) ....26
Introduction ................2
Inverter Outlet (115V) ...........65
Inverter,Power..............65
iPod®/USB/MP3 Control .........50
BluetoothStreamingAudio .....51
Jacking Instructions ...........76
Jack Location ...............73
Jack Operation ............73,76
Jump Starting ...............81
KeyFob...................8
Keyless Enter-N-Go ............9
Lock/Unlock ............9,11
Lane Change Assist ...........26
LATCH (Lower Anchors and Tether for CHildren) ............15,16
Lights Warning (Instrument Cluster
Description) ..............6
Locks Liftgate, Tailgate ...........8
Maintenance Record ...........96
Malfunction Indicator Light (CheckEngine).............70
Mirrors Heated ................31
MOPAR® Accessories ..........104
New Vehicle Break-In Period .......25
Oil Change Indicator ............71
Oil Change Indicator, Reset ........71
Oil, Engine Capacity ...............90
Outlet Power.................66
Overheating, Engine ...........72 Placard, Tire and Loading
Information ..............100
Power Distribution Center (Fuses) .....98
Inverter ................65
Outlet (Auxiliary Electrical Outlet)...66
Seats .................18
Steering ...............90
Preparation for Jacking ..........74
Programmable Electronic Features . . .60
Rain Sensitive Wiper System .......26
RearCamera...............32
Rear Park Sense System .........32
Rear Seat, Folding ............20
Recreational Towing ...........67
Replacement Bulbs ...........101
Reporting Safety Defects ........103
Rocking Vehicle When Stuck .......85
Seat Belts .................13
Seats .................18,19
Adjustment ..............19
Folding Front Passenger .......19
Heated ................22
Power .................18
Rear Folding .............20
Shift Lever Override ............83
Signals, Turn ...............26
SIRIUSTravelLink ............49
SpareTire.................73
SparkPlugs................90
Speed Control Accel/Decel .............28
Distance Setting (ACC Only) .....28
Steering Tilt Column ..............24
Wheel, Heated ............23
Stuck, Freeing ..............85
Supplemental Restraint System - Airbag .................14
Temperature Control, Automatic (ATC)..30
Theft System Arming ...........12
Theft System Disarming .........12
INDEX
106
Page 110 of 116

FREQUENTLY ASKED QUESTIONS
GETTING STARTED
• How do I install my LATCH Equipped Child Seat? pg. 16
• How do I move my rear seats? pg. 20
ELECTRONICS
• How do I know which radio I have?• Uconnect® 4.3 & 4.3S pg. 37
• Uconnect® 8.4 & 8.4N pg. 38
• How do I select the AUX music source? pg. 50
• How do I set the clock on my radio?
• Uconnect® 4.3 & 4.3S pg. 37
• Uconnect® 8.4 & 8.4N pg. 38
• How do I use the Navigation feature? pg. 46
• How do I pair my cell phone via Bluetooth® with the Uconnect® Hands-Free Voice Activation System? pg. 51
• How do I hear the audio from my iPod® through the USB port using the radio?
• Uconnect® 4.3 & 4.3S pg. 50
• Uconnect® 8.4, 8.4N pg. 50
• How do I configure my Universal Garage Door Opener (HomeLink)? pg. 62
UTILITY
• How do I know how much I can tow with my Dodge Journey? pg. 67
WHAT TO DO IN EMERGENCIES
• What do I do if my TPMS warning light is blinking? pg. 68
• How do I change a flat tire? pg. 73
• How do I Jump-Start my vehicle? pg. 81
MAINTAINING YOUR VEHICLE
• Where is my Fuse Block located
• Interior Fuses pg. 97
• Underhood Fuses pg. 98
• What type of oil do I use? pg. 90
• How often should I change my engine’s oil? pg. 92
• What should my tire pressure be set at? pg. 100
FAQ (How To?)
108