2013 DODGE JOURNEY ECU
[x] Cancel search: ECUPage 9 of 116

Indicators
- Turn Signal Indicators
- High Beam Indicator
- Front Fog Light Indicator
- Vehicle Security Indicator*
- Electronic Stability Control (ESC) Off Indicator
- Electronic Speed Control ON Indicator
- Electronic Speed Control SET Indicator
* If equipped
** Bulb Check with Key On
CONTROLS AT A GLANCE
7
Page 11 of 116

REMOTE START
•Press the REMOTE START buttonx2on the Key Fob twice within five seconds. Pressing the
REMOTE START button a third time shuts the engine off.
• To drive the vehicle, press the UNLOCK button and cycle the ignition to the ON/RUN position.
• With remote start, the engine will only run for 15 minutes (timeout) unless the ignition is cycled to the ON/RUN position.
• The vehicle must be cycled to the ON/RUN position after two consecutive timeouts.
WARNING!
• Do not start or run an engine in a closed garage or confined area. Exhaust gas contains Carbon Monoxide (CO) which is odorless and colorless. Carbon Monoxide is
poisonous and can cause you or others to be severely injured or killed when inhaled.
• Keep Key Fob transmitters away from children. Operation of the Remote Start
System, windows, door locks or other controls could cause you and others to be
severely injured or killed.
KEYLESS ENTER-N-GO™
• The Keyless Enter-N-Go™ system is an enhancement to the vehicle's Key Fob. Thisfeature allows you to lock and unlock the vehicle's door(s) and liftgate without having to
press the Key Fob lock or unlock buttons, as well as starting and stopping the vehicle with
the press of a button.
To Unlock From The Driver or Passenger Side:
• With a valid Keyless Enter-N-Go™ Key Fob located outside the vehicle and within 5 ft
(1.5m) of the driver or passenger side door
handle, grab either front door handle to
unlock the door automatically.
To Lock the Vehicle:
• Both front door handles have LOCK but- tons located on the outside of the handle.
With one of the vehicle's Keyless Enter-N-
Go™ Key Fobs located outside the vehicle
and within 5 ft (1.5m) of the driver's or
passenger front door handle, press the
door handle LOCK button to lock all four doors and trunk.
GETTING STARTED
9
Page 17 of 116

CHILD RESTRAINTS
• Children 12 years and under should ride properly buckled up in a rear seat, if available.According to crash statistics, children are safer when properly restrained in the rear
seats rather than in the front.
• Every state in the United States and all Canadian provinces require that small children ride in proper restraint systems. This is the law, and you can be prosecuted for ignoring it.
NOTE:
•
For additional information, refer to www.seatcheck.org or call 1–866–SEAT-CHECK (1–866–
732–8243).
• Canadian residents, should refer to Transport Canada’s website for additional informa- tion http://www.tc.gc.ca/eng/roadsafety/safedrivers-childsafety-index-53.htm.
Integrated Child Booster Seat
• The Integrated Child Booster Seat is located in each outboard second-row passenger seat.
NOTE:
Refer to the Integrated Child Booster Seat information label located on the front lower panel
of the opened Booster Seat for child weight specifications.
• To position a child into the Integrated Child Booster Seat follow these steps: • Slide the second row seat to the full rear position to use the Integrated Child Booster
Seat.
NOTE:
The second row bench with Integrated Child Booster Seat must remain in the full rear
position during use. • Pull the release loop forward to release the latch and seat cushion.
GETTING STARTED
15
Page 20 of 116

WARNING!
• In a collision, an unrestrained child, even a tiny baby, can become a projectile insidethe vehicle. The force required to hold even an infant on your lap could become so
great that you could not hold the child, no matter how strong you are. The child and
others could be severely injured or killed. Any child riding in your vehicle should be in
a proper restraint for the child's size.
• Rearward-facing child seats must NEVER be used in the front seat of a vehicle with a
front passenger air bag. An air bag deployment could cause severe injury or death to
infants in this position.
• Improper installation of a child restraint to the LATCH anchorages can lead to failure
of an infant or child restraint. The child could be severely injured or killed. Follow the
manufacturer’s directions exactly when installing an infant or child restraint.
• An incorrectly anchored tether strap could lead to increased head motion and
possible injury to the child. Use only the anchor positions directly behind the child
seat to secure a child restraint top tether strap.
FRONT SEATS
Power Seats
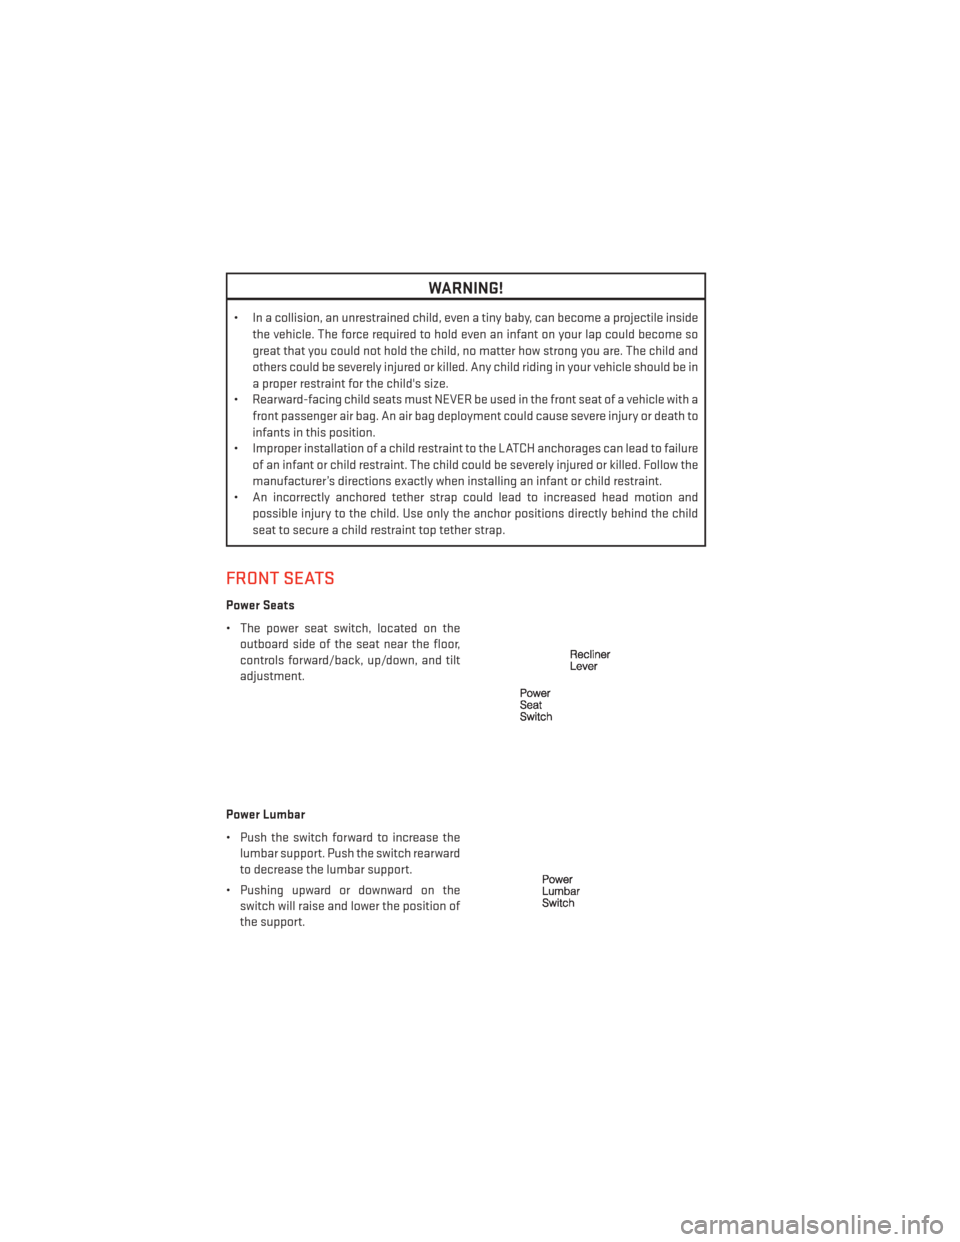
• The power seat switch, located on theoutboard side of the seat near the floor,
controls forward/back, up/down, and tilt
adjustment.
Power Lumbar
• Push the switch forward to increase the lumbar support. Push the switch rearward
to decrease the lumbar support.
• Pushing upward or downward on the switch will raise and lower the position of
the support.
GETTING STARTED
18
Page 22 of 116

CAUTION!
Do not place any article under a power seat or impede its ability to move as it may cause
damage to the seat controls. Seat travel may become limited if movement is stopped by
an obstruction in the seat’s path.
WARNING!
•Adjusting a seat while the vehicle is moving is dangerous. The sudden movement of the
seat could cause you to lose control. The seat belt might not be properly adjusted, and
you could be severely injured or killed. Only adjust a seat while the vehicle is parked.
• Do not ride with the seatback reclined so that the seat belt is no longer resting againstyour chest. In a collision, you could slide under the seat belt and be severely injured
or killed. Use the recliner only when the vehicle is parked.
•
Be certain that the seat cushion is locked securely into position before using the seat.
Otherwise, the seat will not provide the proper stability for passengers. An improperly
latched seat cushion could cause serious injury.
REAR SEATS
60/40 SPLIT SECOND-ROW PASSENGER SEATS
To Lower The Seatback
• Locate the seatback release lever on the
lower outboard side of the seat.
• Place one hand on the seatback and apply a gentle pressure.
• Lift the seatback release lever with the other hand, allowing the seatback to move
forward slightly, and then release the lever.
• Gently guide the seatback into the folded position.
To Raise The Seatback
• Raise the seatback and lock it in place.
Forward And Rearward Adjustment
•The control lever is on the outboard side of the seat. Lift the lever to move the seat forward
or rearward. Release the lever once the seat is in the position desired.
GETTING STARTED
20
Page 24 of 116

WARNING!
• Be certain that the seatback is locked securely into position. Otherwise, the seat willnot provide the proper stability for child seats and/or passengers. An improperly
latched seat could cause you and others to be severely injured or killed.
• Do not allow a passenger to sit in a third row seat without having the head restraint
unfolded and locked in place or seatback(s) folded flat. Failure to follow this warning
may result in the passengers being severely injured or killed in the event of a collision.
• Do not drive the vehicle with the seat in the Tip 'n Slide™ position, as it is only intended for entering and exiting the third row seats. Failure to follow this warning may result
in you and others being severely injured or killed.
• Be certain that the seatback and seat are locked securely into position. Otherwise,
the seat will not provide the proper stability for child seats and/or passengers. An
improperly latched seat could cause you or others to be severely injured or killed.
HEATED SEATS
Front Heated Seats
• The heated seats are operated using the Uconnect® System.
Uconnect® 4.3
• Press the Climate hard-key (located onthe left side of the Uconnect® screen) to
enter the climate control screen.
• Press the Driver or Passenger seat soft- key once to select HI-level heating. Press
the soft-key a second time to select LO-
level heating. Press the soft-key a third
time to shut the heating elements OFF.
• If the High-level setting is selected, the system will automatically switch to Low-
level after approximately 60 minutes. The
Low-level setting will turn Off automati-
cally after approximately 45 minutes.
GETTING STARTED
22
Page 35 of 116

Pinch Protection Feature
• This feature will detect an obstruction in the opening of the sunroof during Express Closeoperation. If an obstruction in the path of the sunroof is detected, the sunroof will
automatically retract. Remove the obstruction if this occurs. Next, press the switch
forward and release to Express Close.
NOTE:
If three consecutive sunroof close attempts result in Pinch Protect reversals, the fourth
close attempt will be a Manual Close movement with Pinch Protect disabled.
WARNING!
• Never leave children unattended in a vehicle, and do not leave the key in the ignition switch (or leave the ignition of a vehicle equipped with Keyless Enter-N-Go™ in the
ACC or ON/Run position). Occupants, particularly unattended children, can become
entrapped by the power sunroof while operating the power sunroof switch. Such
entrapment may result in serious injury or death.
• In a collision, there is a greater risk of being thrown from a vehicle with an open
sunroof. You could also be severely injured or killed. Always fasten your seat belt
properly and make sure all passengers are properly secured.
• Do not allow small children to operate the sunroof. Never allow your fingers, other
body parts, or any object to project through the sunroof opening. Injury may result.
WIND BUFFETING
• Wind buffeting can be described as a helicopter-type percussion sound. If buffetingoccurs with the rear windows open, adjust the front and rear windows together.
• If buffeting occurs with the sunroof open, adjust the sunroof opening, or adjust any window. This will minimize buffeting.
OPERATING YOUR VEHICLE
33
Page 64 of 116

UNIVERSAL GARAGE DOOR OPENER (HomeLink®)
•HomeLink® replaces up to three hand-held transmitters that operate devices such as garage
door openers, motorized gates, lighting or home security systems. The HomeLink® unit is
powered by your vehicles 12 Volt battery.
• The HomeLink® buttons that are located in the overhead console or sunvisor designate the three different HomeLink® channels.
• The HomeLink® indicator is located above the center button.
Before You Begin Programming HomeLink®
• Ensure that your vehicle is parked outside of the garage before you begin programming.
• For efficient programming and accurate transmission of the radio-frequency signal, it is recommended that a new battery be placed in the hand-held transmitter of the device
that is being programmed to the HomeLink® system.
•
Erase all channels before you begin programming. To erase the channels, place the ignition
switch into the ON/RUN position, then press and hold the two outside HomeLink® buttons
(I and III) for up to 20 seconds or until the red indicator flashes.
NOTE:
Erasing all channels should only be performed when programming HomeLink® for the first
time. Do not erase channels when programming additional buttons.
• If you have any problems, or require assistance, please call toll-free 1–800–355–3515 or, on the Internet at www.HomeLink.com for information or assistance.
ELECTRONICS
62