Page 360 of 630
Numeric Keypad Menu
When the display for either Channel 1 or Channel 2
shows DIRECT TUNE, pressing the remote control’sENTER button activates a numeric keypad menu. This
screen makes it easy to enter a specific tuner frequency,
satellite channel, or track number. To enter the desired
digit:
1. Press the remote control’s navigation buttons (�,�,
�,�) to navigate to the desired digit.
2. When the digit is highlighted, press the remote con-
trol’s ENTER button to select the digit. Repeat these
steps until all digits are entered.
3. To delete the last digit, navigate to the Del button and
press the remote control’s ENTER button.
4. After all of the digits are entered, navigate to the Go
button and press the remote control’s ENTER button.
Numeric Keypad Menu
358 UNDERSTANDING YOUR INSTRUMENT PANEL
Page 361 of 630
Station List Menu
When listening to Satellite audio, pressing the remote
control’s MENU button displays a list of all available
channels. Navigate this list using the remote control’s
navigation buttons (m, .) to find the desired station, press
the remote control’s ENTER button to tune to that station.
To jump through the list more quickly, navigate to the
Page Up and Page Down icons on the screen.
Disc Menu
When listening to a CD Audio or CD Data disc, pressing
the remote control’s MENU button displays a list of all
commands which control playback of the disc. Using the
options you can activate or cancel Random play.
Options Menu
When watching a video source (DVD Video with the disc
in Play mode, Aux Video, etc.), pressing the “Options”
soft-key activates the Options Settings menu. From this
menu you can adjust Audio, Subtitles, Angle and Title.
4
UNDERSTANDING YOUR INSTRUMENT PANEL 359
Page 362 of 630

Display Settings
When watching a video source (DVD Video with the disc
in Play mode, Aux Video, etc.), pressing the remote
control’s SETUP button activates the Display Settings
menu. These settings control the appearance of the video
on the screen. The factory default settings are already set
for optimum viewing, so there is no need to change these
settings under normal circumstances.
To change the settings, press the remote control’s navi-
gation buttons (m, .) to select an item, then press the
remote control’s navigation buttons (c, b) to change the
value for the currently selected item. To reset all values
back to the original settings, select the Default Settings
menu option and press the remote control’s ENTER
button.
Listening To Audio With The Screen Closed
To listen to only audio portion of the channel with the
screen closed:
•Set the audio to the desired source and channel.
•Close the video screen.
•To change the current audio mode, press the remote
control’s MODE/SOURCE button. This will automati-
cally select the next available audio mode without
using the Mode/Source Select menu.
•When the screen is reopened, the video screen will
automatically turn back on and show the appropriate
display menu or media.
360 UNDERSTANDING YOUR INSTRUMENT PANEL
Page 363 of 630

If the screen is closed and there is no audio heard, verify
that the headphones are turned on (the ON indicator is
illuminated) and the headphone selector switch is on the
desired channel. If the headphones are turned on, press
the remote control’s power button to turn audio on.
If audio is still not heard, check that fully charged
batteries are installed in the headphones.
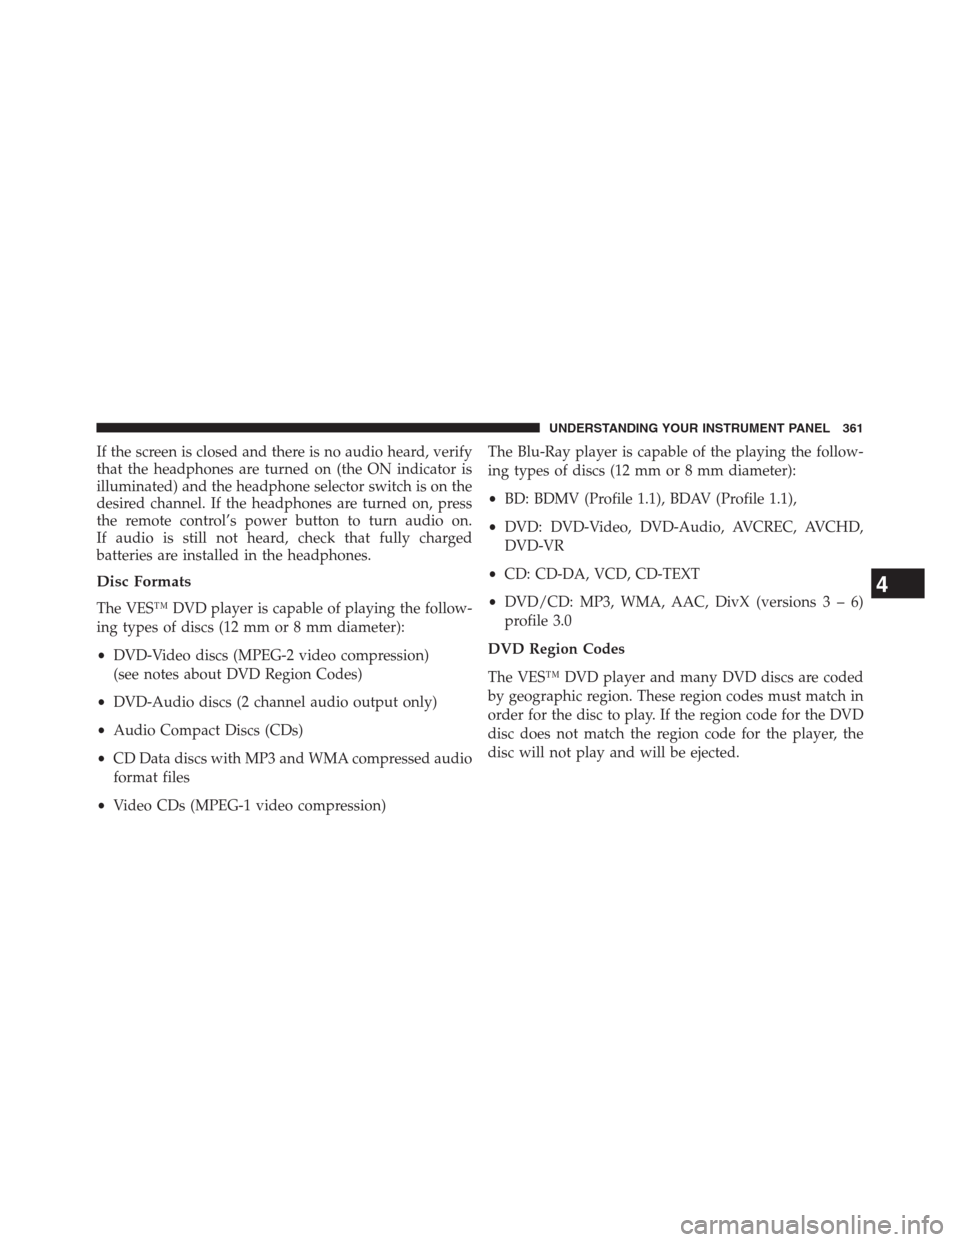
Disc Formats
The VES™ DVD player is capable of playing the follow-
ing types of discs (12 mm or 8 mm diameter):
•DVD-Video discs (MPEG-2 video compression)
(see notes about DVD Region Codes)
•DVD-Audio discs (2 channel audio output only)
•Audio Compact Discs (CDs)
•CD Data discs with MP3 and WMA compressed audio
format files
•Video CDs (MPEG-1 video compression)The Blu-Ray player is capable of the playing the follow-
ing types of discs (12 mm or 8 mm diameter):
•BD: BDMV (Profile 1.1), BDAV (Profile 1.1),
•DVD: DVD-Video, DVD-Audio, AVCREC, AVCHD,
DVD-VR
•CD: CD-DA, VCD, CD-TEXT
•DVD/CD: MP3, WMA, AAC, DivX (versions3–6)
profile 3.0
DVD Region Codes
The VES™ DVD player and many DVD discs are coded
by geographic region. These region codes must match in
order for the disc to play. If the region code for the DVD
disc does not match the region code for the player, the
disc will not play and will be ejected.
4
UNDERSTANDING YOUR INSTRUMENT PANEL 361
Page 366 of 630

•Other compression formats such as AAC, MP3 Pro,
Ogg Vorbis, and ATRAC3 will not play. The DVD
player will automatically skip the file and begin play-
ing the next available file.
•If you are creating your own files, the recommended
fixed bit rate for MP3 files is between 96 and 192Kbps
and the recommended fixed bit rate for WMA files is
between 64 and 192Kbps. Variable bit rates are also
supported. For both formats, the recommended
sample rate is either 44.1kHz or 48kHz.
•To change the current file, use the remote control’s or
DVD player ’s�button to advance to the next file, or
the�button to return to the start of the current or
previous file.
•To change the current directory, use the remote con-
trol’s PROG UP and Down buttons or Rewind/skip
back and fast fwd/skip forward.Disc Errors
If the DVD player is unable to read the disc, a�Disc Error�
message is displayed on the VES™ and Radio displays
and the disc is automatically ejected. A dirty, damaged, or
incompatible disc format are all potential causes for a
�Disc Error�message.
If a disc has a damaged track which results in audible or
visible errors that persists for 2.0 seconds, the DVD
player will attempt to continue playing the disc by
skipping forward 1.0 to 3.0 seconds at a time. If the end
of the disc is reached, the DVD player will return to the
beginning of the disc and attempt to play the start of the
first track.
The DVD player may shut down during extremely hot
conditions, such as when the vehicle’s interior tempera-
ture is above 120°F. When this occurs, the DVD player
will display�VES High Temp�and will shut off the VES™
364 UNDERSTANDING YOUR INSTRUMENT PANEL
Page 368 of 630
STEERING WHEEL AUDIO CONTROLS
The remote sound system controls are located on the rear
surface of the steering wheel. The left and right-hand
controls are rocker-type switches with a pushbutton in
the center of each switch. Reach behind the steering
wheel to access the switches.
Right-Hand Switch Functions
•Press the top of the switch to increase the volume.
•Press the bottom of the switch to decrease the volume.
•Press the button in the center of the switch to change
modes (i.e., AM, FM, etc.).
Left-Hand Switch Functions For Radio Operation
•Press the top of the switch to SEEK the next listenable
station up from the current setting.
•Press the bottom of the switch to SEEK the next
listenable station down from the current setting.
•Press the button in the center of the switch to tune to
the next preset that you have programmed.
Remote Sound Controls (Back View Of Steering Wheel)
366 UNDERSTANDING YOUR INSTRUMENT PANEL
Page 376 of 630

11. Blower Control
Blower control is used to regulate the amount of air
forced through the climate system. There are seven
blower speeds available. Adjusting the blower will cause
automatic mode to switch to manual operation. The
speeds can be selected using either hard-keys or soft-keys
as follows:
NOTE:For vehicles equipped with Remote Start, the
climate controls will not function during Remote Start
operation if the blower control is left in the “O” (Off)
position. Blower control should be left in the “ON”
position to allow the climate control to either warm or
cool the vehicle.
Hard-key
The blower speed increases as you turn the control
clockwise from the lowest blower setting. The blower
speed decreases as you turn the knob counter-clockwise.Soft-key
Use the small blower icon to reduce the blower setting
and the large blower icon to increase the blower setting.
Blower can also be selected by pressing the blower bar
area between the icons.
12. Modes
The airflow distribution mode can be adjusted so air
comes from the instrument panel outlets, floor outlets,
demist outlets and defrost outlets. The Mode settings are
as follows:
•Panel Mode
Air comes from the outlets in the instrument
panel. Each of these outlets can be individually
adjusted to direct the flow of air. The air vanes of
the center outlets and outboard outlets can be moved up
and down or side to side to regulate airflow direction.
374 UNDERSTANDING YOUR INSTRUMENT PANEL
Page 612 of 630

Diagnostic System, Onboard.................527
Dimmer Switch, Headlight...................225
Dipsticks
Automatic Transmission..................555
Oil (Engine)...........................531
Power Steering.........................421
Disabled Vehicle Towing....................519
Disposal
Antifreeze (Engine Coolant)................550
Door Locks..............................30
Door Locks, Automatic......................32
Door Opener, Garage.......................250
Driving
Through Flowing, Rising, or Shallow
Standing Water.........................418
Driving to Achieve Maximum Fuel Economy......312
E-85 Fuel...............................473
Electrical Outlet, Auxiliary (Power Outlet)........262Electrical Power Outlets.....................262
Electric Remote Mirrors.....................117
Electronic Brake Control System...............426
Anti-Lock Brake System..................425
Brake Assist System.....................428
Traction Control System...................429
Electronic Roll Mitigation (ERM)..............429
Electronic Speed Control (Cruise Control)........234
Electronic Stability Control (ESC)..............430
Electronic Vehicle Information Center (EVIC)......245
Emergency, In Case of
Freeing Vehicle When Stuck................517
Hazard Warning Flasher..................498
Jacking...............................500
Jump Starting..........................512
Overheating...........................498
Towing..............................519
Emission Control System Maintenance..........528
610 INDEX