2013 DODGE GRAND CARAVAN child lock
[x] Cancel search: child lockPage 11 of 132

WARNING!
• Never leave children alone in a vehicle, or with access to an unlocked vehicle.Allowing children to be in a vehicle unattended is dangerous for a number of reasons.
A child or others could be severely injured or killed. Children should be warned not to
touch the parking brake, brake pedal, or the shift lever. Do not leave the Key Fob inside
the vehicle, or in a location accessible to children. A child could start the vehicle,
operate power windows, other controls, or move the vehicle.
• Do not leave children or animals inside parked vehicles in hot weather. Interior heat
build-up may cause them to be severely injured or killed.
• Keep Key Fob transmitters away from children. Operation of the Remote Start
System, windows, door locks or other controls could cause serious injury or death.
REMOTE START
• Press the REMOTE START buttonx2on the Key Fob twice within five seconds. Pressing
the REMOTE START button a third time shuts the engine off.
• To drive the vehicle, press the UNLOCK button, insert the Key Fob in the ignition and turn to the ON/RUN position.
• With remote start, the engine will only run for 15 minutes (timeout) unless the ignition Key Fob is placed in the ON/RUN position.
• The vehicle must be started with the Key Fob after two consecutive timeouts.
WARNING!
• Do not start or run an engine in a closed garage or confined area. Exhaust gas contains Carbon Monoxide (CO) which is odorless and colorless. Carbon Monoxide is
poisonous and can cause you or others to be severely injured or killed when inhaled.
• Keep Key Fob transmitters away from children. Operation of the Remote Start
System, windows, door locks or other controls could cause you and others to be
severely injured or killed.
THEFT ALARM
To Arm:
• Press the Key Fob LOCK button or the power door lock switch while the door is open.
To Disarm:
• Press the Key Fob UNLOCK button or turn the ignition to the ON/RUN position.
GETTING STARTED
9
Page 15 of 132

Installing The Child Restraint Using The Vehicle Seat Belts
• To install a child restraint, first, pull enough of the seat belt webbing from the retractor toroute it through the belt path of the child restraint and slide the latch plate into the
buckle.
• Next, extract all the seat belt webbing out of the retractor and then allow the belt to retract into the retractor. Finally, pull on any excess webbing to tighten the lap portion
around the child restraint. Any seat belt system will loosen with time, so check the belt
occasionally, and pull it tight if necessary.
• Once you have completed securing the child restraint with the seat belt, secure the top tether strap.
WARNING!
• In a collision, an unrestrained child, even a tiny baby, can become a projectile inside
the vehicle. The force required to hold even an infant on your lap could become so
great that you could not hold the child, no matter how strong you are. The child and
others could be severely injured or killed. Any child riding in your vehicle should be in
a proper restraint for the child's size.
• Failure to comply with the following conditions could result in you and others being
severely injured or killed:
• Be certain that the seat cushion is locked securely into position before usingthe seat. An improperly latched seat cushion could cause passengers to be
severely injured or killed.
• An incorrectly anchored tether strap could lead to increased head motion and
possible injury to the child. Use only the anchor positions directly behind the child
seat to secure a child restraint top tether strap.
• Rearward-facing child seats must never be used in the front seat of a vehicle with a
front passenger air bag. An air bag deployment could cause severe injury or death to
infants in this position.
GETTING STARTED
13
Page 33 of 132

BLIND SPOT MONITORING WITH REAR CROSS PATH
• The Blind Spot Monitoring (BSM) system uses two radar-based sensors, located insidethe rear bumper fascia, to detect Highway licensable vehicles (automobiles, trucks,
motorcycles etc.) that enter the blind spot zones from the rear/front/side of the vehicle.
• The Blind Spot Monitoring (BSM) system warning light, located in the outside mirrors, will illuminate if a vehicle moves into a blind spot zone.
• The BSM system can also be configured to sound an audible (chime) alert and mute the radio to notify you of objects that have entered the detection zones.
• Refer to your Owner's Manual on the DVD for further details.
POWER SLIDING SIDE DOORS
Automatic/Manual Operation
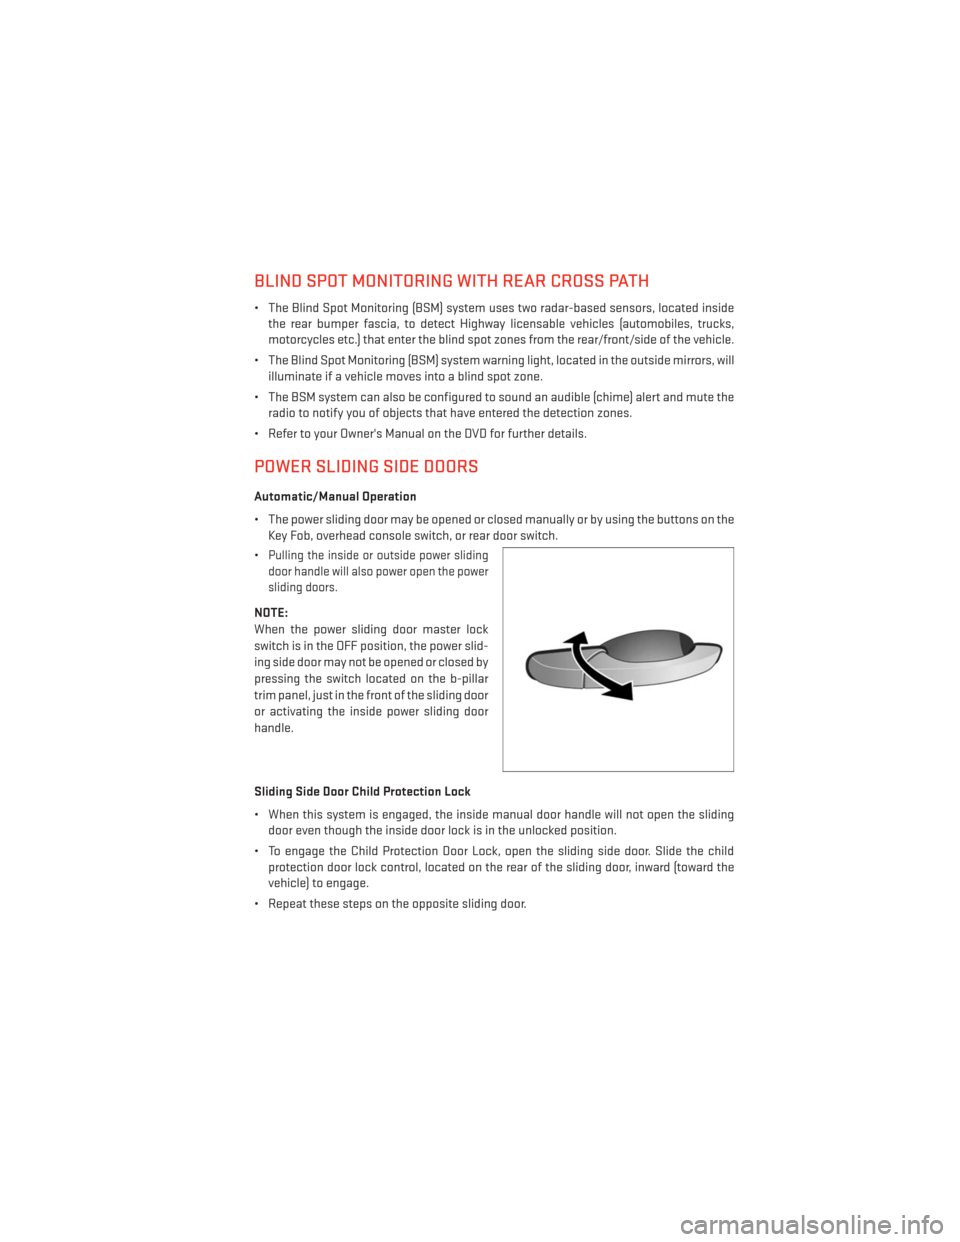
• The power sliding door may be opened or closed manually or by using the buttons on the Key Fob, overhead console switch, or rear door switch.
•
Pulling the inside or outside power sliding
door handle will also power open the power
sliding doors.
NOTE:
When the power sliding door master lock
switch is in the OFF position, the power slid-
ing side door may not be opened or closed by
pressing the switch located on the b-pillar
trim panel, just in the front of the sliding door
or activating the inside power sliding door
handle.
Sliding Side Door Child Protection Lock
• When this system is engaged, the inside manual door handle will not open the sliding door even though the inside door lock is in the unlocked position.
• To engage the Child Protection Door Lock, open the sliding side door. Slide the child protection door lock control, located on the rear of the sliding door, inward (toward the
vehicle) to engage.
• Repeat these steps on the opposite sliding door.
OPERATING YOUR VEHICLE
31
Page 120 of 132

Introduction................2
Inverter Outlet (115V) ...........75
Inverter,Power ..............75
iPod®/USB/MP3 Control .........63
BluetoothStreamingAudio .....69
Jack Location ..............85
Jack Operation ..............85
Jump Starting ..............95
KeyFob...................8
Key Fob Programmable Features .....72
Lane Change Assist ...........22
LATCH (Lower Anchors and Tether for CHildren) ............11, 12
Liftgate, Power ...............8
Lights
Tire Pressure Monitoring (TPMS)...80
TurnSignal ..............22
Warning (Instrument Cluster
Description) ..............6
Locks Liftgate, Tailgate ...........8
Luggage Rack (Roof Rack) ........78
Maintenance Record ..........108
Maintenance Schedule .........104
Malfunction Indicator Light (CheckEngine) ............82
MemorySeat...............14
Mirrors Heated ............27,28,29
MOPAR® Accessories ..........116
Navigation Voice Prompt Volume . . .47, 56
New Vehicle Break-In Period .......22
Oil Change Indicator ...........83
Oil, Engine Capacity...............103
Outlet Power .................76
Overheating, Engine ...........84 Park Sense System, Rear
.........30
Pedals,Adjustable ............21
Placard, Tire and Loading Information. .112
Power Glass Sunroof ............32
Inverter ................75
Lift Gate ................8
Outlet (Auxiliary Electrical Outlet)...76
Seats .................14
Steering ...............103
Preparation for Jacking .........89
Programmable Electronic Features ....72
Rain Sensitive Wiper System .......23
RearCamera...............30
RearCrossPath..............31
Rear Heated Seats ............19
Rear Park Sense System .........30
Recreational Towing ...........79
Remote Starting System ..........9
Replacement Bulbs ...........113
Reporting Safety Defects ........115
Rocking Vehicle When Stuck .......98
RoofRack(LuggageRack)........78
Schedule, Maintenance .........104
Seat Belts .................10
Seats ...................14
Adjustment ..............14
Fold in Floor (Stow `n Go) .......15
Heated ................19
Lumbar Support ...........14
Memory ................14
Power .................14
Stow `n Go (Fold in Floor) .......15
Shift Lever Override ............97
Signals, Turn ...............22
SmartBeams ...............24
SpareTire.................85
SparkPlugs...............103
Speed Control Accel/Decel .............25
Cancel ................25
Distance Setting (ACC Only) .....25
INDEX
118
Page 122 of 132

FREQUENTLY ASKED QUESTIONS
GETTING STARTED
• How do I install my LATCH Equipped Child Seat? pg. 12
• How do I program my Front Seat Memory? pg. 14
OPERATING YOUR VEHICLE
• How does the Electronic Range Select (ERS) operate? pg. 26
ELECTRONICS
• Which radio is in my vehicle?• Uconnect® 130 pg. 36
• Uconnect® 130 WITH SiriusXM™ pg. 38
• Uconnect® 430/430N pg. 41
• Uconnect® 730N pg. 50
• How do I activate the Audio Jack?
• Uconnect® 130 pg. 40
• Uconnect® 130 WITH SiriusXM™ pg. 40
• Uconnect® 430/430N pg. 45
• Uconnect® 730N pg. 54
• How do I set the clock on my radio?
• Uconnect® 130 pg. 38
• Uconnect® 130 WITH SiriusXM™ pg. 38
• Uconnect® 430/430N pg. 41
• Uconnect® 730N pg. 50
• How do I use the Navigation feature?
• Uconnect® 430/430N pg. 47
• Uconnect® 730N pg. 56
• How do I pair my cell phone via Bluetooth® with the Uconnect® Hands-Free Voice Activation System? pg. 64
• How do I use my USB port to listen to audio through my touch-screen radio? pg. 63
• How do I configure my Universal Garage Door Opener (HomeLink)? pg. 73
FAQ (How To?)
120