Page 23 of 140
FRONT SEATS
Power Seats
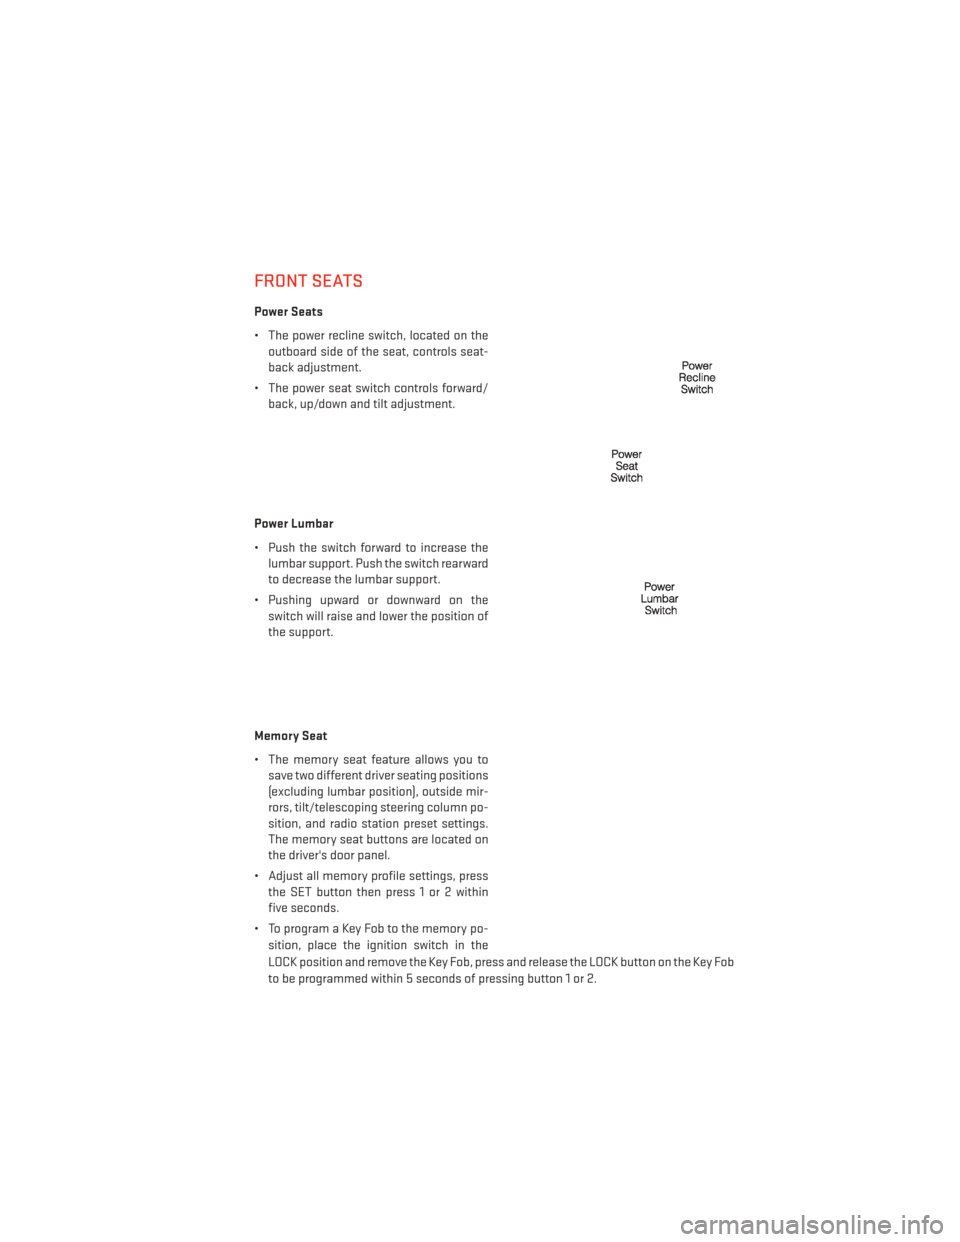
• The power recline switch, located on theoutboard side of the seat, controls seat-
back adjustment.
• The power seat switch controls forward/ back, up/down and tilt adjustment.
Power Lumbar
• Push the switch forward to increase the lumbar support. Push the switch rearward
to decrease the lumbar support.
• Pushing upward or downward on the switch will raise and lower the position of
the support.
Memory Seat
• The memory seat feature allows you to save two different driver seating positions
(excluding lumbar position), outside mir-
rors, tilt/telescoping steering column po-
sition, and radio station preset settings.
The memory seat buttons are located on
the driver's door panel.
• Adjust all memory profile settings, press the SET button then press 1 or 2 within
five seconds.
• To program a Key Fob to the memory po- sition, place the ignition switch in the
LOCK position and remove the Key Fob, press and release the LOCK button on the Key Fob
to be programmed within 5 seconds of pressing button 1 or 2.
GETTING STARTED
21
Page 24 of 140
• Place the ignition switch in the ON/RUN position, select Remote Linked to Memory in theElectronic Vehicle Information Center (EVIC) and enter Yes.
• Press 1 or 2 to recall the saved positions, or press UNLOCK on the programmed Key Fob.
• Refer to the Owner's Manual on the DVD for further details.
Manual Seat Adjustment
Forward/Rearward
• Lift up on the adjusting bar located at the front of the seat near the floor and release
it when the seat is at the desired position.
Then, using body pressure, move forward
and backward on the seat to be sure that
the seat adjusters have latched.
Recliner
• Lift the rear lever located on the outboardside of the seat, lean back and release
when seat is in desired position.
Fold-Flat Front Passenger Seat
• The front passenger seat can be folded flat to allow for extended cargo space.
Pull up on the recliner lever and fold the
seatback forward and down to a flat
position.
GETTING STARTED
22
Page 29 of 140
WARNING!
• Persons who are unable to feel pain to the skin because of advanced age, chronicillness, diabetes, spinal cord injury, medication, alcohol use, exhaustion or other
physical conditions must exercise care when using the seat heater. It may cause
burns even at low temperatures, especially if used for long periods of time.
• Do not place anything on the seat that insulates against heat, such as a blanket or
cushion. This may cause the seat heater to overheat. Sitting in a seat that has been
overheated could cause serious burns due to the increased surface temperature of
the seat.
HEATED STEERING WHEEL
• The steering wheel contains a heating el-ement that heats the steering wheel to
one temperature setting.
• The heated steering wheel switch is lo- cated on the center instrument panel be-
low the climate controls.
• Press the switch once to turn the heating element On. Press the switch a second
time to turn the heating element Off.
• Once the heated steering wheel has been turned on, it will operate for approxi-
mately 58 to 70 minutes before automatically shutting off. The heated steering wheel
can shut off early or may not turn on when the steering wheel is already warm.
TILT/TELESCOPING STEERING COLUMN
Manual - Tilt/Telescoping Steering Column
• The tilt/telescoping control handle is lo-cated below the steering wheel at the end
of the steering column.
• Push the handle down to unlock the steer- ing column.
• To tilt the steering column, move the steering wheel upward or downward as
desired. To lengthen or shorten the steer-
ing column, pull the steering wheel out-
ward or push it inward as desired.
• Pull up on the handle to lock the column firmly in place.
GETTING STARTED
27
Page 30 of 140
Power - Tilt/Telescoping Steering Column
• The power tilt/telescoping steering con-trol is located below the turn signal/
wiper/washer/high beam lever on the
steering column.
•
To tilt the steering column, move the power
tilt/telescoping control up or down as de-
sired. To lengthen or shorten the steering
column, pull the control toward you or push
the control away from you as desired.
WARNING!
• Do not adjust the steering wheel while driving. The tilt/telescoping adjustment must
be locked while driving. Adjusting the steering wheel while driving or driving without
the tilt/telescoping adjustment locked could cause the driver to lose control of the
vehicle. Failure to follow this warning may result in you and others being severely
injured or killed.
• Moving the steering column while the vehicle is moving is dangerous. Without a
stable steering column, you could lose control of the vehicle and have a collision.
Adjust the column only while the vehicle is stopped.
GETTING STARTED
28
Page 46 of 140
Uconnect® 130
NOTE:
Your radio has many features that add to the comfort and convenience of you and your
passengers. Some of these radio features should not be used when driving because they
take your eyes from the road or your attention from driving.
Clock Setting
• Press and hold the “TIME” button until the hours blink; turn the “TUNE/ SCROLL” controlknob to set the hours.
• Press the “TUNE/SCROLL” control knob until the minutes begin to blink; turn the “TUNE/ SCROLL” control knob to set the minutes.
• Press the “TUNE/SCROLL” control knob to save the time change.
• To exit, press any button/knob or wait five seconds.
Equalizer, Balance And Fade
• Press the “TUNE/SCROLL” control knob and BASS, MID, TREBLE, BALANCE and FADE will display. Rotate the “TUNE/SCROLL” control knob to select the desired setting.
ELECTRONICS
44
Page 48 of 140
Uconnect® 130 WITH SiriusXM SATELLITE RADIO
NOTE:
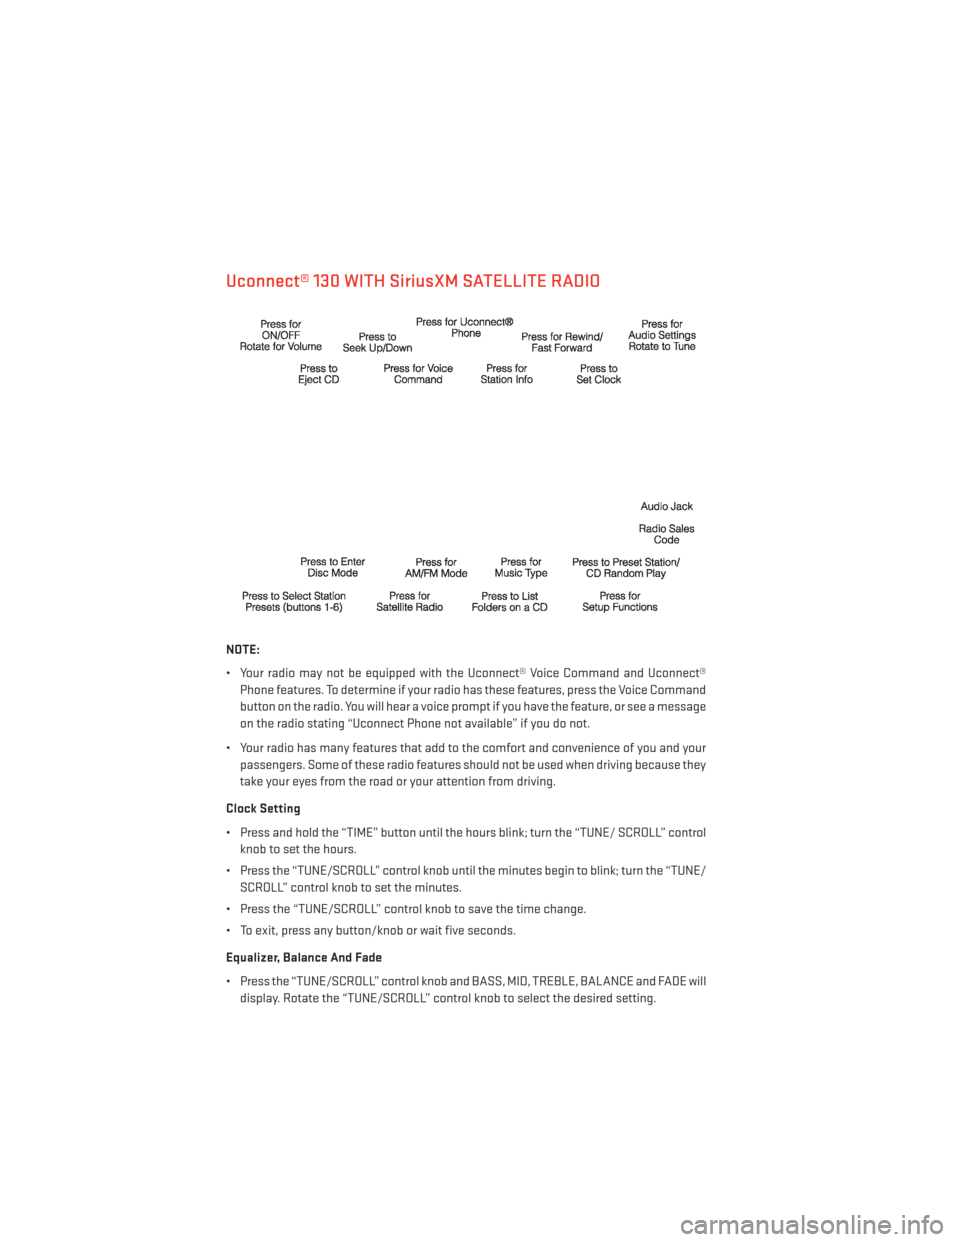
• Your radio may not be equipped with the Uconnect® Voice Command and Uconnect®Phone features. To determine if your radio has these features, press the Voice Command
button on the radio. You will hear a voice prompt if you have the feature, or see a message
on the radio stating “Uconnect Phone not available” if you do not.
• Your radio has many features that add to the comfort and convenience of you and your passengers. Some of these radio features should not be used when driving because they
take your eyes from the road or your attention from driving.
Clock Setting
• Press and hold the “TIME” button until the hours blink; turn the “TUNE/ SCROLL” control knob to set the hours.
• Press the “TUNE/SCROLL” control knob until the minutes begin to blink; turn the “TUNE/ SCROLL” control knob to set the minutes.
• Press the “TUNE/SCROLL” control knob to save the time change.
• To exit, press any button/knob or wait five seconds.
Equalizer, Balance And Fade
• Press the “TUNE/SCROLL” control knob and BASS, MID, TREBLE, BALANCE and FADE will display. Rotate the “TUNE/SCROLL” control knob to select the desired setting.
ELECTRONICS
46
Page 51 of 140
Clock Setting
• Turn the radio on, then touch the screen where the time is displayed.
• Touch the “USER CLOCK” soft-key (Navigation radio only).
• To adjust the hours, touch either the “HOUR FORWARD” or “HOUR BACKWARD” soft-key.
• To adjust the minutes, touch either the “MINUTE FORWARD” or “MINUTE BACKWARD”soft-key.
• To save the new time setting, touch the screen where the word “Save” is displayed.
Menu
• Press the “MENU” hard-key to access the System Setup menu and the My Files menu.
• Press the “MENU” hard-key in an active mode (SAT, CD, AUX, etc.) to change mode specific settings.
Equalizer, Balance And Fade
Audio Control Menu
• Press the “AUDIO” hard-key on the right side of the radio.
•
Use either the arrow soft-keys or the cross-
hair on the screen to change Balance and
Fade. The “CENTER” soft-key resets the set-
tings.
• Touch the “Equalizer” soft-key and use either the arrow soft-keys or the sliders on
the screen to adjust BASS, MID, and/or
TREBLE.
Display Settings
• Press the “MENU” hard-key and touch the “Display Settings” soft-key to access the
Display Settings menu.
• Select the “Daytime Colors” soft-key to switch to manual daytime mode and to
adjust the brightness of the display using
daytime colors.
• Select the “Nighttime Colors” soft-key to switch to manual nighttime mode and to
adjust the brightness of the display using nighttime colors.
• Select the “Auto Color Mode” soft-key to switch to automatic daytime/nighttime mode and to control the brightness of the display using the dimmer switch of the vehicle.
• Touch the “EXIT” soft-key to save your settings.
ELECTRONICS
49
Page 60 of 140
Acquiring Satellites
• The GPS Satellite strength bars indicate the strength of your satellite reception.
• Acquiring satellite signals can take a few minutes. When at least one of the bars is green,your device has acquired satellite signals.
• You may experience delays receiving satellite signals when in areas with an obstructed view to the sky, such as garages, tunnels, or large cities with tall buildings.
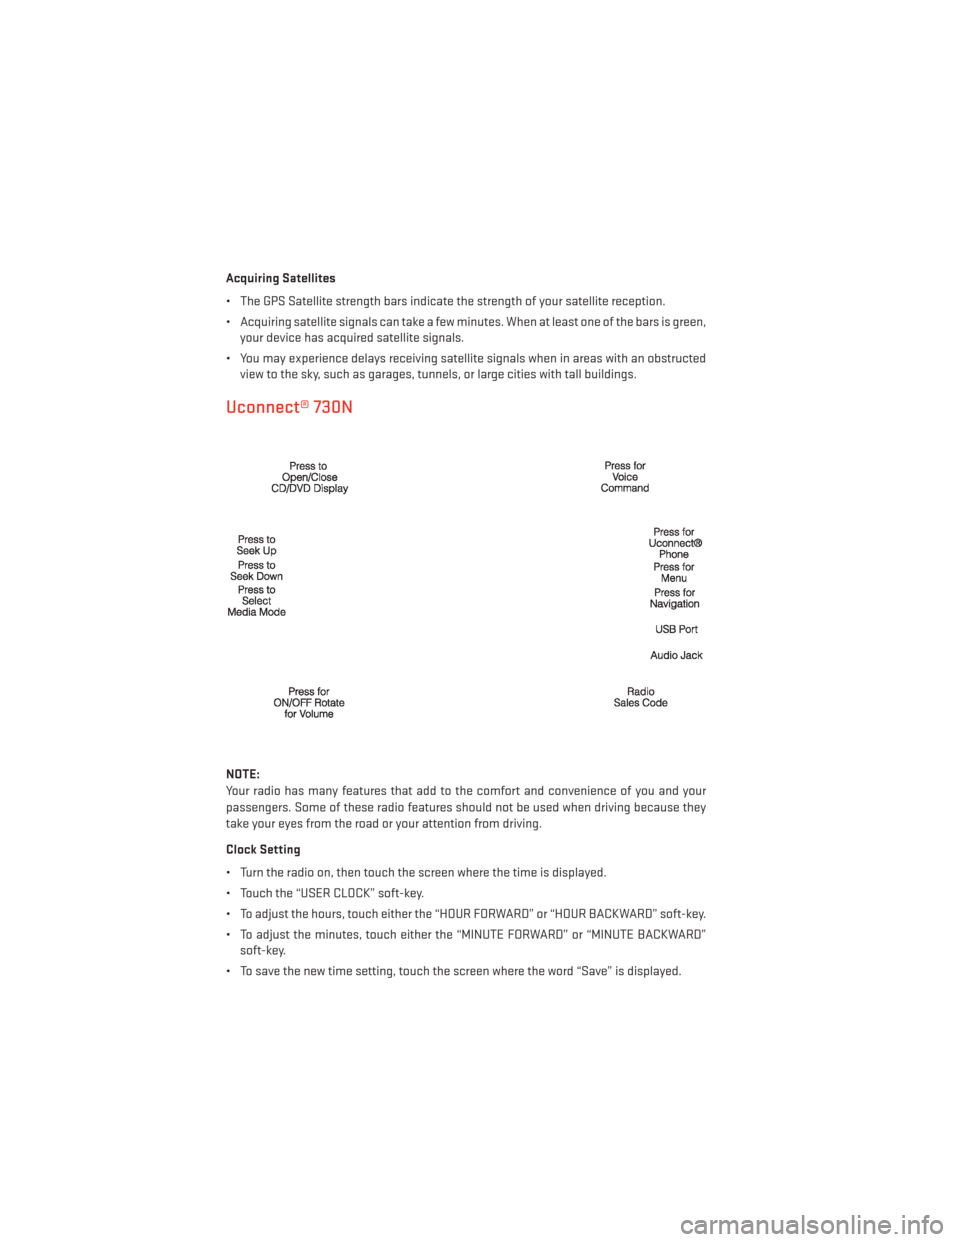
Uconnect® 730N
NOTE:
Your radio has many features that add to the comfort and convenience of you and your
passengers. Some of these radio features should not be used when driving because they
take your eyes from the road or your attention from driving.
Clock Setting
• Turn the radio on, then touch the screen where the time is displayed.
• Touch the “USER CLOCK” soft-key.
• To adjust the hours, touch either the “HOUR FORWARD” or “HOUR BACKWARD” soft-key.
• To adjust the minutes, touch either the “MINUTE FORWARD” or “MINUTE BACKWARD”soft-key.
• To save the new time setting, touch the screen where the word “Save” is displayed.
ELECTRONICS
58