Page 99 of 604

WARNING! (Continued)
•Always make sure that objects cannot fall into the
driver footwell while the vehicle is moving. Ob-
jects can become trapped under the brake pedal
and accelerator pedal causing a loss of vehicle
control.
•If required, mounting posts must be properly
installed, if not equipped from the factory.
Failure to properly follow floor mat installation or
mounting can cause interference with the brake
pedal and accelerator pedal operation causing loss
of control of the vehicle.
Periodic Safety Checks You Should Make Outside
The Vehicle
Tires
Examine tires for excessive tread wear and uneven wear
patterns. Check for stones, nails, glass, or other objectslodged in the tread or sidewall. Inspect the tread for cuts
and cracks. Inspect sidewalls for cuts, cracks and bulges.
Check the wheel nuts for tightness. Check the tires
(including spare) for proper cold inflation pressure.
Lights
Have someone observe the operation of exterior lights
while you work the controls. Check turn signal and high
beam indicator lights on the instrument panel.
Door Latches
Check for positive closing, latching, and locking.
Fluid Leaks
Check area under vehicle after overnight parking for fuel,
engine coolant, oil, or other fluid leaks. Also, if gasoline
fumes are detected or if fuel, power steering fluid, or
brake fluid leaks are suspected, the cause should be
located and corrected immediately.
2
THINGS TO KNOW BEFORE STARTING YOUR VEHICLE 97
Page 104 of 604

▫Headlights On With Wipers (Available With
Automatic Headlights Only) ............ 222
▫ Rain Sensing Wipers — If Equipped ....... 223
� Tilt/Telescoping Steering Column .......... 224
� Heated Steering Wheel — If Equipped ...... 225
� Electronic Speed Control — If Equipped ..... 227
▫ To Activate ......................... 228
▫ To Set A Desired Speed ................ 229
▫ To Deactivate ....................... 229
▫ To Resume Speed .................... 230
▫ To Vary The Speed Setting .............. 230
▫ To Accelerate For Passing .............. 231�
Parksense� Rear Park Assist — If Equipped . . . 231
▫ Parksense� Sensors................... 232
▫ Parksense� Warning Display ............ 232
▫ Parksense� Display................... 233
▫ Enabling And Disabling Parksense� ....... 240
▫ Service The Parksense� Rear Park Assist
System ............................ 240
▫ Cleaning The Parksense� System......... 243
▫ Parksense� System Usage Precautions ...... 243
� Parkview� Rear Back Up Camera — If
Equipped ............................ 245
▫ Turning Parkview� On Or Off — With Touch
Screen Radio ....................... 247
102 UNDERSTANDING THE FEATURES OF YOUR VEHICLE
Page 120 of 604

NOTE:The Uconnect� Phone requires a mobile phone
equipped with the Bluetooth� “Hands-Free Profile”, Ver-
sion 0.96 or higher. See the Uconnect� website for sup-
ported phones.
For Uconnect� customer support, visit
www.UconnectPhone.com.
Uconnect� Phone allows you to transfer calls between the
system and your mobile phone as you enter or exit your
vehicle and enables you to mute the system’s microphone
for private conversation.
Uconnect� features Bluetooth� technology - the global
standard that enables different electronic devices to con-
nect to each other without wires or a docking station, so
Uconnect� Phone works no matter where you stow your
mobile phone (be it your purse, pocket, or briefcase), as
long as your phone is turned on and has been paired to
the vehicle’s Uconnect� Phone. The Uconnect�Phone
allows up to seven mobile phones to be linked to the system. Only one linked (or paired) mobile phone can be
used with the system at a time. The system is available in
English, Spanish, or French languages.
WARNING!
Any voice commanded system should be used only
in safe driving conditions following local laws and
phone use. All attention should be focused on the
safe operation of the vehicle. Failure to do so may
result in a collision causing serious injury or death.
Uconnect� Phone Button
The steering wheel controls will contain the
two control buttons (Uconnect� Phone
button and Voice Commandbutton) that
will enable you to access the system. When you
press the Uconnect� Phone
button you will hear a
BEEP. The beep is your signal to give a command.
118 UNDERSTANDING THE FEATURES OF YOUR VEHICLE
Page 121 of 604

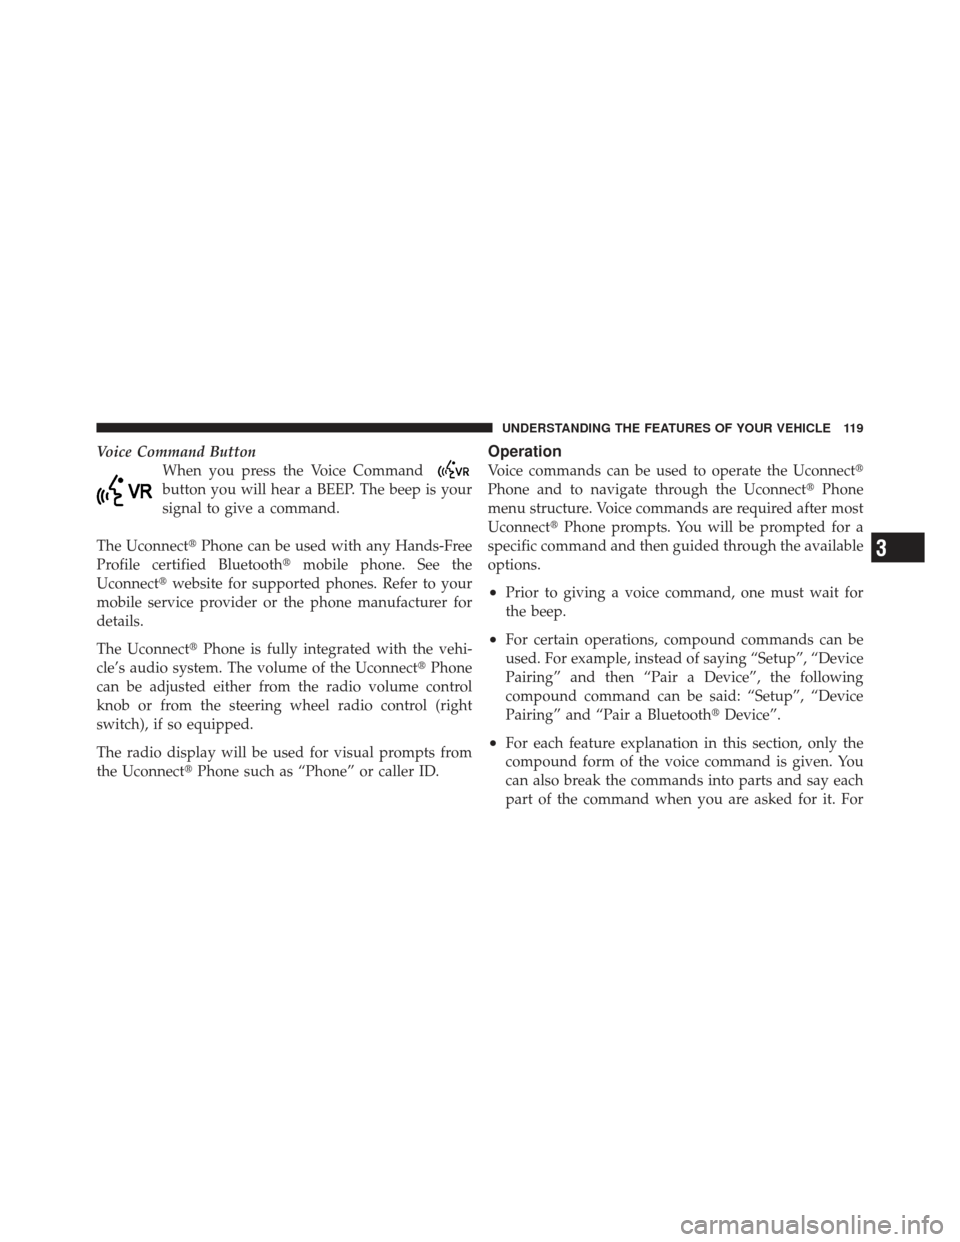
Voice Command ButtonWhen you press the Voice Command
button you will hear a BEEP. The beep is your
signal to give a command.
The Uconnect� Phone can be used with any Hands-Free
Profile certified Bluetooth� mobile phone. See the
Uconnect� website for supported phones. Refer to your
mobile service provider or the phone manufacturer for
details.
The Uconnect� Phone is fully integrated with the vehi-
cle’s audio system. The volume of the Uconnect� Phone
can be adjusted either from the radio volume control
knob or from the steering wheel radio control (right
switch), if so equipped.
The radio display will be used for visual prompts from
the Uconnect� Phone such as “Phone” or caller ID.
Operation
Voice commands can be used to operate the Uconnect �
Phone and to navigate through the Uconnect� Phone
menu structure. Voice commands are required after most
Uconnect� Phone prompts. You will be prompted for a
specific command and then guided through the available
options.
•Prior to giving a voice command, one must wait for
the beep.
•For certain operations, compound commands can be
used. For example, instead of saying “Setup”, “Device
Pairing” and then “Pair a Device”, the following
compound command can be said: “Setup”, “Device
Pairing” and “Pair a Bluetooth� Device”.
•For each feature explanation in this section, only the
compound form of the voice command is given. You
can also break the commands into parts and say each
part of the command when you are asked for it. For
3
UNDERSTANDING THE FEATURES OF YOUR VEHICLE 119
Page 122 of 604

example, you can use the compound form voice
command “Phonebook New Entry”, or you can break
the compound form command into two voice com-
mands: “Phonebook” and “New Entry”. Please re-
member, the Uconnect�Phone works best when you
talk in a normal conversational tone, as if speaking to
someone sitting a few feet/meters away from you.
Voice Command Tree
Refer to “Voice Tree” in this section.
Help Command
If you need assistance at any prompt, or if you want to
know your options at any prompt, say “Help” following
the beep. The Uconnect� Phone will then play some of
the options.
To activate the Uconnect� Phone, simply press the
button and follow the audible prompts for directions.
Uconnect�Phone sessions begin with a press of the
button on the steering wheel.
Cancel Command
At any prompt, after the beep, you can say “Cancel” and
you will be returned to the main menu. However, in a
few instances the system will take you back to the
previous menu.
Pair (Link) Uconnect� Phone To A Mobile Phone
To begin using your Uconnect� Phone, you must pair
your compatible Bluetooth� enabled mobile phone.
To complete the pairing process, you will need to refer-
ence your mobile phone Owner’s Manual. The
Uconnect� website may also provide detailed instruc-
tions for pairing.
NOTE: If other phones are present during the pairing
process make sure they are switched to off or the
bluetooth is disabled before proceeding.
120 UNDERSTANDING THE FEATURES OF YOUR VEHICLE
Page 150 of 604

Thebutton is also used to access the Voice
Commands for the Uconnect� Voice Command features
if your vehicle is equipped. Please see the Uconnect �
Voice Command section for direction on how to use the
button.
The Uconnect� Phone is fully integrated with the vehi-
cle’s audio system. The volume of the Uconnect� Phone
can be adjusted either from the radio volume control
knob or from the steering wheel radio control (right
switch), if so equipped.
Operation
Voice commands can be used to operate the Uconnect �
Phone and to navigate through the Uconnect� Phone
menu structure. Voice commands are required after most
Uconnect� Phone prompts. There are two general meth-
ods for how Voice Command works:
1. Say compound commands like “Call John Smith mo-
bile”. 2. Say the individual commands and allow the system to
guide you to complete the task.
You will be prompted for a specific command and then
guided through the available options.
•Prior to giving a voice command, one must wait for
the beep, which follows the “Listen” prompt or an-
other prompt.
•For certain operations, compound commands can be
used. For example, instead of saying “Call” and then
“John Smith” and then “mobile”, the following com-
pound command can be said: “Call John Smith mo-
bile”.
•For each feature explanation in this section, only the
compound command form of the voice command is
given. You can also break the commands into parts
and say each part of the command when you are asked
148 UNDERSTANDING THE FEATURES OF YOUR VEHICLE
Page 206 of 604

Touch the “Driver” or “Passenger” seat soft-key once to
select HI-level heating. Touch the soft-key a second time
to select LO-level heating. Touch the soft-key a third time
to shut the heating elements OFF.
NOTE:Once a heat setting is selected, heat will be felt
within two to five minutes. When the HI-level setting is selected, the heater will
provide a boosted heat level during the first four minutes
of operation. Then, the heat output will drop to the
normal HI-level. If the HI-level setting is selected, the
system will automatically switch to LO-level after a
maximum of 60 minutes of continuous operation. At that
time, the display will change from HI to LO, indicating
the change. The LO-level setting will turn OFF automati-
cally after a maximum of 45 minutes.
Vehicle Equipped With Remote Start
On models that are equipped with remote start, the
driver ’s heated seat and heated steering wheel can be
programmed to come on during a remote start. Refer to
“Remote Starting System — If Equipped” in “Things To
Know Before Starting Your Vehicle” for further
information.
Heated Seats Soft-Keys
204 UNDERSTANDING THE FEATURES OF YOUR VEHICLE
Page 218 of 604

Multifunction Lever
The multifunction lever controls the operation of the turn
signals, headlight beam selection and passing lights. The
multifunction lever is located on the left side of the
steering column.
Turn Signals
Move the multifunction lever up or down and the arrows
on each side of the instrument cluster flash to show
proper operation of the front and rear turn signal lights.
NOTE:
•If either light remains on and does not flash, or there is
a very fast flash rate, check for a defective outside light
bulb. If an indicator fails to light when the lever is
moved, it would suggest that the indicator bulb is
defective.
•A “Turn Signal On” message will appear in the EVIC
(if equipped) and a continuous chime will sound if the
vehicle is driven more than 1 mile (1.6 km) with either
turn signal on.
Lane Change Assist
Tap the lever up or down once, without moving beyond
the detent, and the turn signal (right or left) will flash
three times then automatically turn off.Multifunction Lever
216 UNDERSTANDING THE FEATURES OF YOUR VEHICLE