Page 25 of 543
NOTE:
•The front courtesy overhead console and door cour-
tesy lights do not turn on if the dimmer control is in
the �Dome ON� position (extreme top position).
• The Illuminated Entry system will not operate if the
dimmer control is in the “Dome defeat” position
(extreme bottom position).
REMOTE KEYLESS ENTRY (RKE)
The RKE system allows you to lock or unlock the doors,
open the trunk, or activate the Panic Alarm from dis-
tances up to approximately 66 ft (20 m) using a hand-held
Key Fob with RKE transmitter. The RKE transmitter does
not need to be pointed at the vehicle to activate the
system. NOTE:
Inserting
the Key Fob with RKE transmitter into
the ignition switch disables the system from responding to
any button presses from that RKE transmitter. Driving at
speeds 5 mph (8 km/h) and above disables the system
from responding to all RKE transmitter buttons for all RKE
transmitters.
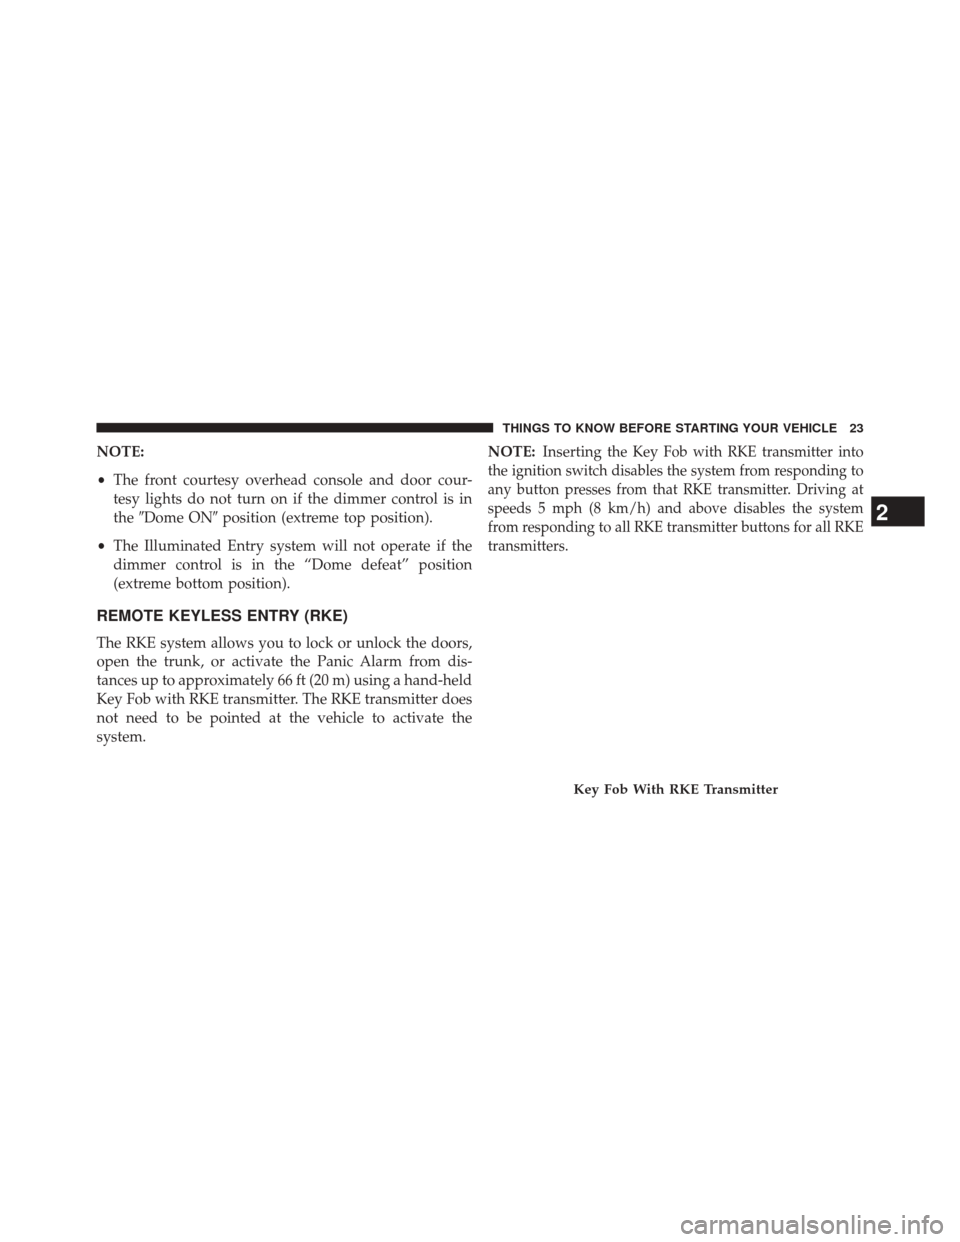
Key Fob With RKE Transmitter
2
THINGS TO KNOW BEFORE STARTING YOUR VEHICLE 23
Page 32 of 543

NOTE:
•The vehicle must be equipped with an automatic
transmission to be equipped with Remote Start.
• Obstructions between the vehicle and the Key Fob may
reduce this range.
How To Use Remote Start
All of the following conditions must be met before the
engine will remote start:
• Shift lever in PARK
• Doors closed
• Hood closed
• Hazard switch off
• Brake switch inactive (brake pedal not pressed)
• Ignition key removed from ignition switch •
Battery at an acceptable charge level
• RKE PANIC button not pressed
• System not disabled from previous remote start event
• Vehicle theft alarm not active
• Ignition in Off position (Keyless Enter-N-Go™)WARNING!
•Do not start or run an engine in a closed garage or
confined area. Exhaust gas contains Carbon Mon-
oxide (CO) which is odorless and colorless. Carbon
Monoxide is poisonous and can cause serious in-
jury or death when inhaled.
• Keep Remote Keyless Entry (RKE) transmitters
away from children. Operation of the Remote Start
System, windows, door locks or other controls
could cause serious injury or death.
30 THINGS TO KNOW BEFORE STARTING YOUR VEHICLE
Page 169 of 543
 will flash
three times then automatically turn off.
High/Low Beam Switch
Push th")
Lane Change Assist
Tap the lever up or down once, without moving beyond
the detent, and the turn signal (right or left) will flash
three times then automatically turn off.
High/Low Beam Switch
Push the multifunction lever away from you to switch
the headlights to high beam. Pull the multifunction lever
toward you to switch the headlights back to low beam.
Flash-To-Pass
You can signal another vehicle with your headlights by
lightly pulling the multifunction lever toward you. This
will turn on the high beam headlights until the lever is
released.NOTE:
If the multifunction lever is held in the flash-to
pass position for more than 15 seconds, the high beams
will shut off.
Map/Reading Lights
These lights are mounted between the sun visors on the
overhead console. Each light is turned on by pressing the
lens. Press the lens a second time to turn off the light.
These lights also turn on when a door is opened, or when
the UNLOCK button on the Remote Keyless Entry (RKE)
transmitter is pressed, or when the dimmer control is
turned fully upward, past the second detent.3
UNDERSTANDING THE FEATURES OF YOUR VEHICLE 167
Page 186 of 543
OVERHEAD CONSOLE
The overhead console contains courtesy/reading lights
and sunglass storage. Universal Garage Door Opener
(HomeLink®) button and a power sunroof switch may
also be included, if equipped.
Courtesy/Reading Lights
At the forward end of the overhead console are two
courtesy/reading lights.
Press the lens to turn on the light. Press it a second time
to turn off the light.
These lights also turn on when a door is opened, when
the UNLOCK button on the Remote Keyless Entry (RKE)
transmitter is pressed, or when the dimmer control is
turned fully upward, past the second detent.
Sunglasses Storage
At the rear of the console, a compartment is provided for
the storage of a pair of sunglasses.
The storage compartment access is a�push/push�design.
Push on the raised bar on the compartment door to open.
Push on the raised bar to close.
Overhead Console
184 UNDERSTANDING THE FEATURES OF YOUR VEHICLE
Page 229 of 543
•Clearing Channels
• Channels Cleared
• Did Not Train
• Low Tire Pressure (with a single chime)
• Service TPM System (with a single chime)
• Tire Pressure Display Screen With Low Tire(s) “Inflate
Tire to XX”
• ESC Off – Electronic Stability Control is deactivated
• ECO (Fuel Saver Indicator) — if equipped
• Check Gascap
• Key Fob Battery Low •
Service Keyless System
• Wrong Key
• Damaged Key
• Key not Programmed
• Vehicle Not in Park
• Key Fob Not Detected
• Press Brake & Push Button to Start
• Push Button or Insert Key/Turn To Run (refer to
“Remote Starting System” in “Things To Know Before
Starting Your Vehicle”)
• 1–4 SKIPSHIFT
4
UNDERSTANDING YOUR INSTRUMENT PANEL 227
Page 241 of 543

off if they were turned on by this feature. To make your
selection, press and release the SELECT button until
“ON” or “OFF” appears.
NOTE:Turning the headlights on during the daytime
causes the instrument panel lights to dim. To increase the
brightness, refer to “Lights” in “Understanding The
Features Of Your Vehicle.”
Delay Turning Headlights Off
When this feature is selected, the driver can choose to
have the headlights remain on for 0, 30, 60, or 90 seconds
when exiting the vehicle. To make your selection, press
and release the SELECT button until “0,” “30,” “60,” or
“90” appears.
Hill Start Assist (HSA) — If Equipped
When on is selected, the HSA system is active. Refer to
“Electronic Brake Control System” in “Starting And Operating” for system function and operating informa-
tion. To make your selection, press and release the
SELECT button until “ON” or “OFF” appears.
Turn Headlights On with Remote Key Unlock
When this feature is selected, the headlights will activate
and remain on for up to 90 seconds when the doors are
unlocked with the RKE transmitter. To make your selec-
tion, press and release the SELECT button until “OFF,”
“30 sec.,” “60 sec.,” or “90 sec.” appears.
Delay Power Off to Accessories Until Exit
When this feature is selected, the power window
switches, radio, Uconnect® phone (if equipped), power
sunroof (if equipped), and ignition-powered power out-
lets will remain active for up to 60 minutes after the
ignition switch is turned OFF. Opening either front
vehicle door will cancel this feature. To make your
4
UNDERSTANDING YOUR INSTRUMENT PANEL 239
Page 279 of 543
When in “Surround Sound” mode, balance is set auto-
matically. Fader control is available in surround mode
but should be set to the center position for optimal
surround performance.
STEERING WHEEL AUDIO CONTROLS — IF
EQUIPPED
The remote sound system controls are located on the rear
surface of the steering wheel. Reach behind the wheel to
access the switches.The right-hand control is a rocker-type switch with a
pushbutton in the center and controls the volume and
mode of the sound system. Pressing the top of the rocker
switch will increase the volume, and pressing the bottom
of the rocker switch will decrease the volume.
Remote Sound System Controls (Back View Of SteeringWheel)
4
UNDERSTANDING YOUR INSTRUMENT PANEL 277
Page 526 of 543

Driving to Achieve Maximum Fuel Economy......229
Electrical Power Outlets .....................198
Electric Remote Mirrors .....................110
Electronic Brake Control System ...............332
Electronic Power Distribution Center (Fuses) ......483
Electronic Speed Control (Cruise Control) ........173
Electronic Stability Control (ESC) ..............337
Electronic Throttle Control Warning Light ........213
Electronic Vehicle Information Center (EVIC) ......224
Emergency Deck Lid Release ..................45
Emergency, In Case of Freeing Vehicle When Stuck ................432
Hazard Warning Flasher ..................406
Jacking .............................. .418
Jump Starting ......................... .427
Overheating .......................... .406
Towing ............................. .435
Emergency Trunk Release ....................45 Emission Control System Maintenance
..........445
Engine ................................ .443
Air Cleaner .......................... .453
Block Heater ......................... .303
Break-In Recommendations .................96
Checking Oil Level ..................... .448
Compartment ......................... .442
Compartment Identification ................442
Coolant (Antifreeze) .....................463
Cooling ............................. .463
Exhaust Gas Caution .....................97
Fails to Start .......................... .301
Flooded, Starting ...................... .301
Fuel Requirements ..................... .378
Jump Starting ......................... .427
Oil................................. .448
Oil Filler Cap ......................... .451
Oil Selection .......................... .450
Oil Synthetic ......................... .452
524 INDEX
 button and a power sunroof switch may
also be included, if equipp")

• Service TPM System (with a single chime)
• Tire Pressure Display Screen With Low Tire(s) �")
