2013 CHRYSLER TOWN AND COUNTRY seat memory
[x] Cancel search: seat memoryPage 22 of 140

FRONT SEATS
Power Seat
• The power seat switch controls forward/back, up/down, and tilt adjustment.
•
The recline switch, located on the outboard
side of the seat, controls seatback adjustment.
Power Lumbar
• Push the switch forward to increase the lum- bar support. Push the switch rearward to
decrease the lumbar support.
Manual Seat Adjustment
Forward/Rearward
• Lift up on the adjusting bar located at the
front of the seat near the floor and release it
when the seat is at the desired position.
Then, using body pressure, move forward
and backward on the seat to be sure that the
seat adjusters have latched.
Recliner
• Lift the recliner lever located on the out- board side of the seat, lean back and release
at the desired position.
Memory Seat
•The memory seat feature allows you to save
two different driver seating positions, driver's
outside mirror, adjustable brake and accelera-
tor pedals, and radio station preset settings.
The memory seat buttons are located on the
driver's door panel.
•Adjust all memory profile settings, press the
SET button then press 1 or 2 within five sec-
onds.
•To program a Key Fob to the memory posi-
tion, press and release the LOCK button
within 10 seconds on the Key Fob to be pro-
grammed.
GETTING STARTED
20
Page 23 of 140

• Place the ignition switch in the ON position, select Remote Linked to Memory in theElectronic Vehicle Information Center (EVIC) and enter Yes.
• Press 1 or 2 to recall the saved positions, or press UNLOCK on the programmed Key Fob.
CAUTION!
Do not place any article under a power seat or impede its ability to move as it may cause
damage to the seat controls. Seat travel may become limited if movement is stopped by an
obstruction in the seat’s path.
WARNING!
• Adjusting a seat while the vehicle is moving is dangerous. The sudden movement of the seat could cause you to lose control. The seat belt might not be properly adjusted, and you
could be severely injured or killed. Only adjust a seat while the vehicle is parked.
• Do not ride with the seatback reclined so that the seat belt is no longer resting against your
chest. In a collision, you could slide under the seat belt and be severely injured or killed.
Use the recliner only when the vehicle is parked.
REAR SEATS
Second Row Seats – Stow 'n Go®
•On vehicles equipped with Stow 'n Go® seats,
the seats will fold and tumble in one motion.
• Move the front seat fully forward.
• Recline the front seatback fully forward.
• Raise the armrests on the second row seat.
NOTE:
Seat will not stow in the storage bin unless the
armrests are raised.
• Slide the storage bin locking mechanism to the “LOCK” position and then pull up on the
storage bin latch to open the cover.
GETTING STARTED
21
Page 84 of 140

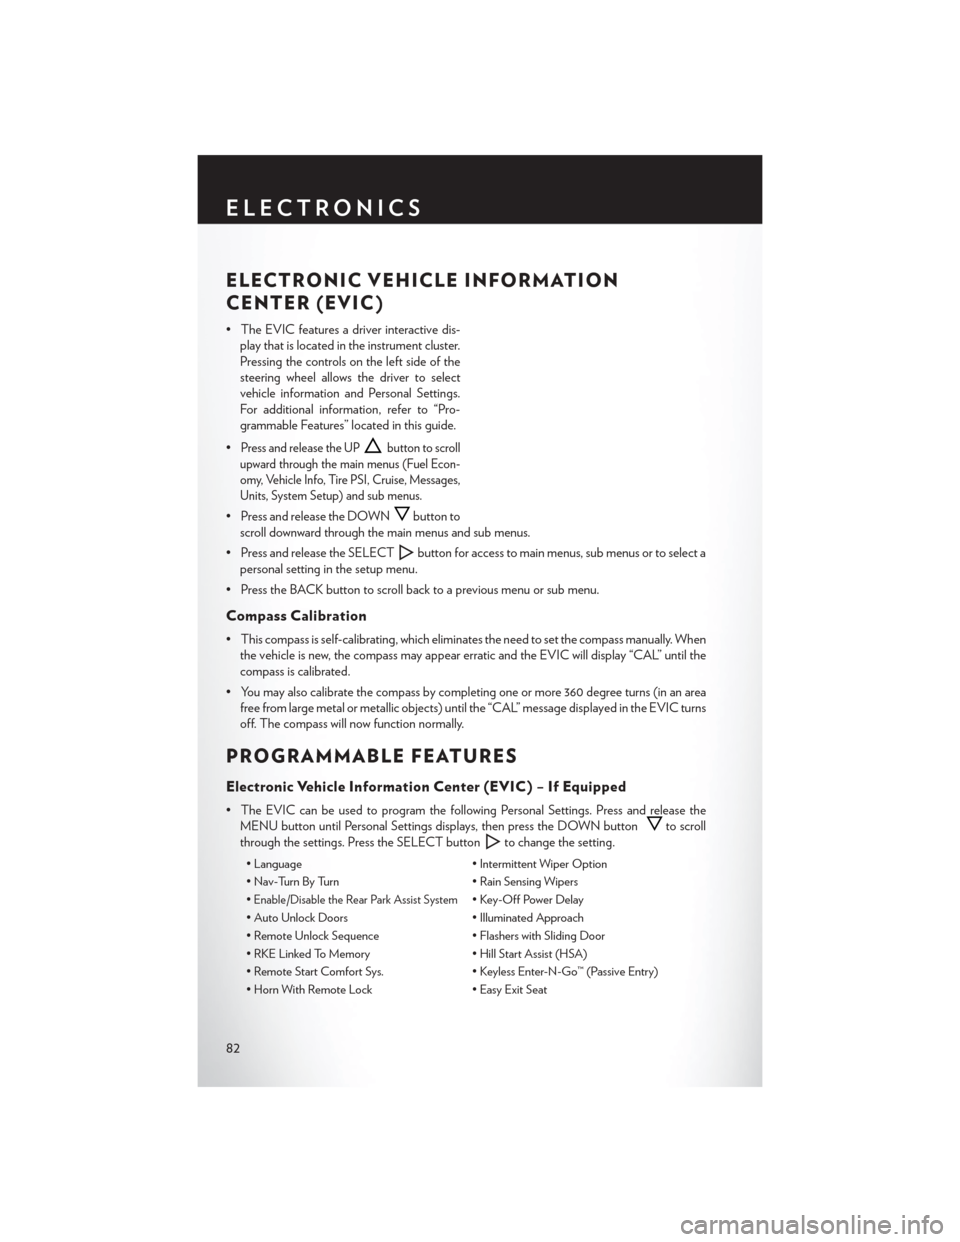
ELECTRONIC VEHICLE INFORMATION
CENTER (EVIC)
• The EVIC features a driver interactive dis-play that is located in the instrument cluster.
Pressing the controls on the left side of the
steering wheel allows the driver to select
vehicle information and Personal Settings.
For additional information, refer to “Pro-
grammable Features” located in this guide.
•
Press and release the UPbutton to scroll
upward through the main menus (Fuel Econ-
omy, Vehicle Info, Tire PSI, Cruise, Messages,
Units, System Setup) and sub menus.
• Press and release the DOWNbutton to
scroll downward through the main menus and sub menus.
• Press and release the SELECT
button for access to main menus, sub menus or to select a
personal setting in the setup menu.
• Press the BACK button to scroll back to a previous menu or sub menu.
Compass Calibration
• This compass is self-calibrating, which eliminates the need to set the compass manually. When the vehicle is new, the compass may appear erratic and the EVIC will display “CAL” until the
compass is calibrated.
• You may also calibrate the compass by completing one or more 360 degree turns (in an area free from large metal or metallic objects) until the “CAL” message displayed in the EVIC turns
off. The compass will now function normally.
PROGRAMMABLE FEATURES
Electronic Vehicle Information Center (EVIC) – If Equipped
• The EVIC can be used to program the following Personal Settings. Press and release theMENU button until Personal Settings displays, then press the DOWN button
to scroll
through the settings. Press the SELECT button
to change the setting.
• Language • Intermittent Wiper Option
• Nav-Turn By Turn • Rain Sensing Wipers
•
Enable/Disable the Rear Park Assist System• Key-Off Power Delay
• Auto Unlock Doors • Illuminated Approach
• Remote Unlock Sequence • Flashers with Sliding Door
• RKE Linked To Memory • Hill Start Assist (HSA)
• Remote Start Comfort Sys. • Keyless Enter-N-Go™ (Passive Entry)
• Horn With Remote Lock • Easy Exit Seat
ELECTRONICS
82
Page 122 of 140

Integrated Power Module (fuses)
• The Integrated Power Module (fuses) is located in the engine compartment near the battery.This center contains cartridge fuses, mini-fuses and relays.
Cavity Cartridge Fuse Mini-Fuse Description
J1 40 Amp Green Power Folding Seat
J2 30 Amp Pink Power Liftgate Module
J3 30 Amp Pink Rear Door Module (RR Door Node)
J4 25 Amp Natural Driver Door Node
J5 25 Amp Natural Passenger Door Node
J6 40 Amp Green Anti-Lock Brake System (ABS) Pump/ESP
J7 30 Amp Pink Anti-Lock Brake System (ABS) Valve/ESP
J8 40 Amp Green Power Memory Seat (If Equipped)
J9 40 Amp Green PZEV Motor/Flex Fuel
J10 30 Amp Pink Headlamp Wash Relay/Manifold Tuning
Valve
J11 30 Amp Pink Power Sliding Door Module/Thatchum
Relay Lock Feed
J12 30 Amp Pink HVAC Rear Blower, Radiator Fan Motor
J13 60 Amp Yellow Ignition Off Draw (IOD) — Main
J14 40 Amp Green Rear Window Defogger
J15 40 Amp Green Front Blower
J17 40 Amp Green Starter Solenoid
J18 20 Amp Blue Powertrain Control Module (PCM) Trans
Range
J19 60 Amp Yellow Radiator Fan
J20 30 Amp Pink Front Wiper LO/HI
J21 20 Amp Blue Front/Rear Washer
J22 25 Amp Natural Sunroof Module
M1 15 Amp Blue Center High Mounted Stop Light
(CHMSL)/Brake Switch
M2 20 Amp Yellow Trailer Lighting, Front Fog Lamps,
Intelligent Battery Sensor (IBS)
M3 20 Amp Yellow Front/Rear Axle Locker, Vacuum Pump
Motor
M4 10 Amp Red Trailer Tow
M5 25 Amp natural Inverter
M6 20 Amp Yellow Power Outlet #1 (ACC), Rain Sensor
M7 20 Amp Yellow Power Outlet #2 (BATT/ACC SELECT)
M8 20 Amp Yellow Front Heated Seat (If Equipped)
M9 20 Amp Yellow Rear Heated Seat (If Equipped)
MAINTAINING YOUR VEHICLE
120
Page 130 of 140

Inverter, Power...............86
iPod®/USB/MP3 Control ..........74
Bluetooth Streaming Audio ......80
Jack Location ...............96
Jack Operation ..............96
Jump Starting ............. .106
KeyFob..................10
Key Fob Programmable Features ......83
Keyless Enter-N-Go ............12
Lock/Unlock ..............13
Lane Change Assist ............28
LATCH (Lower Anchors and Tether forCHildren)..............18
Liftgate, Power ...............10
Lights Tire Pressure Monitoring (TPMS) . . .91
Turn Signal ..............28
Warning (Instrument Cluster
Description) ..............8
Locks Liftgate, Tailgate ............10
Luggage Rack (Roof Rack) ........89
Maintenance Record ...........118
Maintenance Schedule ..........114
Malfunction Indicator Light (Check Engine) .............93
MemorySeat...............20
Mirrors Heated ............ .34, 35, 37
MOPAR® Accessories ..........126
Navigation Voice Prompt Volume . . .55, 66
New Vehicle Break-In Period ........28
Oil Change Indicator ...........94
Oil, Engine Capacity .............. .113
Outlet Power .................87
Overheating, Engine ............95
Park Sense System, Rear ..........38
Placard, Tire and Loading Information. . .122 Power
Glass Sunroof .............40
Inverter ................86
LiftGate................10
Outlet (Auxiliary Electrical Outlet). . .87
Seats .................20
Steering ............... .113
Preparation for Jacking ..........100
Programmable Electronic Features .....82
Rain Sensitive Wiper System ........29
RearCamera................38
RearCrossPath..............38
Rear Heated Seats .............26
Rear Park Sense System ..........38
Recreational Towing ............90
Remote Starting System ..........12
Replacement Bulbs ............123
Reporting Safety Defects .........125
Rocking Vehicle When Stuck .......108
Roof Rack (Luggage Rack) ........89
Schedule, Maintenance ..........114
Seat Belts .................16
Seats ....................20
Adjustment ..............20
Fold in Floor (Stow `n Go) .......21
Lumbar Support ............20
Memory................20
Power .................20
Stow`nGo(FoldinFloor).......21
Setting the Clock .............73
Shift Lever Override ...........108
Signals, Turn ................28
SmartBeams ................30
SpareTire.................96
Spark Plugs ............... .113
Speed Control Accel/Decel ..............31
Cancel.................31
Distance Setting (ACC Only) .....31
Starting Remote ................12
Steering Tilt Column ..............27
Wheel, Heated ............26
Steering Wheel Audio Controls ......73
INDEX
128
Page 132 of 140

FREQUENTLY ASKED QUESTIONS
GETTING STARTED
• How do I install my LATCH Equipped Child Seat? pg. 18
• How do I program my Front Seat Memory? pg. 20
OPERATING YOUR VEHICLE
• How does the Electronic Range Select (ERS) operate? pg. 32
ELECTRONICS
• Which radio is in my vehicle?• Uconnect® 130 pg. 44
• Uconnect® 130 WITH Sirius XM™ SATELLITE RADIO pg. 46
• Uconnect® 430/430N pg. 49
• Uconnect® 730N pg. 59
• How do I activate the Audio Jack?
• Uconnect® 130 pg. 48
• Uconnect® 130 WITH SiriusXM™ pg. 48
• Uconnect® 430/430N pg. 53
• Uconnect® 730N pg. 63
• How do I set the clock on my radio?
• Uconnect® 130 pg. 46
• Uconnect® 130 WITH SiriusXM™ pg. 46
• Uconnect® 430/430N pg. 49
• Uconnect® 730N pg. 59
• How do I use the Navigation feature?
• Uconnect® 430/430N pg. 55
• Uconnect® 730N pg. 66
• How do I pair my cell phone via Bluetooth® with the Uconnect® Hands-Free Voice Activation System? pg. 75
• How do I use my USB port to listen to audio through my touch-screen radio? pg. 74
• What does the ECO message mean on the EVIC display? pg. 33
• How do I configure my Universal Garage Door Opener (HomeLink®)? pg. 84
FAQ(HowTo?)
130