Page 334 of 699
The main display area will normally display the main
menu or the screens of a selected feature of the main
menu. The main display area also displays�pop up�
messages that consist of approximately 60 possible warn-
ing or information messages. These pop up messages fall
into several categories:
• Five Second Stored Messages
When the appropriate conditions occur, this type of
message takes control of the main display area for
five seconds and then returns to the previous screen.
Most of the messages of this type are then stored (as long
as the condition that activated it remains active) and can
be reviewed from the �Messages�main menu item. As
long as there is a stored message, an �i�will be displayed
in the EVIC’s compass/outside temp line. Examples of
this message type are �Right Front Turn Signal Lamp
Out� and�Low Tire Pressure�. •
Unstored Messages
This message type is displayed indefinitely or until the
condition that activated the message is cleared. Examples
of this message type are �Turn Signal On�(if a turn signal
is left on) and �Lights On�(if driver leaves the vehicle).
• Unstored Messages Until RUN
These messages deal primarily with the Remote Start
feature. This message type is displayed until the ignition
is in the RUN state. Examples of this message type are
�Remote Start Aborted - Door Ajar� and�Press Brake
Pedal and Push Button to Start�.
• Five Second Unstored Messages
When the appropriate conditions occur, this type of mes-
sage takes control of the main display area for five seconds
and then returns to the previous screen. Examples of this
message type are �Memory System Unavailable - Not in
Park� and�Automatic High Beams On �.
332 UNDERSTANDING YOUR INSTRUMENT PANEL
Page 392 of 699
•Turn on the Player (if equipped on Dual Screen Sys-
tem) by pushing the Power button, located on the far
left, or by pressing the button on the Remote Control.
• When the Video Screen(s) are open and a DVD/Blu-
ray Disc is inserted into the VES™ player, the screen(s)
turn(s) on automatically, the headphone transmitters
turn on and playback begins.
• For Dual Video Screen System, Channel 1 on the
Remote Control and Headphones refers to Screen 1
(second row) and Channel 2 on the Remote Control
and Headphones refers to Screen 2 (third row). Refer to
the Dual Video Screen section for more information.
• The system can be controlled by the front seat occu-
pants using either the touch-screen- radio, the DVD or
Blu-ray Disc Player, or by the rear seat occupants using
the remote control.Blu-ray Player
Play A Blu-ray Disc
To view a Blu-ray insert the disc into the Blu-ray VES™
disc Player. Playback will begin automatically after the
Blu-ray is recognized by the disc drive. If playback does
not begin automatically after the disc is inserted into the
Blu-ray player press the play button. If playback does not
begin automatically after the disc is inserted into Blu-ray
VES™ disc Player follow these steps:
Using the Touch-Screen Radio
• Press the MENU hard-key, then touch the Rear VES™
soft key. If a chapter list appears on the right side of the
screen, touch the hide list soft key to display the Rear
VES™ control screen.
• Touch the 1 soft-key to select an audio channel, then
touch the VES™ Disc soft-key in the media column.
390 UNDERSTANDING YOUR INSTRUMENT PANEL
Page 393 of 699
Using the Remote Control
•Select an audio channel (Channel 1 for 2nd row screen
and Channel 2 for 3rd row screen), then press the
source key and select VES™ Disc from the menu.
• Press popup/menu key to navigate disc menu and
options.
NOTE: Due to the size of the content on a Blu-ray disc,
the disc may not start playing immediately.
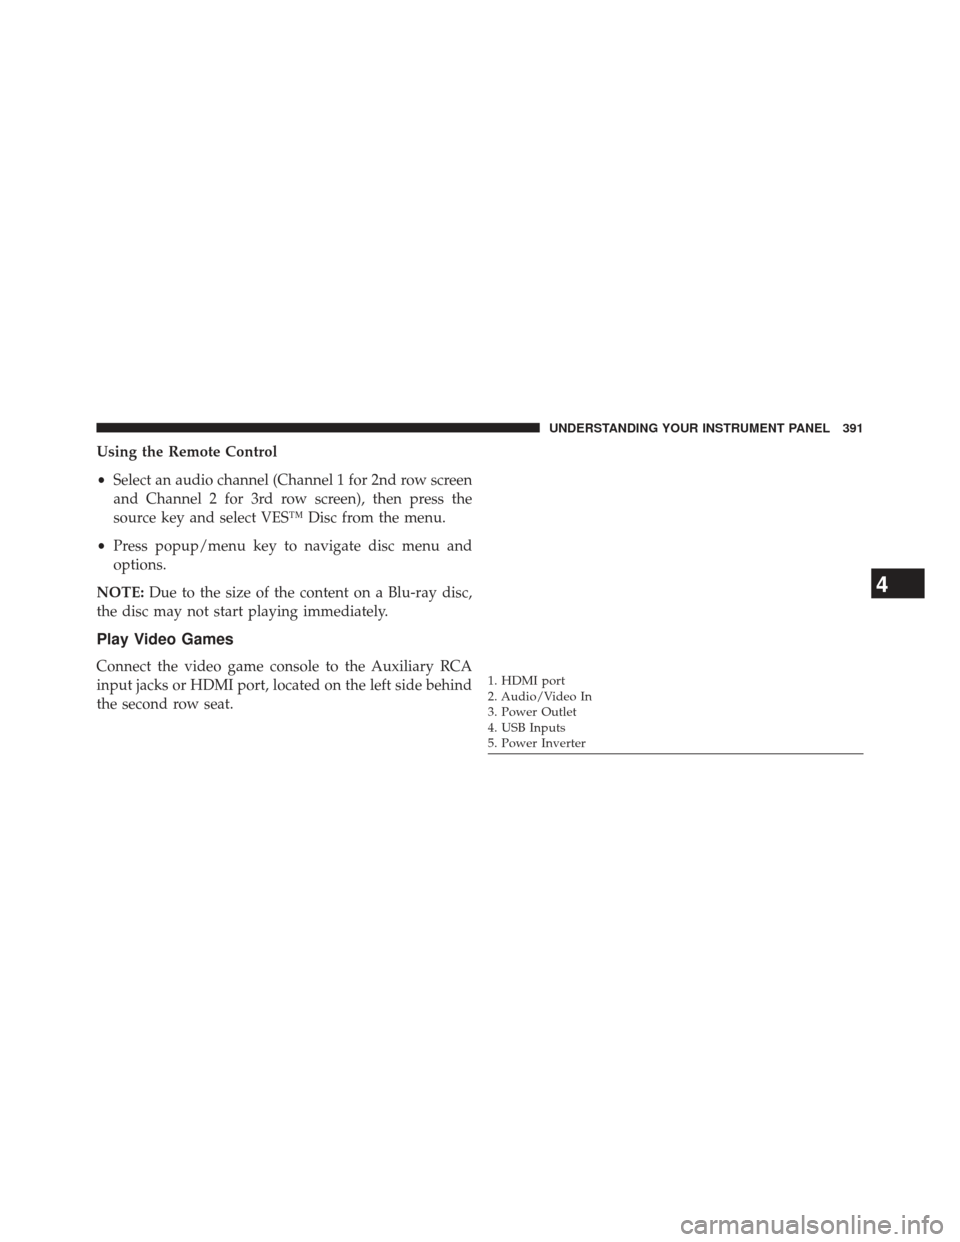
Play Video Games
Connect the video game console to the Auxiliary RCA
input jacks or HDMI port, located on the left side behind
the second row seat.1. HDMI port
2. Audio/Video In
3. Power Outlet
4. USB Inputs
5. Power Inverter
4
UNDERSTANDING YOUR INSTRUMENT PANEL 391
Page 394 of 699
When connecting an external source to the AUX input,
be sure to follow the standard color coding for the VES™
jacks:
NOTE:
Certain high-end video games, such as Playsta-
tion3 and XBox360 will exceed the power limit of the
vehicle’s Power Inverter. Refer to the Power Inverter section
in your vehicle’s Owner’s Manual for more information.
Ensure the Remote Control and Headphone switch is on
Channel 1.
Using The Remote Control
1. Press the MODE button on the Remote Control.
2. While looking at the video screen, highlight VES AUX 1, by either pressing Up/Down/Left/Right
buttons or by repeatedly pressing the MODE button,
then press ENTER on the Remote Control.Select VES AUX1 Mode On The VES Screen
392 UNDERSTANDING YOUR INSTRUMENT PANEL
Page 396 of 699
Listen To An Audio Source On Channel 2 While A
Video Is Playing On Channel 1
Ensure the Remote Control and Headphone switch is on
Channel 2.
Using The Remote Control
1. Press the SOURCE button on the Remote Control andthe Mode Select Screen will display, unless a video is
playing then only a small banner will appear on the
bottom of the screen.
2. While looking at the video screen, either press Up/ Down/Left/Right on the Remote Control to highlight
the desired audio source or repeatedly press the
SOURCE button on the remote until the desired audio
source appears on the screen.
Select FM Mode On The VES Screen
394 UNDERSTANDING YOUR INSTRUMENT PANEL
Page 398 of 699
Dual Video Screen
NOTE:Typically there are two different ways to operate
the features of the Video Entertainment System (VES™).
• The Remote Control
• The Touch-Screen Radio (If Equipped)
Play A DVD Using The Touch-Screen Radio
NOTE:Headunit DVD player does not play Blu-Ray discs.
1. Press the OPEN/CLOSE or LOAD hard-key on the
radio faceplate (Touch-Screen).
2. Insert the DVD with the label facing up. The radio automatically selects the appropriate mode after the
disc is recognized and displays the menu screen or
starts playing the first track. 3. To watch a DVD on Screen 1 for second row passen-
gers, ensure the Remote Control and Headphone
switch is on Channel 1.
4. To watch a DVD on Screen 2 for third row passengers, ensure the Remote Control and Headphone switch is
on Channel 2.
Using The Remote Control
1. Press the SOURCE button on the Remote Control.
2. While looking at Screen 1 or 2, highlight DISC byeither pressing Up/Down/Left/Right buttons or by
repeatedly pressing the SOURCE button, then press
ENTER/OK.
396 UNDERSTANDING YOUR INSTRUMENT PANEL
Page 400 of 699
3. Touch the 1 or 2 soft-key and then the DISC soft-key inthe MEDIA column. To exit touch the back arrow at
the top left of the screen.
NOTE:
• To view a DVD on the radio press the RADIO/MEDIA
hard-key, on the radio faceplate, then touch the DISC
tab soft-key and then the VIEW VIDEO soft-key.
• Viewing a DVD on the Touch-Screen radio screen is
not available in all states/provinces, and the vehicle
must be stopped, and the shift lever must be in the
PARK position for vehicles with automatic transmis-
sion. In vehicles with manual transmission the parking
brake must be engaged.
• Touching the screen on a Touch-Screen radio while a
DVD is playing brings up basic remote control func-
tions for DVD play such as scene selection, Play, Pause,
FF, RW, and Stop. Pressing the X in the upper corner
will turn off the remote control screen functions.Play A DVD Using The VES™ Player (If Equipped)
1.Insert the DVD with the label facing up. The VES™
player automatically selects the appropriate mode after
the disc is recognized and starts playing the DVD.
NOTE: The VES™ player has basic DVD control func-
tion such as Menu, Play, Pause, FF, RW and Stop
2. To watch a DVD on Screen 1 for second row passen- gers, ensure the Remote Control and Headphone
switch is on Channel 1.
3. To watch a DVD on Screen 2 for third row passengers, ensure the Remote Control and Headphone switch is
on Channel 2.
398 UNDERSTANDING YOUR INSTRUMENT PANEL
Page 401 of 699
Using The Remote Control
1. Press the SOURCE button on the Remote Control.
2.
While looking at Screen 1 or 2, highlight VES DISC by
either pressing Up/Down/Left/Right buttons or by
repeatedly pressing the SOURCE button, then press
ENTER/OK on the Remote Control.
NOTE:
•Channel/Screen 1 select mode information is shown
on the left side of the screen.
• Channel/Screen 2 select mode information is shown
on the right side of the screen.
• The VES™ will retain the last setting when turned off.
Select VES DISC Mode On The VES Screen
4
UNDERSTANDING YOUR INSTRUMENT PANEL 399