2013 CHRYSLER 300 check oil
[x] Cancel search: check oilPage 99 of 592
Whenever a change is noticed in the sound of the exhaust
system, when exhaust fumes can be detected inside the
vehicle, or when the underside or rear of the vehicle is
damaged, have a competent mechanic inspect the com-
plete exhaust system and adjacent body areas for broken,
damaged, deteriorated, or mispositioned parts. Open
seams or loose connections could permit exhaust fumes
to seep into the passenger compartment. In addition,
inspect the exhaust system each time the vehicle is raised
for lubrication or oil change. Replace as required.
Safety Checks You Should Make Inside The
Vehicle
Seat Belts
Inspect the belt system periodically, checking for cuts,
frays, and loose parts. Damaged parts must be replaced
immediately. Do not disassemble or modify the system.Front seat belt assemblies must be replaced after a
collision. Rear seat belt assemblies must be replaced after
a collision if they have been damaged (i.e., bent retractor,
torn webbing, etc.). If there is any question regarding belt
or retractor condition, replace the belt.
Air Bag Warning Light
The light should come on and remain on for four
to eight seconds as a bulb check when the
ignition switch is first turned ON. If the light is
not lit during starting, see your authorized
dealer. If the light stays on, flickers, or comes on while
driving, have the system checked by an authorized dealer.
Defroster
Check operation by selecting the defrost mode and place
the blower control on high speed. You should be able to feel
the air directed against the windshield. See your autho-
rized dealer for service if your defroster is inoperable.
2
THINGS TO KNOW BEFORE STARTING YOUR VEHICLE 97
Page 101 of 592

WARNING!(Continued)
•Always make sure that objects cannot fall into the
driver footwell while the vehicle is moving. Objects
can become trapped under the brake pedal and
accelerator pedal causing a loss of vehicle control.
• If required, mounting posts must be properly in-
stalled, if not equipped from the factory.
Failure to properly follow floor mat installation or
mounting can cause interference with the brake
pedal and accelerator pedal operation causing loss of
control of the vehicle.
Periodic Safety Checks You Should Make Outside
The Vehicle
Tires
Examine tires for excessive tread wear and uneven wear
patterns. Check for stones, nails, glass, or other objects
lodged in the tread or sidewall. Inspect the tread for cuts and cracks. Inspect sidewalls for cuts, cracks and bulges.
Check the wheel nuts for tightness. Check the tires
(including spare) for proper cold inflation pressure.
Lights
Have someone observe the operation of brake lights and
exterior lights while you work the controls. Check turn
signal and high beam indicator lights on the instrument
panel.
Door Latches
Check for positive closing, latching, and locking.
Fluid Leaks
Check area under vehicle after overnight parking for fuel,
engine coolant, oil, or other fluid leaks. Also, if gasoline
fumes are detected or if fuel, power steering fluid, or
brake fluid leaks are suspected, the cause should be
located and corrected immediately.
2
THINGS TO KNOW BEFORE STARTING YOUR VEHICLE 99
Page 320 of 592
•Oil Pressure Warning Telltale
This telltale indicates low engine oil pressure. If
the light turns on while driving, stop the vehicle and shut
off the engine as soon as possible. A chime will sound for
four minutes when this light turns on.
Do not operate the vehicle until the cause is corrected.
This light does not show how much oil is in the engine.
The engine oil level must be checked under the hood.
• Charging System Telltale
This telltale shows the status of the electrical
charging system. If the telltale stays on or comes
on while driving, turn off some of the vehicle’s non-
essential electrical devices or increase engine speed (if at
idle). If the charging system telltale remains on, it means
that the vehicle is experiencing a problem with the
charging system. Obtain SERVICE IMMEDIATELY. See
an authorized dealer. If jump starting is required, refer to “Jump Starting
Procedures” in “What To Do In Emergencies”.
•
Electronic Throttle Control (ETC) Telltale
This telltale informs you of a problem with the
Electronic Throttle Control (ETC) system. If the
telltale comes on while driving, have the sys-
tem checked by an authorized dealer.
If a problem is detected, the telltale will come on while
the engine is running. Cycle the ignition key when the
vehicle has completely stopped and the shift lever is
placed in the PARK position. The telltale should turn off.
If the telltale remains lit with the engine running, your
vehicle will usually be drivable. However, see an autho-
rized dealer for service as soon as possible. If the telltale
is flashing when the engine is running, immediate service
318 UNDERSTANDING YOUR INSTRUMENT PANEL
Page 503 of 592
Engine Oil
Checking Oil Level – 3.6L Engine
To assure proper engine lubrication, the engine oil must
be maintained at the correct level. Check the oil level at
regular intervals, such as every fuel stop. The best time to
check the engine oil level is about five minutes after a
fully warmed engine is shut off.
Checking the oil while the vehicle is on level ground will
improve the accuracy of the oil level readings. Maintain
the oil level between the MIN and MAX markings on the
dipstick. Adding 1.0 qt (1.0 L) of oil when the reading is
at the MIN mark will result in a MAX reading on these
engines.
CAUTION!
Overfilling or underfilling will cause oil aeration or
loss of oil pressure. This could damage your engine.
Checking Oil Level – 5.7L Engine
To assure proper engine lubrication, the engine oil must
be maintained at the correct level. Check the oil level at
regular intervals, such as every fuel stop. The best time to
check the engine oil level is about five minutes after a
fully warmed engine is shut off.
Checking the oil while the vehicle is on level ground will
improve the accuracy of the oil level readings. Maintain
the oil level in the “SAFE” range. Adding 1.0 qt (1.0 L) of
oil when the reading is at the bottom of the “SAFE” range
will result in an oil level at the top of the “SAFE” range
on these engines.
CAUTION!
Overfilling or underfilling will cause oil aeration or
loss of oil pressure. This could damage your engine.
7
MAINTAINING YOUR VEHICLE 501
Page 526 of 592
All Wheel Drive (AWD) – If Equipped
The all wheel drive system consists of a transfer case and
front differential. The exterior surface of these compo-
nents should be inspected for evidence of fluid leaks.
Confirmed leaks should be repaired as soon as possible.
The transfer case fluid fill/inspection plug is located in
the middle of the rear housing. To inspect the transfer
case fluid level, remove the fill/inspection plug. The
fluid level should be even with the bottom of the hole.
Use this plug to add fluid as required.
The front differential fill plug is located on the outer
cover near the halfshaft attachment. To inspect the differ-
ential fluid level, remove the fill plug. The fluid level
should be even with or slightly below the bottom of the
hole.
Fluid Changes
Refer to the “Maintenance Schedule” for the proper
maintenance intervals.
Rear Axle
For normal service, periodic fluid level checks are not
required. When the vehicle is serviced for other reasons
the exterior surfaces of the axle assembly should be
inspected. If gear oil leakage is suspected inspect the
fluid level. Refer to “Fluids, Lubricants, and Genuine
Parts” in “Maintaining Your Vehicle” for further informa-
tion.
Fluid Level Check
Check the fluid level by removing the fill plug on the
axle. The fluid level should be at the bottom of the fill
hole. Add fluid, if necessary, to maintain the proper level.
Refer to “Fluids, Lubricants, and Genuine Parts” in
“Maintaining Your Vehicle” for further information.
524 MAINTAINING YOUR VEHICLE
Page 555 of 592
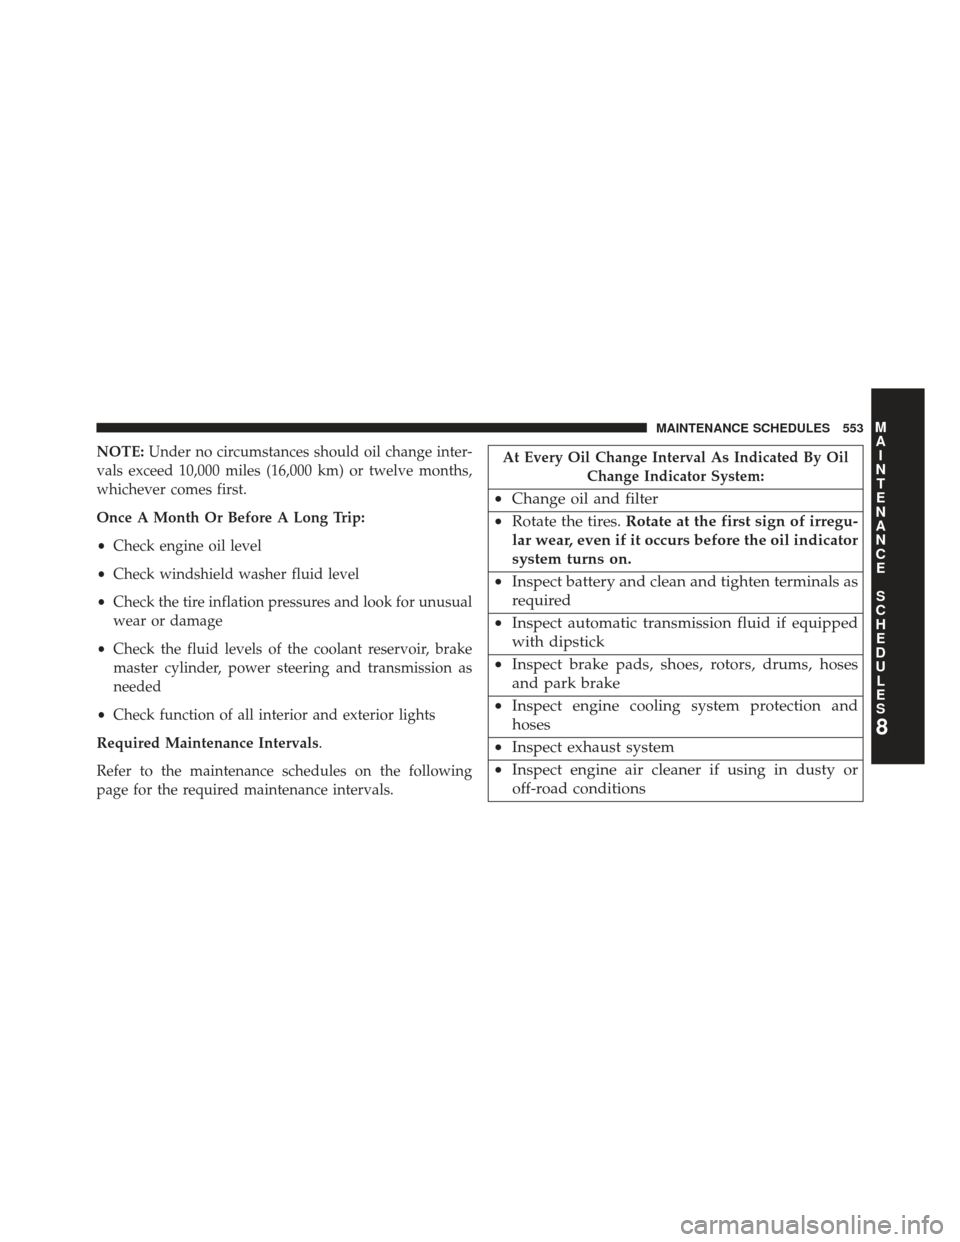
NOTE:Under no circumstances should oil change inter-
vals exceed 10,000 miles (16,000 km) or twelve months,
whichever comes first.
Once A Month Or Before A Long Trip:
• Check engine oil level
• Check windshield washer fluid level
• Check the tire inflation pressures and look for unusual
wear or damage
• Check the fluid levels of the coolant reservoir, brake
master cylinder, power steering and transmission as
needed
• Check function of all interior and exterior lights
Required Maintenance Intervals.
Refer to the maintenance schedules on the following
page for the required maintenance intervals.At Every Oil Change Interval As Indicated By Oil Change Indicator System:
•Change oil and filter
• Rotate the tires. Rotate at the first sign of irregu-
lar wear, even if it occurs before the oil indicator
system turns on.
• Inspect battery and clean and tighten terminals as
required
• Inspect automatic transmission fluid if equipped
with dipstick
• Inspect brake pads, shoes, rotors, drums, hoses
and park brake
• Inspect engine cooling system protection and
hoses
• Inspect exhaust system
• Inspect engine air cleaner if using in dusty or
off-road conditions
8
M
A I
N T
E
N
A
N
C E
S
C
H E
D
U L
E
SMAINTENANCE SCHEDULES 553
Page 574 of 592
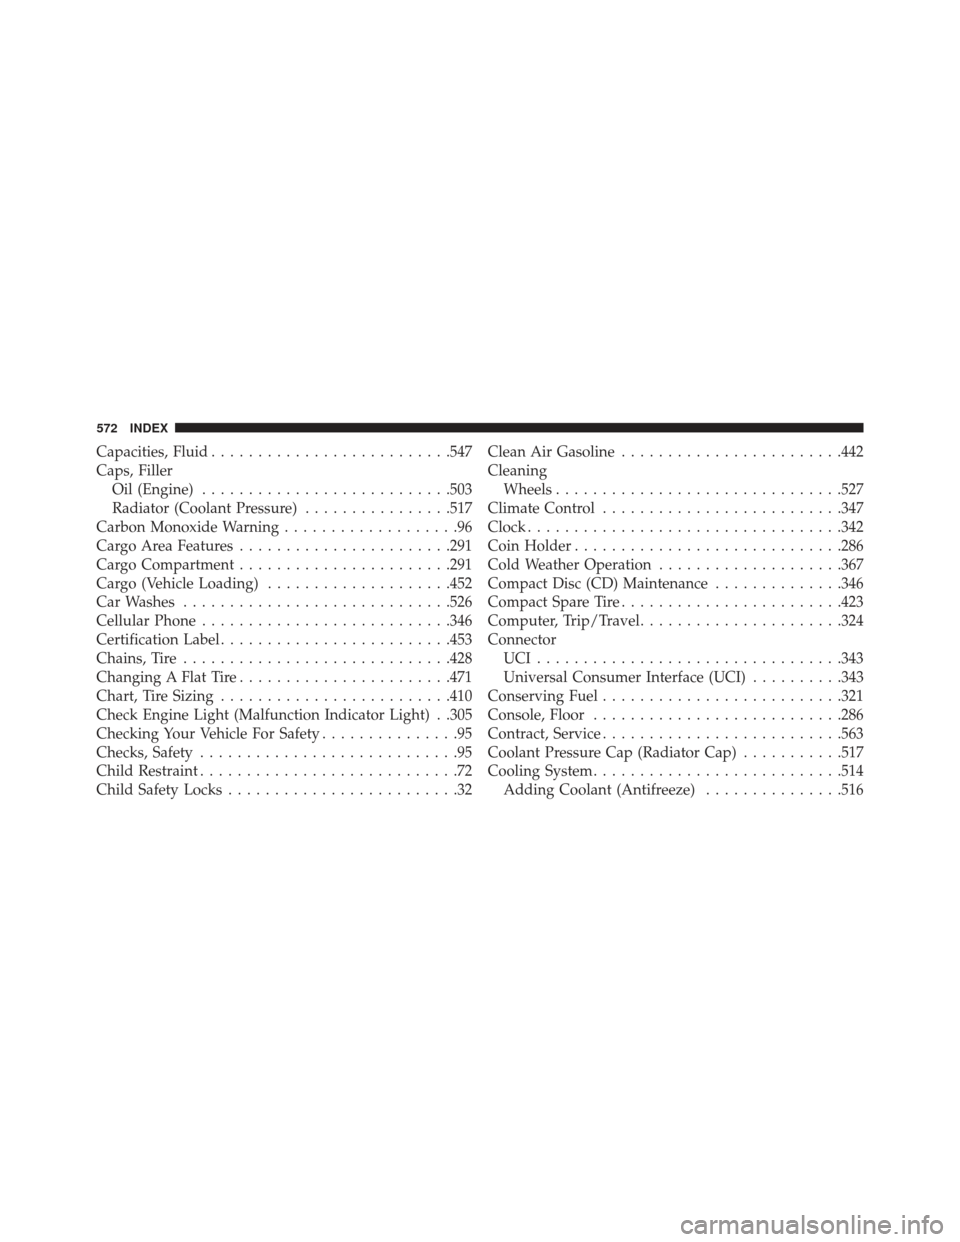
Capacities, Fluid......................... .547
Caps, Filler Oil (Engine) .......................... .503
Radiator (Coolant Pressure) ................517
Carbon Monoxide Warning ...................96
Cargo Area Features ...................... .291
Cargo Compartment ...................... .291
Cargo (Vehicle Loading) ....................452
Car Washes ............................ .526
Cellular Phone .......................... .346
Certification Label ........................ .453
Chains, Tire ............................ .428
Changing A Flat Tire ...................... .471
Chart, Tire Sizing ........................ .410
Check Engine Light (Malfunction Indicator Light) . .305
Checking Your Vehicle For Safety ...............95
Checks, Safety ............................95
Child Restraint ............................72
Child Safety Locks .........................32 Clean Air Gasoline
....................... .442
Cleaning Wheels .............................. .527
Climate Control ......................... .347
Clock ................................. .342
Coin Holder ............................ .286
Cold Weather Operation ....................367
Compact Disc (CD) Maintenance ..............346
Compact Spare Tire ....................... .423
Computer, Trip/Travel ..................... .324
Connector UCI................................ .343
Universal Consumer Interface (UCI) ..........343
Conserving Fuel ......................... .321
Console, Floor .......................... .286
Contract, Service ......................... .563
Coolant Pressure Cap (Radiator Cap) ...........517
Cooling System .......................... .514
Adding Coolant (Antifreeze) ...............516
572 INDEX
Page 576 of 592
Electrical Power Outlets.....................278
Electric Rear Window Defrost .................292
Electric Remote Mirrors .....................111
Electronic Brake Control System ...............401
Anti-Lock Brake System ..................401
Brake Assist System .....................402
Traction Control System ...................401
Electronic Power Distribution Center (Fuses) ......530
Electronic Speed Control (Cruise Control) ........219
Electronic Stability Control (ESC) ..............402
Electronic Vehicle Information Center (EVIC) ......257
Emergency Deck Lid Release ..................43
Emergency, In Case of Freeing Vehicle When Stuck ................485
Hazard Warning Flasher ..................470
Jacking .............................. .471
Jump Starting ......................... .481
Overheating .......................... .470
Towing ............................. .490Emergency Trunk Release
....................43
Emission Control System Maintenance ..........497
Engine ................................ .496
Air Cleaner .......................... .504
Block Heater ......................... .368
Break-In Recommendations .................94
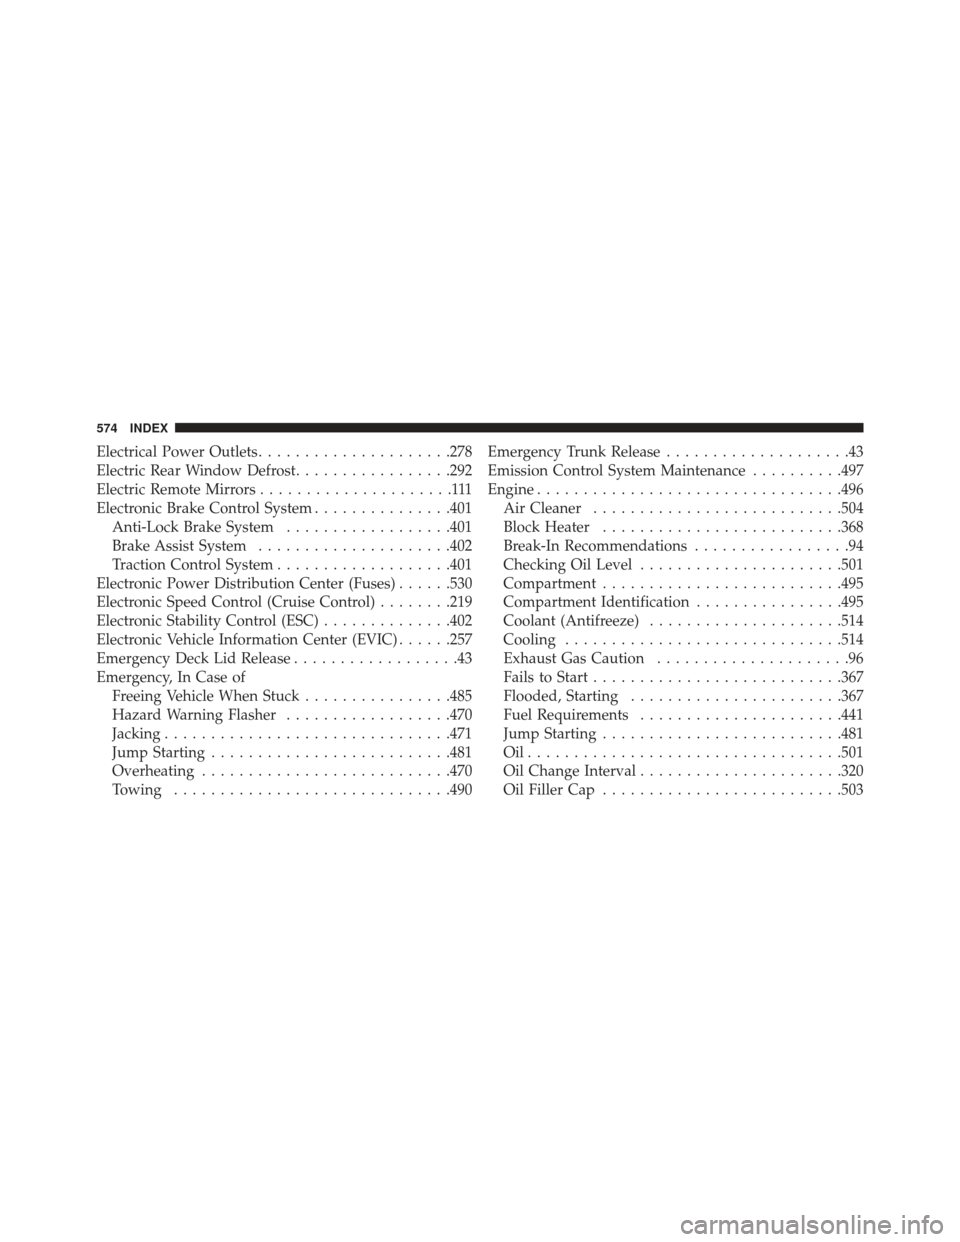
Checking Oil Level ..................... .501
Compartment ......................... .495
Compartment Identification ................495
Coolant (Antifreeze) .....................514
Cooling ............................. .514
Exhaust Gas Caution .....................96
Fails to Start .......................... .367
Flooded, Starting ...................... .367
Fuel Requirements ..................... .441
Jump Starting ......................... .481
Oil................................. .501
Oil Change Interval ..................... .320
Oil
Filler Cap ......................... .503
574 INDEX