2013 CHRYSLER 200 CONVERTIBLE turn signal
[x] Cancel search: turn signalPage 3 of 116

INTRODUCTION/WELCOME
WELCOME FROM CHRYSLER
GROUPLLC ..................2
CONTROLS AT A GLANCE
DRIVER COCKPIT...............4
INSTRUMENT CLUSTER ...........6
GETTING STARTED
KEYFOB.....................8
REMOTE START................9
THEFT ALARM .................9
SUPPLEMENTAL RESTRAINT
SYSTEM (SRS) — AIR BAGS .........10
SEATBELT ...................11
CHILD RESTRAINTS .............11
FRONTSEATS ................15
HEATEDSEATS ................17
TILT/TELESCOPING STEERING
COLUMN ...................18
OPERATING YOUR VEHICLE
ENGINE BREAK-IN
RECOMMENDATIONS ............19
TURN SIGNAL/LIGHTS LEVER .......19
WIPER/WASHER LEVER ...........21
SPEED CONTROL ..............22
MANUAL CLIMATE CONTROLS ......23
AUTOMATIC TEMPERATURE
CONTROLS (ATC) ..............24
POWER CONVERTIBLE TOP
OPERATION .................25
WIND BUFFETING . . ............27
ELECTRONICS
YOUR VEHICLE'S SOUND SYSTEM ....28
Uconnect® 130 .................30
Uconnect® 130 WITH SiriusXM SATELLITE
RADIO .....................32
Uconnect® 430/430N ..............35
Uconnect® 730N . . ..............45
SiriusXM SATELLITE RADIO/TRAVEL
LINK .......................57
STEERING WHEEL AUDIO CONTROLS..61
iPod®/USB/MP3 CONTROL .........61
Uconnect® Phone ................62
Uconnect® VOICE COMMAND .......66
Bluetooth® STREAMING AUDIO ......68
ELECTRONIC VEHICLE INFORMATION
CENTER (EVIC) ................69
PROGRAMMABLE FEATURES .......69UNIVERSAL GARAGE DOOR OPENER
(HomeLink®)
..................71
POWER OUTLETS ..............73
UTILITY
TRAILER TOWING WEIGHTS (MAXIMUM
TRAILER WEIGHT RATINGS) ........74
RECREATIONAL TOWING
(BEHIND MOTORHOME, ETC.) ......75
WHAT TO DO IN EMERGENCIES
ROADSIDE ASSISTANCE..........76
INSTRUMENT CLUSTER WARNING
LIGHTS .....................76
IF YOUR ENGINE OVERHEATS ......80
JACKING AND TIRE CHANGING . . . . . 81
BATTERY LOCATION ............86
JUMP-STARTING ...............86
SHIFT LEVER OVERRIDE ..........88
TOWING A DISABLED VEHICLE .....89
FREEING A STUCK VEHICLE .......90
EVENT DATA RECORDER (EDR) . . ....91
MAINTAINING YOUR VEHICLE
OPENING THE HOOD . . .........92
ENGINE COMPARTMENT .........93
FLUIDSANDCAPACITIES .........95
MAINTENANCE SCHEDULE ........97
MAINTENANCE RECORD . ........100
FUSES .....................101
TIRE PRESSURES ...............103
WHEEL AND WHEEL TRIM CARE ....104
EXTERIOR BULBS ..............104
CUSTOMER ASSISTANCE
CHRYSLER GROUP LLC CUSTOMER
CENTER...................105
CHRYSLER CANADA INC. CUSTOMER
CENTER ...................105
ASSISTANCE FOR THE HEARING
IMPAIRED ..................105
PUBLICATIONS ORDERING ........105
REPORTING SAFETY DEFECTS IN
THE 50 UNITED STATES AND
WASHINGTON, D.C. ............106
MOPAR ACCESSORIES
AUTHENTIC ACCESSORIES BY
MOPAR® ...................107
INDEX................... 108
FAQ(HowTo?)
FREQUENTLY ASKED QUESTIONS ....111
TABLE OF CONTENTS
Page 7 of 116

A. Turn Signal/Lights Lever(behind steering wheel) pg. 19
B. Electronic Vehicle Information Center (EVIC) Display (behind
steering wheel) pg. 6
C. Instrument Cluster pg. 6
D. Wiper/Washer Lever (behind steering wheel) pg. 21
E. Audio System (touch-screen-radio shown) pg. 28 F. Switch Panel
• Heated Seat Switches pg. 17
• Electronic Stability Control pg. 76
• Hazard Switch
G. Manual Climate Controls pg. 23
H. Transmission Gear Selector
I. Park Brake Lever
J. Power Outlet/Cigar Lighter pg. 73 K. USB Port
L. Electronic Speed Control pg. 22
M. Electronic Vehicle Information
Center (EVIC) Controls pg. 69
N. Hood Release pg. 92
O. Power Mirrors
P. Power Door Locks
Q. Power Windows
CONTROLS AT A GLANCE
5
Page 9 of 116

Indicators
- Turn Signal Indicators
- High Beam Indicator
- Front Fog Light Indicator
- Vehicle Security Indicator*
- Cruise Indicator
- Electronic StabilityControl (ESC) Off
Indicator
- Park/Headlight ONIndicator
Odometer Messages dECK - Trunk Ajar LoW tirE* - Low Tire Pressure
HOTOIL* - Engine oil is over temperature TOP nOT SECUrE - Convertible Top Not Secure
CHANgE OIL* - Change Engine Oil gASCAP - Fuel Cap Fault
* If equipped
** Bulb Check with Key On
CONTROLS AT A GLANCE
7
Page 10 of 116

KEY FOB
Locking And Unlocking The Doors
• Press and release the UNLOCK button onthe RKE transmitter once to unlock the driv-
er’s door (EVIC can be setup for driver door
first, otherwise this will unlock all doors), or
press the unlock button twice within five sec-
onds to unlock all doors. The turn signal
lights will flash to acknowledge the unlock
signal. The illuminated entry system will also
turn on.
• All doors can be programmed to unlock on the first press of the UNLOCK button. Refer to Programmable Features in this guide.
Opening The Trunk
• Press the TRUNK button on the transmitter two times within five seconds to open the trunk.
Lowering The Convertible Top
NOTE:
The following steps must be performed within five seconds.
• Press and release the UNLOCK button.
• Press and release the POWER TOP button.
• Press and hold the POWER TOP button until all of the windows are lowered and the power top lowering sequence is complete.
Panic Alarm
• Press the PANIC button once to turn the panic alarm on.
•
Wait approximately three seconds and press the button a second time to turn the panic alarm off.
CAUTION!
Do not place objects on the cargo shield. Objects placed on the cargo shield will interfere with
the top during lowering and cause extensive damage.
WARNING!
Never leave children alone in a vehicle, or with access to an unlocked vehicle. Allowing children to
be in a vehicle unattended is dangerous for a number of reasons. A child or others could be
severely injured or killed. Children should be warned not to touch the parking brake, brake pedal,
or the shift lever. Do not leave the Key Fob in the vehicle, or in a location accessible to children.
A child could operate power windows, other controls, or move the vehicle.
GETTING STARTED
8
Page 21 of 116

ENGINE BREAK-IN RECOMMENDATIONS
• A long break-in period is not required for the engine and drivetrain (transmission and axle) inyour vehicle.
• Drive moderately during the first 300 miles (500 km). After the initial 60 miles (100 km), speeds up to 50 or 55 mph (80 or 90 km/h) are desirable.
• While cruising, brief full-throttle acceleration within the limits of local traffic laws contributes to a good break-in. Wide-open throttle acceleration in low gear can be detrimental and should
be avoided.
• The engine oil installed in the engine at the factory is a high-quality energy conserving type lubricant. Oil changes should be consistent with anticipated climate conditions under which
vehicle operations will occur. For the recommended viscosity and quality grades, refer to
“Maintaining Your Vehicle”.
NOTE:
A new engine may consume some oil during its first few thousand miles (kilometers) of opera-
tion. This should be considered a normal part of the break-in and not interpreted as an indica-
tion of difficulty.
CAUTION!
Never use Non-Detergent Oil or Straight Mineral Oil in the engine or damage may result.
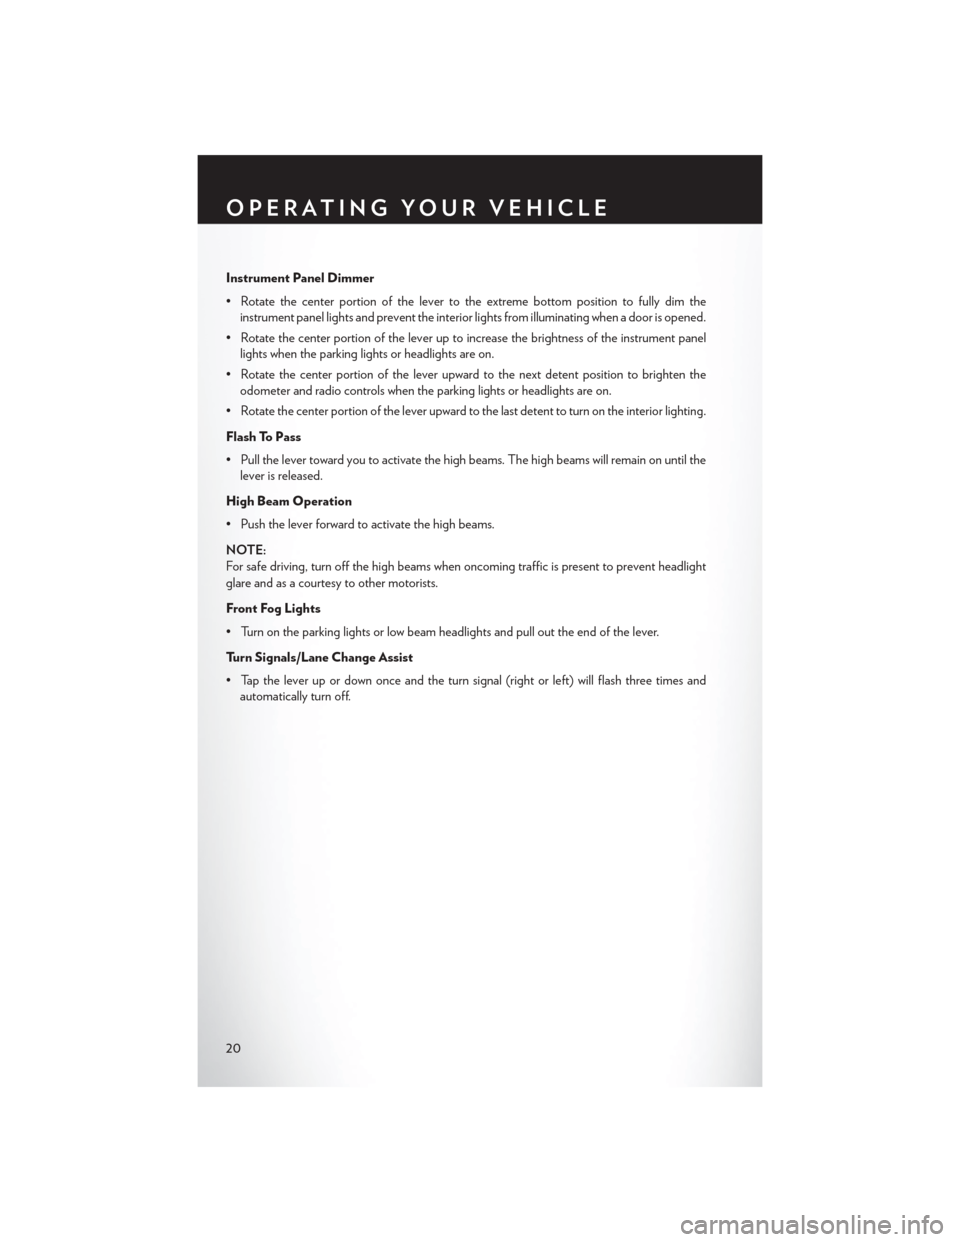
TURN SIGNAL/LIGHTS LEVER
Headlights/Parking Lights/Automatic Headlights
• Rotate the end of the lever to the first detent for parking lights
, the second detent for
headlights
, and the third detent for AUTO.
• When set to AUTO, the system automatically turns the headlights on or off based on ambient light levels.
OPERATING YOUR VEHICLE
19
Page 22 of 116

Instrument Panel Dimmer
• Rotate the center portion of the lever to the extreme bottom position to fully dim theinstrument panel lights and prevent the interior lights from illuminating when a door is opened.
• Rotate the center portion of the lever up to increase the brightness of the instrument panel lights when the parking lights or headlights are on.
• Rotate the center portion of the lever upward to the next detent position to brighten the odometer and radio controls when the parking lights or headlights are on.
• Rotate the center portion of the lever upward to the last detent to turn on the interior lighting.
Flash To Pass
• Pull the lever toward you to activate the high beams. The high beams will remain on until the lever is released.
High Beam Operation
• Push the lever forward to activate the high beams.
NOTE:
For safe driving, turn off the high beams when oncoming traffic is present to prevent headlight
glare and as a courtesy to other motorists.
Front Fog Lights
• Turn on the parking lights or low beam headlights and pull out the end of the lever.
Turn Signals/Lane Change Assist
• Tap the lever up or down once and the turn signal (right or left) will flash three times and automatically turn off.
OPERATING YOUR VEHICLE
20
Page 46 of 116

Following Your Route
• Your route is marked with a magenta line on the map. If you depart from the original route,your route is recalculated. A speed limit icon could appear as you travel on major roadways.
Adding A Via Point
• To add a stop between the current location and the end destination (Via Point) you must be navigating a route.
• Touch the “back arrow icon” multiple times to return to the Main Navigation menu.
• Touch the “Where To?” soft-key, then search for the additional stop. Then select the Via Point you wish to add from the given search results.
• Touch the “Go” soft-key, then touch the “Add to Current Route” soft-key.
Taking A Detour
• To take a detour you must be navigating a route.
• Touch the “back arrow icon” soft-key multiple times to return to the Main Navigation menu.
• Touch the “Detour” soft-key.
NOTE:
If the route you are currently taking is the only reasonable option, the device might not calculate
a detour.
Acquiring Satellites
• The GPS Satellite strength bars indicate the strength of your satellite reception.
• Acquiring satellite signals can take a few minutes. When at least one of the bars is green, your device has acquired satellite signals.
• You may experience delays receiving satellite signals when in areas with an obstructed view to the sky, such as garages, tunnels, or large cities with tall buildings.
ELECTRONICS
44
Page 72 of 116

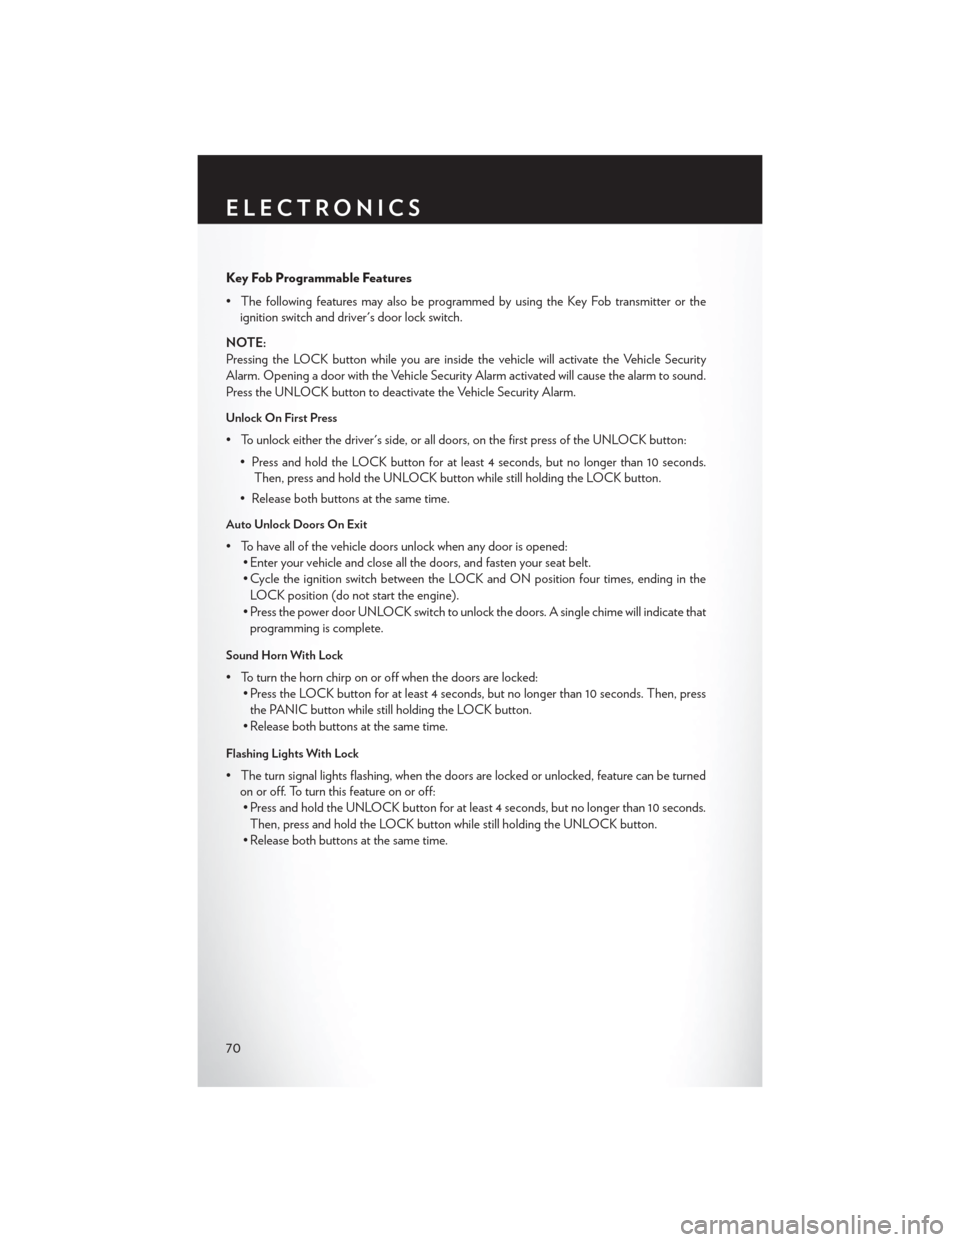
Key Fob Programmable Features
• The following features may also be programmed by using the Key Fob transmitter or theignition switch and driver's door lock switch.
NOTE:
Pressing the LOCK button while you are inside the vehicle will activate the Vehicle Security
Alarm. Opening a door with the Vehicle Security Alarm activated will cause the alarm to sound.
Press the UNLOCK button to deactivate the Vehicle Security Alarm.
Unlock On First Press
• To unlock either the driver's side, or all doors, on the first press of the UNLOCK button: • Press and hold the LOCK button for at least 4 seconds, but no longer than 10 seconds.Then, press and hold the UNLOCK button while still holding the LOCK button.
• Release both buttons at the same time.
Auto Unlock Doors On Exit
• To have all of the vehicle doors unlock when any door is opened: • Enter your vehicle and close all the doors, and fasten your seat belt.
• Cycle the ignition switch between the LOCK and ON position four times, ending in the
LOCK position (do not start the engine).
• Press the power door UNLOCK switch to unlock the doors. A single chime will indicate that programming is complete.
Sound Horn With Lock
• To turn the horn chirp on or off when the doors are locked: • Press the LOCK button for at least 4 seconds, but no longer than 10 seconds. Then, press
the PANIC button while still holding the LOCK button.
• Release both buttons at the same time.
Flashing Lights With Lock
• The turn signal lights flashing, when the doors are locked or unlocked, feature can be turned on or off. To turn this feature on or off:• Press and hold the UNLOCK button for at least 4 seconds, but no longer than 10 seconds.
Then, press and hold the LOCK button while still holding the UNLOCK button.
• Release both buttons at the same time.
ELECTRONICS
70