Page 181 of 519

With the engine running and the multifunction lever in
the AUTO position, the headlights will turn on and turn
off based on the surrounding light levels.
Headlights With Wipers (Available With Automatic
Headlights Only)
When this feature is active, the headlights will turn on
approximately 10 seconds after the wipers are turned on
if the multifunction lever is placed in the AUTO position.
In addition, the headlights will turn off when the wipers
are turned off if they were turned on by this feature.
The Headlights with Wipers feature can be turned on or
off through the Electronic Vehicle Information Center
(EVIC) — if equipped. Refer to “Electronic Vehicle Infor-
mation Center (EVIC)/Customer-Programmable Fea-
tures” in “Understanding Your Instrument Panel” for
further information.
Headlight Time Delay
There is also a feature that delays turning off the vehicle
lights for 30, 60 or 90 seconds after the ignition switch is
turned OFF. To activate the headlight delay, the multi-
function lever must be rotated to the off position after the
ignition switch is turned OFF. Only the headlights will
illuminate during this time. Refer to “Electronic Vehicle
Information Center (EVIC)/Customer-Programmable
Features” in “Understanding Your Instrument Panel” for
further information.
Lights On Reminder
If the headlights or parking lights are on after the ignition
is turned OFF, a chime will sound to alert the driver
when the driver’s door is opened.
3
UNDERSTANDING THE FEATURES OF YOUR VEHICLE 179
Page 184 of 519

Daytime Running Lights — If Equipped
The front turn signal lamps will turn on as Daytime
Running Lights whenever the ignition is ON, the engine
is running, the headlight switch is off, the parking brake
is released and the shift lever is in any position except
PARK.
NOTE:The Daytime Running Lights will flash when a
turn signal is in operation and return to DRL mode when
the turn signal is not operating.
Instrument Panel Dimmer
Rotate the center portion of the lever to the extreme
bottom position to fully dim the instrument panel lights
and prevent the interior lights from illuminating when a
door is opened.
Rotate the center portion of the lever up to increase the
brightness of the instrument panel lights when the park-
ing lights or headlights are on.Rotate the center portion of the lever upward to the next
detent position to brighten the odometer and radio when
the parking lights or headlights are on.
Rotate the center portion of the lever upward to the last
detent to turn on the interior lighting.
Dimmer Control
182 UNDERSTANDING THE FEATURES OF YOUR VEHICLE
Page 204 of 519
ELECTRICAL POWER OUTLETS
There are two 12 Volt (13 Amp) electrical power outlets
on this vehicle. Both of the power outlets are protected by
a fuse.
The instrument panel power outlet, located below the
climate control knobs, has power available only when the
ignition is ON. This power outlet will also operate a
conventional cigar lighter unit.
NOTE:To preserve the heating element, do not hold the
lighter in the heating position.
A second power outlet is located inside the center con-
sole.
Instrument Panel Power Outlet
202 UNDERSTANDING THE FEATURES OF YOUR VEHICLE
Page 206 of 519
WARNING!
To avoid serious injury or death:
•Only devices designed for use in this type of outlet
should be inserted into any 12 Volt outlet.
•Do not touch with wet hands.
•Close the lid when not in use and while driving the
vehicle.
•If this outlet is mishandled, it may cause an electric
shock and failure.
Power Outlet Fuse Locations
1 — #16 Fuse 15 A Blue Cigar Lighter Instrument Panel
2 — #11 Fuse 15 A Blue Power Outlet Inside Arm Rest 204 UNDERSTANDING THE FEATURES OF YOUR VEHICLE
Page 210 of 519
STORAGE
Glovebox Storage Compartment
The glovebox storage compartment is located on the right
side of the instrument panel. To open the glovebox, pull
outward on the latch handle located on the front of the
glovebox.
CONSOLE FEATURES
Storage
The center console is located between the front driver
and passenger seats. The center console armrest slides
forward from design position to provide added user
Glovebox Storage Compartment
208 UNDERSTANDING THE FEATURES OF YOUR VEHICLE
Page 217 of 519
UNDERSTANDING YOUR INSTRUMENT PANEL
CONTENTS
�INSTRUMENT PANEL FEATURES...........218
�INSTRUMENT CLUSTER.................219
�INSTRUMENT CLUSTER DESCRIPTIONS.....220
�MINI-TRIP COMPUTER — IF EQUIPPED.....235
▫Control Buttons.......................235
�ELECTRONIC VEHICLE INFORMATION
CENTER (EVIC) — IF EQUIPPED...........236
▫Electronic Vehicle Information Center (EVIC)
Displays............................239
▫Oil Change Required — If Equipped.......240▫EVIC Main Menu.....................241
▫Compass Display.....................241
▫Average Fuel Economy..................244
▫Distance To Empty (DTE)................244
▫TirePSI.............................245
▫Elapsed Time........................245
▫EVIC Units Selection (UNITS IN Display). . . .246
▫System Status........................246
▫Personal Settings (Customer-Programmable
Features)...........................246
4
Page 218 of 519

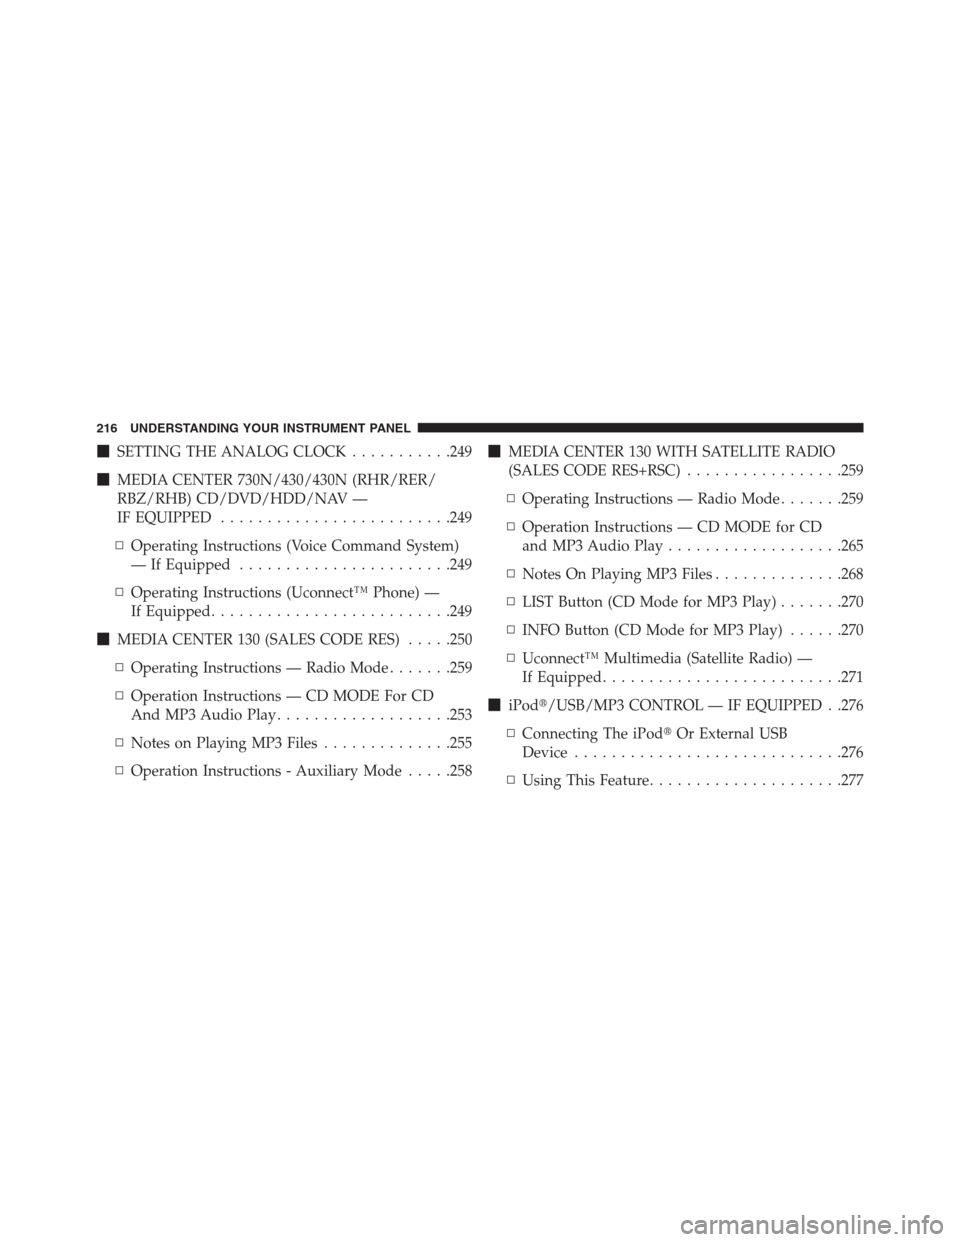
�SETTING THE ANALOG CLOCK...........249
�MEDIA CENTER 730N/430/430N (RHR/RER/
RBZ/RHB) CD/DVD/HDD/NAV —
IF EQUIPPED.........................249
▫Operating Instructions (Voice Command System)
— If Equipped.......................249
▫Operating Instructions (Uconnect™ Phone) —
If Equipped..........................249
�MEDIA CENTER 130 (SALES CODE RES).....250
▫Operating Instructions — Radio Mode.......259
▫Operation Instructions — CD MODE For CD
And MP3 Audio Play...................253
▫Notes on Playing MP3 Files..............255
▫Operation Instructions - Auxiliary Mode.....258�MEDIA CENTER 130 WITH SATELLITE RADIO
(SALES CODE RES+RSC).................259
▫Operating Instructions — Radio Mode.......259
▫Operation Instructions — CD MODE for CD
and MP3 Audio Play...................265
▫Notes On Playing MP3 Files..............268
▫LIST Button (CD Mode for MP3 Play).......270
▫INFO Button (CD Mode for MP3 Play)......270
▫Uconnect™ Multimedia (Satellite Radio) —
If Equipped..........................271
�iPod�/USB/MP3 CONTROL — IF EQUIPPED . .276
▫Connecting The iPod�Or External USB
Device.............................276
▫Using This Feature.....................277
216 UNDERSTANDING YOUR INSTRUMENT PANEL
Page 219 of 519
▫Controlling The iPod�Or External USB Device
Using Radio Buttons...................278
▫Play Mode..........................278
▫List Or Browse Mode...................279
▫Bluetooth Streaming Audio (BTSA).........281
�STEERING WHEEL AUDIO CONTROLS — IF
EQUIPPED...........................283
▫Radio Operation......................284
▫CD Player...........................284�CD/DVD DISC MAINTENANCE...........284
�RADIO OPERATION AND MOBILE PHONES . .285
�CLIMATE CONTROLS...................285
▫Manual Heating And Air Conditioning......285
▫Automatic Temperature Control (ATC) — If
Equipped...........................290
▫Operating Tips.......................296
4
UNDERSTANDING YOUR INSTRUMENT PANEL 217