Page 18 of 372
Black plate (12,1)Chevrolet Orlando Owner Manual - 2013 - CRC - 6/5/12
1-12 In Brief
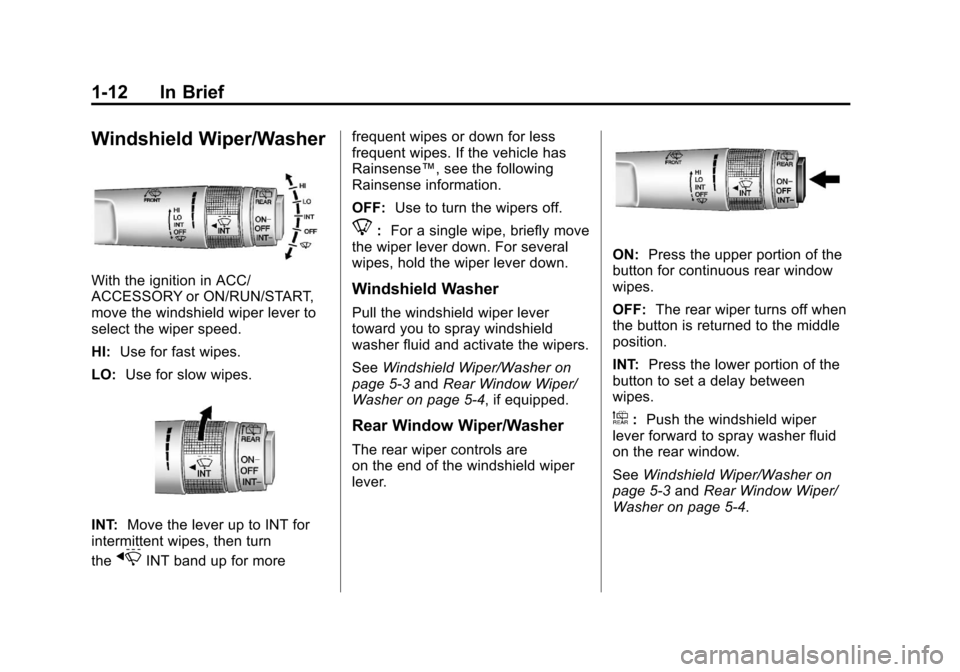
Windshield Wiper/Washer
With the ignition in ACC/
ACCESSORY or ON/RUN/START,
move the windshield wiper lever to
select the wiper speed.
HI:Use for fast wipes.
LO: Use for slow wipes.
INT: Move the lever up to INT for
intermittent wipes, then turn
the
xINT band up for more frequent wipes or down for less
frequent wipes. If the vehicle has
Rainsense™, see the following
Rainsense information.
OFF:
Use to turn the wipers off.
8:For a single wipe, briefly move
the wiper lever down. For several
wipes, hold the wiper lever down.
Windshield Washer
Pull the windshield wiper lever
toward you to spray windshield
washer fluid and activate the wipers.
See Windshield Wiper/Washer on
page 5‑3 andRear Window Wiper/
Washer on page 5‑4, if equipped.
Rear Window Wiper/Washer
The rear wiper controls are
on the end of the windshield wiper
lever.
ON: Press the upper portion of the
button for continuous rear window
wipes.
OFF: The rear wiper turns off when
the button is returned to the middle
position.
INT: Press the lower portion of the
button to set a delay between
wipes.
a: Push the windshield wiper
lever forward to spray washer fluid
on the rear window.
See Windshield Wiper/Washer on
page 5‑3 andRear Window Wiper/
Washer on page 5‑4.
Page 103 of 372
Black plate (3,1)Chevrolet Orlando Owner Manual - 2013 - CRC - 6/5/12
Instruments and Controls 5-3
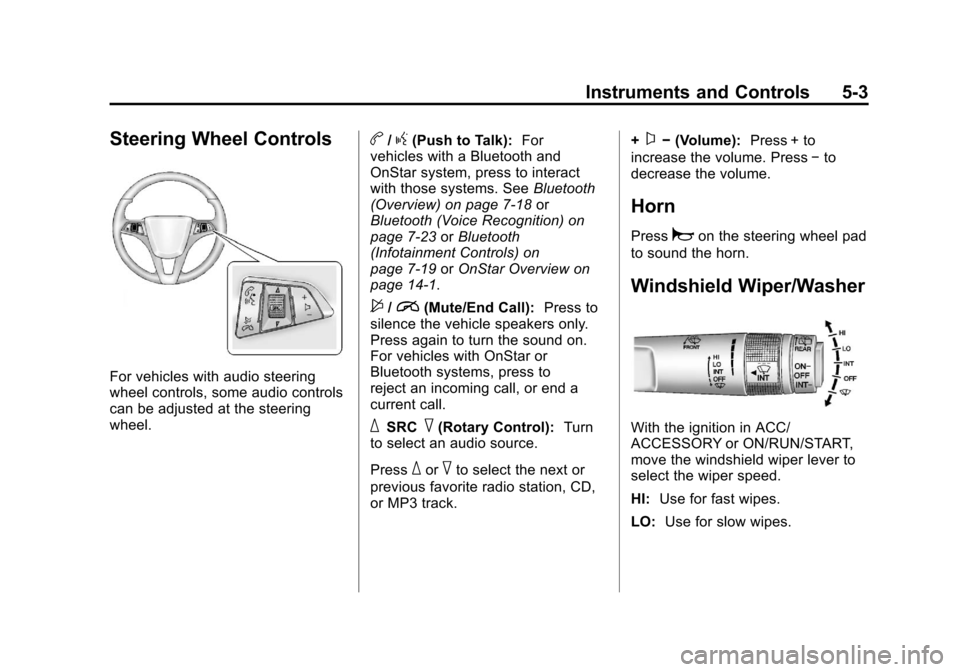
Steering Wheel Controls
For vehicles with audio steering
wheel controls, some audio controls
can be adjusted at the steering
wheel.
b/g(Push to Talk):For
vehicles with a Bluetooth and
OnStar system, press to interact
with those systems. See Bluetooth
(Overview) on page 7‑18 or
Bluetooth (Voice Recognition) on
page 7‑23 orBluetooth
(Infotainment Controls) on
page 7‑19 orOnStar Overview on
page 14‑1.
$/i(Mute/End Call): Press to
silence the vehicle speakers only.
Press again to turn the sound on.
For vehicles with OnStar or
Bluetooth systems, press to
reject an incoming call, or end a
current call.
_SRC^(Rotary Control): Turn
to select an audio source.
Press
_or^to select the next or
previous favorite radio station, CD,
or MP3 track. +
x−
(Volume): Press + to
increase the volume. Press −to
decrease the volume.
Horn
Pressaon the steering wheel pad
to sound the horn.
Windshield Wiper/Washer
With the ignition in ACC/
ACCESSORY or ON/RUN/START,
move the windshield wiper lever to
select the wiper speed.
HI: Use for fast wipes.
LO: Use for slow wipes.
Page 104 of 372
Black plate (4,1)Chevrolet Orlando Owner Manual - 2013 - CRC - 6/5/12
5-4 Instruments and Controls
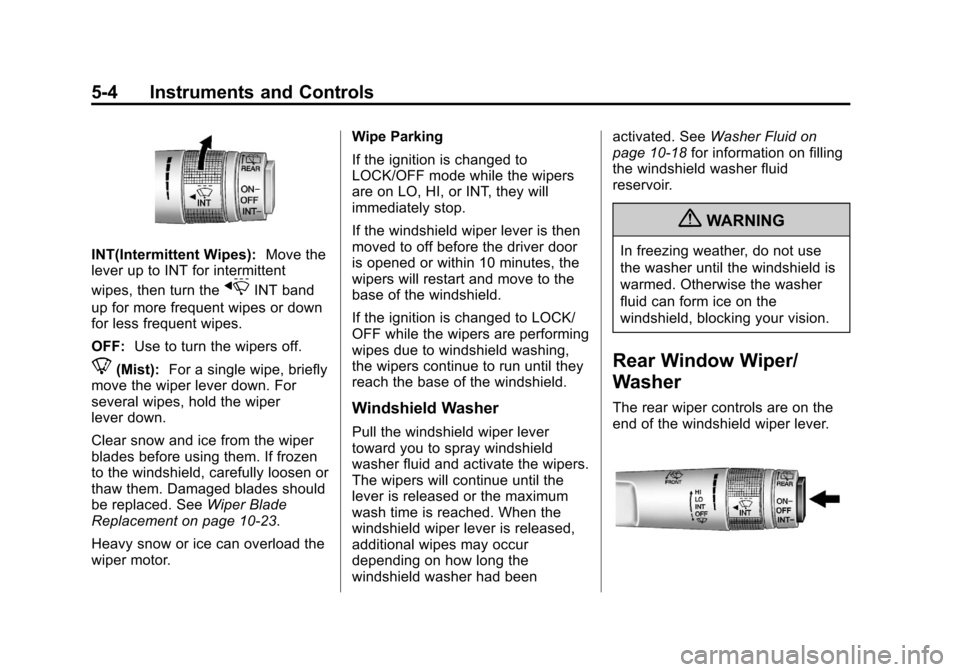
INT(Intermittent Wipes):Move the
lever up to INT for intermittent
wipes, then turn the
xINT band
up for more frequent wipes or down
for less frequent wipes.
OFF: Use to turn the wipers off.
8(Mist): For a single wipe, briefly
move the wiper lever down. For
several wipes, hold the wiper
lever down.
Clear snow and ice from the wiper
blades before using them. If frozen
to the windshield, carefully loosen or
thaw them. Damaged blades should
be replaced. See Wiper Blade
Replacement on page 10‑23.
Heavy snow or ice can overload the
wiper motor. Wipe Parking
If the ignition is changed to
LOCK/OFF mode while the wipers
are on LO, HI, or INT, they will
immediately stop.
If the windshield wiper lever is then
moved to off before the driver door
is opened or within 10 minutes, the
wipers will restart and move to the
base of the windshield.
If the ignition is changed to LOCK/
OFF while the wipers are performing
wipes due to windshield washing,
the wipers continue to run until they
reach the base of the windshield.
Windshield Washer
Pull the windshield wiper lever
toward you to spray windshield
washer fluid and activate the wipers.
The wipers will continue until the
lever is released or the maximum
wash time is reached. When the
windshield wiper lever is released,
additional wipes may occur
depending on how long the
windshield washer had beenactivated. See
Washer Fluid on
page 10‑18 for information on filling
the windshield washer fluid
reservoir.
{WARNING
In freezing weather, do not use
the washer until the windshield is
warmed. Otherwise the washer
fluid can form ice on the
windshield, blocking your vision.
Rear Window Wiper/
Washer
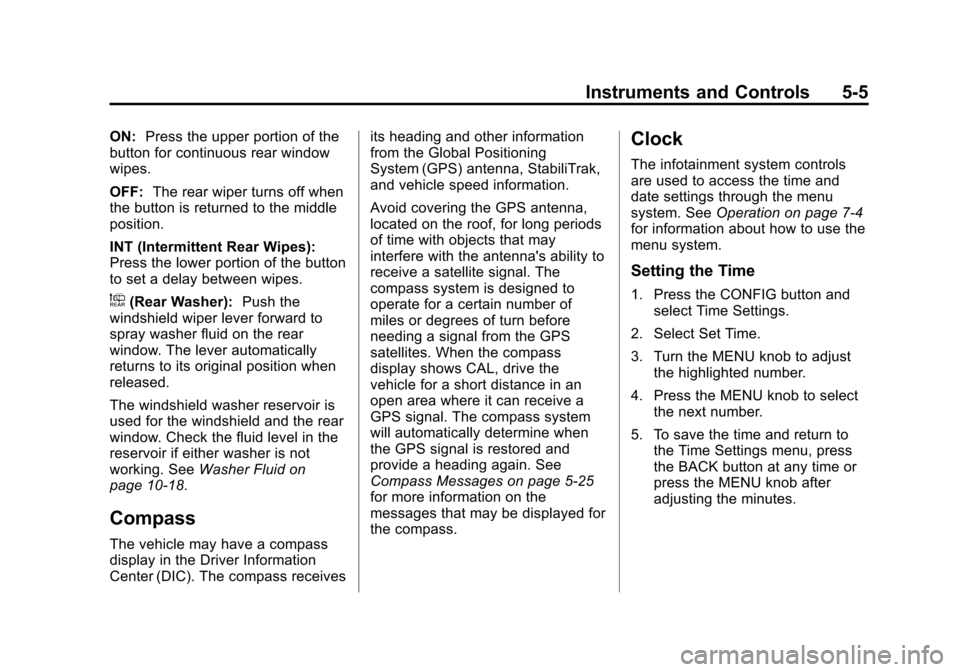
The rear wiper controls are on the
end of the windshield wiper lever.
Page 105 of 372
Black plate (5,1)Chevrolet Orlando Owner Manual - 2013 - CRC - 6/5/12
Instruments and Controls 5-5
ON:Press the upper portion of the
button for continuous rear window
wipes.
OFF: The rear wiper turns off when
the button is returned to the middle
position.
INT (Intermittent Rear Wipes):
Press the lower portion of the button
to set a delay between wipes.
a(Rear Washer): Push the
windshield wiper lever forward to
spray washer fluid on the rear
window. The lever automatically
returns to its original position when
released.
The windshield washer reservoir is
used for the windshield and the rear
window. Check the fluid level in the
reservoir if either washer is not
working. See Washer Fluid on
page 10‑18.
Compass
The vehicle may have a compass
display in the Driver Information
Center (DIC). The compass receives its heading and other information
from the Global Positioning
System (GPS) antenna, StabiliTrak,
and vehicle speed information.
Avoid covering the GPS antenna,
located on the roof, for long periods
of time with objects that may
interfere with the antenna's ability to
receive a satellite signal. The
compass system is designed to
operate for a certain number of
miles or degrees of turn before
needing a signal from the GPS
satellites. When the compass
display shows CAL, drive the
vehicle for a short distance in an
open area where it can receive a
GPS signal. The compass system
will automatically determine when
the GPS signal is restored and
provide a heading again. See
Compass Messages on page 5‑25
for more information on the
messages that may be displayed for
the compass.
Clock
The infotainment system controls
are used to access the time and
date settings through the menu
system. See
Operation on page 7‑4
for information about how to use the
menu system.
Setting the Time
1. Press the CONFIG button and select Time Settings.
2. Select Set Time.
3. Turn the MENU knob to adjust the highlighted number.
4. Press the MENU knob to select the next number.
5. To save the time and return to the Time Settings menu, press
the BACK button at any time or
press the MENU knob after
adjusting the minutes.