2013 CHEVROLET ORLANDO ignition
[x] Cancel search: ignitionPage 38 of 372
Black plate (10,1)Chevrolet Orlando Owner Manual - 2013 - CRC - 6/5/12
2-10 Keys, Doors, and Windows
.Always unlock a door with the
transmitter. Unlocking the driver
door with the mechanical backup
key will not disarm the alarm.
If you set off the alarm by accident,
turn off the alarm by pressing on the
transmitter, or start the vehicle with
a recognized transmitter in the
vehicle. the alarm will not stop if you
unlock the driver door with the key.
How to Detect a Tamper
Condition
IfKis pressed and the horn chirps
three times, an attempted break-in
has occurred while the system was
armed.
If the alarm has been activated, the
THEFT ATTEMPTED message will
appear on the DIC.
See Key and Lock Messages on
page 5‑27.
Immobilizer
See Radio Frequency Statement on
page 13‑15 for information
regarding Part 15 of the Federal
Communications Commission (FCC)
rules and Industry Canada
Standards RSS-GEN/210/220/310.
Immobilizer Operation
This vehicle has a passive
theft-deterrent system.
The system does not have to be
manually armed or disarmed.
The vehicle is automatically
immobilized when the key is
removed from the ignition.
The system is automatically
disarmed when the vehicle is
started with the correct key. The
key uses a transponder that
matches an immobilizer control unit in the vehicle and automatically
disarms the system. Only an
authorized key starts the vehicle.
The vehicle may not start if the key
is damaged.
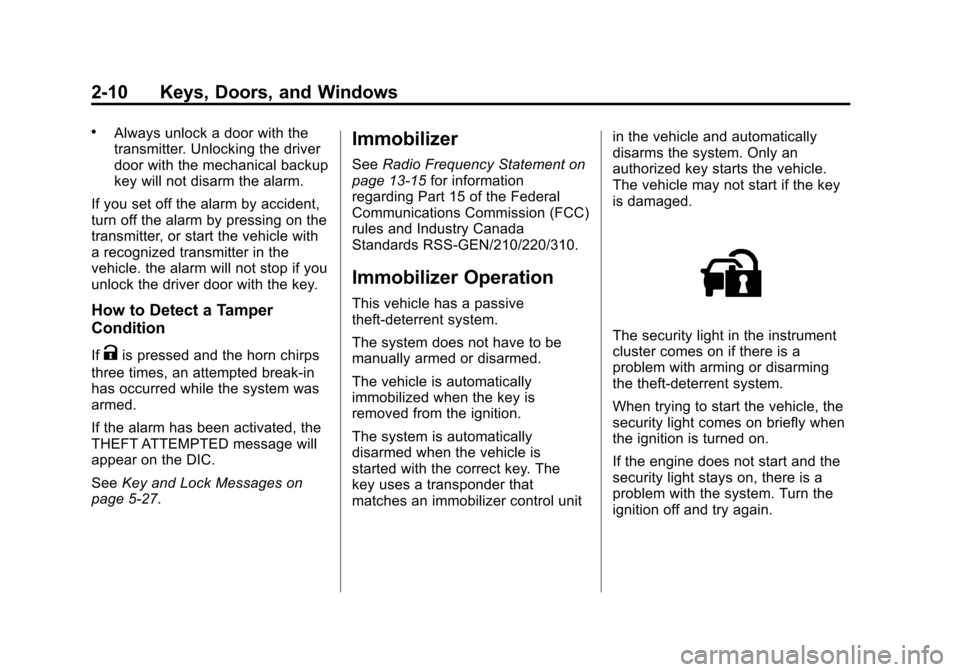
The security light in the instrument
cluster comes on if there is a
problem with arming or disarming
the theft-deterrent system.
When trying to start the vehicle, the
security light comes on briefly when
the ignition is turned on.
If the engine does not start and the
security light stays on, there is a
problem with the system. Turn the
ignition off and try again.
Page 39 of 372
Black plate (11,1)Chevrolet Orlando Owner Manual - 2013 - CRC - 6/5/12
Keys, Doors, and Windows 2-11
If the engine still does not start, and
the key appears to be undamaged
or the light continues to stay on, try
another ignition key. If the engine
does not start with the other key, the
vehicle needs service. If the vehicle
does start, the first key may be
damaged. See your dealer who can
service the theft-deterrent system
and have a new key made.
Do not leave the key or device that
disarms or deactivates the
theft-deterrent system in the vehicle.Exterior Mirrors
Convex Mirrors
{WARNING
A convex mirror can make things,
like other vehicles, look farther
away than they really are. If you
cut too sharply into the right lane,
you could hit a vehicle on the
right. Check the inside mirror or
glance over your shoulder before
changing lanes.
The convex shaped mirror reduces
blind spots. The shape of the mirror
makes objects appear smaller,
which will affect the ability to
estimate distances.
Manual Mirrors
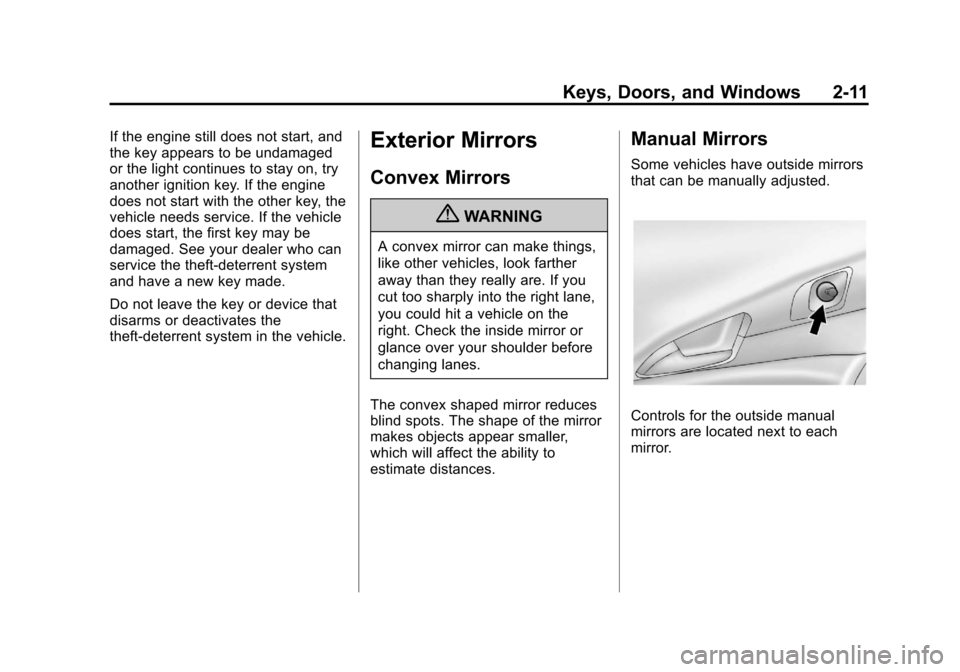
Some vehicles have outside mirrors
that can be manually adjusted.
Controls for the outside manual
mirrors are located next to each
mirror.
Page 42 of 372
Black plate (14,1)Chevrolet Orlando Owner Manual - 2013 - CRC - 6/5/12
2-14 Keys, Doors, and Windows
Windows
{WARNING
Never leave a child, a helpless
adult, or a pet alone in a vehicle,
especially with the windows
closed in warm or hot weather.
They can be overcome by the
extreme heat and suffer
permanent injuries or even death
from heat stroke.
The vehicle aerodynamics are
designed to improve fuel economy
performance. This may result in a
pulsing sound when either rear
window is down and the front
windows are up. To reduce the
sound, open either a front window
or the sunroof (if equipped).
Power Windows
{WARNING
Children could be seriously
injured or killed if caught in the
path of a closing window. Never
leave keys in a vehicle with
children. When there are children
in the rear seat, use the window
lockout button to prevent
operation of the windows. See
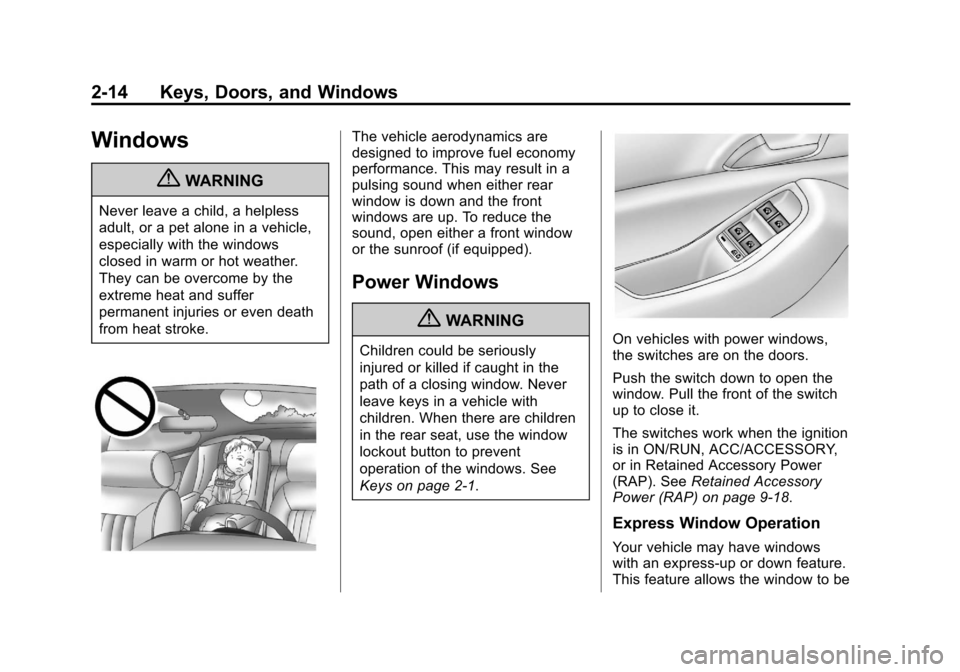
Keys on page 2‑1.On vehicles with power windows,
the switches are on the doors.
Push the switch down to open the
window. Pull the front of the switch
up to close it.
The switches work when the ignition
is in ON/RUN, ACC/ACCESSORY,
or in Retained Accessory Power
(RAP). SeeRetained Accessory
Power (RAP) on page 9‑18.
Express Window Operation
Your vehicle may have windows
with an express-up or down feature.
This feature allows the window to be
Page 43 of 372
Black plate (15,1)Chevrolet Orlando Owner Manual - 2013 - CRC - 6/5/12
Keys, Doors, and Windows 2-15
lowered or raised without holding
the switch. Passenger side and rear
windows only have express-down.
Pull a window switch up or push it
down all the way, release it, and the
window goes down or up
automatically. Stop the window by
pushing or pulling the switch.
Obstacle Detection Feature
If equipped with express-up, and an
object is in the path of the window
when closing, the window will stop
at the obstruction and auto-reverse
to a preset factory position. Weather
conditions such as severe cold and/
or ice may also cause the window to
auto-reverse. The window will return
to normal operation once the
obstruction or condition is removed.
If conditions prevent the window
from closing and the window
continues to auto-reverse, it is
possible to close the window with
the ignition in ON/RUN by holding
the window switch in the partially or
fully pulled up position. Release of
the switch from the partially pulledup position will cause the window to
stop. Release of the switch from the
fully pulled up position will activate
the express-up and related obstacle
detection features.
Programming the Power
Windows
If the battery on the vehicle has
been recharged or disconnected,
or is not working, you will need to
reprogram each front power window
for the express-up feature to work.
Before reprogramming, replace or
recharge the vehicle's battery.
To program each front window:
1. With the ignition in ACC/
ACCESSORY or ON/RUN,
or when Retained Accessory
Power (RAP) is active, close all
doors.
2. Press and hold the power window switch until the window
is fully open.
3. Pull the power window switch up until the window is fully closed. 4. Continue holding the switch up
for approximately two seconds
after the window is completely
closed.
The window is now reprogrammed.
Repeat the process for the other
windows.Window Lockout
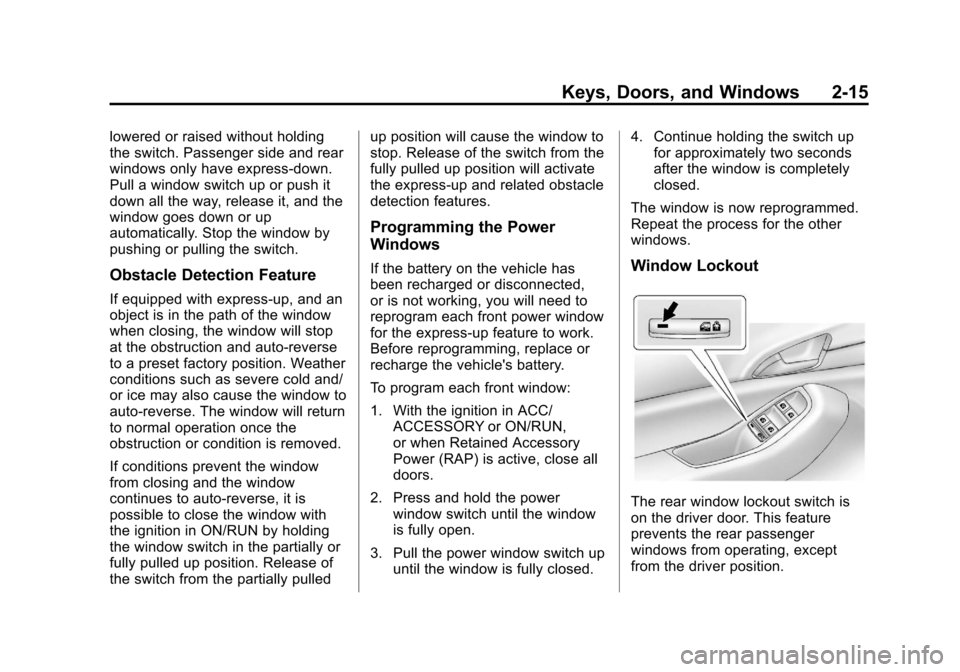
The rear window lockout switch is
on the driver door. This feature
prevents the rear passenger
windows from operating, except
from the driver position.
Page 44 of 372
Black plate (16,1)Chevrolet Orlando Owner Manual - 2013 - CRC - 6/5/12
2-16 Keys, Doors, and Windows
Presso{to activate the rear
window lockout switch. The
indicator light comes on when
activated.
The rear door locks are also
disabled.
Press
o {again to deactivate the
lockout switch.
If the indicator light flashes, the
feature may not be working properly.
Overload Feature
If the windows are operated
repeatedly in short intervals, the
window operation is disabled for a
short time.
Sun Visors
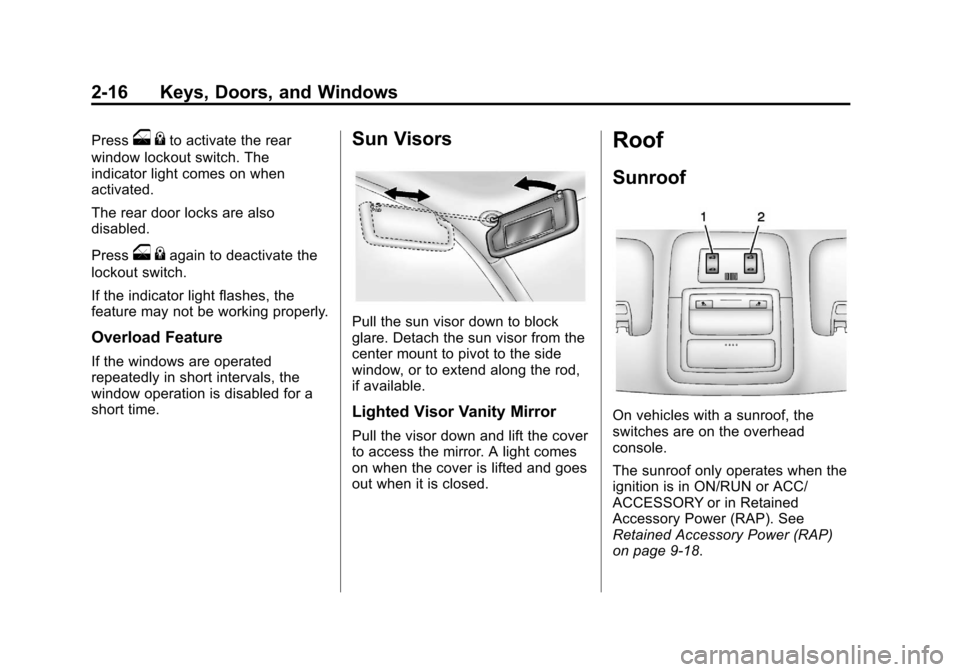
Pull the sun visor down to block
glare. Detach the sun visor from the
center mount to pivot to the side
window, or to extend along the rod,
if available.
Lighted Visor Vanity Mirror
Pull the visor down and lift the cover
to access the mirror. A light comes
on when the cover is lifted and goes
out when it is closed.
Roof
Sunroof
On vehicles with a sunroof, the
switches are on the overhead
console.
The sunroof only operates when the
ignition is in ON/RUN or ACC/
ACCESSORY or in Retained
Accessory Power (RAP). See
Retained Accessory Power (RAP)
on page 9‑18.
Page 53 of 372
Black plate (7,1)Chevrolet Orlando Owner Manual - 2013 - CRC - 6/5/12
Seats and Restraints 3-7
The passenger seat may take
longer to heat up.
Remote Start Heated Seats
When it is cold outside, the heated
seats can be programmed to turn on
automatically during a remote
vehicle start. The heated seats will
be canceled when the ignition is
turned on. Press the heated seat
button to use the heated seats after
the vehicle is started.
The heated seat button lights do not
turn on during a remote start.
The temperature of an unoccupied
seat may be reduced. This is
normal.
The heated seats will not turn on
during a remote start unless the
heated seat feature is enabled in
the vehicle personalization menu.
SeeRemote Vehicle Start on
page 2‑5 andVehicle
Personalization on page 5‑30.
Folding Seatback
The front passenger seatback
folds flat.
{WARNING
If you fold the seatback forward to
carry longer objects, such as skis,
be sure any such cargo is not
near an airbag. In a crash, an
inflating airbag might force that
object toward a person. This
could cause severe injury or even
death. Secure objects away from
the area in which an airbag would
inflate. For more information, see
Where Are the Airbags? on
page 3‑26 andVehicle Load
Limits on page 9‑9.
{WARNING
Things you put on this seatback
can strike and injure people in a
sudden stop or turn, or in a crash.
Remove or secure all items
before driving.
To fold the seatback:
1. Lower the head restraint all the way. See Head Restraints on
page 3‑2.
2. Move the seat as far back as possible. See Seat Adjustment
on page 3‑3.
Page 103 of 372
Black plate (3,1)Chevrolet Orlando Owner Manual - 2013 - CRC - 6/5/12
Instruments and Controls 5-3
Steering Wheel Controls
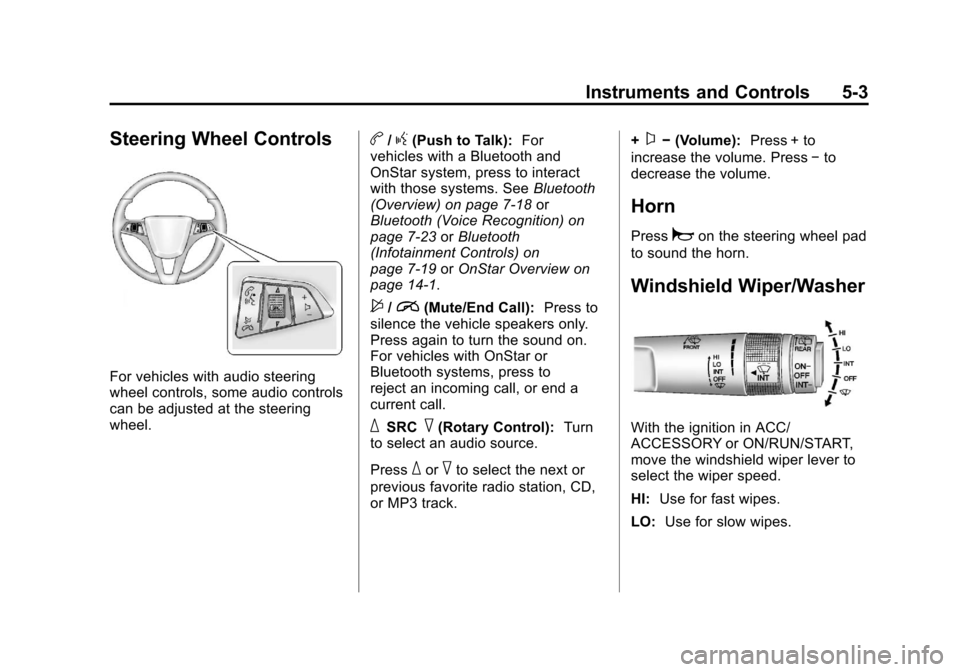
For vehicles with audio steering
wheel controls, some audio controls
can be adjusted at the steering
wheel.
b/g(Push to Talk):For
vehicles with a Bluetooth and
OnStar system, press to interact
with those systems. See Bluetooth
(Overview) on page 7‑18 or
Bluetooth (Voice Recognition) on
page 7‑23 orBluetooth
(Infotainment Controls) on
page 7‑19 orOnStar Overview on
page 14‑1.
$/i(Mute/End Call): Press to
silence the vehicle speakers only.
Press again to turn the sound on.
For vehicles with OnStar or
Bluetooth systems, press to
reject an incoming call, or end a
current call.
_SRC^(Rotary Control): Turn
to select an audio source.
Press
_or^to select the next or
previous favorite radio station, CD,
or MP3 track. +
x−
(Volume): Press + to
increase the volume. Press −to
decrease the volume.
Horn
Pressaon the steering wheel pad
to sound the horn.
Windshield Wiper/Washer
With the ignition in ACC/
ACCESSORY or ON/RUN/START,
move the windshield wiper lever to
select the wiper speed.
HI: Use for fast wipes.
LO: Use for slow wipes.
Page 104 of 372
Black plate (4,1)Chevrolet Orlando Owner Manual - 2013 - CRC - 6/5/12
5-4 Instruments and Controls
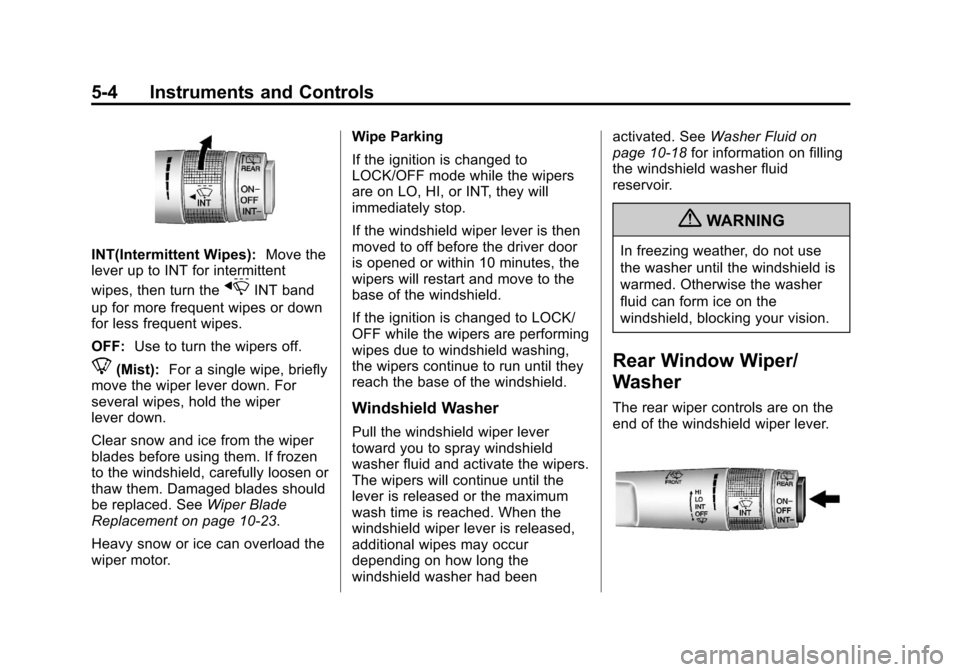
INT(Intermittent Wipes):Move the
lever up to INT for intermittent
wipes, then turn the
xINT band
up for more frequent wipes or down
for less frequent wipes.
OFF: Use to turn the wipers off.
8(Mist): For a single wipe, briefly
move the wiper lever down. For
several wipes, hold the wiper
lever down.
Clear snow and ice from the wiper
blades before using them. If frozen
to the windshield, carefully loosen or
thaw them. Damaged blades should
be replaced. See Wiper Blade
Replacement on page 10‑23.
Heavy snow or ice can overload the
wiper motor. Wipe Parking
If the ignition is changed to
LOCK/OFF mode while the wipers
are on LO, HI, or INT, they will
immediately stop.
If the windshield wiper lever is then
moved to off before the driver door
is opened or within 10 minutes, the
wipers will restart and move to the
base of the windshield.
If the ignition is changed to LOCK/
OFF while the wipers are performing
wipes due to windshield washing,
the wipers continue to run until they
reach the base of the windshield.
Windshield Washer
Pull the windshield wiper lever
toward you to spray windshield
washer fluid and activate the wipers.
The wipers will continue until the
lever is released or the maximum
wash time is reached. When the
windshield wiper lever is released,
additional wipes may occur
depending on how long the
windshield washer had beenactivated. See
Washer Fluid on
page 10‑18 for information on filling
the windshield washer fluid
reservoir.
{WARNING
In freezing weather, do not use
the washer until the windshield is
warmed. Otherwise the washer
fluid can form ice on the
windshield, blocking your vision.
Rear Window Wiper/
Washer
The rear wiper controls are on the
end of the windshield wiper lever.