2013 CHEVROLET CAPTIVA SPORT tow
[x] Cancel search: towPage 113 of 374
Black plate (17,1)Chevrolet Captiva Sport Owner Manual - 2013 - crc - 11/12/12
Instruments and Controls 5-17
{ WARNINGThe brake system might not be
working properly if the brake
system warning light is on.
Driving with the brake system
warning light on can lead to a
crash. If the light is still on after
the vehicle has been pulled off
the road and carefully stopped,
have the vehicle towed for
service.
If the light comes on while driving, a
chime sounds. Pull off the road and
stop. The pedal might be harder to
push or go closer to the floor.
It might also take longer to stop.
If the light is still on, have the
vehicle towed for service. See
Towing the Vehicle on page 10 ‑ 69 .Electric Parking Brake
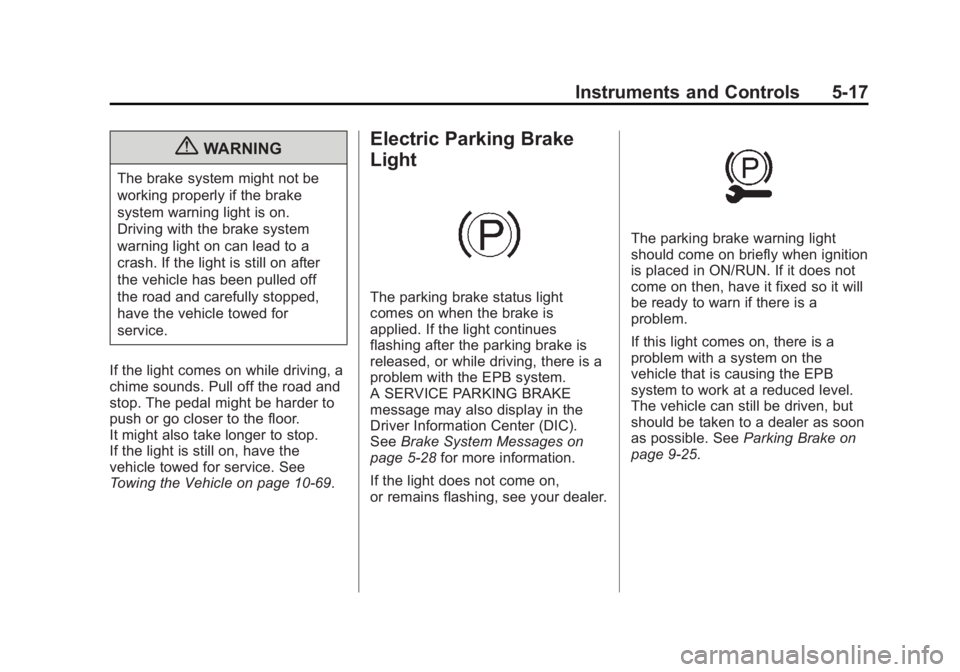
Light
The parking brake status light
comes on when the brake is
applied. If the light continues
flashing after the parking brake is
released, or while driving, there is a
problem with the EPB system.
A SERVICE PARKING BRAKE
message may also display in the
Driver Information Center (DIC).
See Brake System Messages on
page 5 ‑ 28 for more information.
If the light does not come on,
or remains flashing, see your dealer. The parking brake warning light
should come on briefly when ignition
is placed in ON/RUN. If it does not
come on then, have it fixed so it will
be ready to warn if there is a
problem.
If this light comes on, there is a
problem with a system on the
vehicle that is causing the EPB
system to work at a reduced level.
The vehicle can still be driven, but
should be taken to a dealer as soon
as possible. See Parking Brake on
page 9 ‑ 25 .
Page 114 of 374
Black plate (18,1)Chevrolet Captiva Sport Owner Manual - 2013 - crc - 11/12/12
5-18 Instruments and Controls
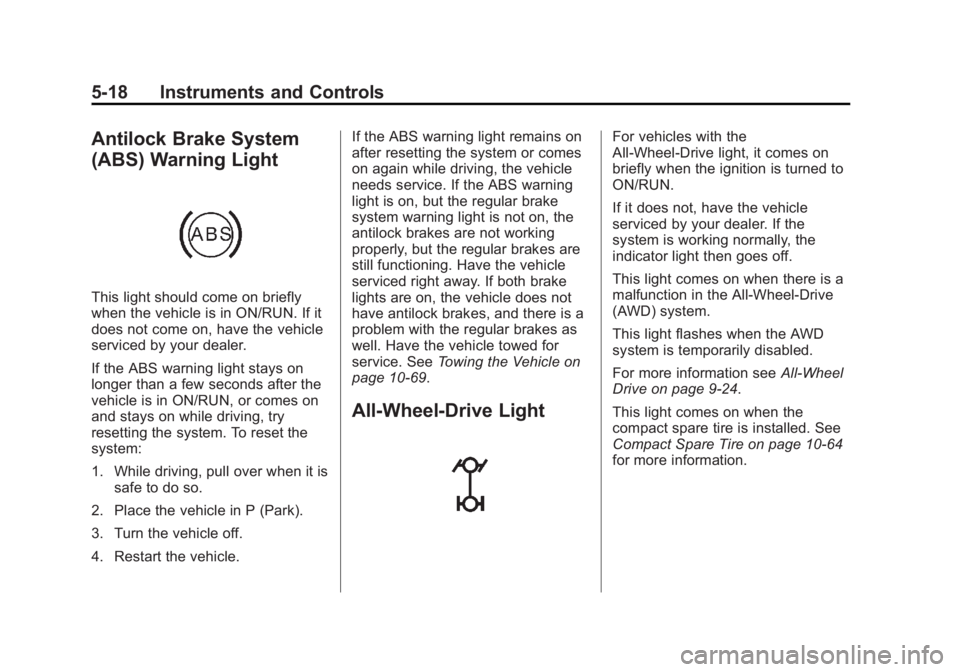
Antilock Brake System
(ABS) Warning Light
This light should come on briefly
when the vehicle is in ON/RUN. If it
does not come on, have the vehicle
serviced by your dealer.
If the ABS warning light stays on
longer than a few seconds after the
vehicle is in ON/RUN, or comes on
and stays on while driving, try
resetting the system. To reset the
system:
1. While driving, pull over when it is
safe to do so.
2. Place the vehicle in P (Park).
3. Turn the vehicle off.
4. Restart the vehicle. If the ABS warning light remains on
after resetting the system or comes
on again while driving, the vehicle
needs service. If the ABS warning
light is on, but the regular brake
system warning light is not on, the
antilock brakes are not working
properly, but the regular brakes are
still functioning. Have the vehicle
serviced right away. If both brake
lights are on, the vehicle does not
have antilock brakes, and there is a
problem with the regular brakes as
well. Have the vehicle towed for
service. See Towing the Vehicle on
page 10 ‑ 69 .
All-Wheel-Drive Light For vehicles with the
All-Wheel-Drive light, it comes on
briefly when the ignition is turned to
ON/RUN.
If it does not, have the vehicle
serviced by your dealer. If the
system is working normally, the
indicator light then goes off.
This light comes on when there is a
malfunction in the All-Wheel-Drive
(AWD) system.
This light flashes when the AWD
system is temporarily disabled.
For more information see All-Wheel
Drive on page 9 ‑ 24 .
This light comes on when the
compact spare tire is installed. See
Compact Spare Tire on page 10 ‑ 64
for more information.
Page 144 of 374
Black plate (2,1)Chevrolet Captiva Sport Owner Manual - 2013 - crc - 11/12/12
6-2 Lighting Wiper-Activated Headlamps
The headlamps and parking lamps
turn on automatically if the exterior
lamp control is set in the AUTO
position and the windshield wipers
are turned on and have completed
eight wipe cycles.
When the ignition is turned off, the
wiper-activated headlamps
immediately turn off. They also turn
off if the windshield wiper control is
turned off.
Headlamp High/
Low-Beam Changer
2 3 (Headlamp High/Low-Beam
Changer): Push the turn signal
lever away from you to turn the high
beams on.
Pull the lever toward you to return to
low beams. This indicator light turns on in the
instrument cluster when the
high-beam headlamps are on.
Flash-to-Pass To flash the high beams, pull the
turn signal lever toward you, and
release.
Daytime Running
Lamps (DRL) On vehicles equipped with Daytime
Running Lamps (DRL), the
low-beam headlamps come on in
daylight when all the following
conditions are met: .
The engine is running, .
The exterior lamp control is in
AUTO, and .
The light sensor determines it is
daytime.
Fully functional daytime running
lamps are required on all vehicles
first sold in Canada.
When the DRL are on, the
low-beam headlamps will be on.
The taillamps, sidemarker lamps,
instrument panel lights, and other
lamps will not be on.
When the exterior lamp control is
turned to the headlamp position, the
regular headlamps will come on.
The other lamps that come on with
the headlamps will also come on.
When the headlamps are turned off,
the regular lamps also turn off, and
the low-beam headlamps turn on.
The regular headlamp system
should be used when needed.
Page 189 of 374
Black plate (1,1)Chevrolet Captiva Sport Owner Manual - 2013 - crc - 11/12/12
Driving and Operating 9-1
Driving and
Operating Driving Information Driver Behavior . . . . . . . . . . . . . . . 9-2
Driving Environment . . . . . . . . . . 9-2
Vehicle Design . . . . . . . . . . . . . . . . 9-2
Distracted Driving . . . . . . . . . . . . . 9-3
Defensive Driving . . . . . . . . . . . . . 9-3
Drunk Driving . . . . . . . . . . . . . . . . . 9-4
Control of a Vehicle . . . . . . . . . . . 9-4
Braking . . . . . . . . . . . . . . . . . . . . . . . 9-4
Steering . . . . . . . . . . . . . . . . . . . . . . . 9-4
Off-Road Recovery . . . . . . . . . . . . 9-5
Loss of Control . . . . . . . . . . . . . . . . 9-5
Driving on Wet Roads . . . . . . . . . 9-6
Highway Hypnosis . . . . . . . . . . . . 9-7
Hill and Mountain Roads . . . . . . 9-7
Winter Driving . . . . . . . . . . . . . . . . . 9-8
If the Vehicle Is Stuck . . . . . . . . . 9-9
Vehicle Load Limits . . . . . . . . . . 9-10
Starting and Operating
New Vehicle Break-In . . . . . . . . 9-14
Ignition Positions . . . . . . . . . . . . 9-14
Starting the Engine . . . . . . . . . . 9-16 Retained Accessory
Power (RAP) . . . . . . . . . . . . . . . 9-17
Shifting Into Park . . . . . . . . . . . . 9-17
Shifting out of Park . . . . . . . . . . 9-18
Parking over Things
That Burn . . . . . . . . . . . . . . . . . . 9-19
Engine Exhaust Engine Exhaust . . . . . . . . . . . . . . 9-19
Running the Vehicle While
Parked . . . . . . . . . . . . . . . . . . . . . 9-20
Automatic Transmission Automatic Transmission . . . . . 9-20
Manual Mode . . . . . . . . . . . . . . . . 9-22
Fuel Economy Mode . . . . . . . . . 9-23
Drive Systems All-Wheel Drive . . . . . . . . . . . . . . 9-24
Brakes Antilock Brake
System (ABS) . . . . . . . . . . . . . . 9-24
Parking Brake . . . . . . . . . . . . . . . 9-25
Ride Control Systems
Traction Control
System (TCS) . . . . . . . . . . . . . . 9-27
StabiliTrak ®
System . . . . . . . . . 9-28 Cruise Control Cruise Control . . . . . . . . . . . . . . . 9-29
Object Detection Systems Ultrasonic Parking Assist . . . . 9-31
Rear Vision
Camera (RVC) . . . . . . . . . . . . . 9-33
Fuel Fuel . . . . . . . . . . . . . . . . . . . . . . . . . 9-35
Recommended Fuel . . . . . . . . . 9-35
Gasoline Specifications . . . . . . 9-35
Fuels in Foreign Countries . . . 9-36
Fuel Additives . . . . . . . . . . . . . . . 9-36
Fuel E85 (85% Ethanol) . . . . . 9-36
Filling the Tank . . . . . . . . . . . . . . 9-37
Filling a Portable Fuel
Container . . . . . . . . . . . . . . . . . . . 9-38
Towing General Towing
Information . . . . . . . . . . . . . . . . . 9-39
Driving Characteristics and
Towing Tips . . . . . . . . . . . . . . . . 9-39
Trailer Towing . . . . . . . . . . . . . . . . 9-42
Towing Equipment . . . . . . . . . . . 9-44
Conversions and Add-Ons
Add-On Electrical
Equipment . . . . . . . . . . . . . . . . . 9-45
Page 198 of 374
Black plate (10,1)Chevrolet Captiva Sport Owner Manual - 2013 - crc - 11/12/12
9-10 Driving and Operating Rocking the Vehicle to Get
it Out Turn the steering wheel left and
right to clear the area around the
front wheels. Turn off any traction
system. Shift back and forth
between R (Reverse) and a low
forward gear, spinning the wheels
as little as possible. To prevent
transmission wear, wait until the
wheels stop spinning before shifting
gears. Release the accelerator
pedal while shifting, and press
lightly on the accelerator pedal
when the transmission is in gear.
Slowly spinning the wheels in the
forward and reverse directions
causes a rocking motion that could
free the vehicle. If that does not get
the vehicle out after a few tries, it
might need to be towed out. If the
vehicle does need to be towed out,
see Towing the Vehicle on
page 10 ‑ 69 . Vehicle Load Limits It is very important to know how
much weight the vehicle can
carry. This weight is called the
vehicle capacity weight and
includes the weight of all
occupants, cargo and all
nonfactory-installed options.
Two labels on the vehicle show
how much weight it may
properly carry, the Tire and
Loading Information label and
the Certification label.
{ WARNING
Do not load the vehicle any
heavier than the Gross
Vehicle Weight Rating
(GVWR), or either the
maximum front or rear Gross
Axle Weight Rating (GAWR).
This can cause systems to
break and change the way the
(Continued) WARNING (Continued)
vehicle handles. This could
cause loss of control and a
crash. Overloading can also
shorten the life of the vehicle.
Tire and Loading Information
Label
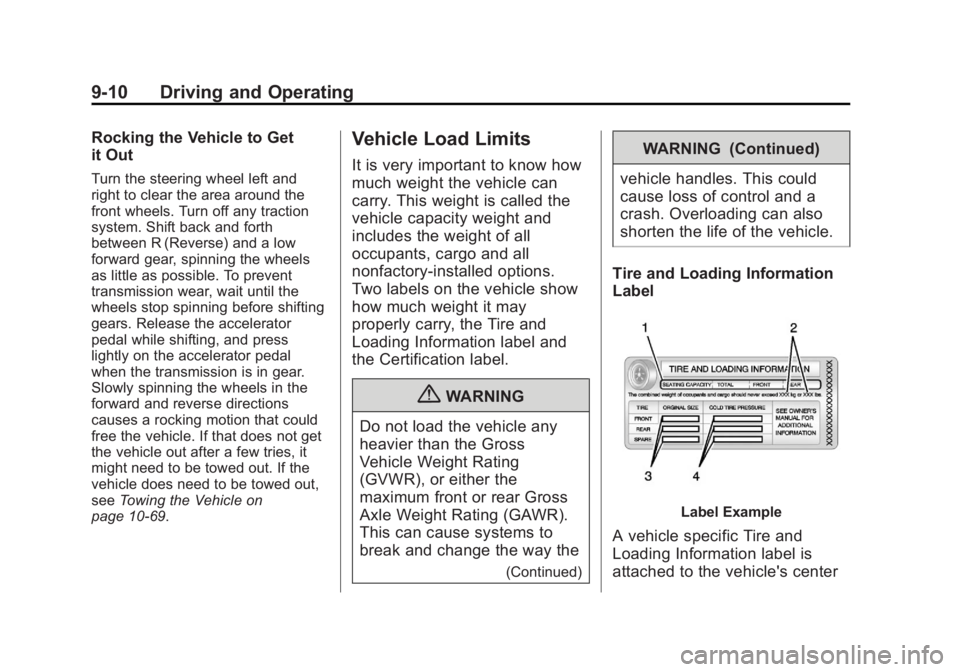
Label Example
A vehicle specific Tire and
Loading Information label is
attached to the vehicle's center
Page 199 of 374
Black plate (11,1)Chevrolet Captiva Sport Owner Manual - 2013 - crc - 11/12/12
Driving and Operating 9-11pillar (B-pillar). With the driver
door open, you will find the label
attached near the door lock
post. The Tire and Loading
Information label shows the
number of occupant seating
positions (1), and the maximum
vehicle capacity weight (2) in
kilograms and pounds.
The Tire and Loading
Information label also shows the
tire size of the original
equipment tires (3) and the
recommended cold tire inflation
pressures (4). For more
information on tires and inflation,
see Tires on page 10 ‑ 36 and
Tire Pressure on page 10 ‑ 43 .
There is also important loading
information on the Certification
label. It tells you the Gross
Vehicle Weight Rating (GVWR)
and the Gross Axle Weight Rating (GAWR) for the front and
rear axle. See “ Certification
Label ” later in this section.
Steps for Determining Correct
Load Limit 1.
Locate the statement “ The
combined weight of
occupants and cargo should
never exceed XXX kg or
XXX lbs ” on your vehicle's
placard. 2.
Determine the combined
weight of the driver and
passengers that will be riding
in your vehicle. 3.
Subtract the combined
weight of the driver and
passengers from XXX kg or
XXX lbs.
4.
The resulting figure equals
the available amount of cargo
and luggage load capacity.
For example, if the “ XXX ”
amount equals 1400 lbs and there will be five 150 lb
passengers in your vehicle,
the amount of available cargo
and luggage load capacity is
650 lbs (1400 − 750 (5 x 150)
= 650 lbs). 5.
Determine the combined
weight of luggage and cargo
being loaded on the vehicle.
That weight may not safely
exceed the available cargo
and luggage load capacity
calculated in Step 4. 6.
If your vehicle will be towing
a trailer, the load from your
trailer will be transferred to
your vehicle. Consult this
manual to determine how this
reduces the available cargo
and luggage load capacity of
your vehicle.
See Trailer Towing on page 9 ‑ 42
for important information on
towing a trailer, towing safety
rules and trailering tips.
Page 202 of 374
Black plate (14,1)Chevrolet Captiva Sport Owner Manual - 2013 - crc - 11/12/12
9-14 Driving and Operating WARNING (Continued) .
Never stack heavier
things, like suitcases,
inside the vehicle so that
some of them are above
the tops of the seats. .
Do not leave an
unsecured child restraint
in the vehicle. .
Secure loose items in the
vehicle. .
Do not leave a seat folded
down unless needed. Starting and
Operating New Vehicle Break-In Notice: The vehicle does not
need an elaborate break-in. But it
will perform better in the long run
if you follow these guidelines: .
Do not drive at any one
constant speed, fast or slow,
for the first 805 km
(500 miles). Do not make
full-throttle starts. Avoid
downshifting to brake or
slow the vehicle. .
Avoid making hard stops for
the first 322 km (200 miles) or
so. During this time the new
brake linings are not yet
broken in. Hard stops with
new linings can mean
premature wear and earlier
replacement. Follow this
breaking-in guideline every
time you get new brake
linings. .
Do not tow a trailer during
break-in. See Trailer Towing
on page 9 ‑ 42 for the trailer
towing capabilities of the
vehicle and more
information.
Following break ‐ in, engine speed
and load can be gradually
increased.
Ignition Positions
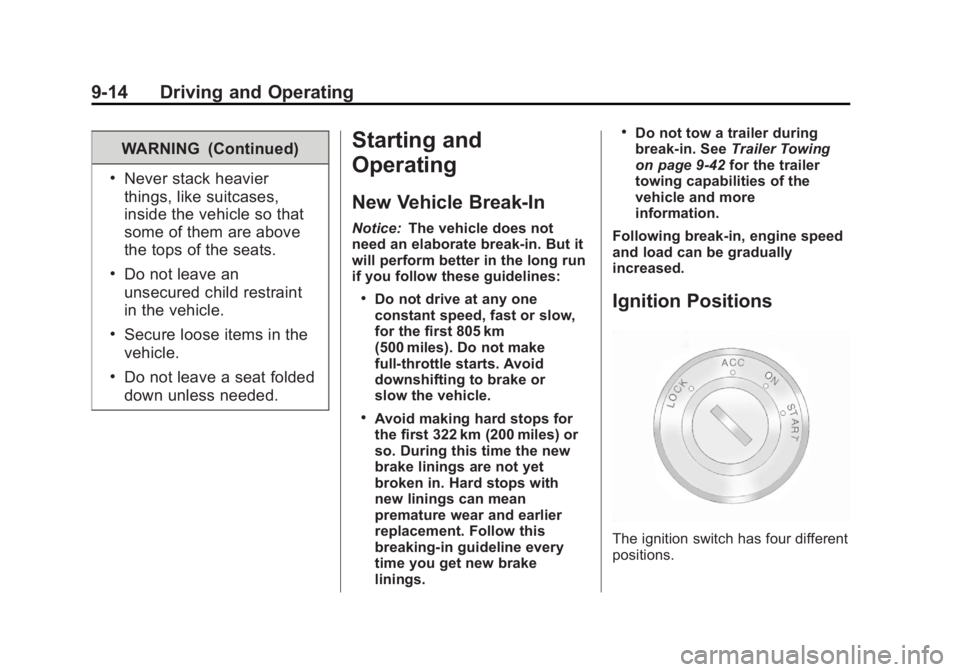
The ignition switch has four different
positions.
Page 204 of 374
Black plate (16,1)Chevrolet Captiva Sport Owner Manual - 2013 - crc - 11/12/12
9-16 Driving and Operating ACC (ACC/ACCESSORY): This is
the position in which you can
operate some electrical accessories
or items plugged into the accessory
power outlets.
Use this position if the vehicle must
be pushed or towed.
ON (ON/RUN): This position can
be used to operate the electrical
accessories and to display some
instrument cluster warning and
indicator lights. This position can
also be used for service and
diagnostics, and to verify the proper
operation of the malfunction
indicator lamp as may be required
for emission inspection purposes.
The switch stays in this position
when the engine is running. The
transmission is also unlocked in this
position. If you leave the key in the
ACC/ACCESSORY or ON/RUN
positions with the engine off, the
battery could be drained. You may
not be able to start the vehicle if the
battery is allowed to drain for an
extended period of time. START: This is the position that
starts the engine. When the engine
starts, release the key. The ignition
switch returns to ON/RUN for
driving.
A warning tone will sound when the
driver door is opened, the ignition is
in ACC/ACCESSORY or LOCK/
OFF, and the key is in the ignition.
Starting the Engine Move the shift lever to P (Park) or
N (Neutral). The engine will not start
in any other position. To restart the
engine when the vehicle is already
moving, use N (Neutral) only.
Notice: Do not try to shift to
P (Park) if the vehicle is moving.
If you do, you could damage the
transmission. Shift to P (Park)
only when the vehicle is stopped. Starting Procedure
1. With your foot off the accelerator
pedal, turn the ignition to START.
When the engine starts, let go of
the key. The idle speed will slow
down as the engine warms. Do
not race the engine immediately
after starting it. Operate the
engine and transmission gently
to allow the oil to warm up and
lubricate all moving parts.
The vehicle has a
Computer-Controlled Cranking
System. This feature assists in
starting the engine and protects
components. If the ignition key is
turned to the START position,
and then released when the
engine begins cranking, the
engine will continue cranking for
a few seconds or until the
vehicle starts. If the engine does
not start and the key is held in
START, cranking will be stopped
after 15 seconds to prevent
cranking motor damage. To
prevent gear damage, this
system also prevents cranking if