2013 CHEVROLET AVALANCHE set clock
[x] Cancel search: set clockPage 26 of 494

Black plate (20,1)Chevrolet Avalanche Owner Manual - 2013 - CRC - 8/27/12
1-20 In Brief
f:Turn to manually select radio
stations or press to set the bass or
treble.
©SEEK or¨SEEK: Seek or scan
stations.
4: Press to switch the display
between the radio station frequency
and the time. While the ignition is
off, press this button to display the
time. Press to display additional text
information related to the current
FM-RDS or SiriusXM station; or CD,
MP3, or WMA song. If information is
available during SiriusXM, CD, MP3,
or WMA playback, the song title
information displays on the top line
of the display and artist information
displays on the bottom line. When
information is not available, “NO
INFO” displays.
For more information about these
and other radio features, see
Operation on page 7‑6. For vehicles with a Rear Seat
Entertainment System (RSE) and
Rear Seat Audio System (RSA), see
Rear Seat Entertainment (RSE)
System on page 7‑36
andRear
Seat Audio (RSA) System on
page 7‑46 for more information.
Storing Radio Stations
A maximum of 36 stations can be
stored as favorites using the six
softkeys located below the radio
station frequency tabs and by using
the radio FAV button. Press FAV to
go through up to six pages of
favorites, each having six favorite
stations available per page. Each
page of favorites can contain any
combination of AM, FM, or SiriusXM
stations.
For more information, see “Storing
Radio Stations” inAM-FM Radio on
page 7‑10.
Setting the Clock
To set the time and date:
1. Turn the ignition key to ACC/ ACCESSORY or ON/RUN, then
press
O, to turn the radio on.
2. Press
Hto display HR, MIN,
MM, DD, and YYYY (hour,
minute, month, day, and year).
3. Press the softkey located under any one of the labels to be
changed.
4. To increase or decrease the time or date, turn
fclockwise or
counter-clockwise.
For detailed instructions on setting
the clock for the vehicle's specific
audio system, see Clock on
page 5‑7.
Page 133 of 494
Black plate (7,1)Chevrolet Avalanche Owner Manual - 2013 - CRC - 8/27/12
Instruments and Controls 5-7
strong magnetic field interfering with
the compass. Such interference
may be caused by a magnetic CB or
cell phone antenna mount, a
magnetic emergency light, magnetic
note pad holder, or any other
magnetic item. Turn off the vehicle,
move the magnetic item, then turn
on the vehicle and calibrate the
compass.
To calibrate the compass, use the
following procedure:
Compass Calibration Procedure
1. Before calibrating the compass,make sure the compass zone is
set to the variance zone in which
the vehicle is located. See
“Compass Variance (Zone)
Procedure” earlier in this
section.
Do not operate any switches
such as window, sunroof,
climate controls, or seats during
the calibration procedure. 2. Press the vehicle information
button until PRESS
VTO
CALIBRATE COMPASS
displays. Or, if the vehicle does
not have DIC buttons, press the
trip odometer reset stem until
CALIBRATE COMPASS
displays.
3. Press the set/reset button to start the compass calibration. Or,
if the vehicle does not have DIC
buttons, press and hold the trip
odometer reset stem for
two seconds to start the
compass calibration.
4. The DIC will display CALIBRATING: DRIVE IN
CIRCLES. Drive the vehicle in
tight circles at less than 8 km/h
(5 mph) to complete the
calibration. The DIC will display
CALIBRATION COMPLETE
for a few seconds when the
calibration is complete. The DIC
display will then return to the
previous menu.Clock
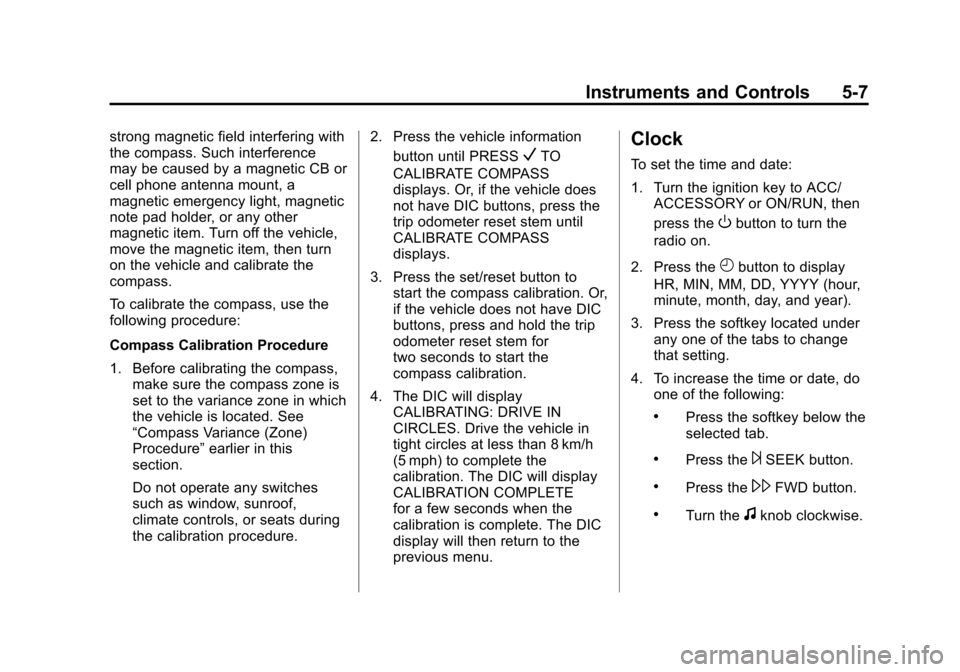
To set the time and date:
1. Turn the ignition key to ACC/ACCESSORY or ON/RUN, then
press the
Obutton to turn the
radio on.
2. Press the
Hbutton to display
HR, MIN, MM, DD, YYYY (hour,
minute, month, day, and year).
3. Press the softkey located under any one of the tabs to change
that setting.
4. To increase the time or date, do one of the following:
.Press the softkey below the
selected tab.
.Press the¨SEEK button.
.Press the\FWD button.
.Turn thefknob clockwise.
Page 134 of 494
Black plate (8,1)Chevrolet Avalanche Owner Manual - 2013 - CRC - 8/27/12
5-8 Instruments and Controls
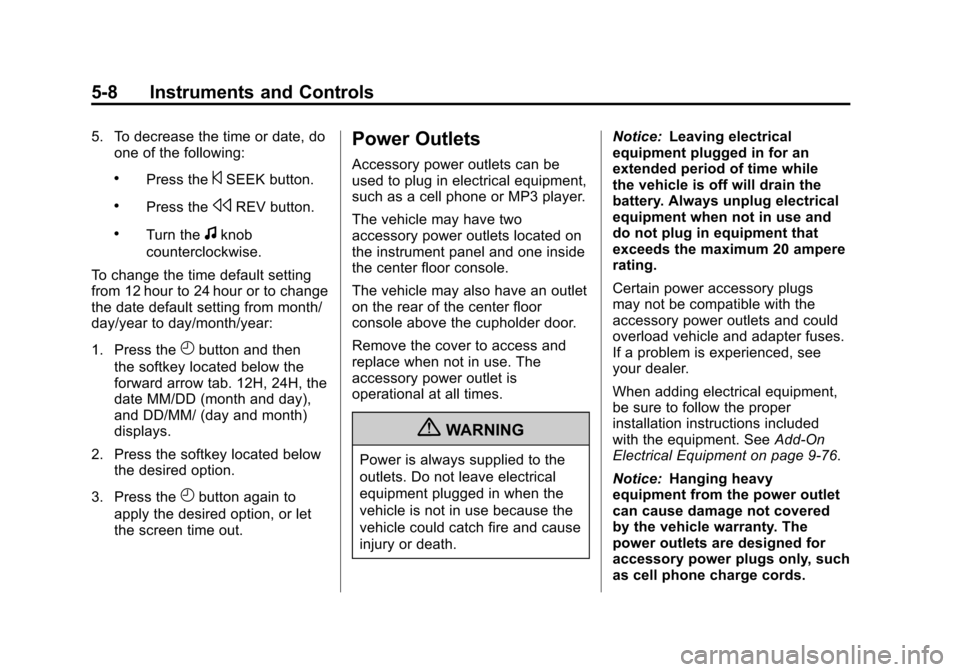
5. To decrease the time or date, doone of the following:
.Press the©SEEK button.
.Press thesREV button.
.Turn thefknob
counterclockwise.
To change the time default setting
from 12 hour to 24 hour or to change
the date default setting from month/
day/year to day/month/year:
1. Press the
Hbutton and then
the softkey located below the
forward arrow tab. 12H, 24H, the
date MM/DD (month and day),
and DD/MM/ (day and month)
displays.
2. Press the softkey located below the desired option.
3. Press the
Hbutton again to
apply the desired option, or let
the screen time out.
Power Outlets
Accessory power outlets can be
used to plug in electrical equipment,
such as a cell phone or MP3 player.
The vehicle may have two
accessory power outlets located on
the instrument panel and one inside
the center floor console.
The vehicle may also have an outlet
on the rear of the center floor
console above the cupholder door.
Remove the cover to access and
replace when not in use. The
accessory power outlet is
operational at all times.
{WARNING
Power is always supplied to the
outlets. Do not leave electrical
equipment plugged in when the
vehicle is not in use because the
vehicle could catch fire and cause
injury or death. Notice:
Leaving electrical
equipment plugged in for an
extended period of time while
the vehicle is off will drain the
battery. Always unplug electrical
equipment when not in use and
do not plug in equipment that
exceeds the maximum 20 ampere
rating.
Certain power accessory plugs
may not be compatible with the
accessory power outlets and could
overload vehicle and adapter fuses.
If a problem is experienced, see
your dealer.
When adding electrical equipment,
be sure to follow the proper
installation instructions included
with the equipment. See Add-On
Electrical Equipment on page 9‑76.
Notice: Hanging heavy
equipment from the power outlet
can cause damage not covered
by the vehicle warranty. The
power outlets are designed for
accessory power plugs only, such
as cell phone charge cords.
Page 196 of 494

Black plate (4,1)Chevrolet Avalanche Owner Manual - 2013 - CRC - 8/27/12
7-4 Infotainment System
H.H(Clock)
.Press to set the clock.
I. BAND
.Press to scroll through the
available bands AM, FM,
or XM if equipped.
J.
©SEEK
.Seeks the previous station.
K.
¨SEEK
.Seeks the next station. L.
P(Power/Volume)
.Press to turn the
infotainment system on
or off.
.Turn to adjust the volume.
M.
sREV (Reverse)
.Press to and hold to go
backward fast through a
track.
N.
\FWD (Forward)
.Press to and hold to fast
forward through a track. O. CD/AUX
.Press to scroll through
selecting the CD or a
auxiliary device.
P.
ZEject
.Press to eject the
loaded CD.
Page 198 of 494
Black plate (6,1)Chevrolet Avalanche Owner Manual - 2013 - CRC - 8/27/12
7-6 Infotainment System
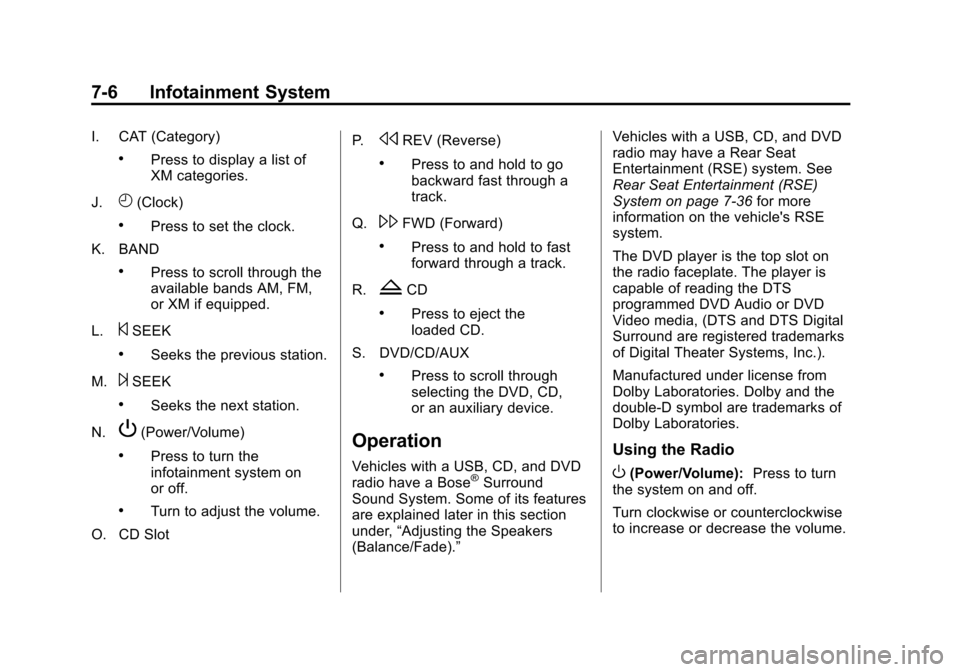
I. CAT (Category)
.Press to display a list of
XM categories.
J.
H(Clock)
.Press to set the clock.
K. BAND
.Press to scroll through the
available bands AM, FM,
or XM if equipped.
L.
©SEEK
.Seeks the previous station.
M.
¨SEEK
.Seeks the next station.
N.
P(Power/Volume)
.Press to turn the
infotainment system on
or off.
.Turn to adjust the volume.
O. CD Slot P.
sREV (Reverse)
.Press to and hold to go
backward fast through a
track.
Q.
\FWD (Forward)
.Press to and hold to fast
forward through a track.
R.
ZCD
.Press to eject the
loaded CD.
S. DVD/CD/AUX
.Press to scroll through
selecting the DVD, CD,
or an auxiliary device.
Operation
Vehicles with a USB, CD, and DVD
radio have a Bose®Surround
Sound System. Some of its features
are explained later in this section
under, “Adjusting the Speakers
(Balance/Fade).” Vehicles with a USB, CD, and DVD
radio may have a Rear Seat
Entertainment (RSE) system. See
Rear Seat Entertainment (RSE)
System on page 7‑36
for more
information on the vehicle's RSE
system.
The DVD player is the top slot on
the radio faceplate. The player is
capable of reading the DTS
programmed DVD Audio or DVD
Video media, (DTS and DTS Digital
Surround are registered trademarks
of Digital Theater Systems, Inc.).
Manufactured under license from
Dolby Laboratories. Dolby and the
double-D symbol are trademarks of
Dolby Laboratories.
Using the Radio
O(Power/Volume): Press to turn
the system on and off.
Turn clockwise or counterclockwise
to increase or decrease the volume.
Page 200 of 494
Black plate (8,1)Chevrolet Avalanche Owner Manual - 2013 - CRC - 8/27/12
7-8 Infotainment System
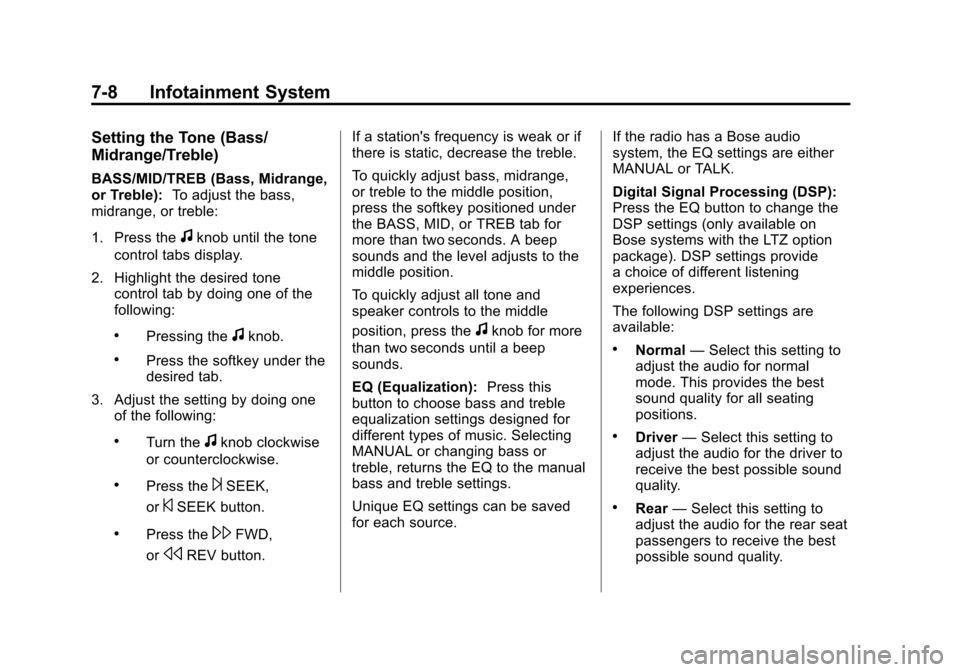
Setting the Tone (Bass/
Midrange/Treble)
BASS/MID/TREB (Bass, Midrange,
or Treble):To adjust the bass,
midrange, or treble:
1. Press the
fknob until the tone
control tabs display.
2. Highlight the desired tone control tab by doing one of the
following:
.Pressing thefknob.
.Press the softkey under the
desired tab.
3. Adjust the setting by doing one of the following:
.Turn thefknob clockwise
or counterclockwise.
.Press the¨SEEK,
or
©SEEK button.
.Press the\FWD,
or
sREV button. If a station's frequency is weak or if
there is static, decrease the treble.
To quickly adjust bass, midrange,
or treble to the middle position,
press the softkey positioned under
the BASS, MID, or TREB tab for
more than two seconds. A beep
sounds and the level adjusts to the
middle position.
To quickly adjust all tone and
speaker controls to the middle
position, press the
fknob for more
than two seconds until a beep
sounds.
EQ (Equalization): Press this
button to choose bass and treble
equalization settings designed for
different types of music. Selecting
MANUAL or changing bass or
treble, returns the EQ to the manual
bass and treble settings.
Unique EQ settings can be saved
for each source. If the radio has a Bose audio
system, the EQ settings are either
MANUAL or TALK.
Digital Signal Processing (DSP):
Press the EQ button to change the
DSP settings (only available on
Bose systems with the LTZ option
package). DSP settings provide
a choice of different listening
experiences.
The following DSP settings are
available:.Normal
—Select this setting to
adjust the audio for normal
mode. This provides the best
sound quality for all seating
positions.
.Driver —Select this setting to
adjust the audio for the driver to
receive the best possible sound
quality.
.Rear —Select this setting to
adjust the audio for the rear seat
passengers to receive the best
possible sound quality.
Page 201 of 494
Black plate (9,1)Chevrolet Avalanche Owner Manual - 2013 - CRC - 8/27/12
Infotainment System 7-9
.Surround (Centerpoint®)—
Select this setting to enable
Bose Centerpoint. Centerpoint
signal processing produces a
surround sound listening
experience from a CD or XM
stereo digital audio source.
Centerpoint delivers five
independent audio channels
from conventional two channel
stereo recordings. (Not available
for AM or FM.)
Adjusting the Speakers
(Balance/Fade)
BAL/FADE (Balance/Fade): To
adjust the balance or fade:
1. Press the
fknob until the
speaker control tabs display.
2. Highlight the desired speaker control tab by doing one of the
following:
.Pressing thefknob.
.Press the softkey under the
desired tab. 3. Adjust the setting by doing one
of the following:
.Turn thefknob clockwise
or counterclockwise.
.Press the¨SEEK,
or
©SEEK button.
.Press the\FWD,
or
sREV button.
To quickly adjust all speaker and
tone controls to the middle position,
press the
fknob for more than
two seconds.
If the Rear Seat Audio (RSA) is
turned on, the radio disables FADE
and mutes the rear speakers.
Radio Messages
Calibration Error: The audio
system has been calibrated
for the vehicle from the factory. If Calibration Error displays, it
means that the radio has not been
configured properly for the vehicle
and it must be returned to your
dealer for service.
Locked or Loc:
One of these
messages will display when the
TheftLock
®system has locked up
the radio. Take the vehicle to your
dealer for service.
If any error occurs repeatedly or if
an error cannot be corrected,
contact your dealer.
Page 223 of 494
Black plate (31,1)Chevrolet Avalanche Owner Manual - 2013 - CRC - 8/27/12
Infotainment System 7-31
displays an error message, write it
down and provide it to your dealer
when reporting the problem.
Auxiliary Devices
Using the Auxiliary Input Jack
Radios with an auxiliary input jack
located on the lower right side of the
faceplate can connect to an external
audio device such as an iPod
®,
MP3 player, CD player, for use as
another source for audio listening.
This input jack is not an audio
output; do not plug headphones into
the front auxiliary input jack.
Drivers are encouraged to set up
any auxiliary device while the
vehicle is in P (Park). See
Defensive Driving on page 9‑3
for more information on driver
distraction. To use a portable audio player,
connect a 3.5 mm (1/8 in) cable to
the radio's front auxiliary input jack.
When a device is connected, press
the radio CD/AUX button to begin
playing audio from the device over
the vehicle speakers.
For optimal sound quality, increase
the portable audio device's volume
to the loudest level.
It is always best to power the
portable audio device through its
own battery while playing.
O(Power/Volume):
Turn clockwise
or counterclockwise to increase
or decrease the volume of the
portable player. Additional volume
adjustments might have to be made
from the portable device if the
volume is not loud or soft enough.
BAND: Press to listen to the radio
when a portable audio device is
playing. The portable audio device
continues playing. CD/AUX (CD/Auxiliary):
Press to
play a CD when a portable audio
device is playing. Press again and
the system begins playing audio
from the connected portable audio
player. If a portable audio player is
not connected, “No Input Device
Found” displays.
DVD/CD AUX (CD/Auxiliary):
Press to cycle through DVD,
CD, or Auxiliary when listening to
the radio. The DVD/CD text tab and
a message showing track or chapter
number displays when a disc is in
either slot. Press again and the
system automatically searches for
an auxiliary input device, such as a
portable audio player. If a portable
audio player is not connected, “No
Aux Input Device” displays. If a disc
is in both the DVD slot and the CD
slot the DVD/CD AUX button cycles
between the two sources and not
indicate “No Aux Input Device”.