2013 CADILLAC XTS remove seats
[x] Cancel search: remove seatsPage 32 of 438

Black plate (2,1)Cadillac XTS Owner Manual - 2013 - 1st - 4/13/12
2-2 Keys, Doors, and Windows
There is a key inside the Remote
Keyless Entry (RKE) transmitter that
is used for locking/unlocking thedriver door and for locking the rear
seatbacks so they cannot be folded.
See
Rear Seats on page 3‑11.
To remove the key, press the button
near the bottom of the transmitter,
and pull the key out. Never pull the
key out without pressing the button.
If it becomes difficult to turn the key,
inspect the key blade for debris.
See your dealer if a new key is
needed.
Contact Roadside Service if locked
out of the vehicle. See Roadside
Service on page 13‑5. With an active OnStar subscription,
an OnStar Advisor may remotely
unlock the vehicle. See
OnStar
Overview on page 14‑1.
Remote Keyless Entry
(RKE) System
See Radio Frequency Statement on
page 13‑15 for information
regarding Part 15 of the Federal
Communications Commission (FCC)
rules and Industry Canada
Standards RSS-GEN/210/220/310.
If there is a decrease in the RKE
operating range:
.Check the distance. The
transmitter may be too far from
the vehicle.
.Check the location. Other
vehicles or objects may be
blocking the signal.
.Check the transmitter's battery.
See “Battery Replacement” later
in this section.
Page 36 of 438

Black plate (6,1)Cadillac XTS Owner Manual - 2013 - 1st - 4/13/12
2-6 Keys, Doors, and Windows
2. Place the recognizedtransmitter(s) in the pocket. The
transmitter pocket is inside the
center console storage area
located between the driver and
front passenger seats. 3. Remove the key lock cylinder
cap. See Door Locks on
page 2‑10. Insert the vehicle key
into the key lock cylinder located
on the driver door handle. Then
turn the key counterclockwise, to
the unlock position, five times
within 10 seconds.
The Driver Information Center
(DIC) displays READY TO
LEARN ELECTRONIC KEY #2,
3, 4, ETC.
4. Replace the recognized transmitter with a new
transmitter. Place the new
transmitter in the transmitter
pocket.
5. Press the START button. When the transmitter is learned, the
DIC display will show that it is
ready to program the next
transmitter.
6. Remove the transmitter from the transmitter pocket and press
K
orQon the transmitter.
To program additional
transmitters, repeat Steps 3–5.
When all additional transmitters
are programmed, press and hold
the START button for
approximately 12 seconds to exit
programming mode.
Page 37 of 438

Black plate (7,1)Cadillac XTS Owner Manual - 2013 - 1st - 4/13/12
Keys, Doors, and Windows 2-7
Programming without a
Recognized Transmitter (Keyless
Access Vehicles Only)
If there are no currently recognized
transmitters available, follow this
procedure to program up to eight
transmitters. This feature is not
available in Canada. This procedure
will take approximately 30 minutes
to complete. The vehicle must be off
and all of the transmitters to be
programmed must be with you.
1. Remove the key lock cylindercap. See Door Locks on
page 2‑10. Insert the vehicle key
into the key lock cylinder located
on the driver door handle; then
turn the key counterclockwise, to
the unlock position five times
within 10 seconds.
The Driver Information Center
(DIC) displays REMOTE LEARN
PENDING, PLEASE WAIT. 2. Wait for 10 minutes until the DIC
displays PRESS ENGINE
START BUTTON TO LEARN,
then press the START button.
The DIC display will again show
REMOTE LEARN PENDING,
PLEASE WAIT.
3. Repeat Step 2 two additional times. After the third time all
previously known transmitters
will no longer work with the
vehicle. Remaining transmitters
can be relearned during the next
steps.
The DIC display should now
show READY FOR REMOTE
# 1.
4. Place the new transmitter in the
transmitter pocket. The
transmitter pocket is inside the
center console storage area
located between the driver and
front passenger seats. The
storage area will need to be
opened to access the transmitter
pocket.
5. Press the START button. When the transmitter is learned, the
DIC display will show that it is
ready to program the next
transmitter.
Page 59 of 438

Black plate (3,1)Cadillac XTS Owner Manual - 2013 - 1st - 4/13/12
Seats and Restraints 3-3
of the head restraint and move the
head restraint rearward until the
desired locking position is reached.
Try to move the head restraint after
the button is released to make sure
that it is locked in place.
The front seat outboard head
restraints are not designed to be
removed.
Rear Seats
The vehicle's rear seats have
adjustable head restraints in the
outboard seating positions.
The height of the head restraint can
be adjusted. Pull the head restraint
up to raise it. Try to move the head
restraint to make sure that it is
locked in place.
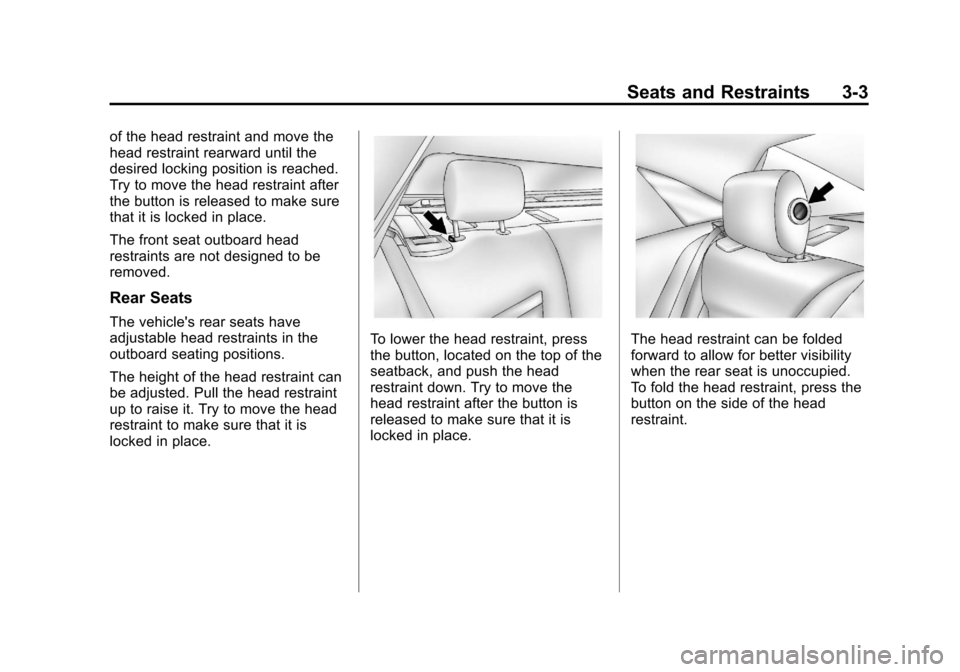
To lower the head restraint, press
the button, located on the top of the
seatback, and push the head
restraint down. Try to move the
head restraint after the button is
released to make sure that it is
locked in place.The head restraint can be folded
forward to allow for better visibility
when the rear seat is unoccupied.
To fold the head restraint, press the
button on the side of the head
restraint.
Page 60 of 438

Black plate (4,1)Cadillac XTS Owner Manual - 2013 - 1st - 4/13/12
3-4 Seats and Restraints
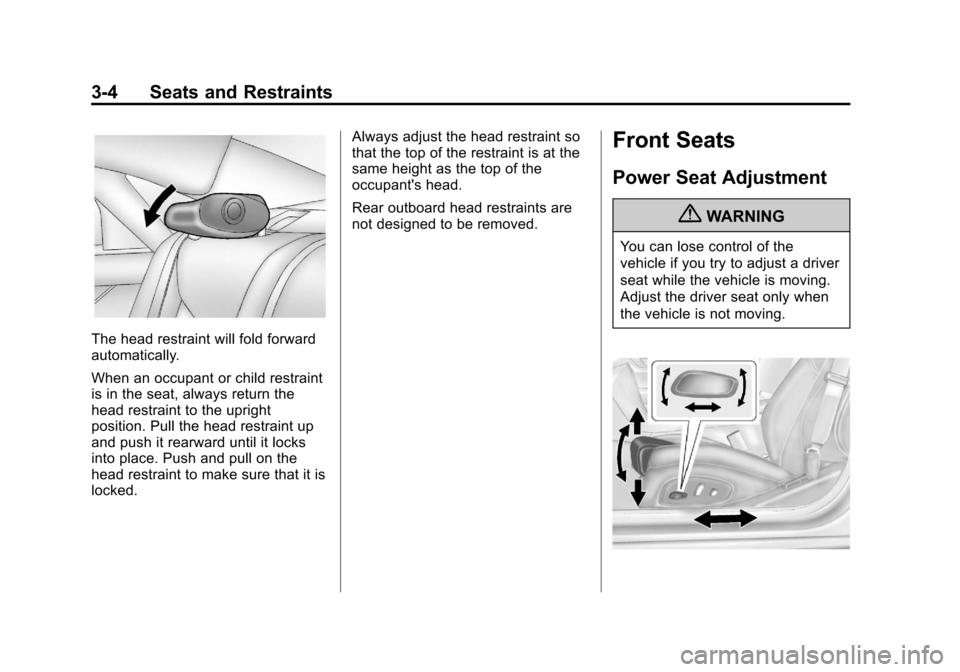
The head restraint will fold forward
automatically.
When an occupant or child restraint
is in the seat, always return the
head restraint to the upright
position. Pull the head restraint up
and push it rearward until it locks
into place. Push and pull on the
head restraint to make sure that it is
locked.Always adjust the head restraint so
that the top of the restraint is at the
same height as the top of the
occupant's head.
Rear outboard head restraints are
not designed to be removed.
Front Seats
Power Seat Adjustment
{WARNING
You can lose control of the
vehicle if you try to adjust a driver
seat while the vehicle is moving.
Adjust the driver seat only when
the vehicle is not moving.
Page 64 of 438

Black plate (8,1)Cadillac XTS Owner Manual - 2013 - 1st - 4/13/12
3-8 Seats and Restraints
moving the shift lever out of P (Park)
before the stored positions are
reached stops the recall.
If something has blocked the driver
seat and/or power tilt and
telescoping steering column while
recalling a memory position, the
recall may stop. Remove the
obstruction; then press and hold the
appropriate manual control for the
memory item that is not recalling for
two seconds. Try recalling the
memory position again by pressing
the appropriate memory button.
If the memory position is still not
recalling, see your dealer for
service.
Storing RKE Memory Positions
Every time the ignition is placed in
OFF/LOCK, the vehicle will
automatically store the driver seat,
outside mirrors, and power tilt and
telescoping steering column
positions to the RKE transmitter
used to start the vehicle. These
positions are called RKE Memory
positions and may be different thanthe previously mentioned Button
Memory positions saved to the
“1,”
“2,” and
Bbuttons.
Recalling RKE Memory Positions
(Auto Memory Recall)
The Auto (Automatic) Memory
Recall feature automatically recalls
the previously stored RKE Memory
positions for the current driver when
entering the vehicle.
Depending upon the Auto Memory
Recall features enabled in the
vehicle personalization menu, RKE
Memory positions are recalled in the
following ways:
To activate the recall when On -
Driver Door Open is selected in the
personalization menu, do one of the
following:
.PressKon the RKE transmitter
and open the driver door.
.PressKon the RKE transmitter
when the driver door is
already open.
.Press the lock/unlock button on
the outside driver door handle
and open the driver door. The
RKE transmitter must be present
for the recall to activate.
To activate the recall when On - At
Ignition On is selected in the vehicle
personalization menu:
.Place the ignition in ON/RUN/
START.
See Vehicle Personalization on
page 5‑44.
To stop recall movement, press one
of the memory, power mirror or
power seat controls; or press the
power tilt and telescoping steering
column control.
If something has blocked the driver
seat and/or the power tilt and
telescoping steering column while
recalling a memory position, the
recall may stop. Remove the
obstruction; then press and hold the
appropriate manual control for the
memory item that is not recalling for
two seconds. Try recalling the
memory position again by opening
Page 65 of 438

Black plate (9,1)Cadillac XTS Owner Manual - 2013 - 1st - 4/13/12
Seats and Restraints 3-9
the driver door and pressingKon
the RKE transmitter. If the memory
position is still not recalling, see
your dealer for service.
Easy Exit Recall
If programmed on in the vehicle
personalization menu, the easy exit
feature automatically moves the
driver seat, outside mirrors, and
power tilt and telescoping steering
column to the Button Memory
positions saved to the
B(Exit)
button. See “Storing Button Memory
Positions” in this section and
Vehicle Personalization on
page 5‑44.
Easy exit recall automatically
activates when one of the following
occurs:
.The vehicle is turned off and the
driver door is opened within a
short time.
.The vehicle is turned off with the
driver door open. If something has blocked the driver
seat and/or power tilt and
telescoping steering column while
recalling the exit position, the recall
may stop. Remove the obstruction;
then press and hold the appropriate
manual control for the exit feature
not recalling for two seconds. Try
recalling the exit position again.
If the exit position is still not
recalling, see your dealer for
service.
Heated and Ventilated
Front Seats
{WARNING
If you cannot feel temperature
change or pain to the skin, the
seat heater may cause burns. To
reduce the risk of burns, people
with such a condition should use
care when using the seat heater,
especially for long periods of
time. Do not place anything on
(Continued)
WARNING (CONTINUED)
the seat that insulates against
heat, such as a blanket, cushion,
cover, or similar item. This may
cause the seat heater to
overheat. An overheated seat
heater may cause a burn or may
damage the seat.
Page 75 of 438

Black plate (19,1)Cadillac XTS Owner Manual - 2013 - 1st - 4/13/12
Seats and Restraints 3-19
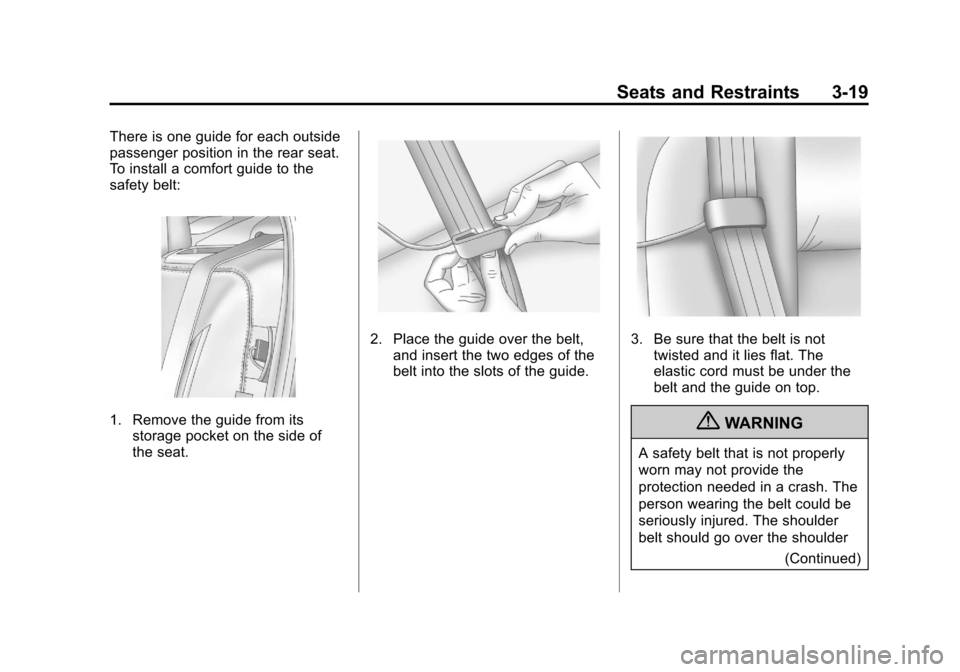
There is one guide for each outside
passenger position in the rear seat.
To install a comfort guide to the
safety belt:
1. Remove the guide from itsstorage pocket on the side of
the seat.
2. Place the guide over the belt,and insert the two edges of the
belt into the slots of the guide.3. Be sure that the belt is nottwisted and it lies flat. The
elastic cord must be under the
belt and the guide on top.
{WARNING
A safety belt that is not properly
worn may not provide the
protection needed in a crash. The
person wearing the belt could be
seriously injured. The shoulder
belt should go over the shoulder
(Continued)