2013 BMW X5 XDRIVE 35I SPORT ACTIVITY remote control
[x] Cancel search: remote controlPage 37 of 345
Keep the closing area clear
Make sure that the closing area of the
tailgate is clear; otherwise, injuries or damage
may result.◀
Automatic tailgate operation
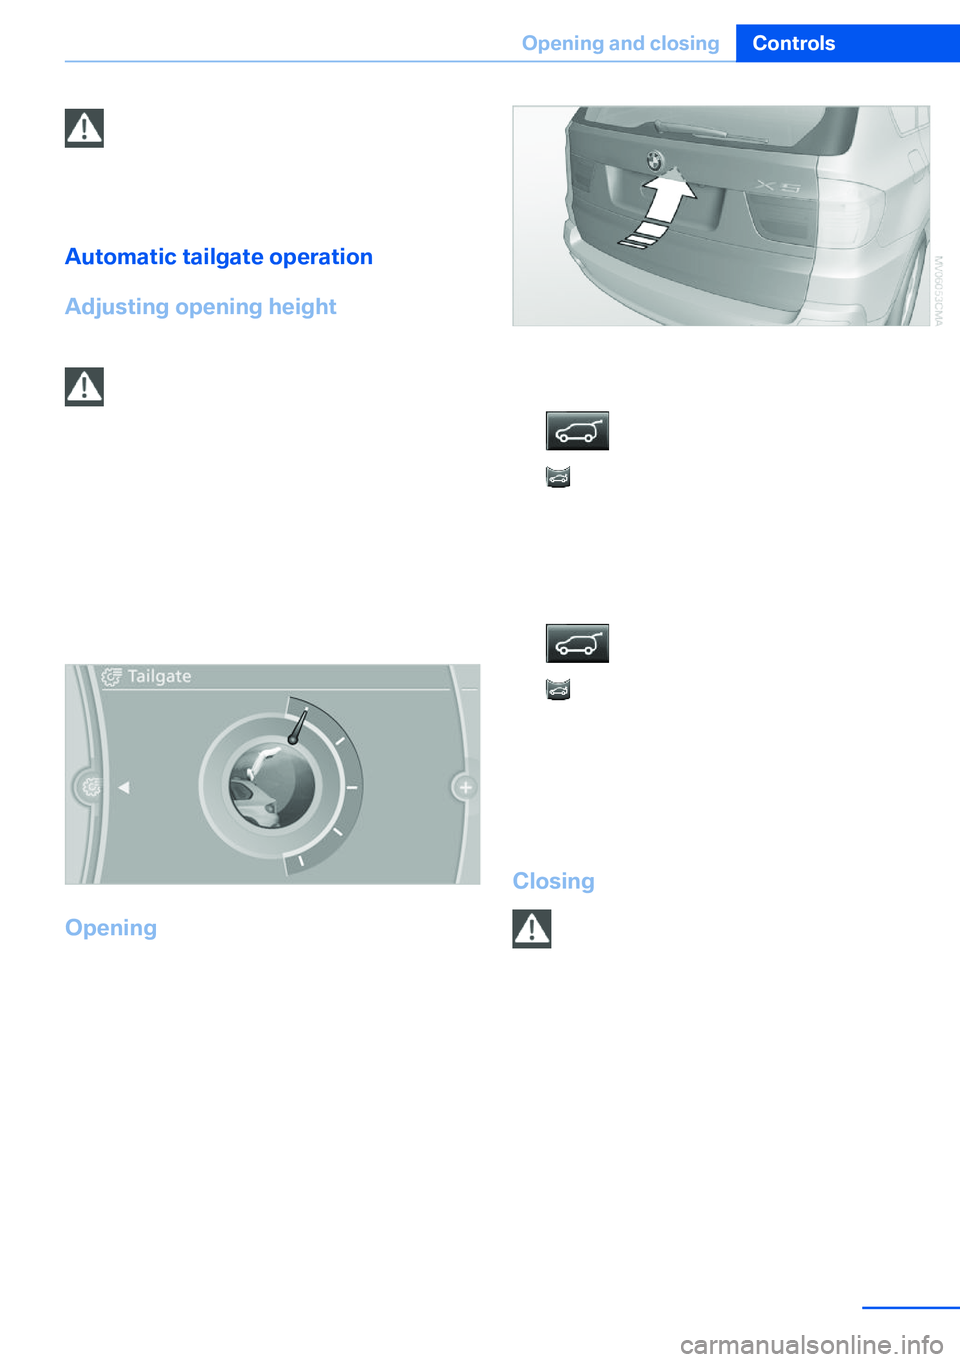
Adjusting opening height You can set how far the tailgate should open.
Adjusting the opening height
When adjusting the opening height, en‐
sure that there is a clearance of at least
4 in/10 cm above the tailgate. Otherwise, the
ceiling may not be high enough for the open
tailgate if the load situation changes.◀1."Settings"2."Tailgate"3.Turn the controller until the desired open‐
ing height is selected.
Opening
The tailgate pivots back and up when it opens.
Ensure that adequate clearance is available
before opening.
The tailgate opens automatically to the ad‐
justed opening height.
▷Press the button on the outside of the tail‐
gate when the vehicle is unlocked.▷Press the button in the center
console.▷ Press the button on the remote control
for approx. 1 second and release.
The opening procedure is interrupted:
▷When the engine starts.▷When the vehicle starts moving.▷By pressing the button in the cen‐
ter console again.▷ By pressing the button on the remote
control for a longer period.▷By pressing the button on the outside of
the tailgate.▷By pressing the button on the inside of the
tailgate.
Closing
Keep the closing area clear
Make sure that the closing area of the
tailgate is clear; otherwise, injuries or damage
may result.◀
Function requirement:
The lower tailgate is closed and must be
locked on both sides.
Seite 37Opening and closingControls37
Online Edition for Part no. 01 40 2 918 395 - III/13
Page 39 of 345
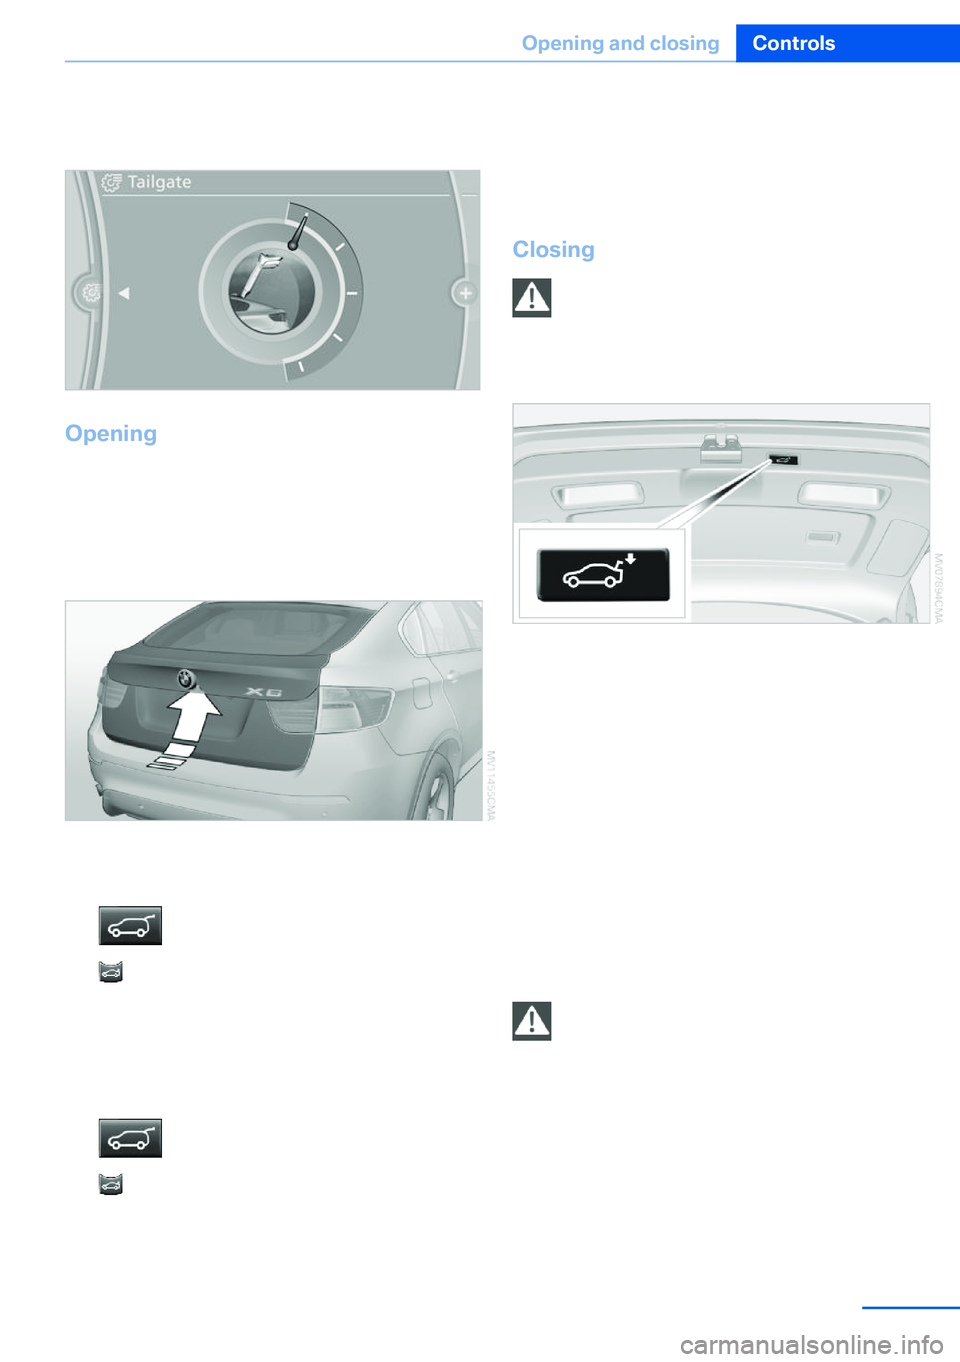
3.Turn the controller until the desired open‐
ing height is selected.
Opening
The tailgate pivots back and up when it opens.
Ensure that adequate clearance is available
before opening.
The tailgate opens automatically to the ad‐
justed opening height.
▷Press the button on the outside of the tail‐
gate when the vehicle is unlocked.▷Press the button in the center
console.▷ Press the button on the remote control
for approx. 1 second and release.
The opening procedure is interrupted:
▷When the engine starts.▷When the vehicle starts moving.▷By pressing the button in the cen‐
ter console again.▷ By pressing the button on the remote
control for a longer period.▷By pressing the button on the outside of
the tailgate.▷By pressing the button on the inside of the
tailgate.
Closing
Keep the closing area clear
Make sure that the closing area of the
tailgate is clear; otherwise, injuries or damage
may result.◀
The tailgate closes automatically when the
button on the inside of the tailgate is pressed.
To stop the closing procedure:
▷Press the button on the inside of the tail‐
gate.▷Press the button on the exterior of the tail‐
gate.
The closing procedure is also stopped:
▷When the engine starts.▷If the vehicle jerks while driving away.
Closing is not canceled when you put the vehi‐
cle into motion.
Automatic closing
The tailgate closes automatically without
button operation if it is weighed down by an
additional weight of approx. 11 lbs/5 kg, such
as snow or ice.◀
Seite 39Opening and closingControls39
Online Edition for Part no. 01 40 2 918 395 - III/13
Page 40 of 345
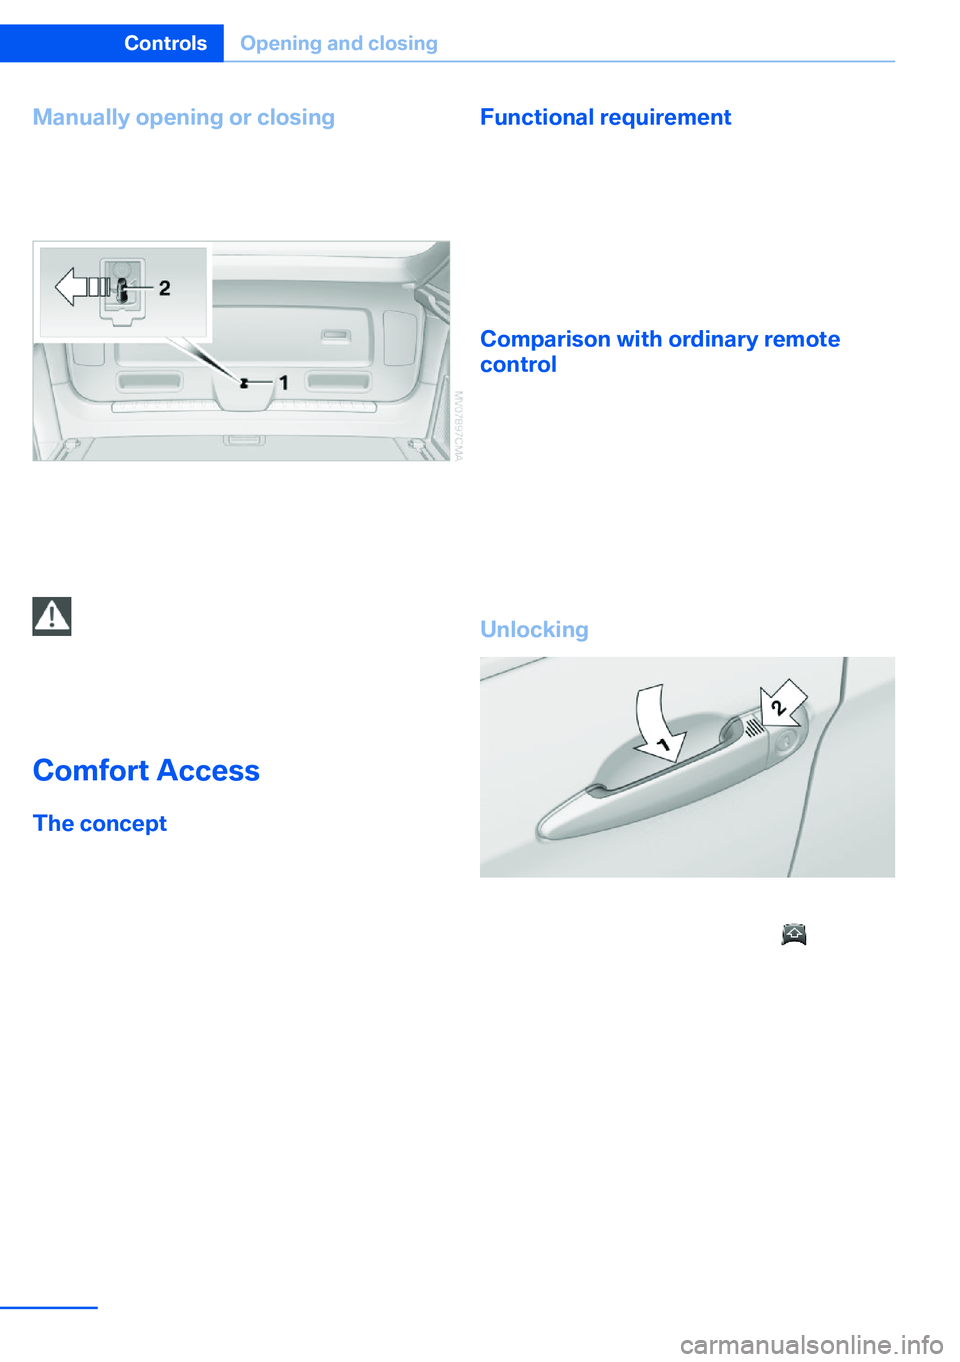
Manually opening or closing
In case of an electrical malfunction:1.Push out cover 1 on the tailgate with a
screwdriver.2.Push the catch 2 in the direction of the ar‐
row.3.Open or close the tailgate slowly and with‐
out making sudden movements.
Do not use force to open or close
If the tailgate offers increased resistance,
do not forcefully open or close the tailgate;
otherwise, injury or damage may result.◀
Comfort Access The concept
The vehicle can be accessed without activat‐
ing the remote control.
All you need to do is to have the remote con‐
trol with you, e.g., in your jacket pocket.
The vehicle automatically detects the remote
control when it is nearby or in the passenger
compartment.
Comfort Access supports the following func‐
tions:
▷Unlocking/locking of the vehicle.▷Unlocking of the tailgate separately.▷Starting the engine.▷Convenient closing.Functional requirement▷To lock the vehicle, the remote control
must be located outside of the vehicle.▷The next unlocking and locking cycle is not
possible until after approx. 2 seconds.▷The engine can only be started if the re‐
mote control is inside the vehicle.
Comparison with ordinary remote
control
The functions can be controlled by pressing the buttons or via Comfort Access.
Should a short delay occur when opening or
closing the windows or the glass sunroof/
panoramic glass sunroof, the system checks whether a remote control is located in the vehi‐
cle. Please repeat opening or closing if neces‐ sary.
Unlocking
Fully grasp a door handle, arrow 1.
This corresponds to pressing the
button.
Seite 40ControlsOpening and closing40
Online Edition for Part no. 01 40 2 918 395 - III/13
Page 41 of 345
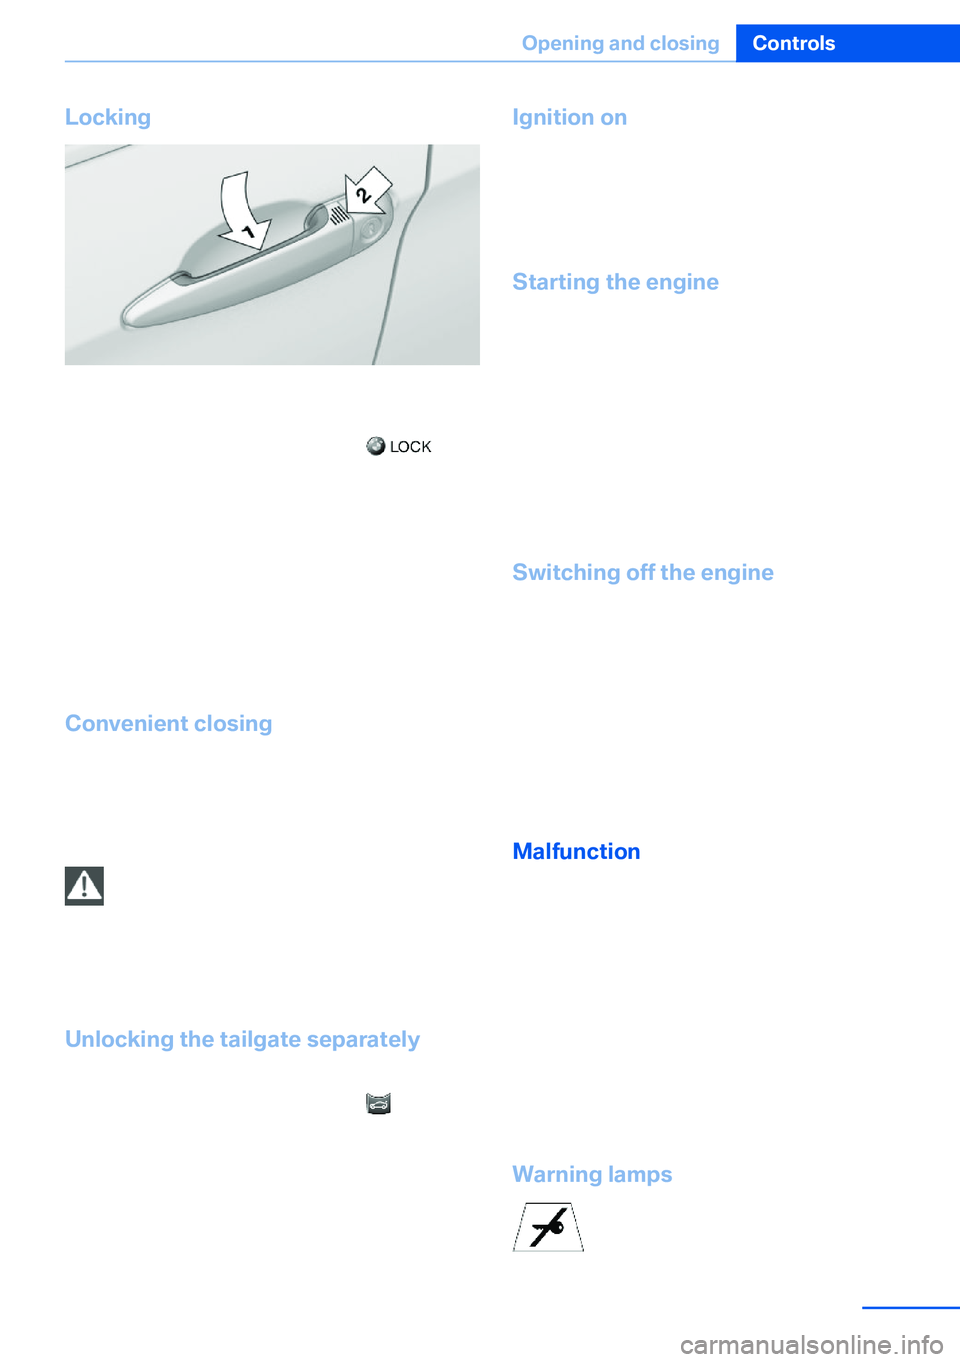
Locking
Touch the area on the door handle, arrow 2,
with your finger for approx. 1 second.
This corresponds to pressing the
but‐
ton.
To save battery power, ensure that the ignition
and all electronic systems and/or power con‐
sumers are switched off before locking the ve‐
hicle.
If a remote control is detected within the vehi‐
cle, the vehicle does not lock or is unlocked
again.
Convenient closing Press the area, arrow 2, with your finger and
hold.
In addition, the windows and the glass sunroof/
panoramic glass sunroof close.
Monitor the closing process
Watch during the closing process to be
sure that no one is injured. Removing the hand
from the door handle immediately stops the closing process.◀
Unlocking the tailgate separately
Press the button on the exterior of the tailgate.
This corresponds to pressing the
button.
If a remote control accidentally left in the cargo
area is detected in the locked vehicle, the tail‐
gate opens again.
The hazard warning flashers flash and a signal
sounds.
Ignition on
Pressing the Start/Stop button switches the
ignition on.
When doing so, do not depress the brake
pedal, otherwise the engine will start.
Starting the engine
The engine can be started or the ignition can
be switched on when a remote control is inside
the vehicle. It is not necessary to insert a re‐
mote control into the ignition lock, refer to
page 67.
As long as no remote control is detected in the
vehicle, it is only possible to restart the engine
within approx. 10 seconds after it is switched
off if no door has been opened.
Switching off the engine▷Remote control not in ignition lock:
After switching off the engine, the trans‐
mission is automatically switched into
transmission position P.▷Remote control in ignition lock:
If transmission position N is engaged, the
transmission remains in this position after
the engine is switched off.
Malfunction
The Comfort Access functions can be distur‐
bed by local radio waves, such as by a mobile
phone in the immediate vicinity of the remote
control or when a mobile phone is being
charged in the vehicle.
If this occurs, open or close the vehicle using
the buttons on the remote control or use the
integrated key in the door lock.
To start the engine afterward, insert the re‐
mote control into the ignition switch.
Warning lamps The warning lamp in the instrument
cluster lights up when you attempt to
Seite 41Opening and closingControls41
Online Edition for Part no. 01 40 2 918 395 - III/13
Page 42 of 345

start the engine: the engine cannot be started.
The remote control is not in the vehicle or has
a malfunction. Take the remote control with
you inside the vehicle or have it checked. If
necessary, insert another remote control into
the ignition switch.
The warning lamp in the instrumentcluster lights up while the engine is
running: the remote control is no lon‐
ger inside the vehicle.
After switching off the engine, the engine can
only be started again within approx. 10 sec‐
onds if no door has been opened.
The indicator lamp in the instrument
cluster comes on and a message ap‐
pears on the Control Display: replace
the remote control battery.
Replacing the battery
The remote control for Comfort Access con‐
tains a battery that will need to be replaced
from time to time.1.Take the integrated key out of the remote
control, refer to page 30.2.Remove the cover.3.Insert a new battery of the same type with
the positive side facing upwards.4.Press the cover closed.
Return used battery to a recycling collec‐
tion point or to your service center.
Alarm system
The conceptThe vehicle alarm system responds to:▷Opening of a door, the hood or the tailgate.▷Movements in the vehicle: interior motion
sensor, refer to page 43.▷Changes in the vehicle tilt, e.g., during at‐
tempts to steal a wheel or tow the car.▷Interruptions in battery voltage.
The alarm system briefly indicates tampering:
▷By sounding an acoustic alarm.▷By switching on the hazard warning sys‐
tem.▷By flashing the high beams.
Arming and disarming the alarm
system
General information
When you lock or unlock the vehicle, either
with the remote control or at the door lock, the
alarm system is armed or disarmed at the
same time.
Door lock and armed alarm systemUnlocking via the door lock will trigger the
alarm on some market-specific versions.
To stop this alarm, unlock the vehicle with the
remote control or switch on the ignition.
Tailgate and armed alarm system
The tailgate can be opened using the remote
control, even if the alarm system is armed.
Press the button on the remote control.
After the tailgate is closed, it is locked and
monitored again by the alarm system. The haz‐
ard warning system flashes once.
In some market-specific versions, the tailgate
can only be opened using the remote control if
the vehicle was unlocked first.
Seite 42ControlsOpening and closing42
Online Edition for Part no. 01 40 2 918 395 - III/13
Page 43 of 345

Switching off the alarm▷Unlock the vehicle using the remote con‐
trol, refer to page 32.▷Insert the remote control all the way into
the ignition lock.
Indicator lamp on the interior rearview
mirror
▷The indicator lamp flashes continuously:
The system is armed.▷The indicator lamp flashes after locking:
The doors, hood or tailgate is not closed
properly, but the rest of the vehicle is se‐
cured.
The indicator lamp flashes continuously af‐
ter approx. 10 seconds. The interior motion
sensor is not active.▷The indicator lamp goes out after unlock‐
ing:
The vehicle has not been tampered with.▷If the indicator lamp flashes after unlocking
until the remote control is inserted in the
ignition, but for no longer than approx.
5 minutes:
An alarm has been triggered.
Panic mode
In dangerous situations, trigger the alarm sys‐
tem:
Press the button on the remote control for
at least 3 seconds.
To switch off the alarm: press any button.
Tilt alarm sensor The tilt of the vehicle is monitored.
The alarm system responds in situations such
as attempts to steal a wheel or tow the car.
Interior motion sensor For the sensor to function properly, the win‐
dows and glass sunroof/panoramic glass sun‐
roof must be closed.
Avoiding unintentional alarms The tilt alarm sensor and interior motion sen‐
sor can be switched off together, such as in
the following situations:▷In duplex garages.▷During transport on car-carrying trains, at
sea or on a trailer.▷When animals are to remain in the vehicle.
Switching off the tilt alarm sensor and
interior motion sensor
Press the remote control button again
within 10 seconds after the vehicle is locked.
The indicator lamp lights up for approx. 2 sec‐
onds and then flashes continuously.
The tilt alarm sensor and interior motion sen‐
sor remain switched off until the vehicle is
locked again.
Power windows General information Take the remote control with youTake the remote control with you when
leaving the vehicle so that children, for exam‐
ple, cannot operate the power windows and in‐
jure themselves.◀
Seite 43Opening and closingControls43
Online Edition for Part no. 01 40 2 918 395 - III/13
Page 44 of 345
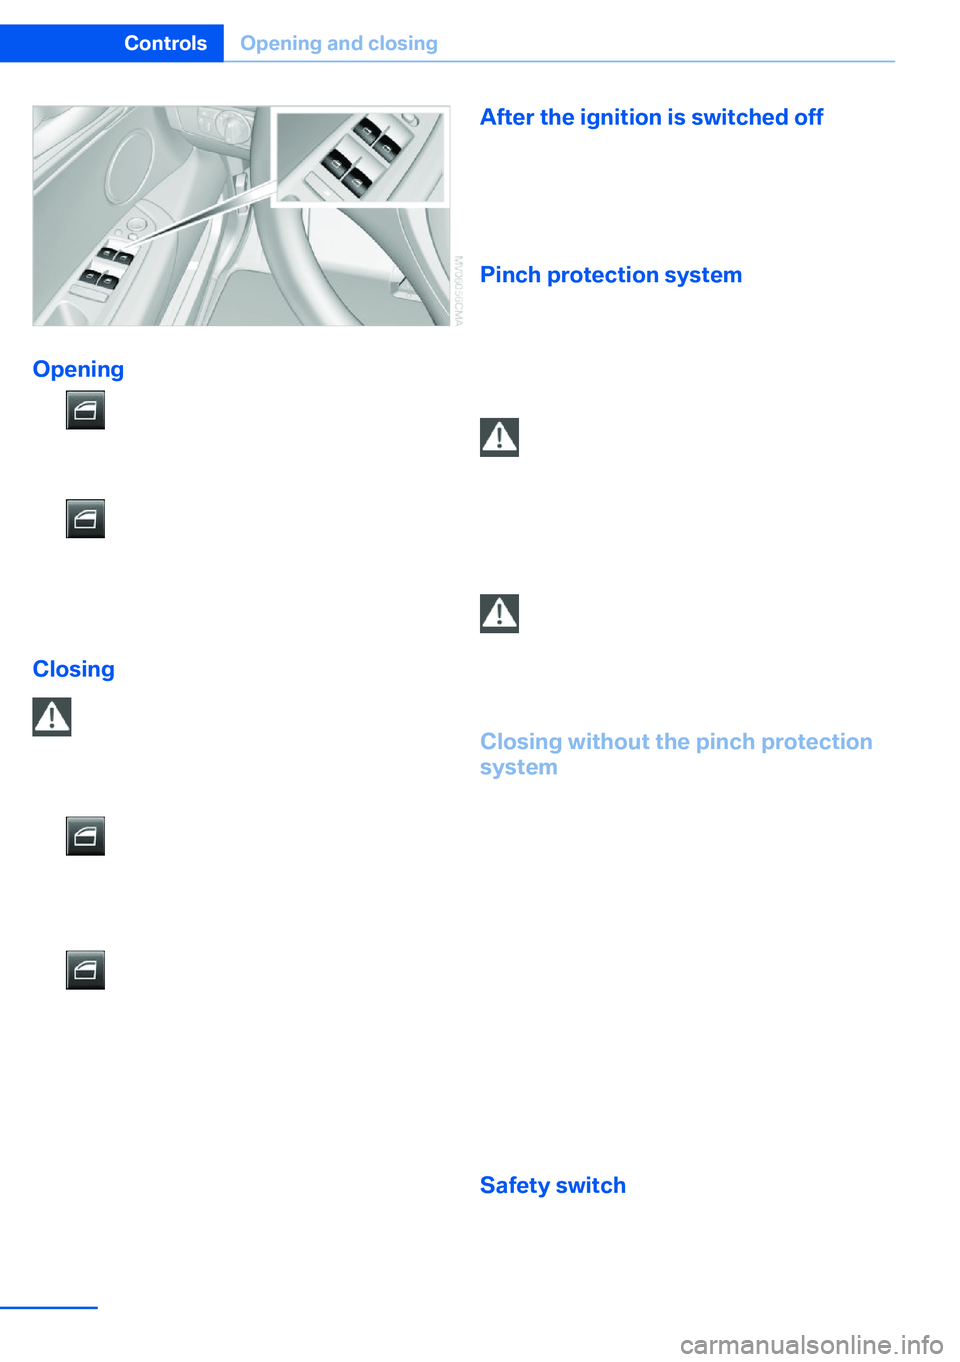
Opening
▷ Press the switch to the resistance
point.
The window opens while the switch is held.▷ Press the switch beyond the resist‐
ance point.
The window opens automatically.
Pressing again stops the motion.
Closing Danger of pinching
Monitor the closing process and make
sure that the closing path of the window is clear; otherwise, injuries may result.◀
▷ Pull the switch to the resistance
point.
The window closes while the switch is
held.▷ Pull the switch beyond the resistance
point.
The window closes automatically.
Pressing the switch stops the motion.
Convenient operation, refer to page 32, via the
remote control or the door lock.
Convenient closing, refer to page 41, with
Comfort Access.
After the ignition is switched off
When the remote control is removed or the ig‐
nition is switched off, the windows can con‐
tinue to be operated for approx. 1 minute as
long as no door is opened.
Pinch protection system
If the closing force exceeds a specific value as
a window closes, the closing action is inter‐
rupted.
The window reopens slightly.
Danger of pinching even with pinch pro‐
tection
Even with the pinch protection system, check
that the window's closing path is clear; other‐
wise, the closing action may not stop in certain
situations, e.g., if thin objects are present.◀
Do not use window accessories
Do not install any accessories in the
range of movement of the windows; otherwise,
the pinch protection system will be impaired.◀
Closing without the pinch protection
system
For example, if there is an external danger or if
ice on the windows prevents a window from
closing normally, proceed as follows:1.Pull the switch past the resistance point
and hold it there.
Pinch protection is limited and the window
reopens slightly if the closing force ex‐
ceeds a certain value.2.Pull the switch past the resistance point
again within approx. 4 seconds and hold it
there.
The window closes without pinch protec‐
tion.
Safety switch
With the safety switch, the rear windows are
prevented from being opened or closed via the
Seite 44ControlsOpening and closing44
Online Edition for Part no. 01 40 2 918 395 - III/13
Page 46 of 345
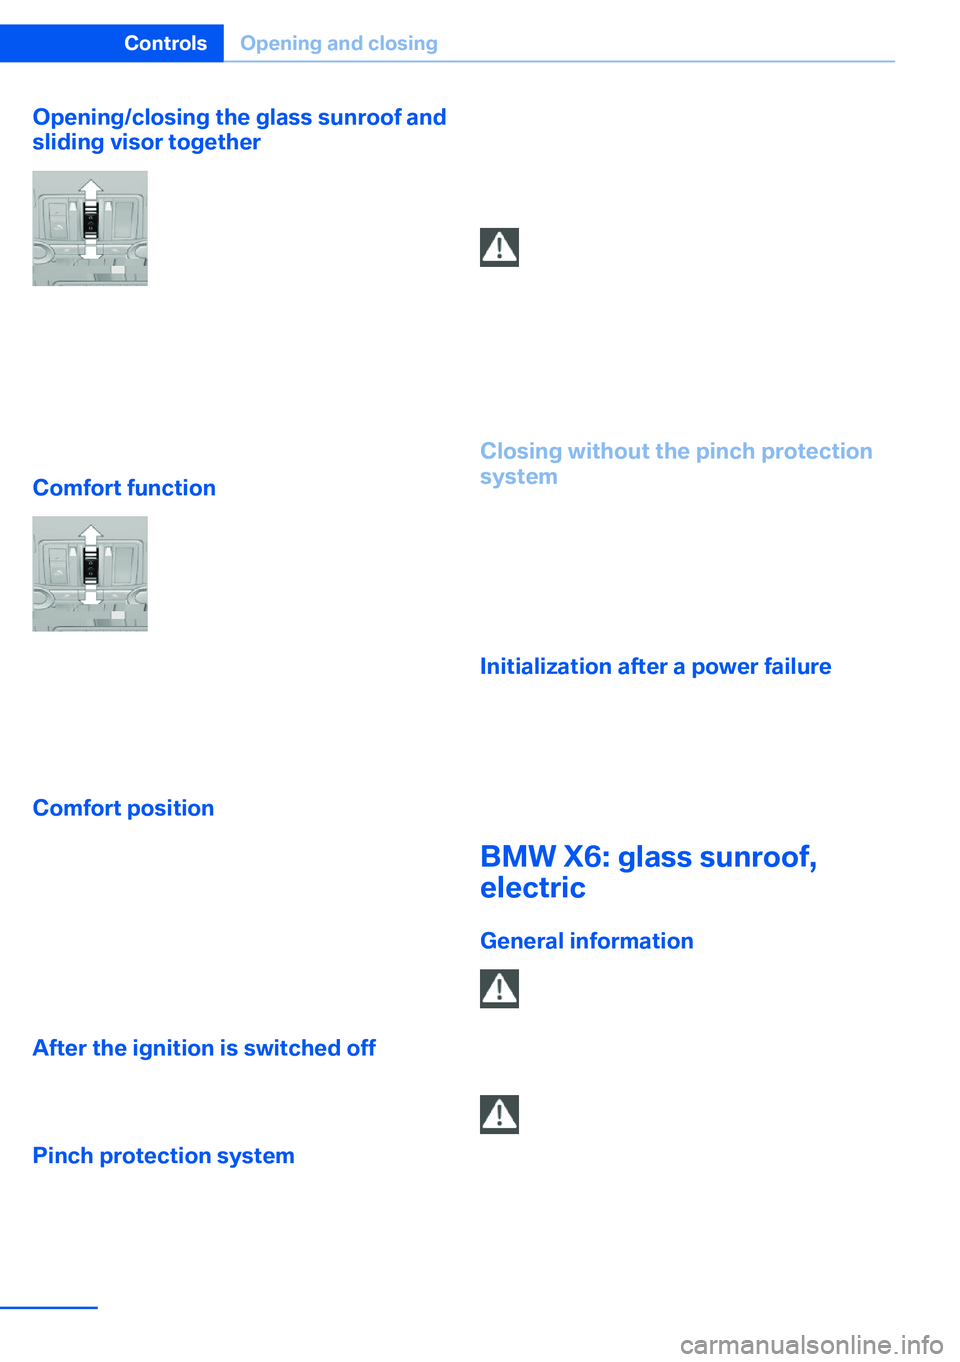
Opening/closing the glass sunroof and
sliding visor together
Press the switch twice in the de‐
sired direction past the resist‐ ance point.
The glass sunroof and sliding vi‐
sor move together. Pressing the
switch again stops the motion.
Convenient operation, refer to page 32, via the
remote control or the door lock.
Convenient closing, refer to page 41, with
Comfort Access.
Comfort function▷Press the switch twice with
the sunroof open:
The sunroof is raised.▷When the sunroof is raised,
briefly press the switch
twice in the opening direc‐
tion:
The sunroof is opened all
the way.
Comfort position
In the comfort position, the roof is not fully
open. This reduces wind noise in the passen‐
ger compartment.
Each time the glass sunroof is opened or
closed all the way, it stops in the comfort posi‐
tion. If desired, continue the motion following
this with the switch.
After the ignition is switched off
The roof can still be operated for approx. 1 mi‐
nute, as long as no door has been opened.
Pinch protection system
If the closing force when closing the glass sun‐
roof exceeds a certain value, the closing move‐
ment is stopped, beginning at approximately
one-third of the opening in the roof, or from the
tilted position during closing.
The roof and the sliding visor open a short dis‐
tance.
Danger of pinching even with pinch pro‐
tection
Despite the pinch protection system, check
that the roof's closing path is clear; otherwise,
the closing action may not be interrupted in
certain extreme situations, such as when thin
objects are present.◀
Closing without the pinch protection
system
For example, if there is an external danger, pro‐
ceed as follows:
Press the switch forward beyond the resist‐
ance point and hold. The roof closes without
the pinch protection system.
Initialization after a power failure After a power failure, it is only possible to raise
the roof, if necessary.
Have the system initialized by your service
center.
BMW X6: glass sunroof,
electric
General information Danger of pinching
Monitor the closing process and make
sure that the closing path of the glass sunroof
is clear; otherwise, injuries may result.◀
Take the remote control with youTake the remote control with you when
leaving the vehicle so that children, for exam‐
ple, cannot operate the roof and injure them‐
selves.◀Seite 46ControlsOpening and closing46
Online Edition for Part no. 01 40 2 918 395 - III/13