2013 BMW 760LI ECO mode
[x] Cancel search: ECO modePage 81 of 243
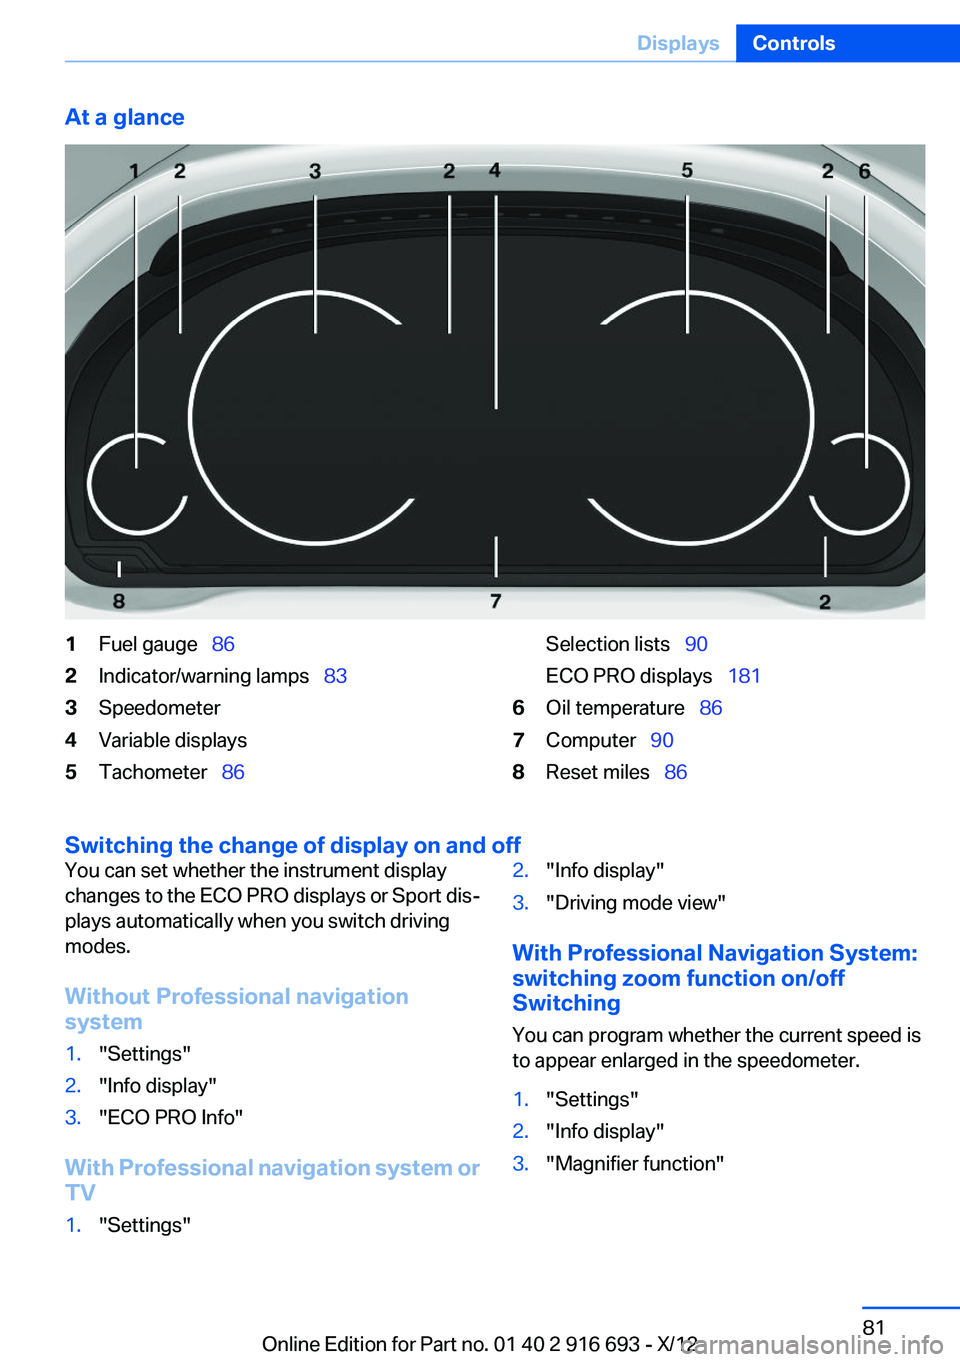
At a glance1Fuel gauge 862Indicator/warning lamps 833Speedometer4Variable displays5Tachometer 86Selection lists 90
ECO PRO displays 1816Oil temperature 867Computer 908Reset miles 86
Switching the change of display on and off
You can set whether the instrument display
changes to the ECO PRO displays or Sport dis‐
plays automatically when you switch driving
modes.
Without Professional navigation
system1."Settings"2."Info display"3."ECO PRO Info"
With Professional navigation system or
TV
1."Settings"2."Info display"3."Driving mode view"
With Professional Navigation System:
switching zoom function on/off
Switching
You can program whether the current speed is
to appear enlarged in the speedometer.
1."Settings"2."Info display"3."Magnifier function"Seite 81DisplaysControls81
Online Edition for Part no. 01 40 2 916 693 - X/12
Page 82 of 243
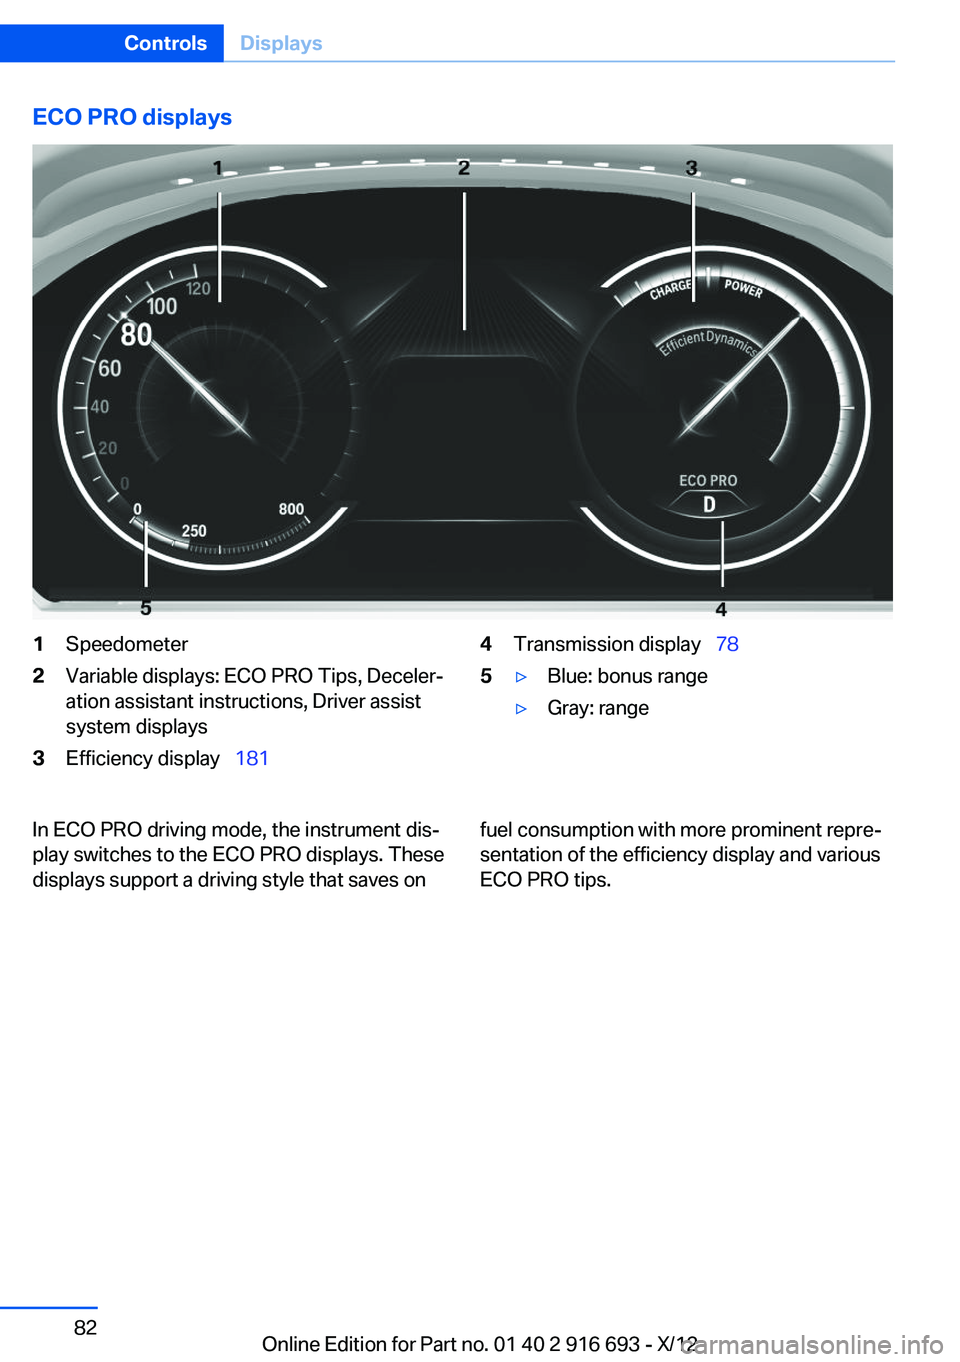
ECO PRO displays1Speedometer2Variable displays: ECO PRO Tips, Deceler‐
ation assistant instructions, Driver assist
system displays3Efficiency display 1814Transmission display 785▷Blue: bonus range▷Gray: rangeIn ECO PRO driving mode, the instrument dis‐
play switches to the ECO PRO displays. These
displays support a driving style that saves onfuel consumption with more prominent repre‐
sentation of the efficiency display and various
ECO PRO tips.Seite 82ControlsDisplays82
Online Edition for Part no. 01 40 2 916 693 - X/12
Page 85 of 243
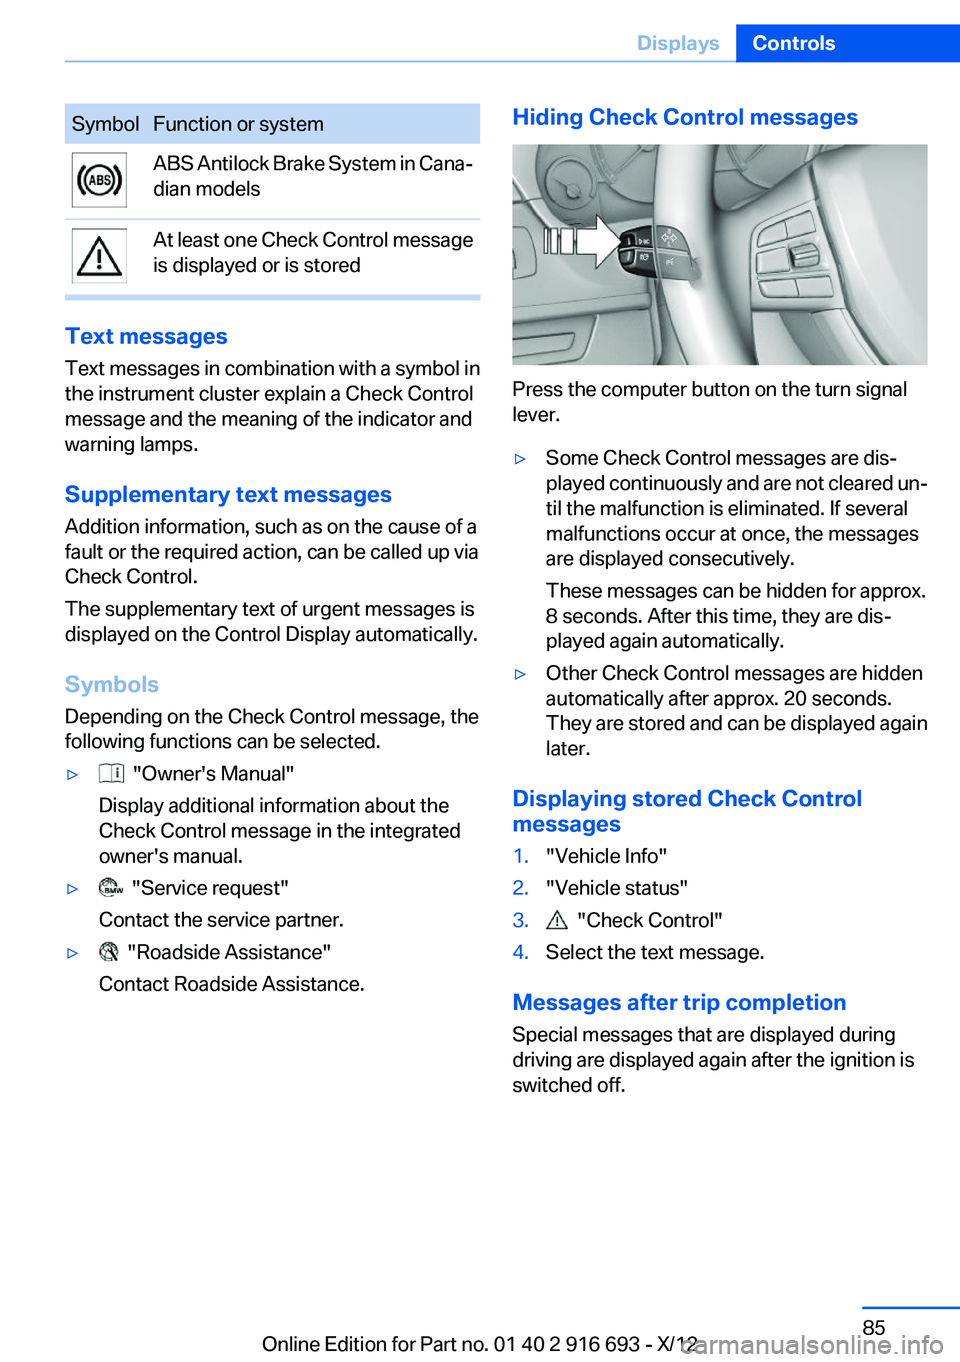
SymbolFunction or systemABS Antilock Brake System in Cana‐
dian modelsAt least one Check Control message
is displayed or is stored
Text messages
Text messages in combination with a symbol in
the instrument cluster explain a Check Control
message and the meaning of the indicator and
warning lamps.
Supplementary text messages
Addition information, such as on the cause of a
fault or the required action, can be called up via
Check Control.
The supplementary text of urgent messages is
displayed on the Control Display automatically.
Symbols
Depending on the Check Control message, the
following functions can be selected.
▷ "Owner's Manual"
Display additional information about the
Check Control message in the integrated
owner's manual.▷ "Service request"
Contact the service partner.▷ "Roadside Assistance"
Contact Roadside Assistance.Hiding Check Control messages
Press the computer button on the turn signal
lever.
▷Some Check Control messages are dis‐
played continuously and are not cleared un‐
til the malfunction is eliminated. If several
malfunctions occur at once, the messages
are displayed consecutively.
These messages can be hidden for approx.
8 seconds. After this time, they are dis‐
played again automatically.▷Other Check Control messages are hidden
automatically after approx. 20 seconds.
They are stored and can be displayed again
later.
Displaying stored Check Control
messages
1."Vehicle Info"2."Vehicle status"3. "Check Control"4.Select the text message.
Messages after trip completion
Special messages that are displayed during
driving are displayed again after the ignition is
switched off.
Seite 85DisplaysControls85
Online Edition for Part no. 01 40 2 916 693 - X/12
Page 86 of 243

Fuel gaugeThe vehicle inclination may
cause the display to vary.
US models: the arrow beside the
fuel pump symbol shows which
side of the vehicle the fuel filler
flap is on.
Hints on refueling, refer to page 188.
Tachometer
Always avoid engine speeds in the red warning
field. In this range, the fuel supply is interrupted
to protect the engine.
Engine oil temperature▷Cold engine: the pointer is at
the low temperature end.
Drive at moderate engine and
vehicle speeds.▷Normal operating tempera‐
ture: the pointer is in the mid‐
dle or in the left half of the
temperature display.▷Hot engine: the pointer is at the high end of
the temperature range. A Check Control
message is also displayed.
Coolant temperature
If the coolant along with the engine becomes too
hot, a Check Control message is displayed.
Check the coolant level, refer to page 207.
Odometer and trip odometer▷Odometer, arrow 1.▷Trip odometer, arrow 2.
Display/reset miles
Press the knob.
▷When the ignition is switched
off, the time, external temper‐
ature and odometer are dis‐
played.▷When the ignition is switched on, the trip
odometer is reset.
External temperature
External temperature warning If the indicator drops to
+37 ℉/+3 ℃, a signal sounds.
A Check Control message is dis‐
played.
There is an increased risk of ice
on roads.
Ice on roads
Even at temperatures above +37 ℉/+3 ℃,
there can be a risk of ice on roads.
Therefore, drive carefully on bridges and shaded
roads, for example, to avoid the increased risk of
an accident.◀
Time The time is displayed at the bot‐
tom of the instrument cluster.
Setting the time and time format,
refer to page 93.
Seite 86ControlsDisplays86
Online Edition for Part no. 01 40 2 916 693 - X/12
Page 95 of 243
LampsVehicle equipment
All standard, country-specific and optional
equipment that is offered in the model series is
described in this chapter. Therefore, equipment
is also described that is not available in a vehicle,
e. g., because of the selected optional equip‐
ment or country variant. This also applies for
safety-related functions and systems.
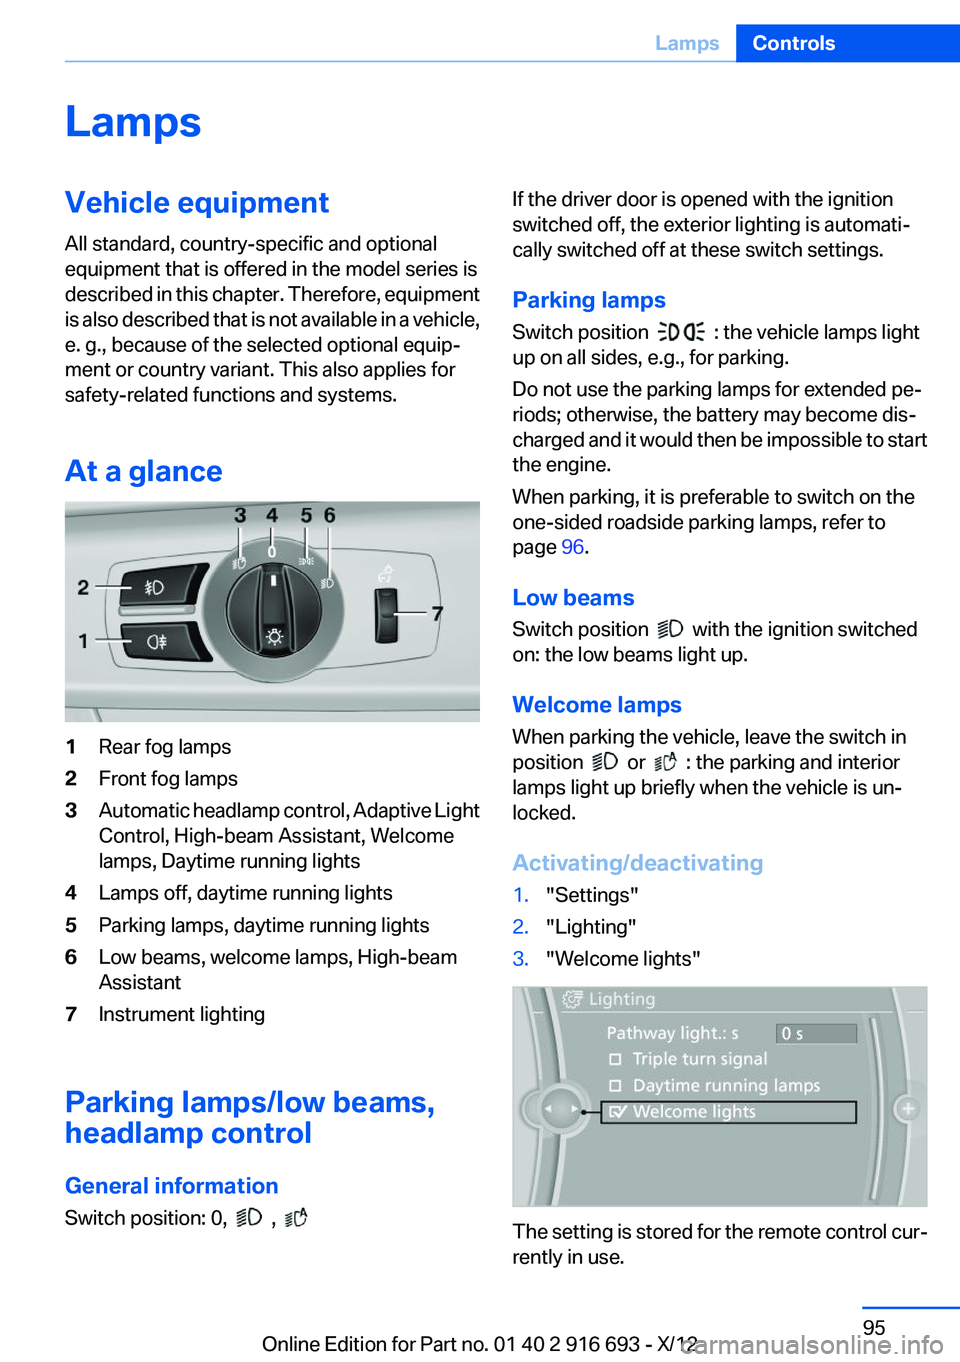
At a glance1Rear fog lamps2Front fog lamps3Automatic headlamp control, Adaptive Light
Control, High-beam Assistant, Welcome
lamps, Daytime running lights4Lamps off, daytime running lights5Parking lamps, daytime running lights6Low beams, welcome lamps, High-beam
Assistant7Instrument lighting
Parking lamps/low beams,
headlamp control
General information
Switch position: 0,
,
If the driver door is opened with the ignition
switched off, the exterior lighting is automati‐
cally switched off at these switch settings.
Parking lamps
Switch position
: the vehicle lamps light
up on all sides, e.g., for parking.
Do not use the parking lamps for extended pe‐
riods; otherwise, the battery may become dis‐
charged and it would then be impossible to start
the engine.
When parking, it is preferable to switch on the
one-sided roadside parking lamps, refer to
page 96.
Low beams
Switch position
with the ignition switched
on: the low beams light up.
Welcome lamps
When parking the vehicle, leave the switch in
position
or : the parking and interior
lamps light up briefly when the vehicle is un‐
locked.
Activating/deactivating
1."Settings"2."Lighting"3."Welcome lights"
The setting is stored for the remote control cur‐
rently in use.
Seite 95LampsControls95
Online Edition for Part no. 01 40 2 916 693 - X/12
Page 123 of 243
Driving stability control systemsVehicle equipment
All standard, country-specific and optional
equipment that is offered in the model series is
described in this chapter. Therefore, equipment
is also described that is not available in a vehicle,
e. g., because of the selected optional equip‐
ment or country variant. This also applies for
safety-related functions and systems.
Antilock Brake System ABS
ABS prevents locking of the wheels during brak‐
ing.
The vehicle remains steerable even during full
brake applications, thus increasing active
safety.
ABS is operational every time you start the en‐
gine.
Brake assistant
When you apply the brakes rapidly, this system
automatically produces the maximum braking
force boost. It thus helps to achieve the shortest
possible braking distance during full braking.
This system utilizes all of the benefits provided
by ABS.
Do not reduce the pressure on the brake pedal
for the duration of the full braking.
Drive-off assistant
This system supports driving away on gradients.
The parking brake is not required.1.Hold the vehicle in place with the foot brake.2.Release the foot brake and drive away with‐
out delay.After the foot brake is released, the vehicle is
held in place for approx. 2 seconds.
Depending on the vehicle load or when a trailer
is being used, the vehicle may roll back slightly.
Driving off without delay
After releasing the foot brake, start driving
without delay, since the drive-off assistant will
not hold the vehicle in place for more than ap‐
prox. 2 seconds and the vehicle will begin rolling
back.◀
DSC Dynamic Stability
Control
The concept
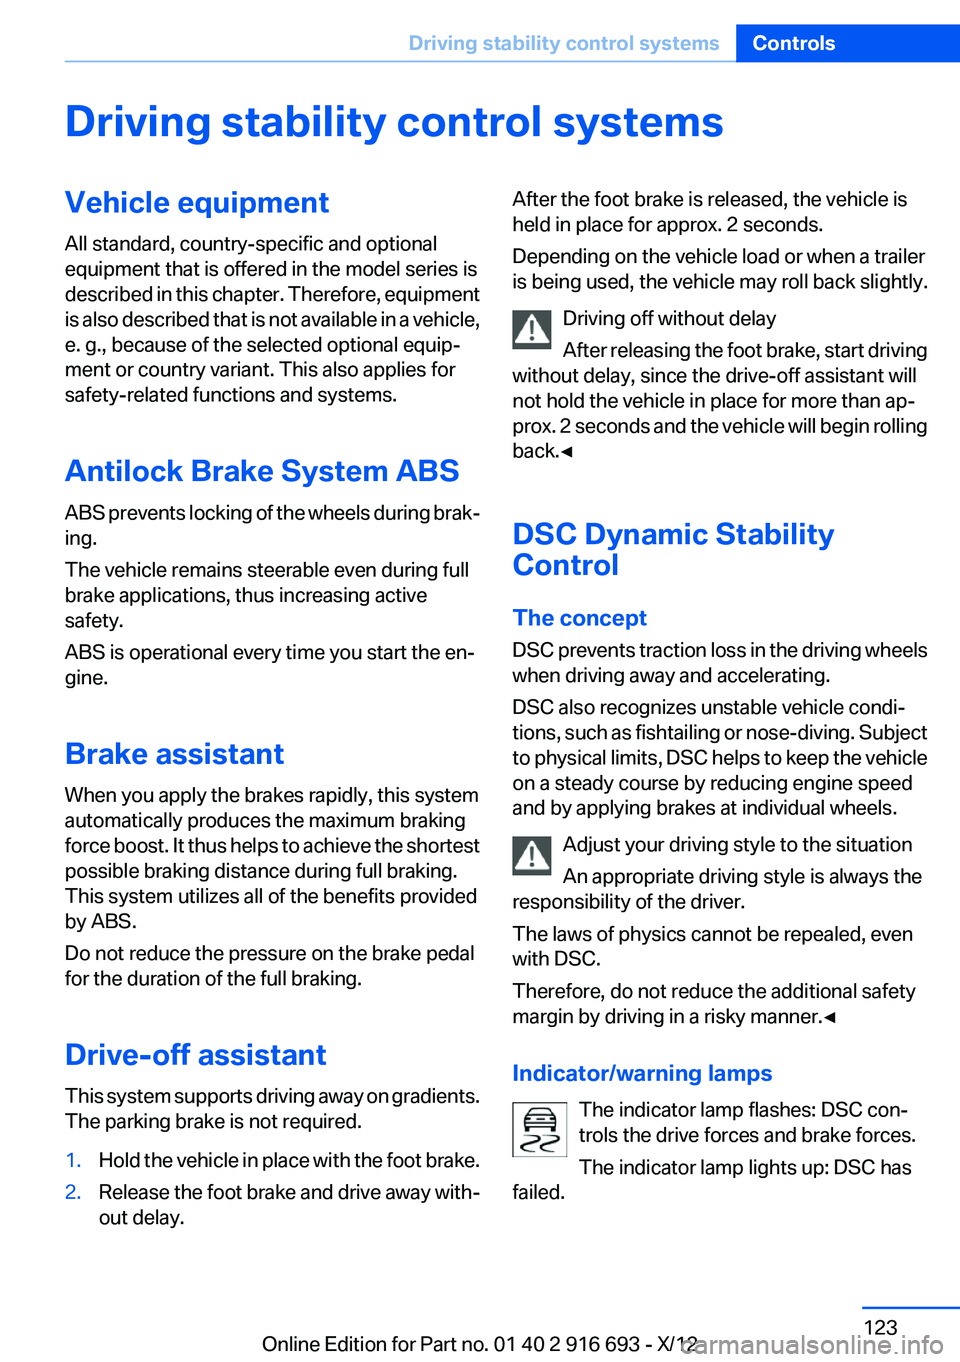
DSC prevents traction loss in the driving wheels
when driving away and accelerating.
DSC also recognizes unstable vehicle condi‐
tions, such as fishtailing or nose-diving. Subject
to physical limits, DSC helps to keep the vehicle
on a steady course by reducing engine speed
and by applying brakes at individual wheels.
Adjust your driving style to the situation
An appropriate driving style is always the
responsibility of the driver.
The laws of physics cannot be repealed, even
with DSC.
Therefore, do not reduce the additional safety
margin by driving in a risky manner.◀
Indicator/warning lamps The indicator lamp flashes: DSC con‐
trols the drive forces and brake forces.
The indicator lamp lights up: DSC has
failed.Seite 123Driving stability control systemsControls123
Online Edition for Part no. 01 40 2 916 693 - X/12
Page 128 of 243
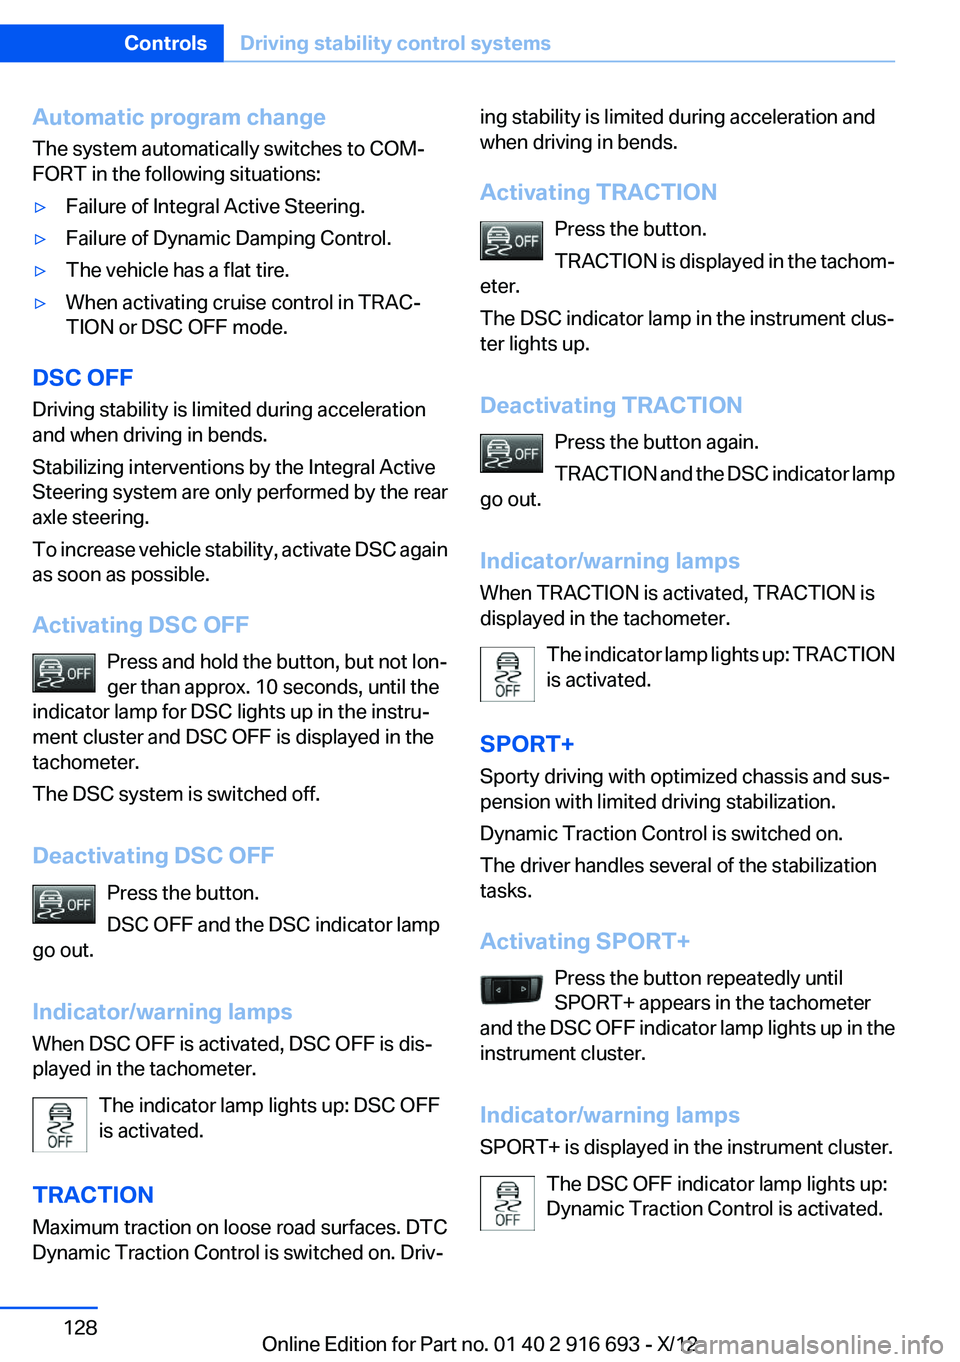
Automatic program change
The system automatically switches to COM‐
FORT in the following situations:▷Failure of Integral Active Steering.▷Failure of Dynamic Damping Control.▷The vehicle has a flat tire.▷When activating cruise control in TRAC‐
TION or DSC OFF mode.
DSC OFF
Driving stability is limited during acceleration
and when driving in bends.
Stabilizing interventions by the Integral Active
Steering system are only performed by the rear
axle steering.
To increase vehicle stability, activate DSC again
as soon as possible.
Activating DSC OFF Press and hold the button, but not lon‐
ger than approx. 10 seconds, until the
indicator lamp for DSC lights up in the instru‐
ment cluster and DSC OFF is displayed in the
tachometer.
The DSC system is switched off.
Deactivating DSC OFF Press the button.
DSC OFF and the DSC indicator lamp
go out.
Indicator/warning lamps
When DSC OFF is activated, DSC OFF is dis‐
played in the tachometer.
The indicator lamp lights up: DSC OFF
is activated.
TRACTION
Maximum traction on loose road surfaces. DTC
Dynamic Traction Control is switched on. Driv‐
ing stability is limited during acceleration and
when driving in bends.
Activating TRACTION Press the button.
TRACTION is displayed in the tachom‐
eter.
The DSC indicator lamp in the instrument clus‐
ter lights up.
Deactivating TRACTION Press the button again.
TRACTION and the DSC indicator lamp
go out.
Indicator/warning lamps
When TRACTION is activated, TRACTION is
displayed in the tachometer.
The indicator lamp lights up: TRACTION
is activated.
SPORT+
Sporty driving with optimized chassis and sus‐
pension with limited driving stabilization.
Dynamic Traction Control is switched on.
The driver handles several of the stabilization
tasks.
Activating SPORT+ Press the button repeatedly until
SPORT+ appears in the tachometer
and the DSC OFF indicator lamp lights up in the
instrument cluster.
Indicator/warning lamps
SPORT+ is displayed in the instrument cluster.
The DSC OFF indicator lamp lights up:
Dynamic Traction Control is activated.Seite 128ControlsDriving stability control systems128
Online Edition for Part no. 01 40 2 916 693 - X/12
Page 129 of 243
SPORT
Consistently sporty tuning of the suspension for
greater driving agility with maximum driving sta‐
bilization.
The program can be configured to individual
specifications.
The configuration is stored for the remote con‐
trol currently in use.
Activating SPORT Press the button repeatedly until
SPORT appears in the tachometer.
Configuring SPORT
When the display is activated on the Control
Display, refer to page 130, the SPORTdriving
mode can be set.
After the SPORT driving mode is activated, se‐
lect "Configure SPORT" on the displayed panel
and configure the program.
SPORT can also be configured before it is acti‐
vated:1."Settings"2."SPORT mode" or: "Driving mode"3.Configure driving mode.
This configuration is retrieved when the SPORT
driving mode is activated.
COMFORT
For a balanced tuning with maximum driving sta‐
bilization.
Activating COMFORT Press the button repeatedly until the
program display in the tachometer
goes out.
In certain situations, the system automatically
changes to the NORMAL program, automatic
program change, refer to page 128.
COMFORT+
Comfort-oriented tuning of the shock absorbers
for optimal traveling comfort with maximum
driving stabilization.
Activating COMFORT+ Press the button repeatedly until COM‐
FORT+ appears in the tachometer.
ECO PRO
ECO PRO, refer to page 181, provides consis‐
tent tuning to minimize fuel consumption for
maximum range with maximum driving stabili‐
zation.
Comfort functions and the engine controller are
adjusted.
The program can be configured to individual
specifications.
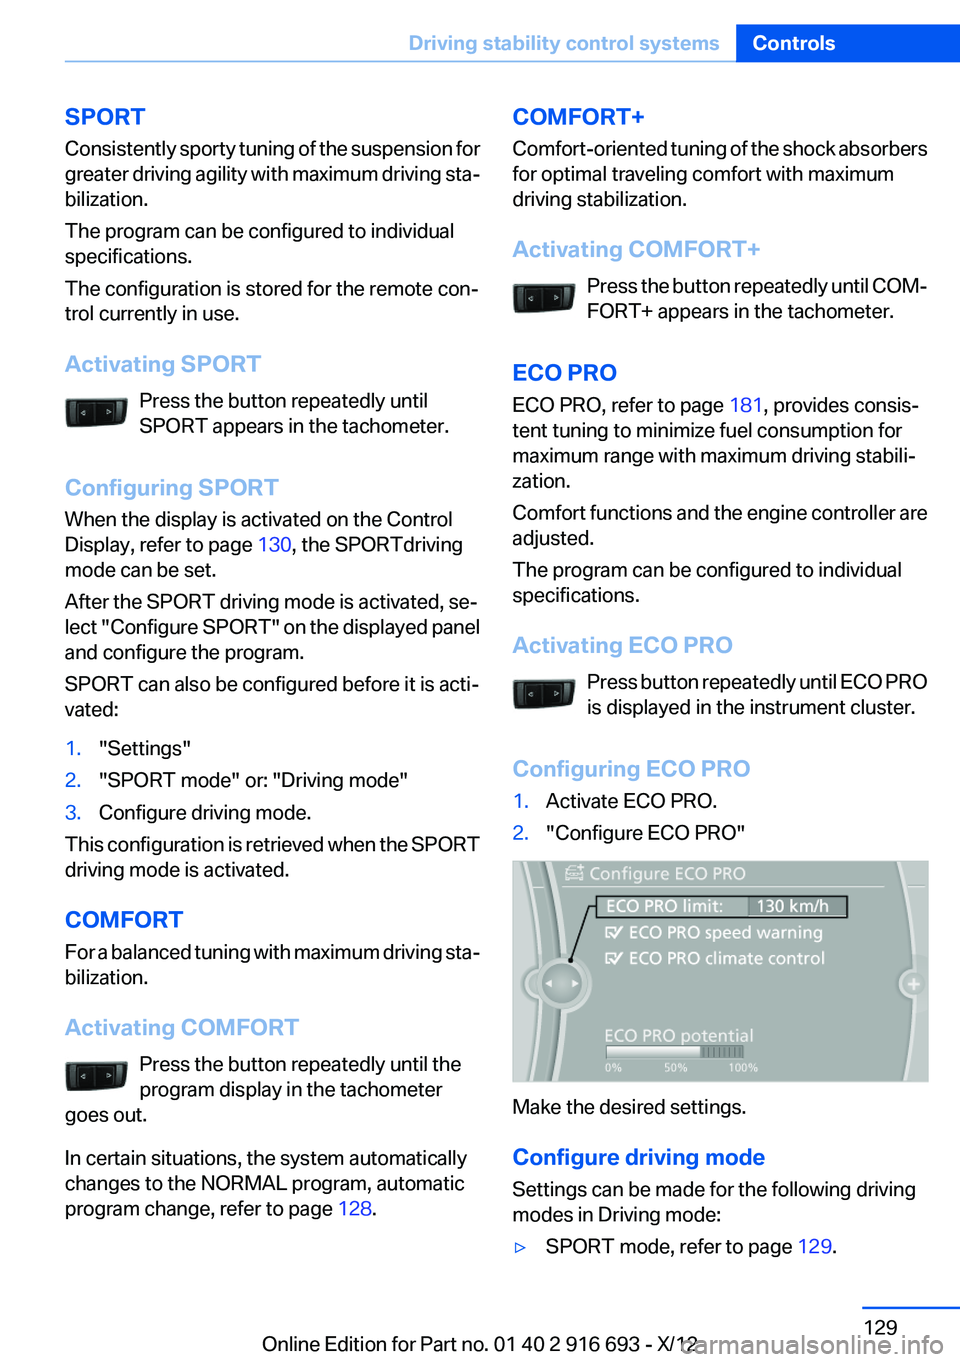
Activating ECO PRO Press button repeatedly until ECO PRO
is displayed in the instrument cluster.
Configuring ECO PRO1.Activate ECO PRO.2."Configure ECO PRO"
Make the desired settings.
Configure driving mode
Settings can be made for the following driving
modes in Driving mode:
▷SPORT mode, refer to page 129.Seite 129Driving stability control systemsControls129
Online Edition for Part no. 01 40 2 916 693 - X/12