2013 BMW 6 SERIES GRAN COUPE steering
[x] Cancel search: steeringPage 131 of 247
The displays go out. The stored desired speed
and distance are deleted.
Interrupting Press the button on the steering
wheel.
If interrupting the system while stationary,
press on the brake pedal at the same time.
The system is automatically interrupted in the
following situations:▷When the brakes are applied.▷When transmission position D is disen‐
gaged.▷When DTC Dynamic Traction Control is
activated or DSC is deactivated.▷When DSC is actively controlling stability.▷If the safety belt and the driver's door are
opened when the vehicle is standing still.▷If the system has not detected objects for
an extended period, e.g., on a road with
very little traffic without road edge line
markings.▷If the detection range of the radar is dis‐
rupted, for example, by dirt or heavy fog.
Maintaining/storing the speed
Press the button.
Or:
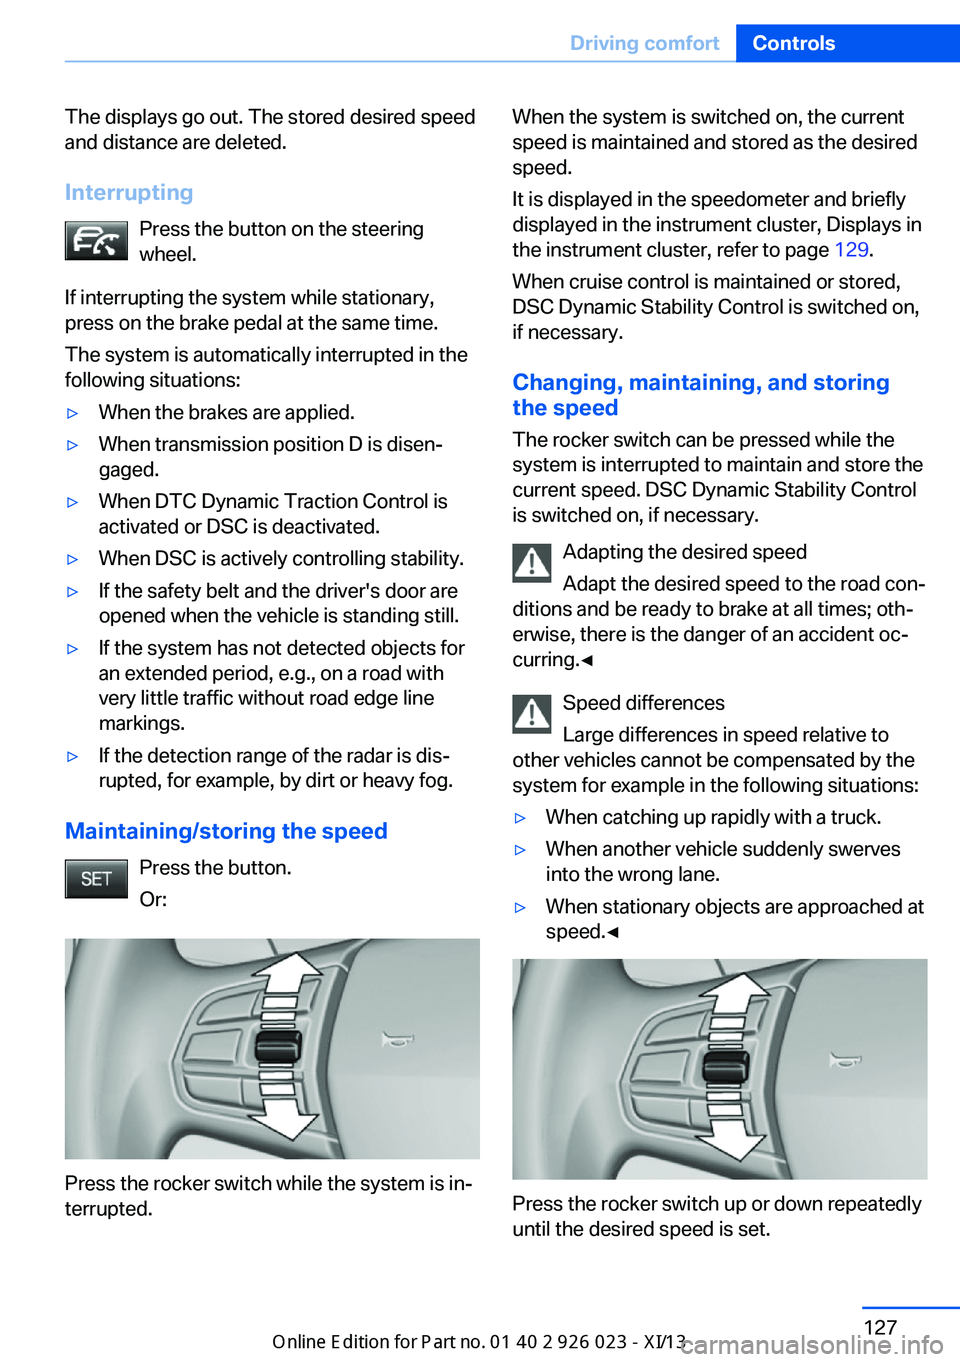
Press the rocker switch while the system is in‐
terrupted.
When the system is switched on, the current
speed is maintained and stored as the desired
speed.
It is displayed in the speedometer and briefly
displayed in the instrument cluster, Displays in
the instrument cluster, refer to page 129.
When cruise control is maintained or stored,
DSC Dynamic Stability Control is switched on,
if necessary.
Changing, maintaining, and storing
the speed
The rocker switch can be pressed while the
system is interrupted to maintain and store the
current speed. DSC Dynamic Stability Control
is switched on, if necessary.
Adapting the desired speed
Adapt the desired speed to the road con‐
ditions and be ready to brake at all times; oth‐
erwise, there is the danger of an accident oc‐
curring.◀
Speed differences
Large differences in speed relative to
other vehicles cannot be compensated by the
system for example in the following situations:▷When catching up rapidly with a truck.▷When another vehicle suddenly swerves
into the wrong lane.▷When stationary objects are approached at
speed.◀
Press the rocker switch up or down repeatedly
until the desired speed is set.
Seite 127Driving comfortControls127
Online Edition for Part no. 01 40 2 909 877 - VI/13
Page 136 of 247

General information
The congestion assistant determines speed
and distance from the vehicle in front via a ra‐
dar sensor and the position of the lane marking
via a camera.
Sensors on the steering wheel detect whether
the steering wheel is being touched.
The system is deactivated as soon as contact
with the steering wheel is no longer detected.
In order to be able to use the Congestion As‐
sistant, place your hands around the steering
wheel.
When driving with gloves or with protective
covers, contact with the steering wheel cannot
be detected by the sensors. The system in this
case cannot be used.
Notes Personal responsibility
The system does not relieve the driver of
the responsibility to adapt his or her speed,
distance and driving style to the traffic condi‐
tions. Drive attentively, and react to the current
traffic events. Intervene actively when neces‐
sary, e.g., by braking, steering or making an
evasive maneuver, otherwise, there is danger
of an accident.◀
Functional requirements▷Drive on approved road type. The data on
this are stored in the navigation system.▷Driving on the limited access highway or
divided lane roads.▷Sufficient lane width.▷Lane marking is detected.▷Vehicle driving ahead is detected.▷Speed below 25 mph/40 km/h.▷Both hands on the steering wheel rim.At a glance
Buttons on the steering wheelPress the
buttonFunctionCongestion Assistant ON/OFF,
Pause, refer to page 133.Rocker switch:
Store, change/maintain speed,
refer to page 127.Maintain, store speed, refer to
page 127.Resume speed, refer to
page 128.Adjust distance, refer to
page 128.
Radar sensor
A radar sensor is located in the front bumper
for detecting vehicles on the road ahead of the
vehicle.
A dirty or covered sensor may hinder the de‐
tection of vehicles.
▷If necessary, clean the radar sensor. Re‐
move layers of snow and ice carefully.▷Do not cover the view field of the radar
sensor.Seite 132ControlsDriving comfort132
Online Edition for Part no. 01 40 2 909 877 - VI/13
Page 137 of 247
Camera
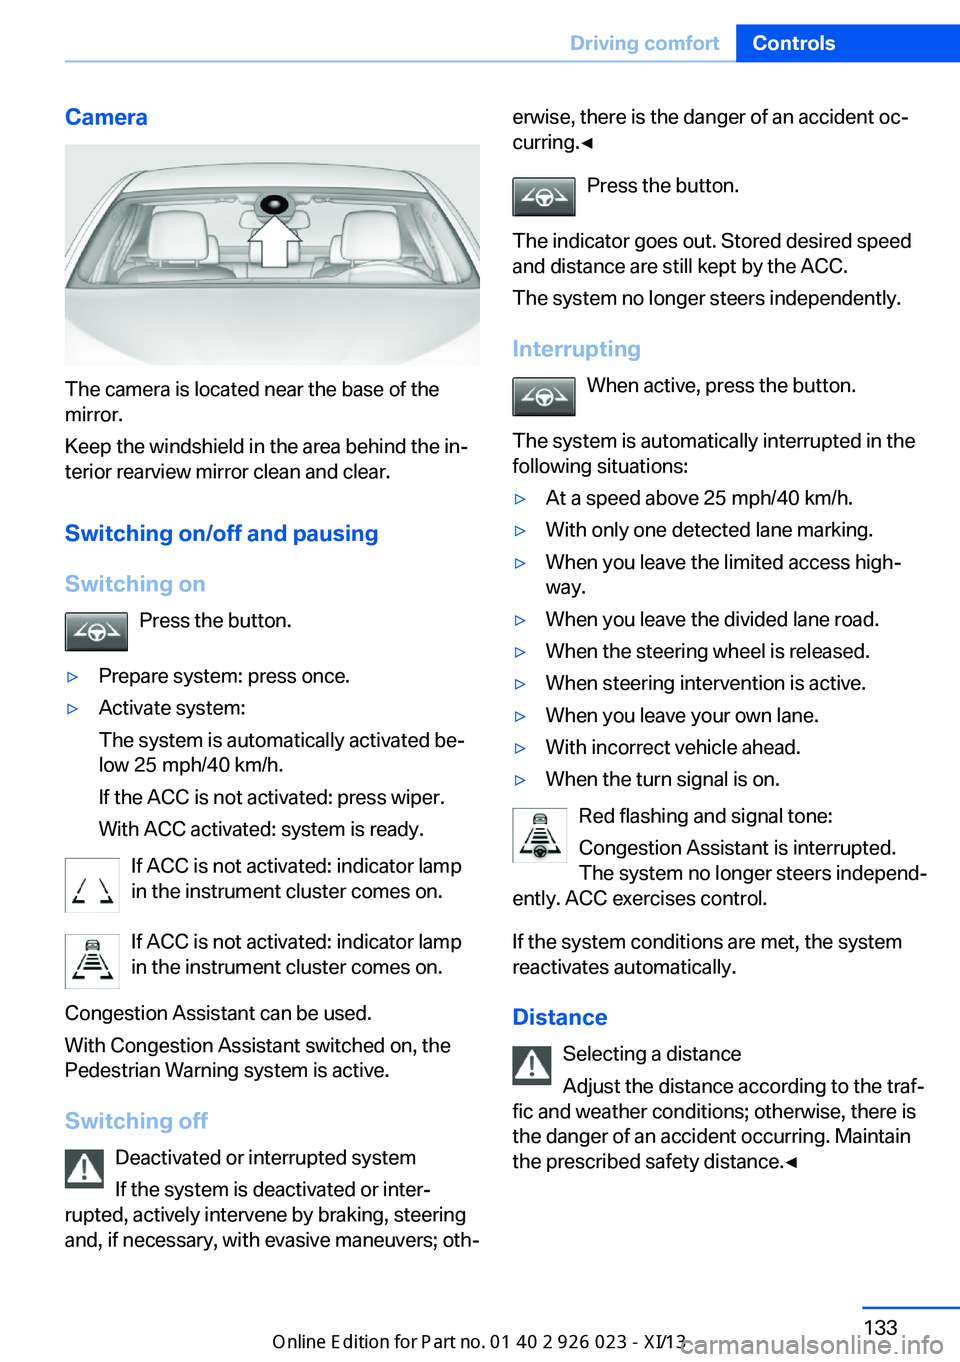
The camera is located near the base of the
mirror.
Keep the windshield in the area behind the in‐
terior rearview mirror clean and clear.
Switching on/off and pausingSwitching on Press the button.
▷Prepare system: press once.▷Activate system:
The system is automatically activated be‐
low 25 mph/40 km/h.
If the ACC is not activated: press wiper.
With ACC activated: system is ready.
If ACC is not activated: indicator lamp
in the instrument cluster comes on.
If ACC is not activated: indicator lamp
in the instrument cluster comes on.
Congestion Assistant can be used.
With Congestion Assistant switched on, the
Pedestrian Warning system is active.
Switching off Deactivated or interrupted system
If the system is deactivated or inter‐
rupted, actively intervene by braking, steering
and, if necessary, with evasive maneuvers; oth‐
erwise, there is the danger of an accident oc‐
curring.◀
Press the button.
The indicator goes out. Stored desired speed
and distance are still kept by the ACC.
The system no longer steers independently.
Interrupting When active, press the button.
The system is automatically interrupted in the
following situations:▷At a speed above 25 mph/40 km/h.▷With only one detected lane marking.▷When you leave the limited access high‐
way.▷When you leave the divided lane road.▷When the steering wheel is released.▷When steering intervention is active.▷When you leave your own lane.▷With incorrect vehicle ahead.▷When the turn signal is on.
Red flashing and signal tone:
Congestion Assistant is interrupted.
The system no longer steers independ‐
ently. ACC exercises control.
If the system conditions are met, the system
reactivates automatically.
Distance Selecting a distance
Adjust the distance according to the traf‐
fic and weather conditions; otherwise, there is
the danger of an accident occurring. Maintain
the prescribed safety distance.◀
Seite 133Driving comfortControls133
Online Edition for Part no. 01 40 2 909 877 - VI/13
Page 138 of 247

Adjust distancePress the button repeatedly until the
desired distance is set.
Distance to vehicle ahead of you The selected distance to the vehicle driving
ahead of you is shown.Distance displayDistance 1Distance 2Distance 3Distance 4
This value is set after the system is
switched on.
Selecting a distance
Adjust the distance according to the traf‐
fic and weather conditions; otherwise, there is
the danger of an accident occurring. Maintain
the prescribed safety distance.◀
Displays in the instrument cluster
SymbolDescriptionCongestion Assistant and Distance
Control on standby.Congestion Assistant on standby.
Distance control controls within the
set distance.Congestion Assistant activated.
The system controls the speed and
assists with maintaining the lane.SymbolDescriptionRolling bars: at least one functional
requirement is no longer satisfied.
The system soon deactivates the
automatic steering. ACC on
standby.Red flashing and signal tone: con‐
gestion Assistant is interrupted.
The system does not steer inde‐
pendently. ACC exercises control.
System limits
When driving within narrow driving lanes, e.g.,
in construction zones or rescue lanes, the sys‐
tem cannot be activated or meaningfully used.
Limited detection capacity
Because of the limits to the detection ca‐
pacity of the camera and the sensor, you
should be alert at all times so that you can in‐
tervene actively, if necessary; otherwise, there
is the danger of an accident occurring.◀
Complying with country-specific laws
When the Congestion Assistant is used,
observe specific national laws.◀
Cruise control
The concept The system is functional at speeds beginning
at approx. 20 mph/30 km/h.
It maintains the speed that was set using the
control elements on the steering wheel.
The system brakes on downhill gradients if en‐
gine braking action is insufficient.
Unfavorable conditions
Do not use the system if unfavorable
conditions make it impossible to drive at a con‐
stant speed, for instance:
▷On curvy roads.Seite 134ControlsDriving comfort134
Online Edition for Part no. 01 40 2 909 877 - VI/13
Page 139 of 247
▷In heavy traffic.▷On slippery roads, in fog, snow or rain, or
on a loose road surface.
Otherwise, you could lose control of the vehi‐
cle and cause an accident.◀
General information
When ECO PRO is activated, cruise control is
also set to a driving style that saves on fuel
consumption.
Controls
At a glance
Press the
buttonFunctionCruise control on/off, interrupt‐
ing, refer to page 135Store/maintain speed, refer to
page 135Resume speed, refer to
page 136Rocker switch:
Change/maintain speed, refer
to page 136
The arrangement of the buttons varies accord‐
ing to the how the vehicle is equipped or coun‐
try-specific variants.
Switching on Press the button on the steering
wheel.
The marking in the speedometer is set to the
current speed.
The cruise control can be used.
Switching off
Deactivated or interrupted system
If the system is deactivated or inter‐
rupted, actively intervene by braking and, if
necessary, with evasive maneuvers; otherwise,
there is the danger of an accident occurring.◀
Press the button on the steering
wheel.▷If active: press twice.▷If interrupted: press once.
The displays go out. The stored desired speed
is deleted.
Interrupting When active, press the button.
The system is automatically interrupted if:
▷The brakes are applied.▷The transmission position D is disengaged.▷DTC Dynamic Traction Control is activated
or DSC is deactivated.▷DSC is actively controlling stability.▷HDC is activated.
Maintaining/storing the current speed
Press the button.
Or:
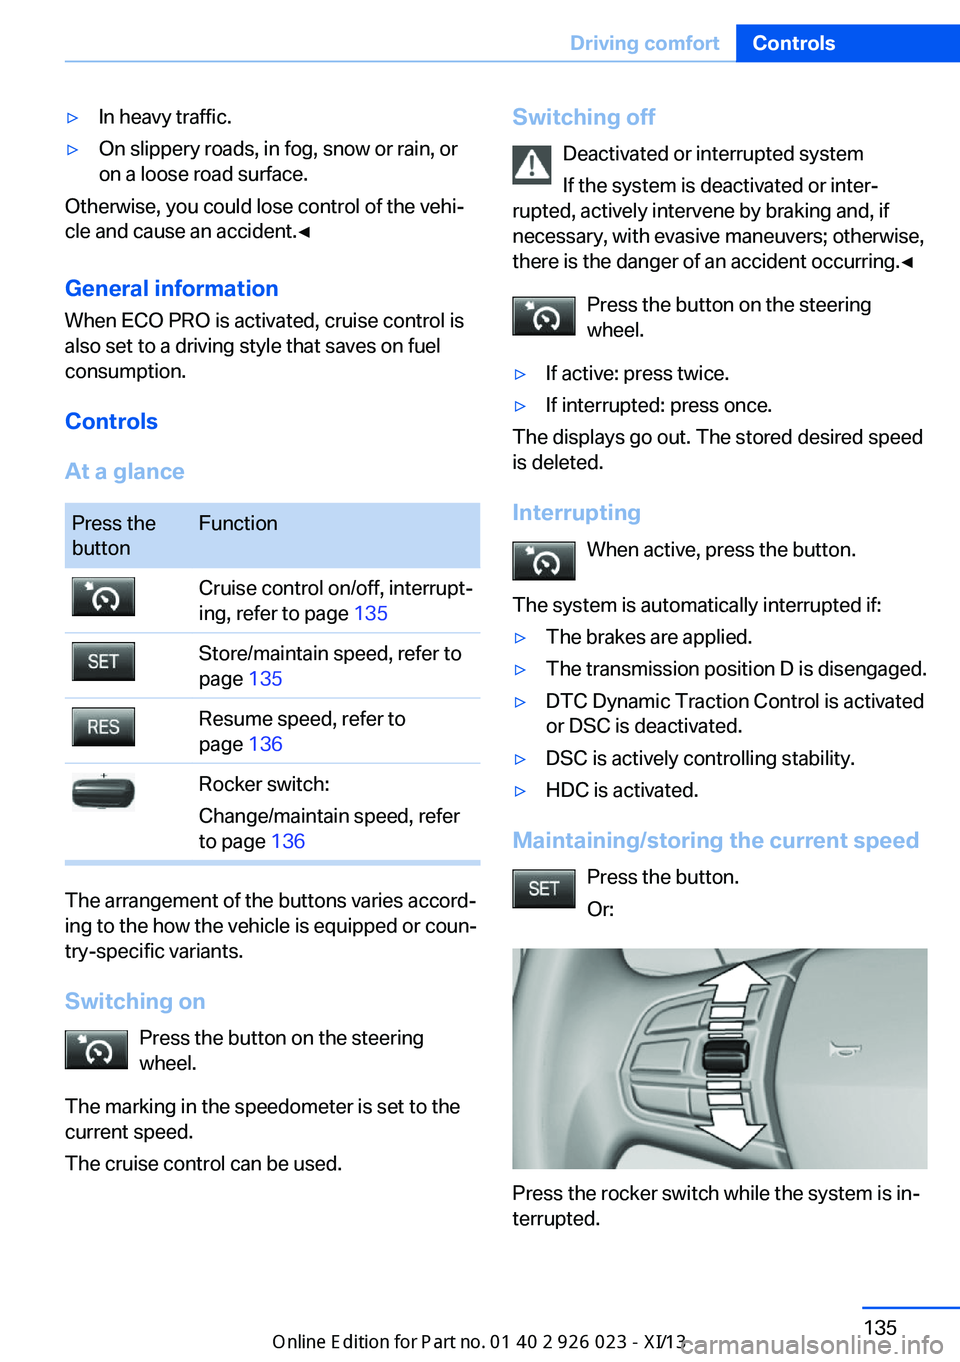
Press the rocker switch while the system is in‐
terrupted.
Seite 135Driving comfortControls135
Online Edition for Part no. 01 40 2 909 877 - VI/13
Page 144 of 247
Switching on/off
Switching on automatically Select transmission position R with the engine
running.
The backup camera image is displayed if the
system was switched on via the iDrive.
Automatic deactivation during forward
travel
The system switches off when a certain driving
distance or speed is exceeded.
Switch the system back on if necessary.
Switching on/off manually Press the button.▷On: the LED lights up.▷Off: the LED goes out.
The PDC is shown on the Control Display.
Switching on the rearview camera via
the iDrive
With PDC activated or Top View switched on:
"Rear view camera"
The rearview camera image is displayed. The
setting is stored for the remote control cur‐
rently in use.
Display on the Control Display
Functional requirement
▷The rearview camera is switched on.▷The trunk lid is fully closed.
Activating the assistance functions
More than one assistance function can be ac‐
tive at the same time.
▷Parking aid lines
"Parking aid lines"
Pathway and turning circle lines are dis‐
played.▷Obstacle marking
"Obstacle marking"
Spatially-shaped markings are displayed.
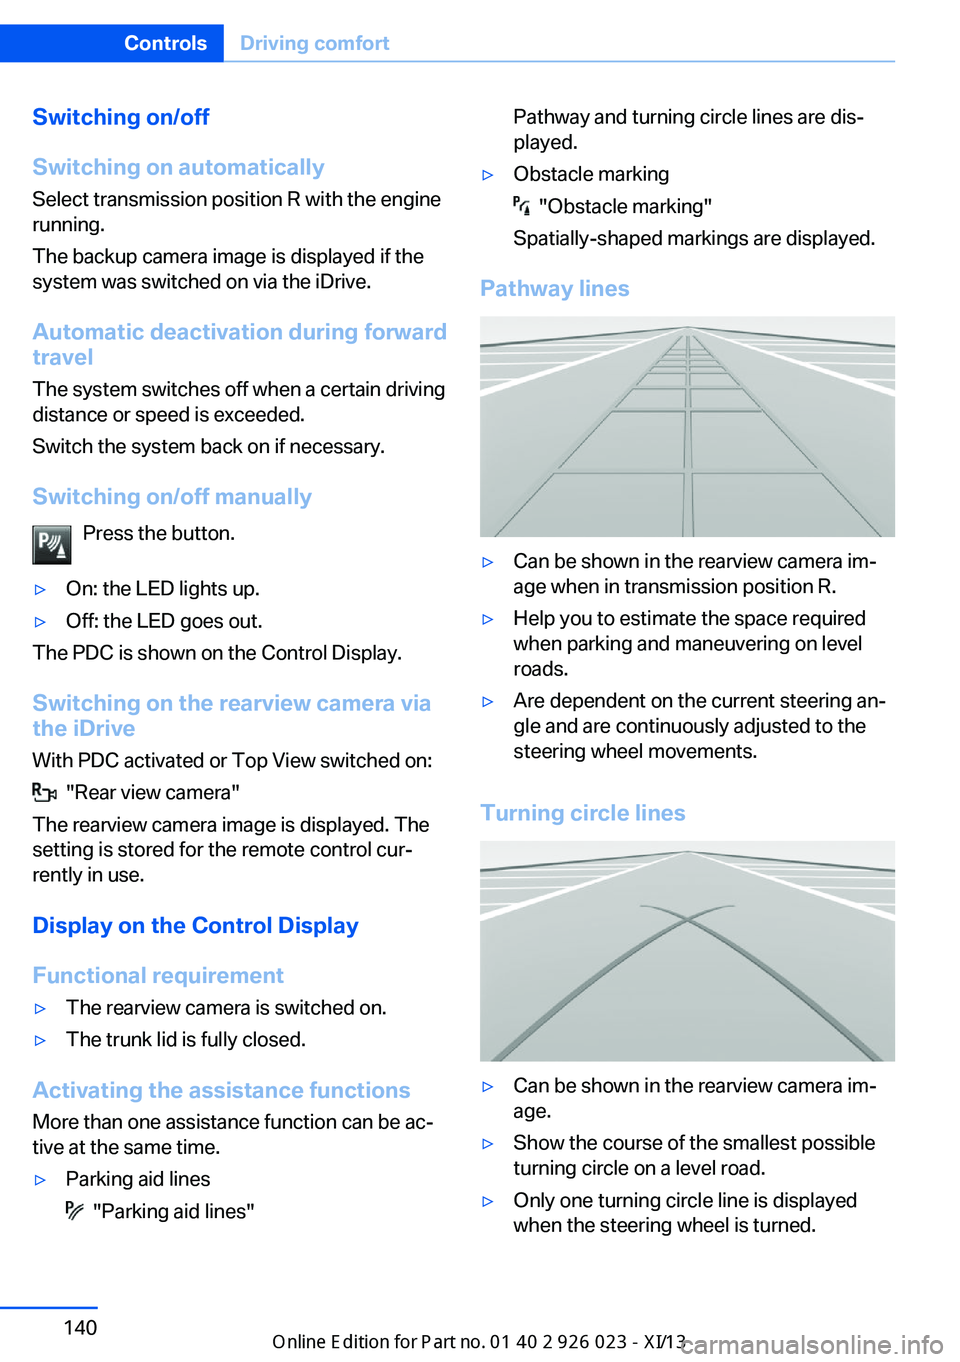
Pathway lines
▷Can be shown in the rearview camera im‐
age when in transmission position R.▷Help you to estimate the space required
when parking and maneuvering on level
roads.▷Are dependent on the current steering an‐
gle and are continuously adjusted to the
steering wheel movements.
Turning circle lines
▷Can be shown in the rearview camera im‐
age.▷Show the course of the smallest possible
turning circle on a level road.▷Only one turning circle line is displayed
when the steering wheel is turned.Seite 140ControlsDriving comfort140
Online Edition for Part no. 01 40 2 909 877 - VI/13
Page 145 of 247
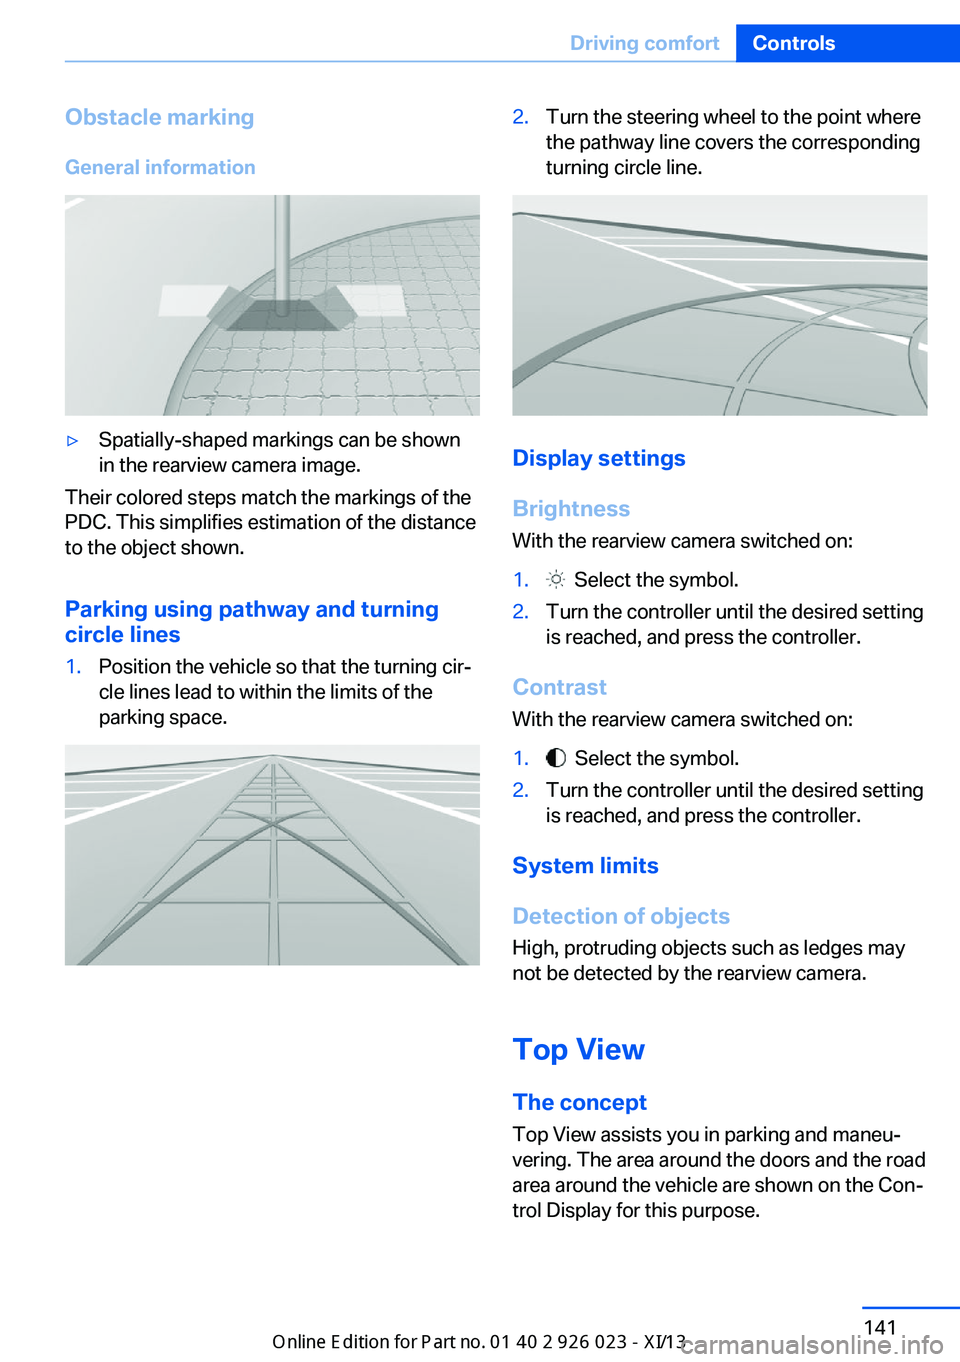
Obstacle marking
General information▷Spatially-shaped markings can be shown
in the rearview camera image.
Their colored steps match the markings of the
PDC. This simplifies estimation of the distance
to the object shown.
Parking using pathway and turning
circle lines
1.Position the vehicle so that the turning cir‐
cle lines lead to within the limits of the
parking space.2.Turn the steering wheel to the point where
the pathway line covers the corresponding
turning circle line.
Display settings
Brightness
With the rearview camera switched on:
1. Select the symbol.2.Turn the controller until the desired setting
is reached, and press the controller.
Contrast
With the rearview camera switched on:
1. Select the symbol.2.Turn the controller until the desired setting
is reached, and press the controller.
System limits
Detection of objects
High, protruding objects such as ledges may
not be detected by the rearview camera.
Top View The concept
Top View assists you in parking and maneu‐
vering. The area around the doors and the road
area around the vehicle are shown on the Con‐
trol Display for this purpose.
Seite 141Driving comfortControls141
Online Edition for Part no. 01 40 2 909 877 - VI/13
Page 147 of 247
The backup camera image is displayed. The
setting is stored for the remote control cur‐
rently in use.
Display
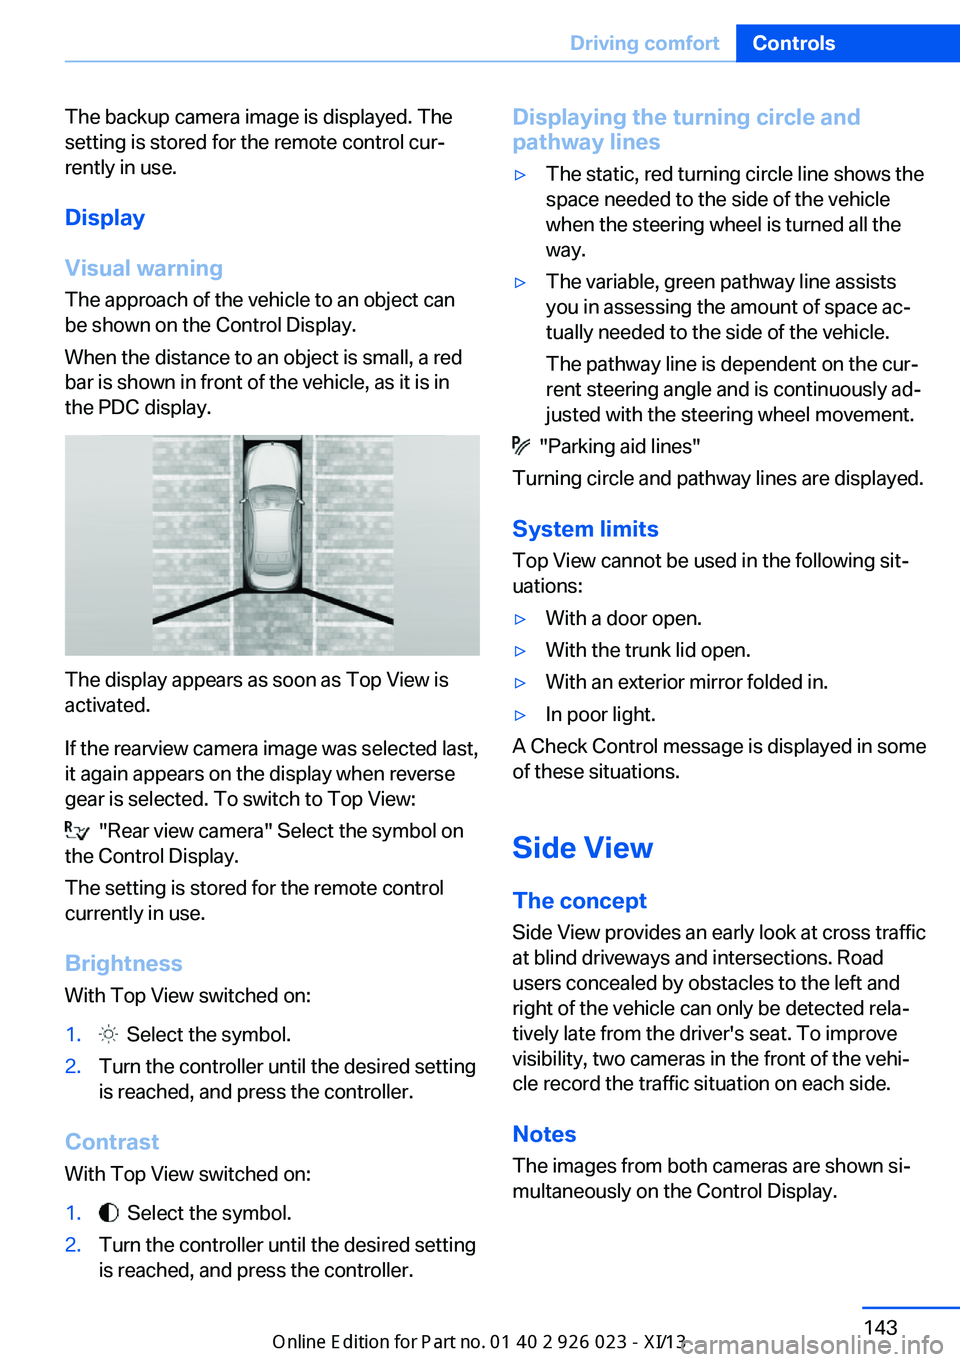
Visual warning The approach of the vehicle to an object can
be shown on the Control Display.
When the distance to an object is small, a red
bar is shown in front of the vehicle, as it is in
the PDC display.
The display appears as soon as Top View is
activated.
If the rearview camera image was selected last,
it again appears on the display when reverse
gear is selected. To switch to Top View:
"Rear view camera" Select the symbol on
the Control Display.
The setting is stored for the remote control
currently in use.
Brightness
With Top View switched on:
1. Select the symbol.2.Turn the controller until the desired setting
is reached, and press the controller.
Contrast
With Top View switched on:
1. Select the symbol.2.Turn the controller until the desired setting
is reached, and press the controller.Displaying the turning circle and
pathway lines▷The static, red turning circle line shows the
space needed to the side of the vehicle
when the steering wheel is turned all the
way.▷The variable, green pathway line assists
you in assessing the amount of space ac‐
tually needed to the side of the vehicle.
The pathway line is dependent on the cur‐
rent steering angle and is continuously ad‐
justed with the steering wheel movement.
"Parking aid lines"
Turning circle and pathway lines are displayed.
System limits
Top View cannot be used in the following sit‐
uations:
▷With a door open.▷With the trunk lid open.▷With an exterior mirror folded in.▷In poor light.
A Check Control message is displayed in some
of these situations.
Side View The concept Side View provides an early look at cross traffic
at blind driveways and intersections. Road
users concealed by obstacles to the left and
right of the vehicle can only be detected rela‐
tively late from the driver's seat. To improve
visibility, two cameras in the front of the vehi‐
cle record the traffic situation on each side.
Notes
The images from both cameras are shown si‐
multaneously on the Control Display.
Seite 143Driving comfortControls143
Online Edition for Part no. 01 40 2 909 877 - VI/13