2013 BMW 550I XDRIVE automatic transmission
[x] Cancel search: automatic transmissionPage 139 of 246
Display settings
Brightness
With the backup camera switched on:1. Select the symbol.2.Turn the controller until the desired setting
is reached and press the controller.
Contrast
With the backup camera switched on:
1. Select the symbol.2.Turn the controller until the desired setting
is reached and press the controller.
System limits
Detection of objects
High, protruding objects such as ledges may not
be detected by the backup camera.
Top View
The concept
Top View assists you in parking and maneuver‐
ing. The area around the doors and the road area
around the vehicle are shown on the Control
Display for this purpose.
General information
The image is captured by two cameras
integrated in the exterior mirrors and by the
backup camera.
The range is at least 7 ft/2 m to the side and rear.
In this way, obstacles up to the height of the ex‐
terior mirrors are detected early.
Notes
Check the traffic situation as well
Check the traffic situation around the ve‐
hicle with your own eyes. Otherwise, an accident
could result from road users or objects located
outside the picture area of the cameras.◀
At a glance
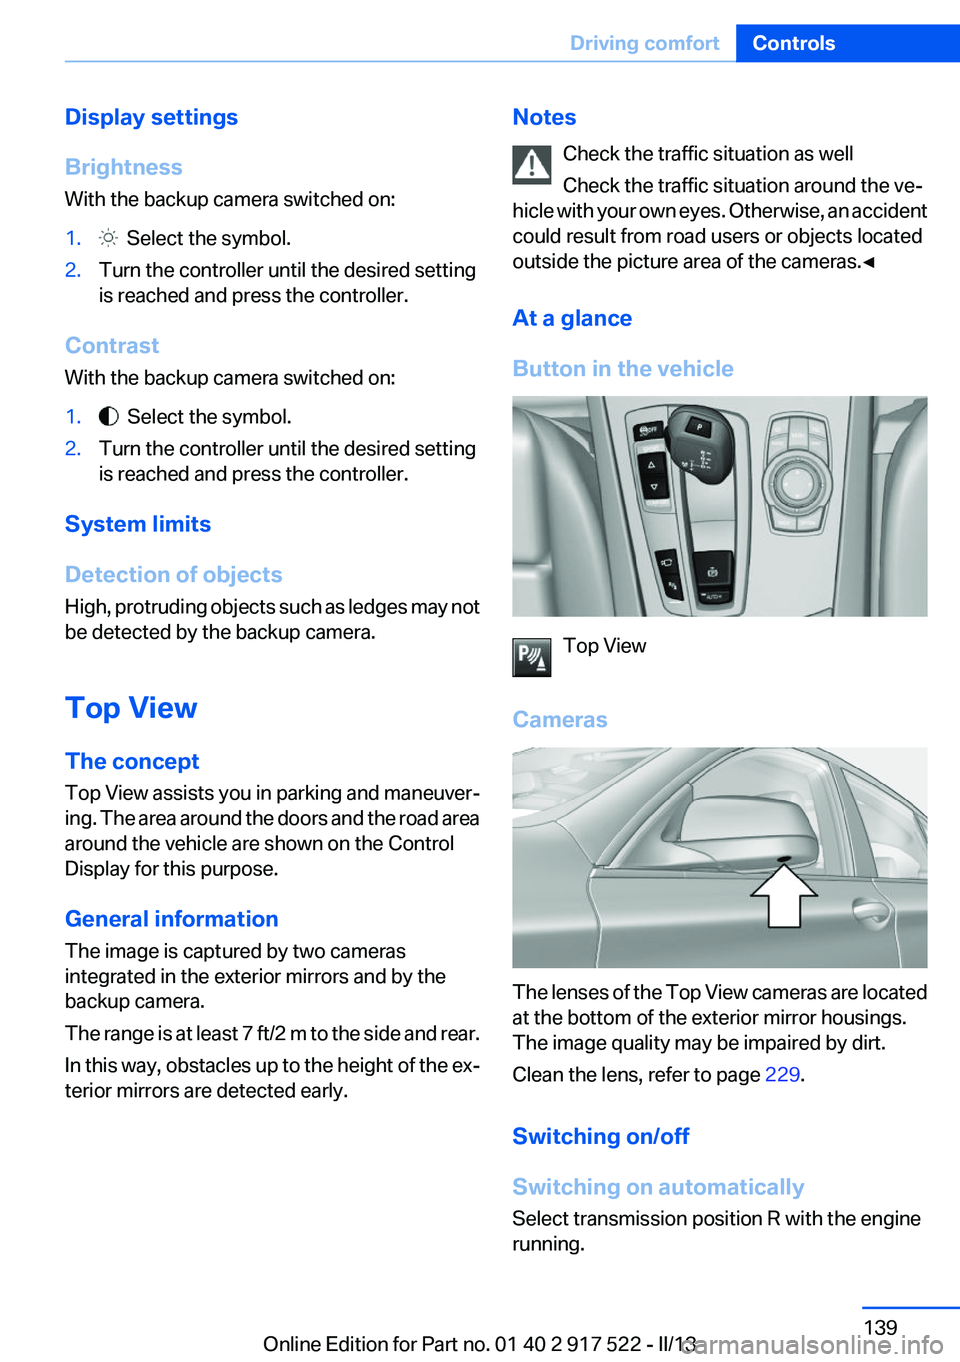
Button in the vehicle
Top View
Cameras
The lenses of the Top View cameras are located
at the bottom of the exterior mirror housings.
The image quality may be impaired by dirt.
Clean the lens, refer to page 229.
Switching on/off
Switching on automatically
Select transmission position R with the engine
running.
Seite 139Driving comfortControls139
Online Edition for Part no. 01 40 2 917 522 - II/13
Page 158 of 246
Automatic transmission: Front
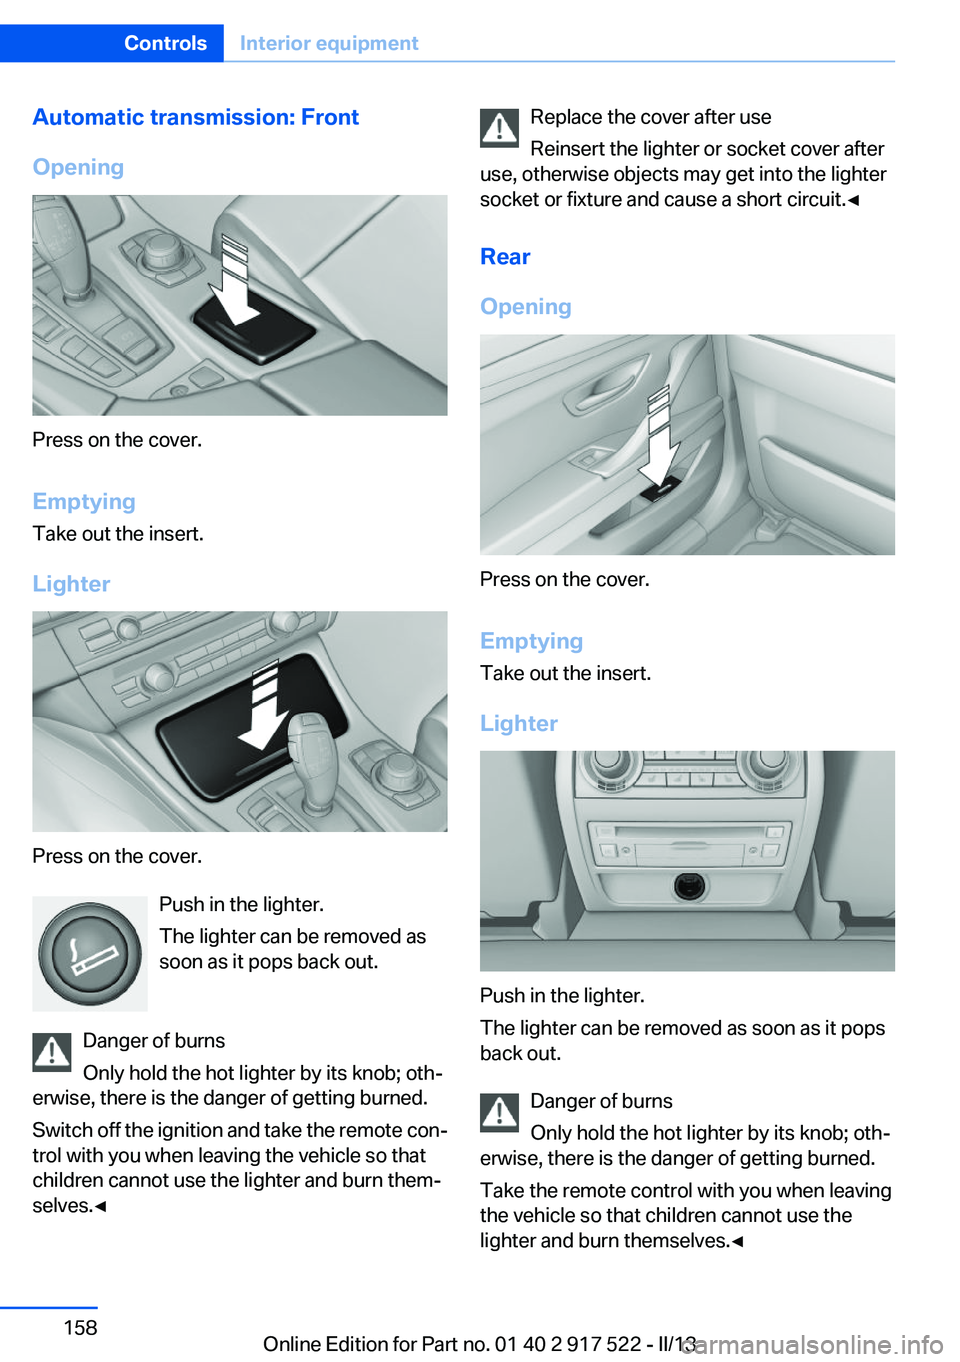
Opening
Press on the cover.
Emptying
Take out the insert.
Lighter
Press on the cover. Push in the lighter.
The lighter can be removed as
soon as it pops back out.
Danger of burns
Only hold the hot lighter by its knob; oth‐
erwise, there is the danger of getting burned.
Switch off the ignition and take the remote con‐
trol with you when leaving the vehicle so that
children cannot use the lighter and burn them‐
selves.◀
Replace the cover after use
Reinsert the lighter or socket cover after
use, otherwise objects may get into the lighter
socket or fixture and cause a short circuit.◀
Rear
Opening
Press on the cover.
Emptying
Take out the insert.
Lighter
Push in the lighter.
The lighter can be removed as soon as it pops
back out.
Danger of burns
Only hold the hot lighter by its knob; oth‐
erwise, there is the danger of getting burned.
Take the remote control with you when leaving
the vehicle so that children cannot use the
lighter and burn themselves.◀
Seite 158ControlsInterior equipment158
Online Edition for Part no. 01 40 2 917 522 - II/13
Page 166 of 246
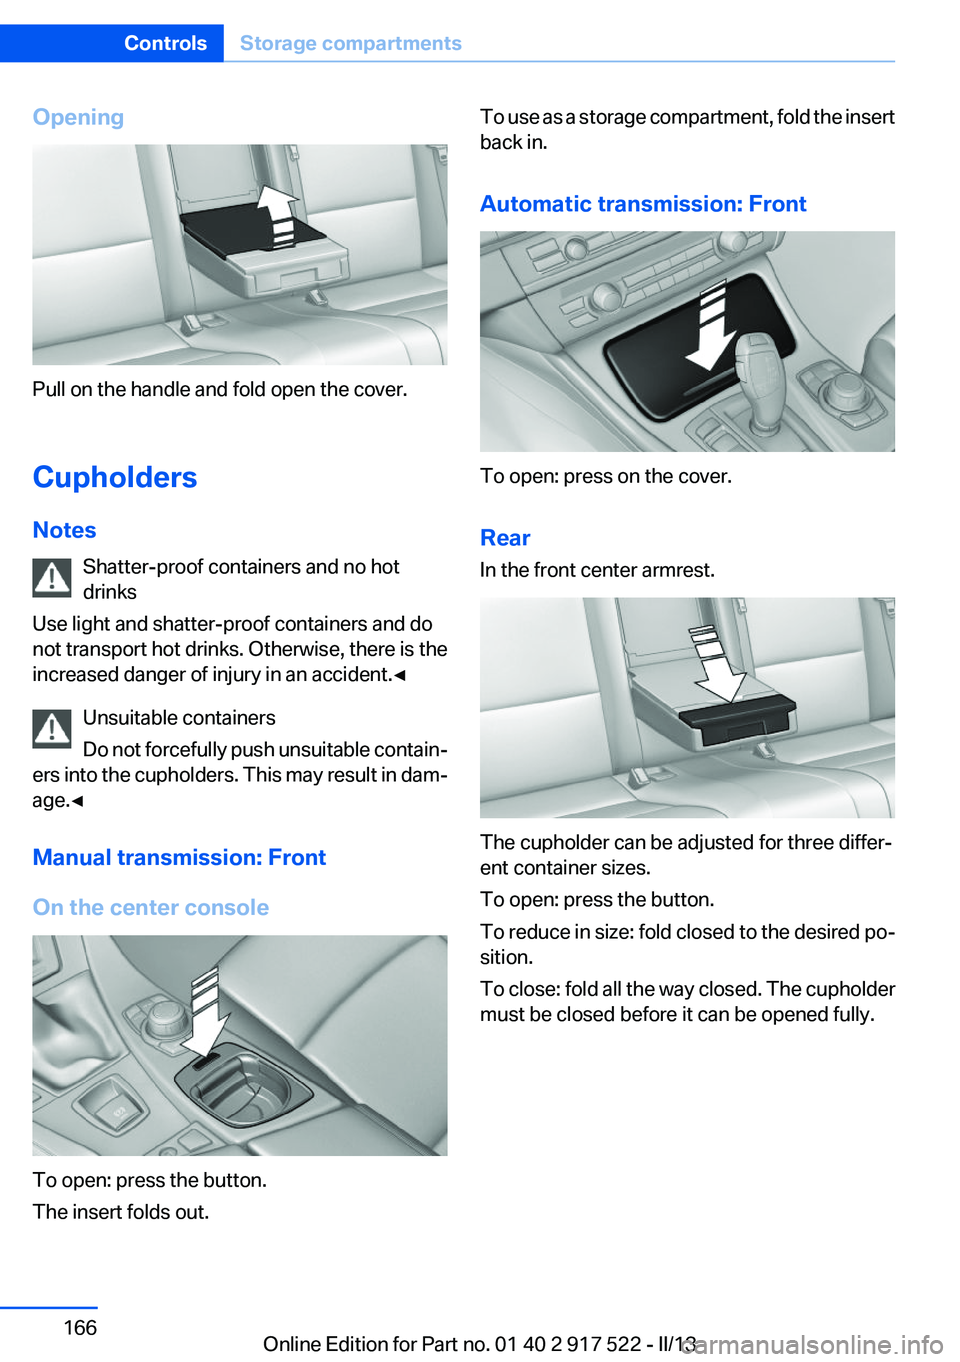
Opening
Pull on the handle and fold open the cover.
Cupholders
Notes Shatter-proof containers and no hot
drinks
Use light and shatter-proof containers and do
not transport hot drinks. Otherwise, there is the
increased danger of injury in an accident.◀
Unsuitable containers
Do not forcefully push unsuitable contain‐
ers into the cupholders. This may result in dam‐
age.◀
Manual transmission: Front
On the center console
To open: press the button.
The insert folds out.
To use as a storage compartment, fold the insert
back in.
Automatic transmission: Front
To open: press on the cover.
Rear
In the front center armrest.
The cupholder can be adjusted for three differ‐
ent container sizes.
To open: press the button.
To reduce in size: fold closed to the desired po‐
sition.
To close: fold all the way closed. The cupholder
must be closed before it can be opened fully.
Seite 166ControlsStorage compartments166
Online Edition for Part no. 01 40 2 917 522 - II/13
Page 181 of 246
Driving style
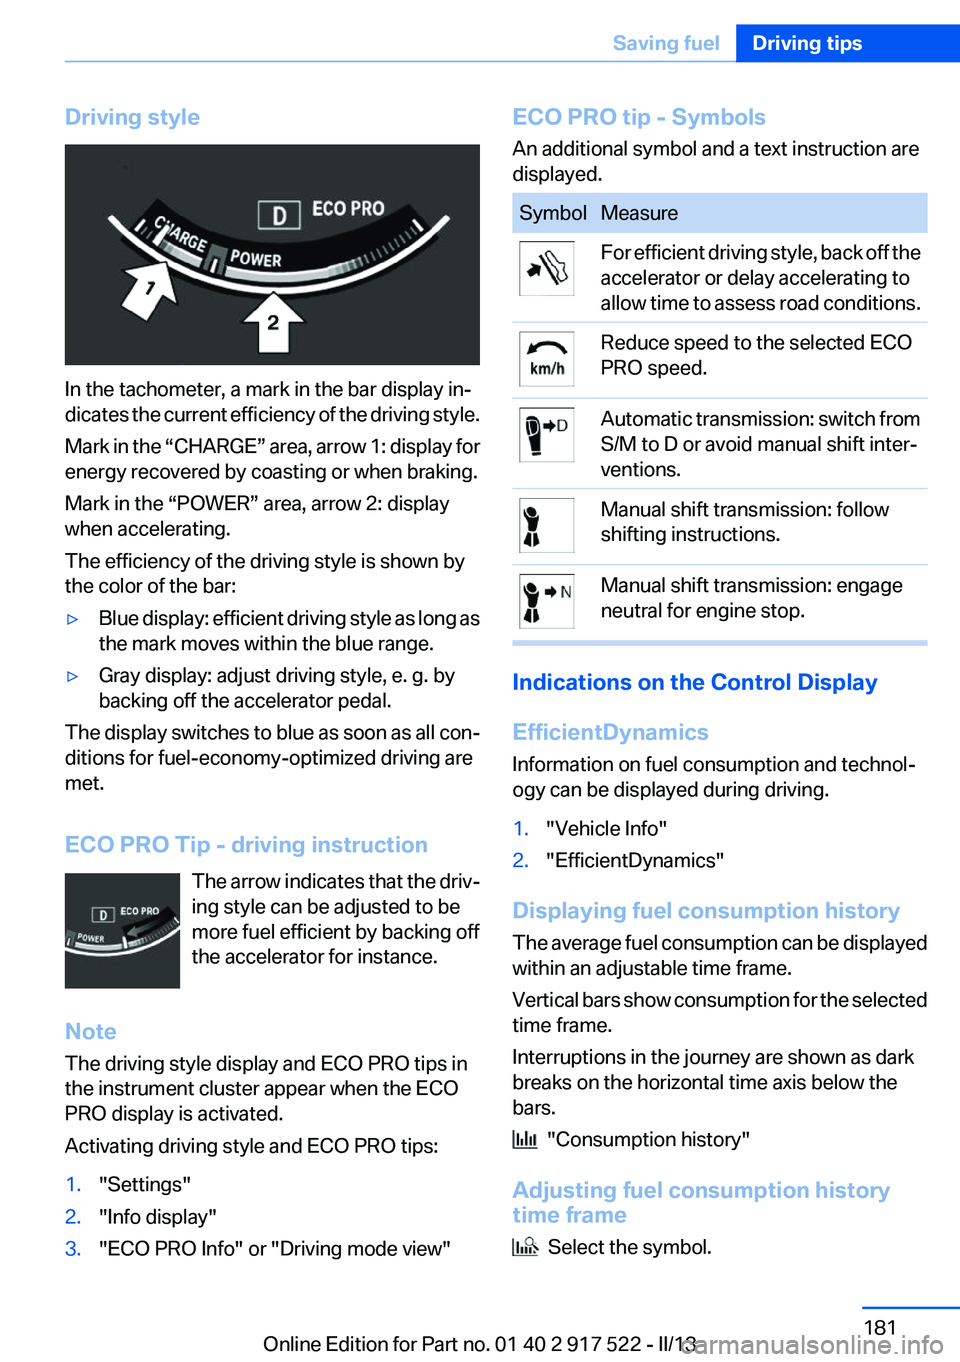
In the tachometer, a mark in the bar display in‐
dicates the current efficiency of the driving style.
Mark in the “CHARGE” area, arrow 1: display for
energy recovered by coasting or when braking.
Mark in the “POWER” area, arrow 2: display
when accelerating.
The efficiency of the driving style is shown by
the color of the bar:
▷Blue display: efficient driving style as long as
the mark moves within the blue range.▷Gray display: adjust driving style, e. g. by
backing off the accelerator pedal.
The display switches to blue as soon as all con‐
ditions for fuel-economy-optimized driving are
met.
ECO PRO Tip - driving instruction The arrow indicates that the driv‐
ing style can be adjusted to be
more fuel efficient by backing off
the accelerator for instance.
Note
The driving style display and ECO PRO tips in
the instrument cluster appear when the ECO
PRO display is activated.
Activating driving style and ECO PRO tips:
1."Settings"2."Info display"3."ECO PRO Info" or "Driving mode view"ECO PRO tip - Symbols
An additional symbol and a text instruction are
displayed.SymbolMeasureFor efficient driving style, back off the
accelerator or delay accelerating to
allow time to assess road conditions.Reduce speed to the selected ECO
PRO speed.Automatic transmission: switch from
S/M to D or avoid manual shift inter‐
ventions.Manual shift transmission: follow
shifting instructions.Manual shift transmission: engage
neutral for engine stop.
Indications on the Control Display
EfficientDynamics
Information on fuel consumption and technol‐
ogy can be displayed during driving.
1."Vehicle Info"2."EfficientDynamics"
Displaying fuel consumption history
The average fuel consumption can be displayed
within an adjustable time frame.
Vertical bars show consumption for the selected
time frame.
Interruptions in the journey are shown as dark
breaks on the horizontal time axis below the
bars.
"Consumption history"
Adjusting fuel consumption history
time frame
Select the symbol.
Seite 181Saving fuelDriving tips181
Online Edition for Part no. 01 40 2 917 522 - II/13
Page 206 of 246
Engine oilVehicle equipment
All standard, country-specific and optional
equipment that is offered in the model series is
described in this chapter. Therefore, equipment
is also described that is not available in a vehicle,
e. g., because of the selected optional equip‐
ment or country variant. This also applies for
safety-related functions and systems.
General information
Engine oil consumption depends on driving
style and driving conditions, e.g., if your driving
style is very sporty engine oil consumption will
be considerably greater.
Therefore, regularly check the engine oil level
after refueling.
Checking the oil level
electronically
Status display
The concept
The oil level is monitored electronically during
driving and shown on the Control Display.
If the oil level reaches the minimum level, a
check control message is displayed.
Requirements
Depending on the previous displays, the status
display appears when the engine is running or
after the vehicle has been driven for at least 30
minutes.
Displaying the oil level1."Vehicle Info"2."Vehicle status"3. "Engine oil level"
Oil level display messages
Different messages appear on the display de‐
pending on the oil level. Pay attention to these
messages.
If oil level is too low, immediately add 1 US
quart/liter of oil.
Take care not to add too much engine oil.
Too much engine oil
Have the vehicle checked immediately;
otherwise, surplus oil can lead to engine dam‐
age.◀
Detailed measurement
The concept
In the detailed measurement the oil level is
checked and displayed via a scale.
During the measurement, the idle speed is in‐
creased somewhat.
General information
A detailed measurement is only possible with
certain engines.
Requirements
▷Manual transmission: shift lever in neutral
position, clutch and accelerator pedals not
depressed.▷Automatic transmission: selector lever in
transmission position N or P and accelerator
not depressed.▷Vehicle is on a level road and the engine is
running at operating temperature.Seite 206MobilityEngine oil206
Online Edition for Part no. 01 40 2 917 522 - II/13
Page 223 of 246
3.Let both engines run for several minutes.4.Disconnect the jumper cables in the reverse
order.
Check the battery and recharge if necessary.
Tow-starting and towing
Automatic transmission: transporting
your vehicle
Note
Your vehicle is not permitted to be towed.
Therefore, contact a service center in the event
of a breakdown.
Do not have the vehicle towed
Have your vehicle transported on a loading
platform only; otherwise, damage may occur.◀
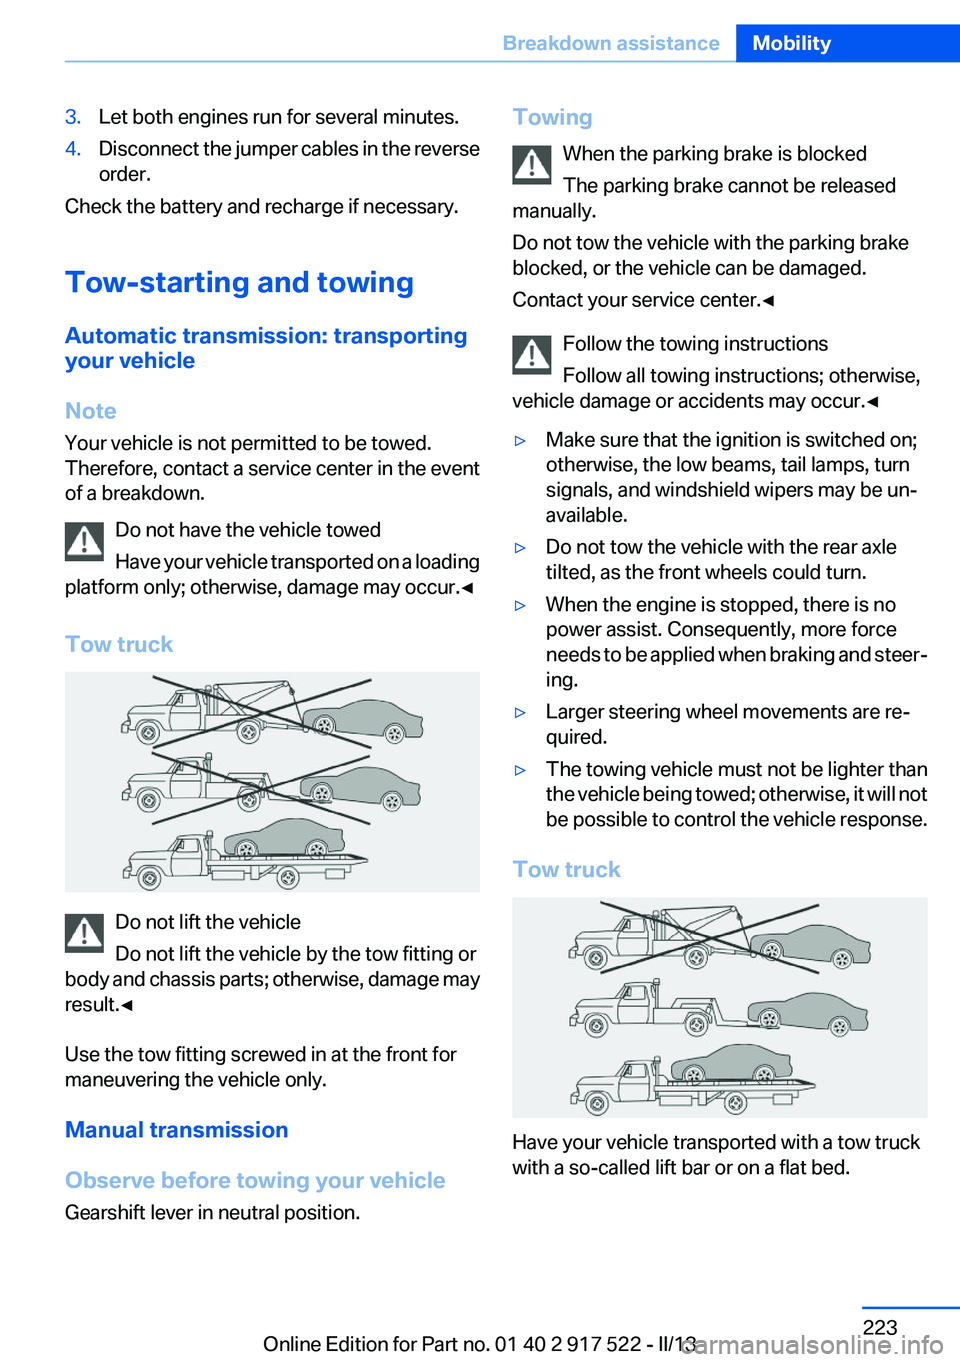
Tow truck
Do not lift the vehicle
Do not lift the vehicle by the tow fitting or
body and chassis parts; otherwise, damage may
result.◀
Use the tow fitting screwed in at the front for
maneuvering the vehicle only.
Manual transmission
Observe before towing your vehicle
Gearshift lever in neutral position.
Towing
When the parking brake is blocked
The parking brake cannot be released
manually.
Do not tow the vehicle with the parking brake
blocked, or the vehicle can be damaged.
Contact your service center.◀
Follow the towing instructions
Follow all towing instructions; otherwise,
vehicle damage or accidents may occur.◀▷Make sure that the ignition is switched on;
otherwise, the low beams, tail lamps, turn
signals, and windshield wipers may be un‐
available.▷Do not tow the vehicle with the rear axle
tilted, as the front wheels could turn.▷When the engine is stopped, there is no
power assist. Consequently, more force
needs to be applied when braking and steer‐
ing.▷Larger steering wheel movements are re‐
quired.▷The towing vehicle must not be lighter than
the vehicle being towed; otherwise, it will not
be possible to control the vehicle response.
Tow truck
Have your vehicle transported with a tow truck
with a so-called lift bar or on a flat bed.
Seite 223Breakdown assistanceMobility223
Online Edition for Part no. 01 40 2 917 522 - II/13
Page 225 of 246
Tow-starting
Automatic transmission
Do not tow-start the vehicle.
Due to the automatic transmission, the engine
cannot be started by tow-starting.
Have the cause of the starting difficulties rem‐
edied.
Manual transmission
If possible, do not tow-start the vehicle but start
the engine by jump-starting, refer to page 221.
If the vehicle is equipped with a catalytic con‐
verter, only tow-start while the engine is cold.1.Switch on the hazard warning system and
comply with local regulations.2.Ignition, refer to page 62, on.3.Engage third gear.4.Have the vehicle tow-started with the clutch
pedal pressed and slowly release the pedal.
After the engine starts, immediately press
on the clutch pedal again.5.Stop at a suitable location, remove the tow
bar or rope, and switch off the hazard warn‐
ing system.6.Have the vehicle checked.Seite 225Breakdown assistanceMobility225
Online Edition for Part no. 01 40 2 917 522 - II/13
Page 226 of 246
CareVehicle equipment
All standard, country-specific and optional
equipment that is offered in the model series is
described in this chapter. Therefore, equipment
is also described that is not available in a vehicle,
e. g., because of the selected optional equip‐
ment or country variant. This also applies for
safety-related functions and systems.
Car washes
Hints Steam jets or high-pressure washers
When using steam jets or high-pressure
washers, hold them a sufficient distance away
and use a maximum temperature of
140 ℉/60 ℃.
Ensure that a distance of at least 31.5 in‐
ches/80 cm from the glass sunroof is maintained
at all times. Holding them too close or using ex‐
cessively high pressures or temperatures can
cause damage or preliminary damage that may
then lead to long-term damage.
Follow the user's manual for the high-pressure
washer.◀
Cleaning sensors/cameras with high-
pressure washers
When using high-pressure washers, do not
spray the exterior sensors and cameras, e.g.,
Park Distance Control, for extended periods of
time and only from a distance of at least
12 in/30 cm.◀
Regularly remove foreign items such as leaves
in the area below the windshield when the hood
is raised.
Wash your vehicle frequently, particularly in win‐
ter.Intense soiling and road salt can damage the ve‐
hicle.
Automatic car washes
Notes
Note the following:▷Give preference to cloth car washes or those
that use soft brushes in order to avoid paint
damage.▷Make sure that the wheels and tires are not
damaged by the transport mechanisms.▷Fold in the exterior mirrors; otherwise, they
may be damaged, depending on the width of
the vehicle.▷Deactivate the rain sensor, refer to
page 70,to avoid unintentional wiper activa‐
tion.▷In some cases, an unintentional alarm can be
triggered by the interior motion sensor of the
alarm system. Follow the instructions on
avoiding an unintentional alarm, refer to
page 43.
Guide rails in car washes
Avoid car washes with guide rails higher
than 4 in/10 cm; otherwise, the vehicle body
could be damaged.◀
Before driving into a car wash
In order to ensure that the vehicle can roll in a car
wash, take the following steps:
Manual transmission:
1.Release the parking brake.2.Drive into the car wash.3.Shift to neutral.4.Switch the engine off.5.Switch on the ignition.Seite 226MobilityCare226
Online Edition for Part no. 01 40 2 917 522 - II/13