2013 BMW 535I XDRIVE towing
[x] Cancel search: towingPage 42 of 246
such as mobile phones, metal objects, overhead
power lines, transmission towers, etc.
In this case, open or close the vehicle using the
buttons on the remote control or use the
integrated key in the door lock.
If there is a malfunction, open the trunk lid with
the remote control button or with the button on
the trunk lid.
Alarm system
The concept
The vehicle alarm system responds to:▷Opening of a door, the hood or the trunk lid.▷Movements in the vehicle.▷Changes in the vehicle tilt, e.g., during at‐
tempts to steal a wheel or when towing the
car.▷Interruptions in battery voltage.
The alarm system briefly indicates tampering:
▷By sounding an acoustic alarm.▷By switching on the hazard warning system.▷By flashing the high beams.
Arming and disarming the alarm
system
General information
When you lock or unlock the vehicle, either with
the remote control, Comfort Access or at the
door lock the alarm system is armed or disarmed
at the same time.
Door lock and armed alarm system
Unlocking via the door lock will trigger the alarm
on some country-specific versions.
In order to terminate this alarm, unlock vehicle
with the remote control or switch on the ignition,
if necessary, by emergency detection of the re‐
mote control.
Trunk lid and armed alarm system
The trunk lid can be opened even when the
alarm system is armed.
Press the button on the remote control
for approx. 1 second.
With Comfort Access the trunk lid opens with
no-touch activation, refer to page 41.
After the trunk lid is closed, it is locked and
monitored again if the doors are locked. The
hazard warning system flashes once.
In some vehicle equipment variants, the trunk lid
can only be opened using the remote control if
the vehicle was unlocked first.
Panic mode
You can trigger the alarm system if you find
yourself in a dangerous situation.
Press the button on the remote control
for at least 3 seconds.
To switch off the alarm: press any button.
Switching off the alarm▷Unlock the vehicle using the remote control.▷With Comfort Access: If you are carrying the
remote control with you, pull on the driver
side or front passenger side door handle.
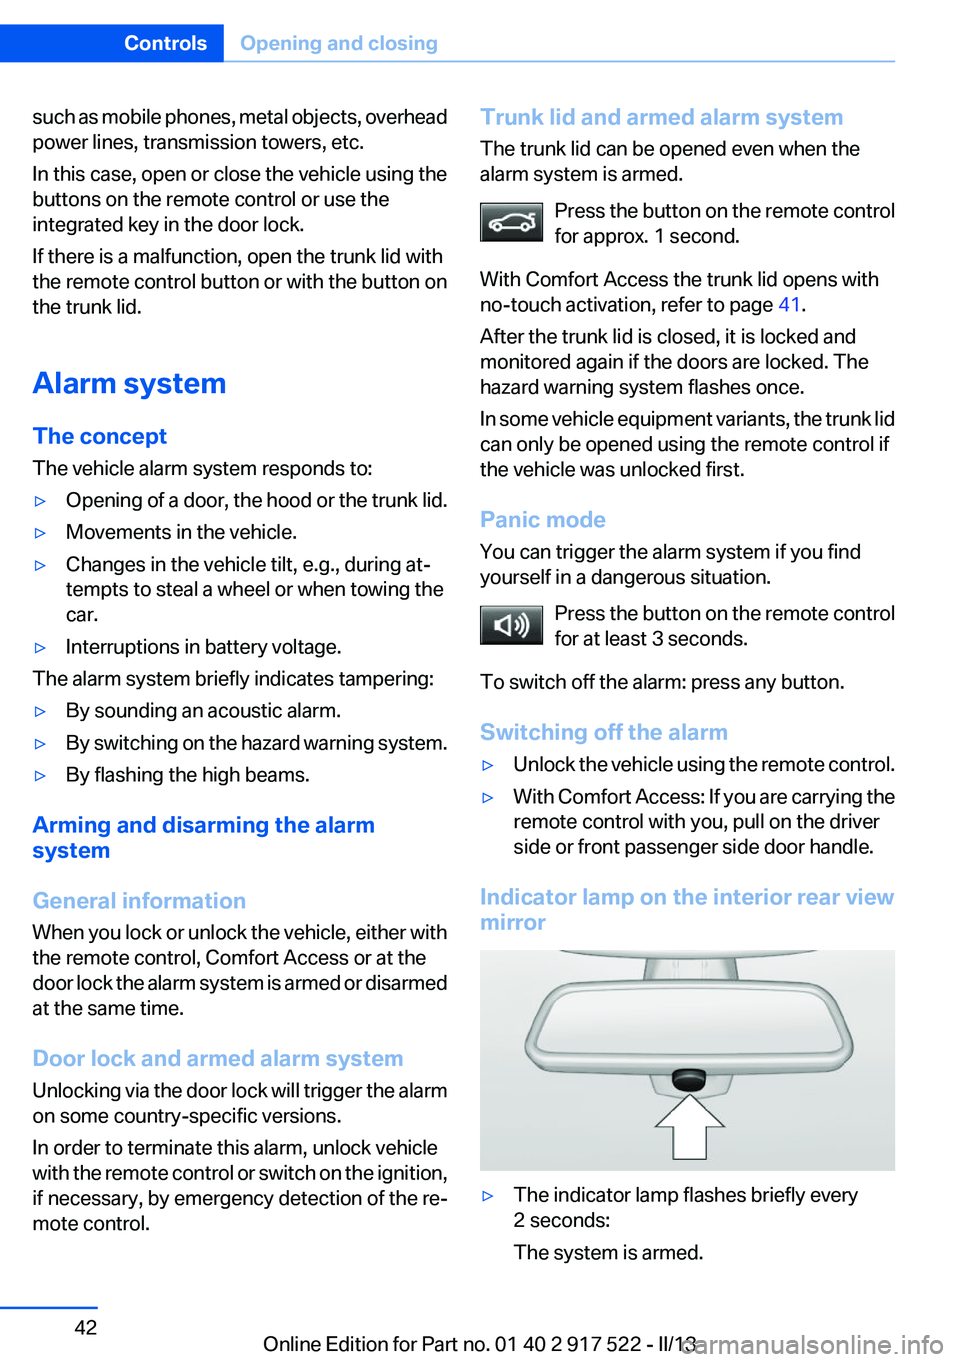
Indicator lamp on the interior rear view
mirror
▷The indicator lamp flashes briefly every
2 seconds:
The system is armed.Seite 42ControlsOpening and closing42
Online Edition for Part no. 01 40 2 917 522 - II/13
Page 87 of 246
the information stored in the navigation system
and also displays speed limits present on routes
without signs.
No Passing Information
No Passing Information in the instrument cluster
displays the beginnings and ends of no passing
zones detected by the camera. The system ac‐
counts for only the beginnings and ends of No
Passing zones marked by signs.
No display is shown:▷In countries where No Passing zones are
primarily identified with road markings.▷On routes without signage.▷Where there are railroad crossings, highway
markings or other situations where no sig‐
nage is present, but passing would not be
permitted.
Hints
Speed limits when towing a trailer are not
shown.
Personal judgment
The system cannot serve as a substitute
for the driver's personal judgment of the traffic
situation.
The system assists the driver and does not re‐
place the human eye.◀
At a glance
Camera
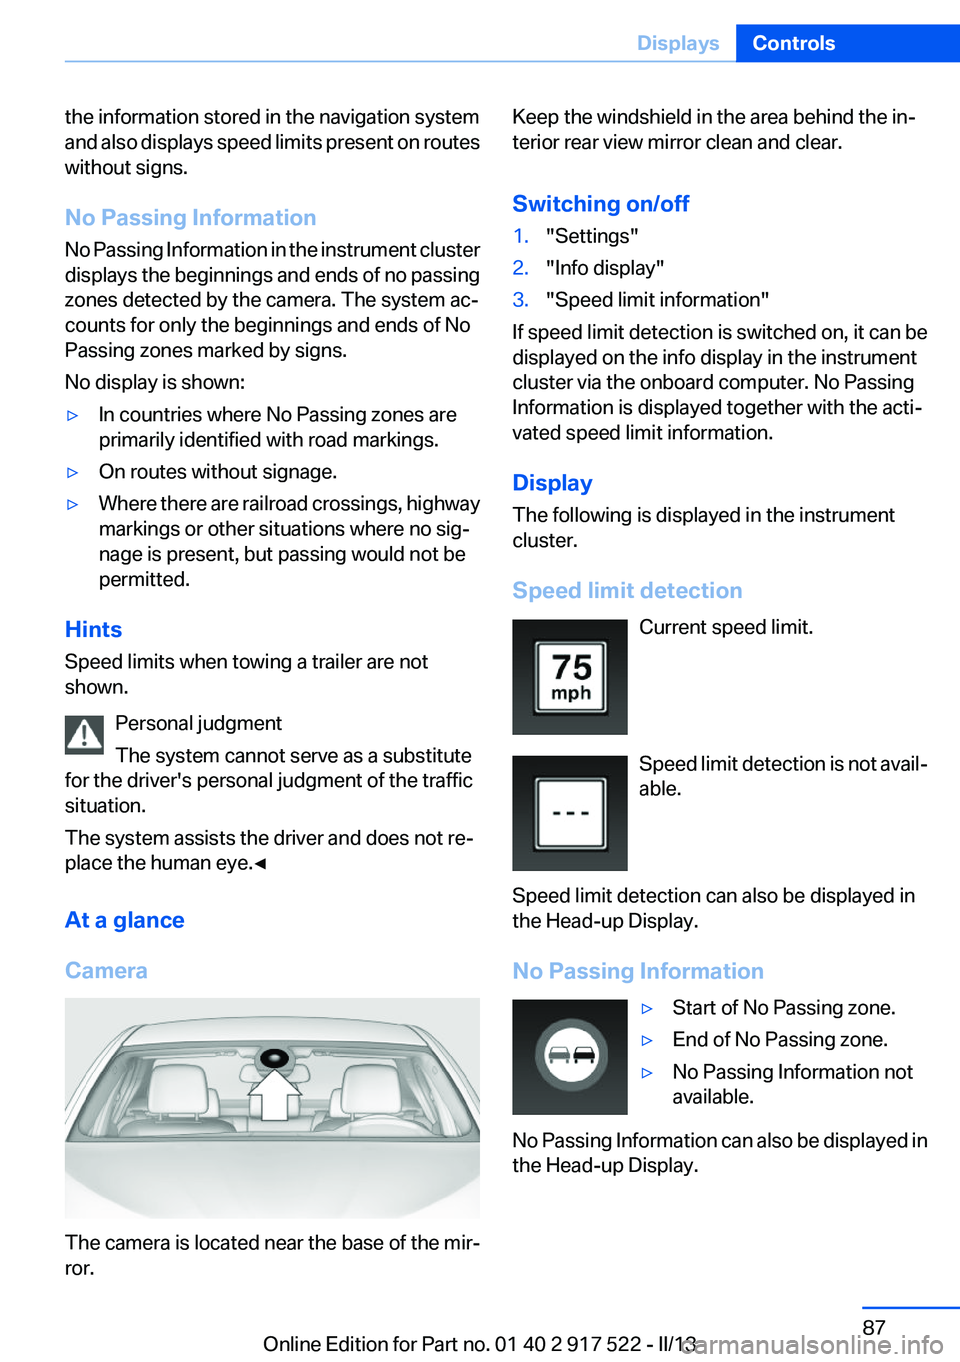
The camera is located near the base of the mir‐
ror.
Keep the windshield in the area behind the in‐
terior rear view mirror clean and clear.
Switching on/off1."Settings"2."Info display"3."Speed limit information"
If speed limit detection is switched on, it can be
displayed on the info display in the instrument
cluster via the onboard computer. No Passing
Information is displayed together with the acti‐
vated speed limit information.
Display
The following is displayed in the instrument
cluster.
Speed limit detection Current speed limit.
Speed limit detection is not avail‐
able.
Speed limit detection can also be displayed in
the Head-up Display.
No Passing Information
▷Start of No Passing zone.▷End of No Passing zone.▷No Passing Information not
available.
No Passing Information can also be displayed in
the Head-up Display.
Seite 87DisplaysControls87
Online Edition for Part no. 01 40 2 917 522 - II/13
Page 108 of 246
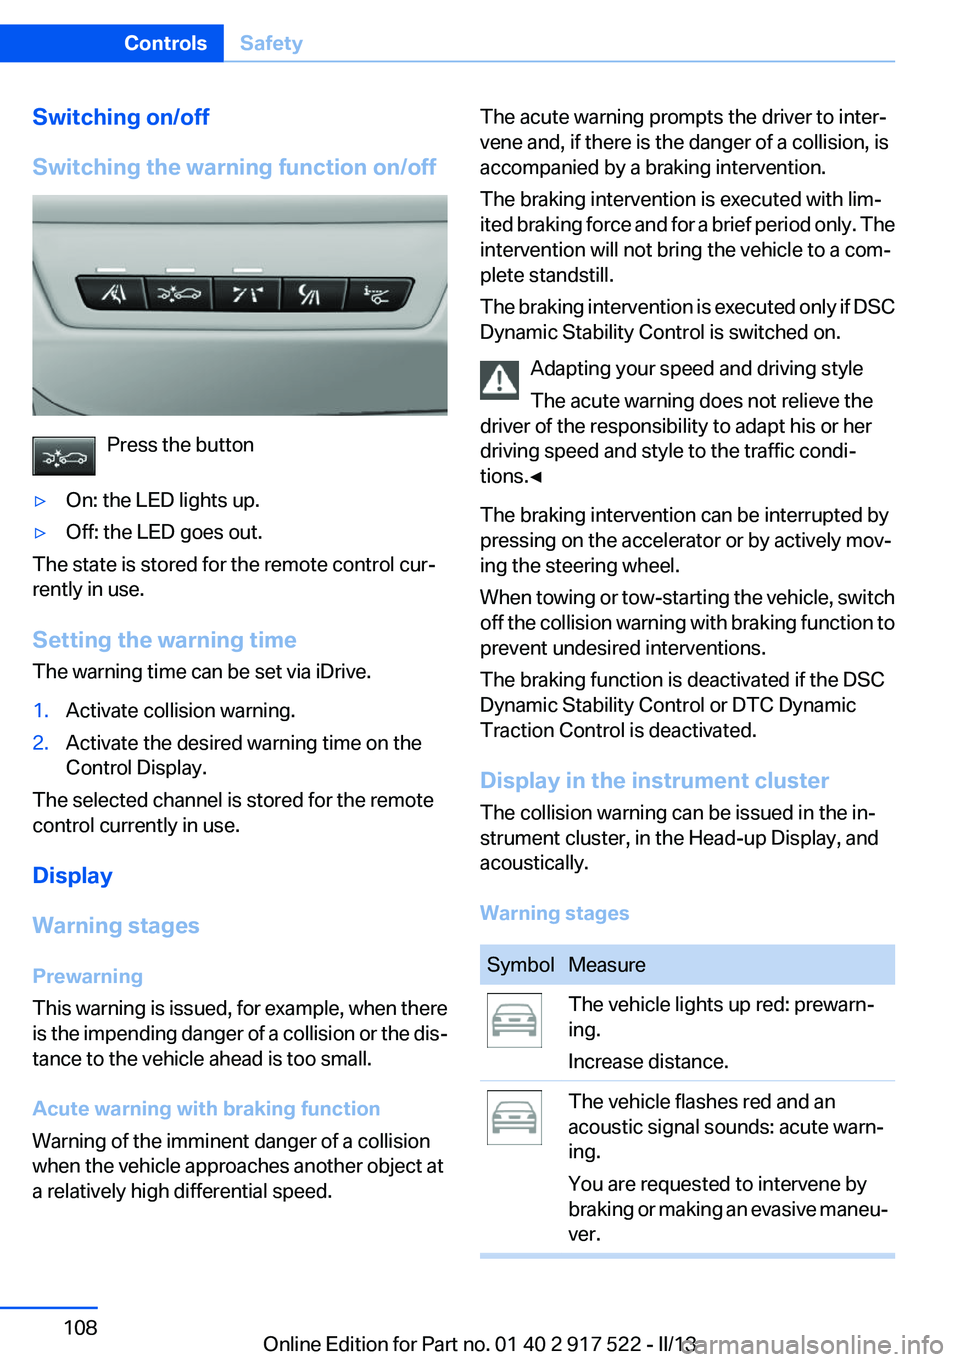
Switching on/off
Switching the warning function on/off
Press the button
▷On: the LED lights up.▷Off: the LED goes out.
The state is stored for the remote control cur‐
rently in use.
Setting the warning time
The warning time can be set via iDrive.
1.Activate collision warning.2.Activate the desired warning time on the
Control Display.
The selected channel is stored for the remote
control currently in use.
Display
Warning stages
Prewarning
This warning is issued, for example, when there
is the impending danger of a collision or the dis‐
tance to the vehicle ahead is too small.
Acute warning with braking function
Warning of the imminent danger of a collision
when the vehicle approaches another object at
a relatively high differential speed.
The acute warning prompts the driver to inter‐
vene and, if there is the danger of a collision, is
accompanied by a braking intervention.
The braking intervention is executed with lim‐
ited braking force and for a brief period only. The
intervention will not bring the vehicle to a com‐
plete standstill.
The braking intervention is executed only if DSC
Dynamic Stability Control is switched on.
Adapting your speed and driving style
The acute warning does not relieve the
driver of the responsibility to adapt his or her
driving speed and style to the traffic condi‐
tions.◀
The braking intervention can be interrupted by
pressing on the accelerator or by actively mov‐
ing the steering wheel.
When towing or tow-starting the vehicle, switch
off the collision warning with braking function to
prevent undesired interventions.
The braking function is deactivated if the DSC
Dynamic Stability Control or DTC Dynamic
Traction Control is deactivated.
Display in the instrument cluster
The collision warning can be issued in the in‐
strument cluster, in the Head-up Display, and
acoustically.
Warning stagesSymbolMeasureThe vehicle lights up red: prewarn‐
ing.
Increase distance.The vehicle flashes red and an
acoustic signal sounds: acute warn‐
ing.
You are requested to intervene by
braking or making an evasive maneu‐
ver.Seite 108ControlsSafety108
Online Edition for Part no. 01 40 2 917 522 - II/13
Page 176 of 246
Stowing cargo▷Cover sharp edges and corners on the
cargo.▷Heavy cargo: stow as far forward as possi‐
ble, directly behind and at the bottom of the
rear passenger seat backrests.▷Very heavy cargo: when the rear seat is not
occupied, secure each of the outer safety
belts in the opposite buckle.▷If necessary, fold down the rear backrests to
stow cargo.▷Do not stack cargo above the top edge of the
backrests.
Securing cargo
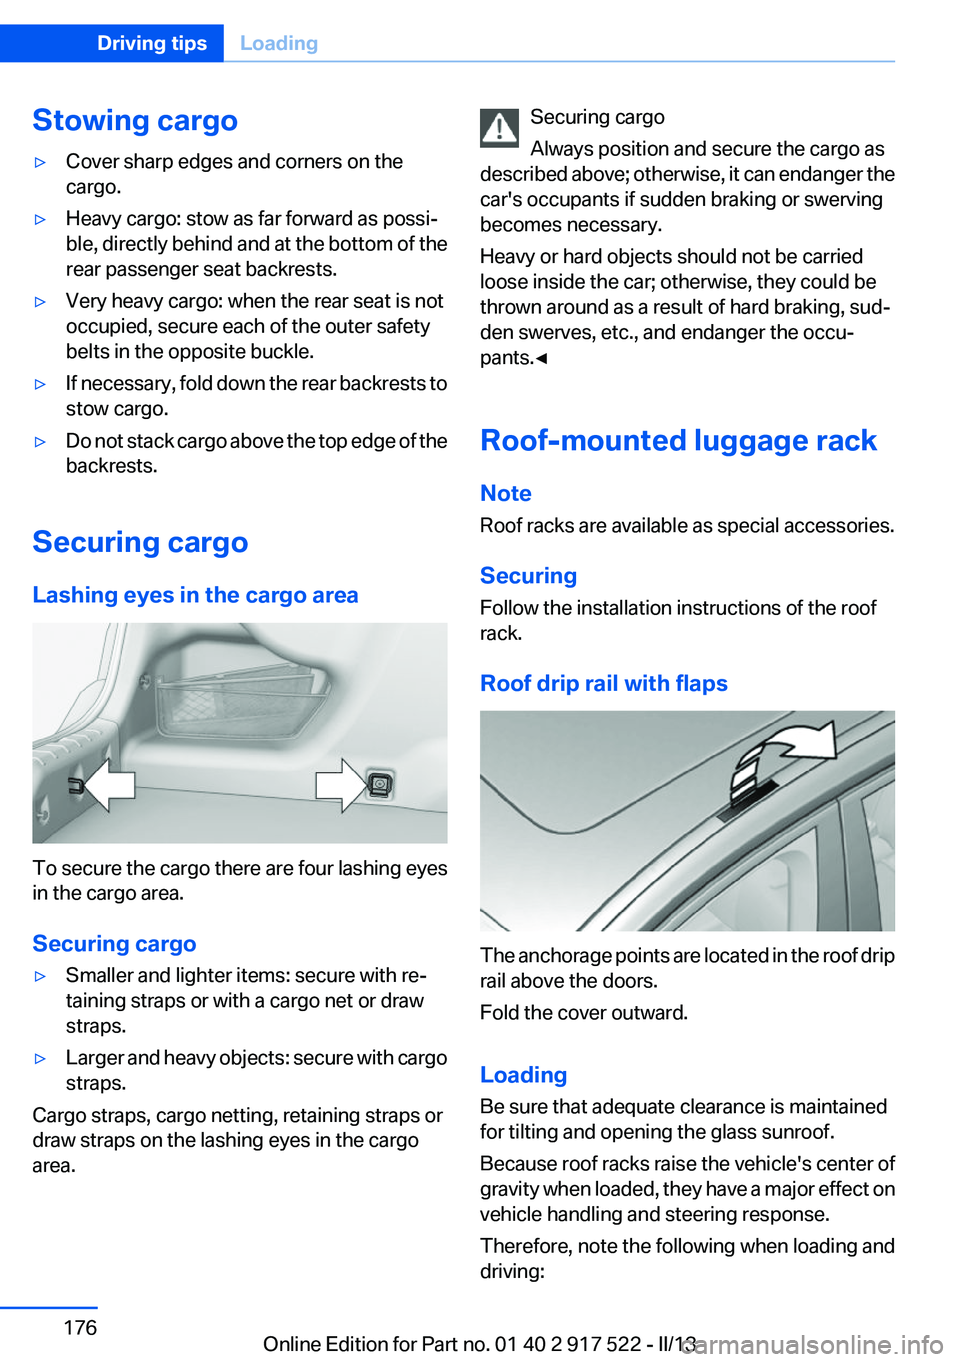
Lashing eyes in the cargo area
To secure the cargo there are four lashing eyes
in the cargo area.
Securing cargo
▷Smaller and lighter items: secure with re‐
taining straps or with a cargo net or draw
straps.▷Larger and heavy objects: secure with cargo
straps.
Cargo straps, cargo netting, retaining straps or
draw straps on the lashing eyes in the cargo
area.
Securing cargo
Always position and secure the cargo as
described above; otherwise, it can endanger the
car's occupants if sudden braking or swerving
becomes necessary.
Heavy or hard objects should not be carried
loose inside the car; otherwise, they could be
thrown around as a result of hard braking, sud‐
den swerves, etc., and endanger the occu‐
pants.◀
Roof-mounted luggage rack
Note
Roof racks are available as special accessories.
Securing
Follow the installation instructions of the roof
rack.
Roof drip rail with flaps
The anchorage points are located in the roof drip
rail above the doors.
Fold the cover outward.
Loading
Be sure that adequate clearance is maintained
for tilting and opening the glass sunroof.
Because roof racks raise the vehicle's center of
gravity when loaded, they have a major effect on
vehicle handling and steering response.
Therefore, note the following when loading and
driving:
Seite 176Driving tipsLoading176
Online Edition for Part no. 01 40 2 917 522 - II/13
Page 223 of 246
3.Let both engines run for several minutes.4.Disconnect the jumper cables in the reverse
order.
Check the battery and recharge if necessary.
Tow-starting and towing
Automatic transmission: transporting
your vehicle
Note
Your vehicle is not permitted to be towed.
Therefore, contact a service center in the event
of a breakdown.
Do not have the vehicle towed
Have your vehicle transported on a loading
platform only; otherwise, damage may occur.◀
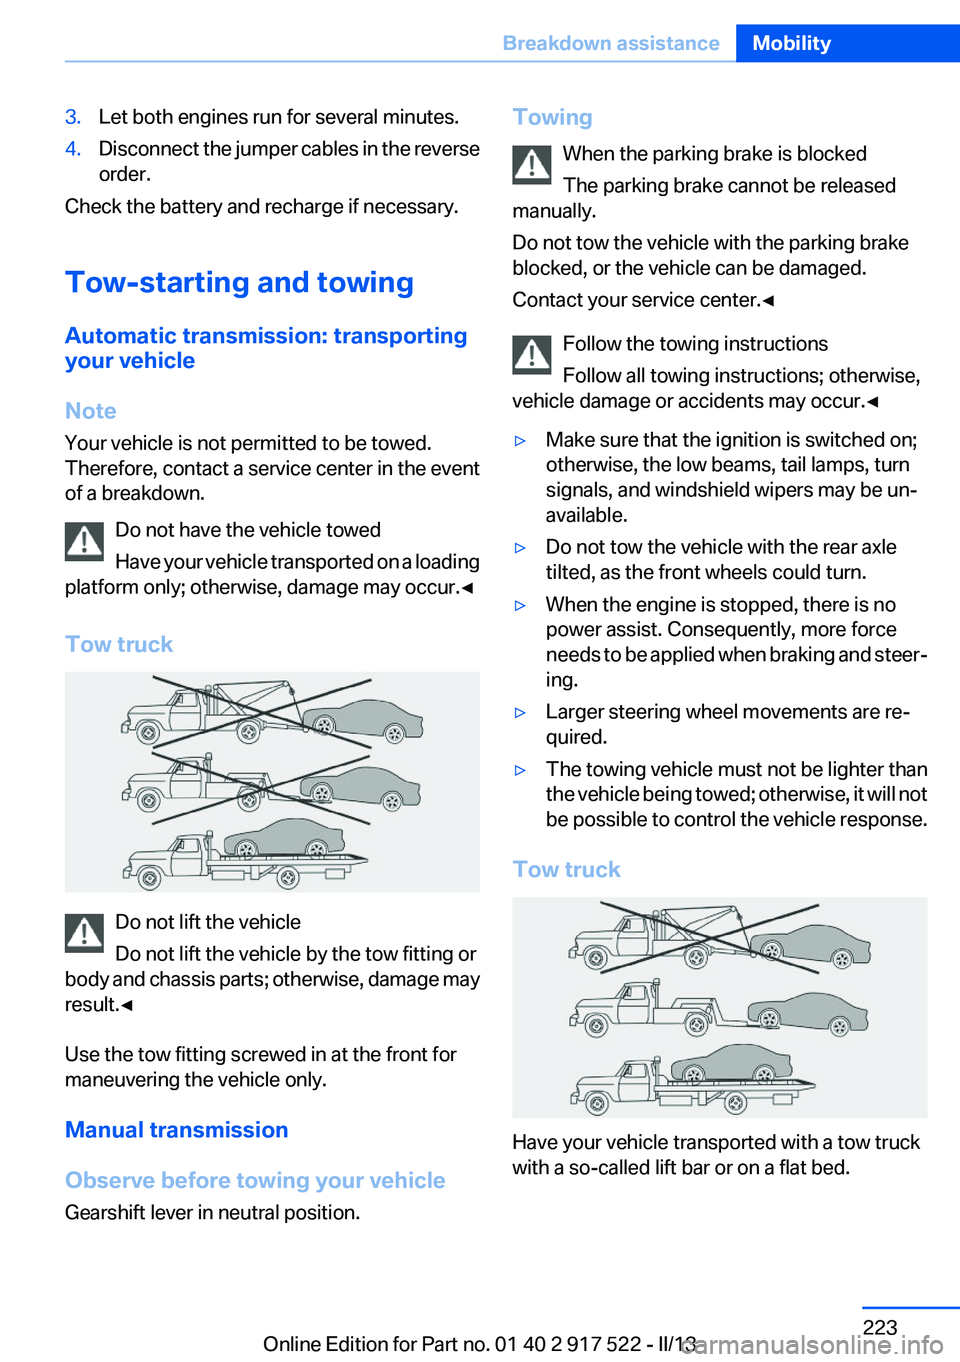
Tow truck
Do not lift the vehicle
Do not lift the vehicle by the tow fitting or
body and chassis parts; otherwise, damage may
result.◀
Use the tow fitting screwed in at the front for
maneuvering the vehicle only.
Manual transmission
Observe before towing your vehicle
Gearshift lever in neutral position.
Towing
When the parking brake is blocked
The parking brake cannot be released
manually.
Do not tow the vehicle with the parking brake
blocked, or the vehicle can be damaged.
Contact your service center.◀
Follow the towing instructions
Follow all towing instructions; otherwise,
vehicle damage or accidents may occur.◀▷Make sure that the ignition is switched on;
otherwise, the low beams, tail lamps, turn
signals, and windshield wipers may be un‐
available.▷Do not tow the vehicle with the rear axle
tilted, as the front wheels could turn.▷When the engine is stopped, there is no
power assist. Consequently, more force
needs to be applied when braking and steer‐
ing.▷Larger steering wheel movements are re‐
quired.▷The towing vehicle must not be lighter than
the vehicle being towed; otherwise, it will not
be possible to control the vehicle response.
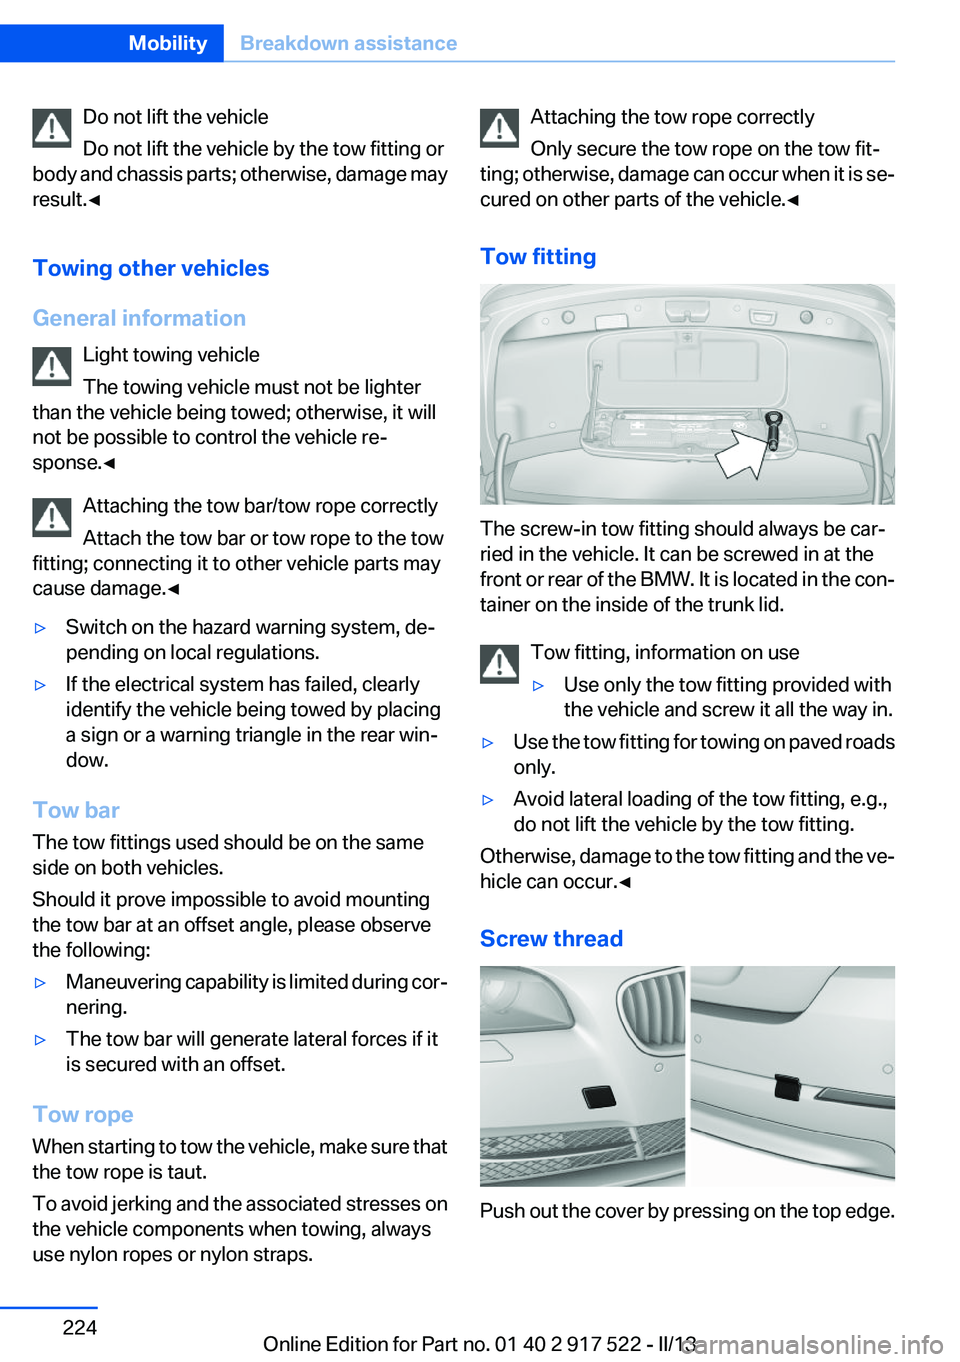
Tow truck
Have your vehicle transported with a tow truck
with a so-called lift bar or on a flat bed.
Seite 223Breakdown assistanceMobility223
Online Edition for Part no. 01 40 2 917 522 - II/13
Page 224 of 246
Do not lift the vehicle
Do not lift the vehicle by the tow fitting or
body and chassis parts; otherwise, damage may
result.◀
Towing other vehicles
General information Light towing vehicle
The towing vehicle must not be lighter
than the vehicle being towed; otherwise, it will
not be possible to control the vehicle re‐
sponse.◀
Attaching the tow bar/tow rope correctly
Attach the tow bar or tow rope to the tow
fitting; connecting it to other vehicle parts may
cause damage.◀▷Switch on the hazard warning system, de‐
pending on local regulations.▷If the electrical system has failed, clearly
identify the vehicle being towed by placing
a sign or a warning triangle in the rear win‐
dow.
Tow bar
The tow fittings used should be on the same
side on both vehicles.
Should it prove impossible to avoid mounting
the tow bar at an offset angle, please observe
the following:
▷Maneuvering capability is limited during cor‐
nering.▷The tow bar will generate lateral forces if it
is secured with an offset.
Tow rope
When starting to tow the vehicle, make sure that
the tow rope is taut.
To avoid jerking and the associated stresses on
the vehicle components when towing, always
use nylon ropes or nylon straps.
Attaching the tow rope correctly
Only secure the tow rope on the tow fit‐
ting; otherwise, damage can occur when it is se‐
cured on other parts of the vehicle.◀
Tow fitting
The screw-in tow fitting should always be car‐
ried in the vehicle. It can be screwed in at the
front or rear of the BMW. It is located in the con‐
tainer on the inside of the trunk lid.
Tow fitting, information on use
▷Use only the tow fitting provided with
the vehicle and screw it all the way in.▷Use the tow fitting for towing on paved roads
only.▷Avoid lateral loading of the tow fitting, e.g.,
do not lift the vehicle by the tow fitting.
Otherwise, damage to the tow fitting and the ve‐
hicle can occur.◀
Screw thread
Push out the cover by pressing on the top edge.
Seite 224MobilityBreakdown assistance224
Online Edition for Part no. 01 40 2 917 522 - II/13
Page 239 of 246

External start 221
External temperature dis‐ play 84
External temperature warn‐ ing 84
Eyes for securing cargo 176
F
Failure message, refer to Check Control 81
False alarm, refer to Uninten‐ tional alarm 43
Fan, refer to Air flow 149
Fault displays, refer to Check Control 81
Filler neck for engine oil 207
Fine wood, care 228
First aid kit 221
Fitting for towing, refer to Tow fitting 224
Flat tire, changing wheels 218
Flat Tire Monitor FTM 105
Flat tire, Tire Pressure Monitor TPM 102
Flat tire, warning lamp 103, 106
Flooding 173
Floor carpet, care 228
Floor mats, care 228
Fold down the rear seat back‐ rest, see Though-loading
system 160
Fold-out position, windshield wipers 71
Foot brake 173
Front airbags 99
Front fog lamps 97
Front fog lamps, front, bulb re‐ placement 216
Front lamps 213
Front passenger airbags, au‐ tomatic deactivation 101
Front passenger airbags, indi‐ cator lamp 101
FTM Flat Tire Monitor 105 Fuel cap 186
Fuel consumption, current 85
Fuel consumption, refer to Average fuel consump‐
tion 89
Fuel filler flap 186
Fuel gauge 84
Fuel quality 188
Fuel, tank capacity 235
Fuse 219
G
Garage door opener, refer to Integrated universal remote
control 155
Gasoline 188
Gasoline quality 188
Gear change, automatic trans‐ mission 73
Gear shift indicator 86
General driving notes 172
Glass sunroof, powered 45
Glove compartment 164
Gross vehicle weight, ap‐ proved 233
H
Handbrake, refer to Parking brake 66
Hand-held transmitter, alter‐ nating code 156
Hazard warning flashers 220
HDC Hill Descent Control 121
Head airbags 99
Headlamp control, auto‐ matic 95
Headlamp courtesy delay fea‐ ture 95
Headlamp courtesy delay fea‐ ture via remote control 35
Headlamp flasher 69
Headlamp glass 213
Headlamps 213
Headlamps, care 227 Headlamp washer system 69
Headliner 15
Head restraints 47
Head restraints, front 52
Head restraints, rear 53
Head-Up Display 146
Head-up Display, care 229
Heavy cargo, stowing 176
Height, vehicle 232
High-beam Assistant 96
High beams 69
High beams/low beams, refer to High-beam Assistant 96
Hill Descent Control HDC 121
Hills 174
Hill start assistant, refer to Drive-off assistant 119
Hints 6
Holder for beverages 166
Homepage 6
Hood 204
Horn 12
Hotel function, trunk lid 39
Hot exhaust system 173
HUD Head-Up Display 146
Hydroplaning 173
I
Ice warning, refer to External temperature warning 84
Icy roads, refer to External temperature warning 84
Identification marks, tires 198
Identification number, refer to Important features in the en‐
gine compartment 204
iDrive 16
Ignition key, refer to Remote control 30
Ignition off 62
Ignition on 62
Indication of a flat tire 103 , 106
Individual air distribution 149 Seite 239Everything from A to ZReference239
Online Edition for Part no. 01 40 2 917 522 - II/13
Page 241 of 246
Manual operation, Park Dis‐tance Control PDC 135
Manual operation, Side View 141
Manual operation, Top View 140
Manual transmission 72
Marking on approved tires 201
Marking, run-flat tires 202
Massage seat, front 49
Master key, refer to Remote control 30
Maximum cooling 149
Maximum speed, display 86
Maximum speed, winter tires 202
Measure, units of 92
Medical kit 221
Memory for seat, mirrors, steering wheel 54
Menu, EfficientDynamics 181
Menu in instrument cluster 88
Menus, operating, iDrive 16
Menus, refer to iDrive operat‐ ing concept 17
Messages, refer to Check Control 81
Microfilter 151
Minimum tread, tires 200
Mirror 55
Mirror memory 54
Mobile communication devi‐ ces in the vehicle 173
Modifications, technical, refer to Safety 7
Moisture in headlamp 213
Monitor, refer to Control Dis‐ play 16
Mounting of child restraint fix‐ ing systems 58
Multifunctional instrument display 78
Multifunction steering wheel, buttons 12 N
Navigation, see user's manual for Navigation, Entertain‐
ment and Communication
Neck restraints, front, refer to Head restraints 52
Neck restraints, rear, refer to Head restraints 53
New wheels and tires 201
Night Vision with pedestrian detection 111
No Passing Information 86
Nylon rope for tow-starting/ towing 224
O
OBD Onboard Diagnos‐ tics 211
Obstacle marking, backup camera 138
Octane rating, refer to Gaso‐ line quality 188
Odometer 84
Office, see user's manual for Navigation, Entertainment
and Communication
Oil 206
Oil, adding 207
Oil additives 207
Oil change 207
Oil change interval, service re‐ quirements 85
Oil filler neck 207
Oil types, alternative 207
Oil types, approved 207
Old batteries, disposal 219
Onboard Diagnostics OBD 211
Onboard monitor, refer to Control Display 16
Onboard vehicle tool kit 212
Opening/closing from in‐ side 37 Opening/closing via door
lock 36
Opening/closing with remote control 34
Opening the trunk lid with no- touch activation 41
Operating concept, iDrive 16
Optional equipment, standard equipment 6
Outside air, refer to Automatic recirculated-air control 150
Overheating of engine, refer to Coolant temperature 84
Overtaking prohibitions 86
P
Paint, vehicle 227
Parallel parking assistant 142
Park Distance Control PDC 134
Parked-car ventilation 153
Parked vehicle, condensa‐ tion 174
Parking aid, refer to PDC 134
Parking assistant 142
Parking brake 66
Parking lamps 94
Parking with Auto Hold 67
Passenger side mirror, tilting downward 56
Pathway lines, backup cam‐ era 138
PDC Park Distance Con‐ trol 134
Pedestrian detection, refer to Night Vision 111
People detection, refer to Night Vision 111
Personal Profile 31
Pinch protection system, glass sunroof 46
Pinch protection system, win‐ dows 44
Plastic, care 228
Power failure 219 Seite 241Everything from A to ZReference241
Online Edition for Part no. 01 40 2 917 522 - II/13