2013 BMW 535I XDRIVE GRAN TURISMO heating
[x] Cancel search: heatingPage 13 of 240
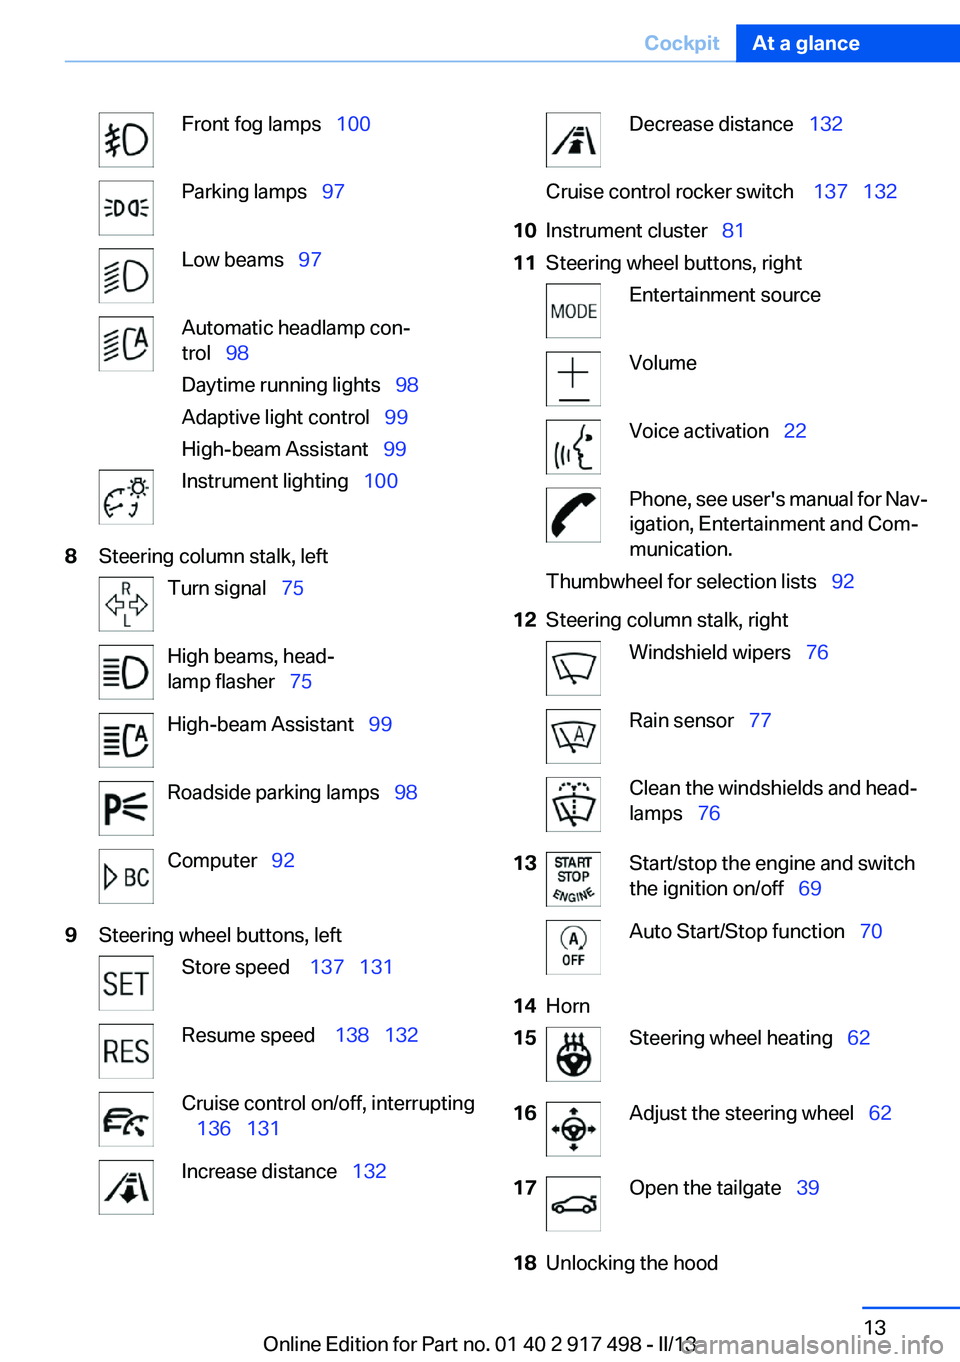
Front fog lamps 100Parking lamps 97Low beams 97Automatic headlamp con‐
trol 98
Daytime running lights 98
Adaptive light control 99
High-beam Assistant 99Instrument lighting 1008Steering column stalk, leftTurn signal 75High beams, head‐
lamp flasher 75High-beam Assistant 99Roadside parking lamps 98Computer 929Steering wheel buttons, leftStore speed 137 131Resume speed 138 132Cruise control on/off, interrupting
136 131Increase distance 132Decrease distance 132Cruise control rocker switch 137 13210Instrument cluster 8111Steering wheel buttons, rightEntertainment sourceVolumeVoice activation 22Phone, see user's manual for Nav‐
igation, Entertainment and Com‐
munication.Thumbwheel for selection lists 9212Steering column stalk, rightWindshield wipers 76Rain sensor 77Clean the windshields and head‐
lamps 7613Start/stop the engine and switch
the ignition on/off 69Auto Start/Stop function 7014Horn15Steering wheel heating 6216Adjust the steering wheel 6217Open the tailgate 3918Unlocking the hoodSeite 13CockpitAt a glance13
Online Edition for Part no. 01 40 2 917 498 - II/13
Page 35 of 240
Depending on how the vehicle is equipped or the
country-specific variant, you can set whether
the doors are also unlocked with the
button on the remote control.
Convenient opening
The remote control can be used to simultane‐
ously open the windows and the glass sunroof.
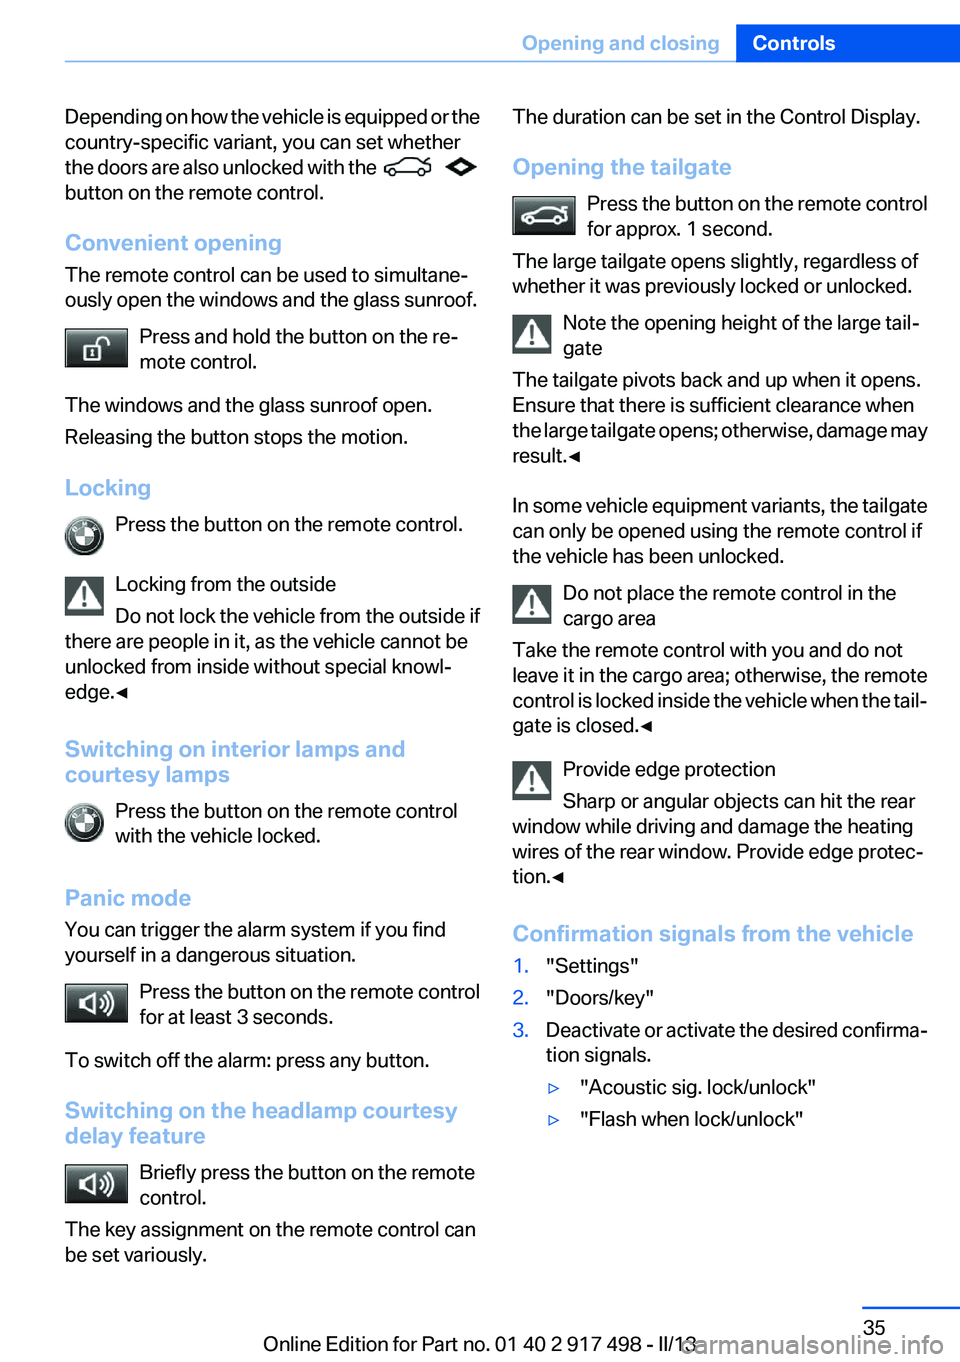
Press and hold the button on the re‐
mote control.
The windows and the glass sunroof open.
Releasing the button stops the motion.
Locking Press the button on the remote control.
Locking from the outside
Do not lock the vehicle from the outside if
there are people in it, as the vehicle cannot be
unlocked from inside without special knowl‐
edge.◀
Switching on interior lamps and
courtesy lamps
Press the button on the remote control
with the vehicle locked.
Panic mode
You can trigger the alarm system if you find
yourself in a dangerous situation.
Press the button on the remote control
for at least 3 seconds.
To switch off the alarm: press any button.
Switching on the headlamp courtesy
delay feature
Briefly press the button on the remote
control.
The key assignment on the remote control can
be set variously.
The duration can be set in the Control Display.
Opening the tailgate Press the button on the remote control
for approx. 1 second.
The large tailgate opens slightly, regardless of
whether it was previously locked or unlocked.
Note the opening height of the large tail‐
gate
The tailgate pivots back and up when it opens.
Ensure that there is sufficient clearance when
the large tailgate opens; otherwise, damage may
result.◀
In some vehicle equipment variants, the tailgate
can only be opened using the remote control if
the vehicle has been unlocked.
Do not place the remote control in the
cargo area
Take the remote control with you and do not
leave it in the cargo area; otherwise, the remote
control is locked inside the vehicle when the tail‐
gate is closed.◀
Provide edge protection
Sharp or angular objects can hit the rear
window while driving and damage the heating
wires of the rear window. Provide edge protec‐
tion.◀
Confirmation signals from the vehicle1."Settings"2."Doors/key"3.Deactivate or activate the desired confirma‐
tion signals.▷"Acoustic sig. lock/unlock"▷"Flash when lock/unlock"Seite 35Opening and closingControls35
Online Edition for Part no. 01 40 2 917 498 - II/13
Page 38 of 240
Doors
Automatic Soft Closing
To close the doors, push lightly.
It is closed automatically.
Danger of pinching
Make sure that the closing path of the
doors is clear; otherwise, injuries may result.◀
Tailgate
Opening
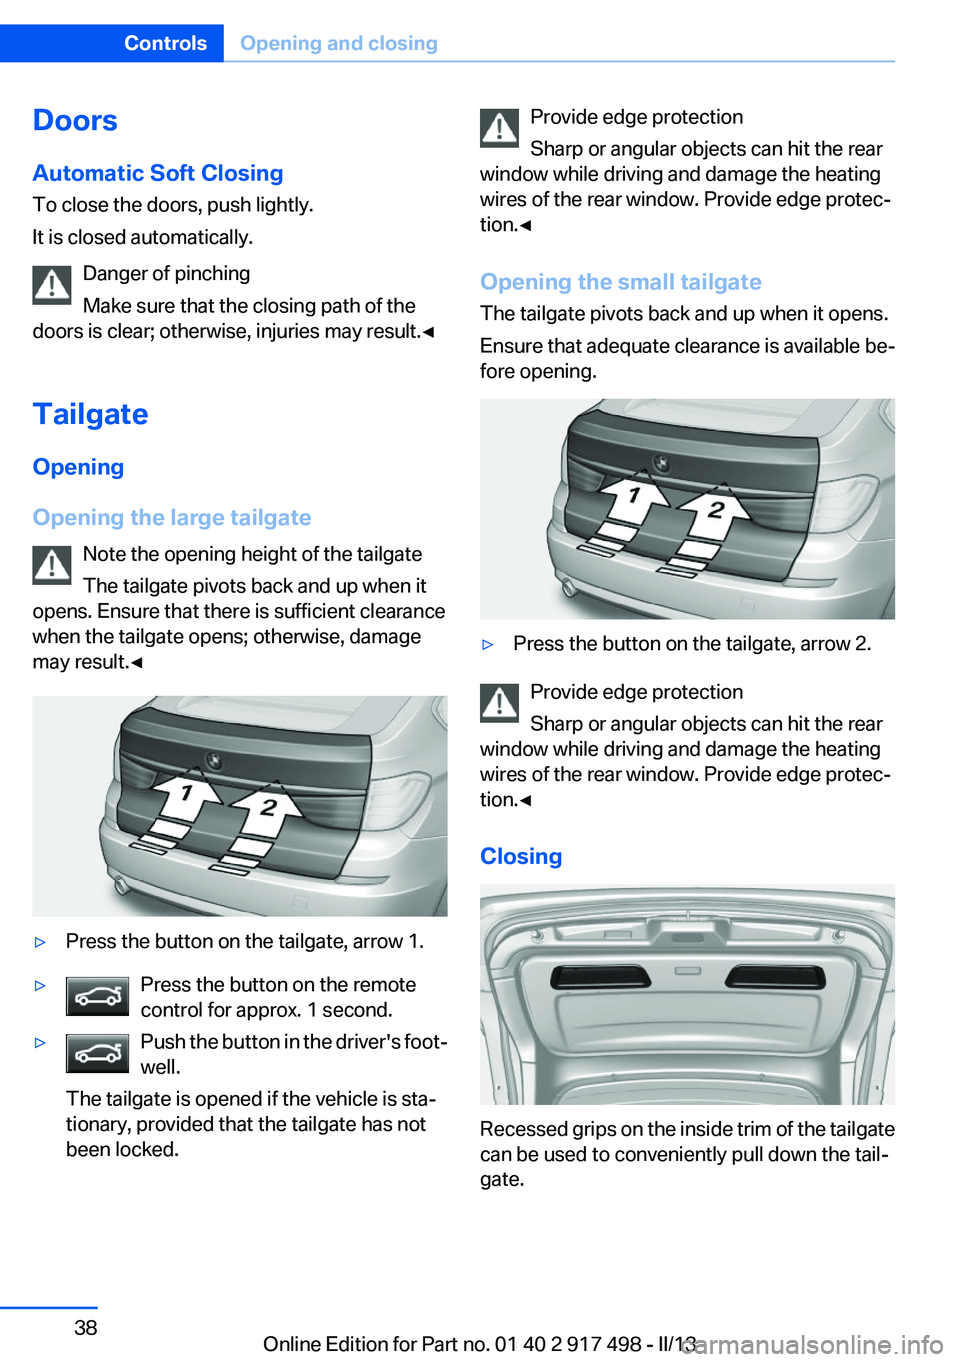
Opening the large tailgate Note the opening height of the tailgate
The tailgate pivots back and up when it
opens. Ensure that there is sufficient clearance
when the tailgate opens; otherwise, damage
may result.◀▷Press the button on the tailgate, arrow 1.▷Press the button on the remote
control for approx. 1 second.▷Push the button in the driver's foot‐
well.
The tailgate is opened if the vehicle is sta‐
tionary, provided that the tailgate has not
been locked.Provide edge protection
Sharp or angular objects can hit the rear
window while driving and damage the heating
wires of the rear window. Provide edge protec‐
tion.◀
Opening the small tailgate
The tailgate pivots back and up when it opens.
Ensure that adequate clearance is available be‐
fore opening.▷Press the button on the tailgate, arrow 2.
Provide edge protection
Sharp or angular objects can hit the rear
window while driving and damage the heating
wires of the rear window. Provide edge protec‐
tion.◀
Closing
Recessed grips on the inside trim of the tailgate
can be used to conveniently pull down the tail‐
gate.
Seite 38ControlsOpening and closing38
Online Edition for Part no. 01 40 2 917 498 - II/13
Page 46 of 240
The window closes without pinch protec‐
tion.
Safety switch
The following functions can be locked simulta‐
neously, using the switch:
▷Opening and closing of the rear windows
using the switches in the rear.▷Operation of the roller sunblinds using the
switches in the rear.▷Adjustment of the power rear seats.▷Adjustment of the power head restraints in
the rear.
Switching on and off
Press the button.
The LED lights up if the safety function
is switched on.
Safety switch for rear operation
Press the safety switch when transporting
children in the rear; otherwise, injury may result
if the windows are closed without supervision. ◀
Roller sunblinds
General information
The safety switch in the driver's door can be
used to prevent children, for example, from op‐
erating the roller blinds using the switches in the
rear.
Press the safety switch in the driver's door. The
LED lights up if the safety function is switched
on.
If you are no longer able to move the roller blinds
after having activated them consecutively a
number of times, the system is blocked for a
limited time to prevent overheating. Let the sys‐
tem cool.
The roller sunblinds cannot be moved at low in‐
terior temperatures.
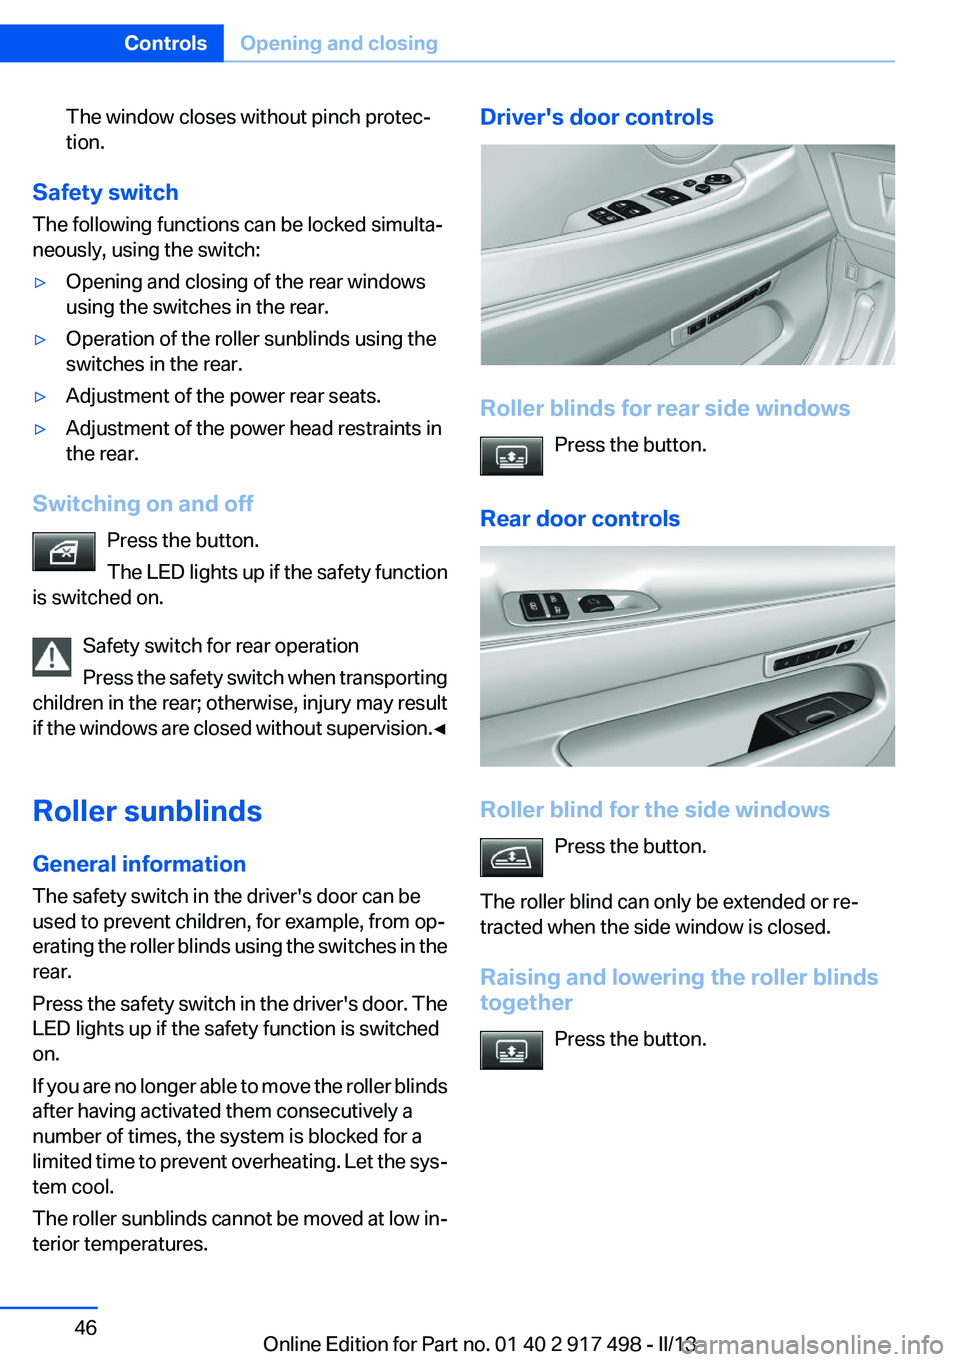
Driver's door controls
Roller blinds for rear side windows
Press the button.
Rear door controls
Roller blind for the side windows Press the button.
The roller blind can only be extended or re‐
tracted when the side window is closed.
Raising and lowering the roller blinds
together
Press the button.
Seite 46ControlsOpening and closing46
Online Edition for Part no. 01 40 2 917 498 - II/13
Page 52 of 240
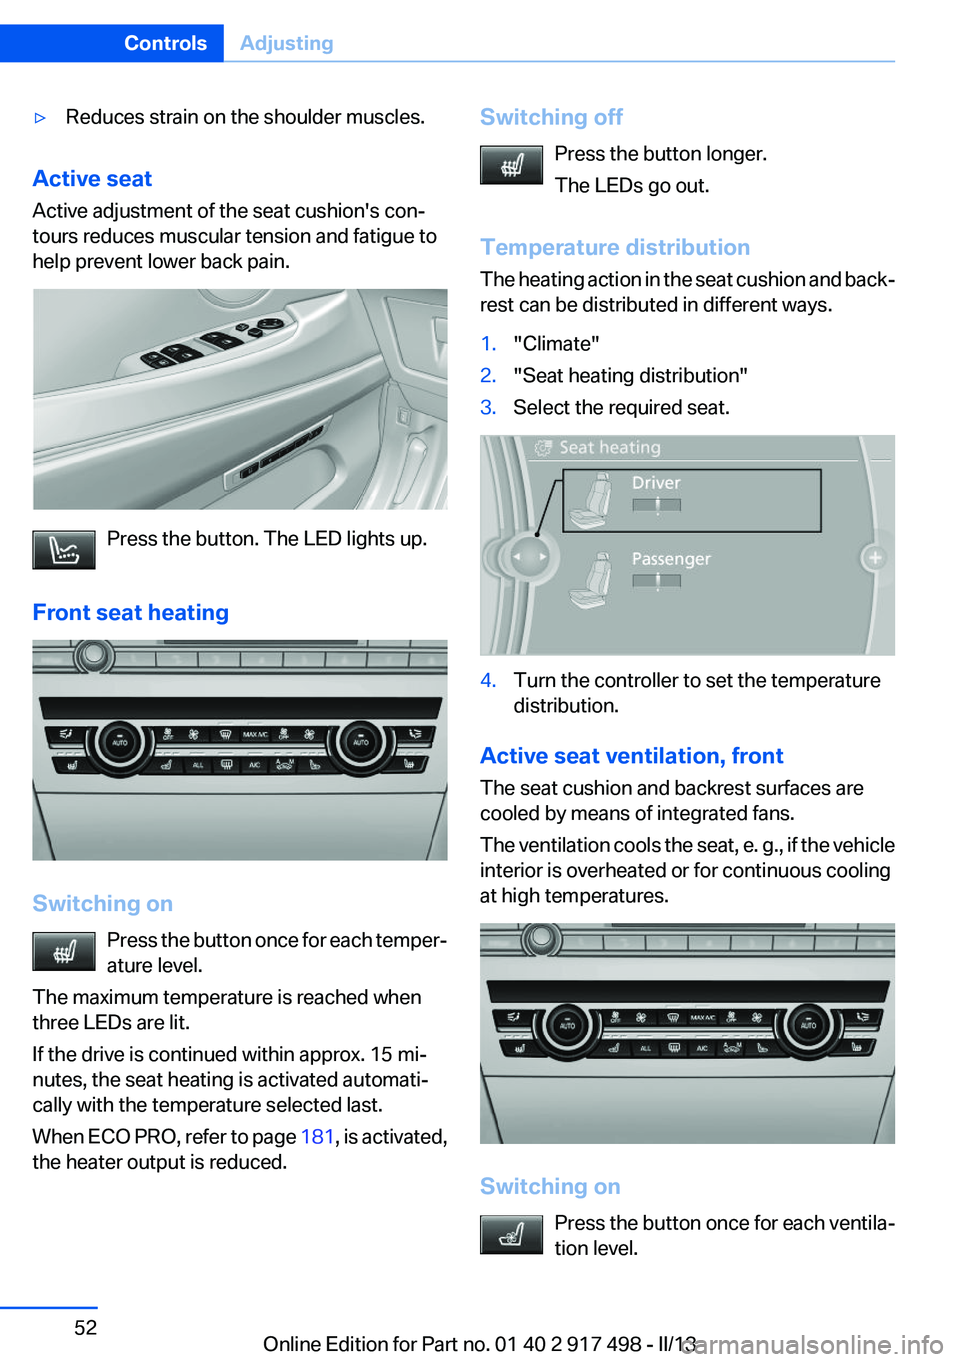
▷Reduces strain on the shoulder muscles.
Active seat
Active adjustment of the seat cushion's con‐
tours reduces muscular tension and fatigue to
help prevent lower back pain.
Press the button. The LED lights up.
Front seat heating
Switching on Press the button once for each temper‐
ature level.
The maximum temperature is reached when
three LEDs are lit.
If the drive is continued within approx. 15 mi‐
nutes, the seat heating is activated automati‐
cally with the temperature selected last.
When ECO PRO, refer to page 181, is activated,
the heater output is reduced.
Switching off
Press the button longer.
The LEDs go out.
Temperature distribution
The heating action in the seat cushion and back‐
rest can be distributed in different ways.1."Climate"2."Seat heating distribution"3.Select the required seat.4.Turn the controller to set the temperature
distribution.
Active seat ventilation, front
The seat cushion and backrest surfaces are
cooled by means of integrated fans.
The ventilation cools the seat, e. g., if the vehicle
interior is overheated or for continuous cooling
at high temperatures.
Switching on
Press the button once for each ventila‐
tion level.
Seite 52ControlsAdjusting52
Online Edition for Part no. 01 40 2 917 498 - II/13
Page 55 of 240
Reset to standard position
Maintain pressure on the button until the system
completes the adjustment.
Rear seat heating
Switching on Press the button once for each temper‐
ature level.
The maximum temperature is reached when
three LEDs are lit.
If the drive is continued within approx. 15 mi‐
nutes, the seat heating is activated automati‐
cally with the temperature selected last.
When ECO PRO, refer to page 181, is activated,
the heater output is reduced.
Switching off Press the button longer.
The LEDs go out.
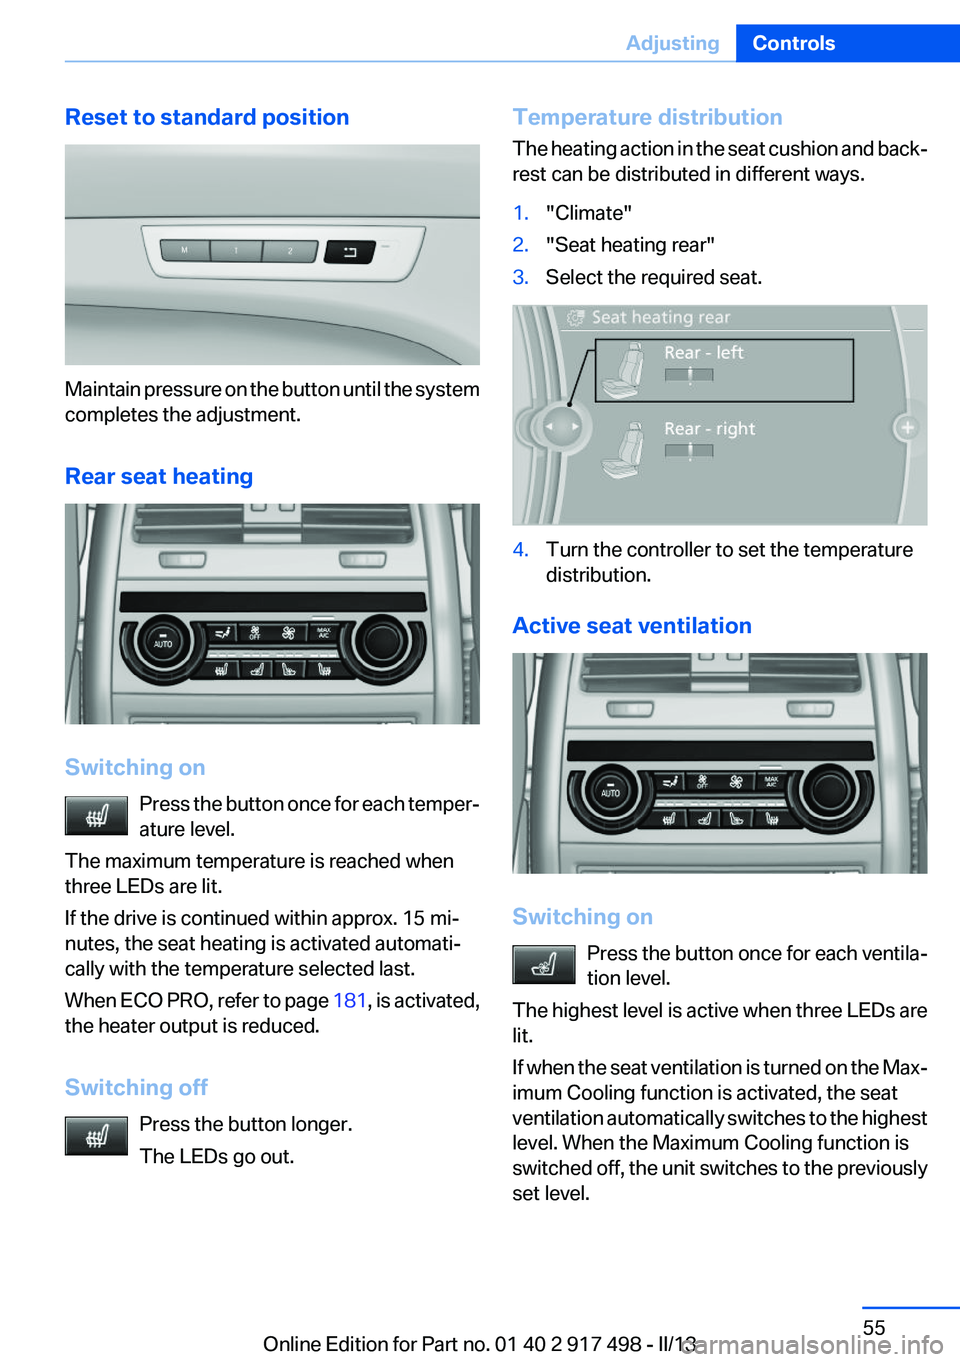
Temperature distribution
The heating action in the seat cushion and back‐
rest can be distributed in different ways.1."Climate"2."Seat heating rear"3.Select the required seat.4.Turn the controller to set the temperature
distribution.
Active seat ventilation
Switching on
Press the button once for each ventila‐
tion level.
The highest level is active when three LEDs are
lit.
If when the seat ventilation is turned on the Max‐
imum Cooling function is activated, the seat
ventilation automatically switches to the highest
level. When the Maximum Cooling function is
switched off, the unit switches to the previously
set level.
Seite 55AdjustingControls55
Online Edition for Part no. 01 40 2 917 498 - II/13
Page 61 of 240
Deactivating
Slide the mirror changeover switch to the pas‐
senger's side mirror position.
Fold in and out Press the button.
Possible up to approx. 15 mph/20 km/h.
For example, this is advantageous▷In car washes.▷In narrow streets.▷For folding back mirrors that were folded
away manually.
Mirrors that were folded in are folded out auto‐
matically at a speed of approx. 25 mph/40 km/h.
Fold in the mirror in a car wash
Before entering an automatic car wash,
fold in the exterior mirrors by hand or with the
button; otherwise, they could be damaged, de‐
pending on the width of the vehicle.◀
Automatic heating
Both exterior mirrors are automatically heated
whenever the engine is running.
Automatic dimming feature
Both exterior mirrors are automatically dimmed.
Photocells are used for control in the Interior rear
view mirror, refer to page 61.
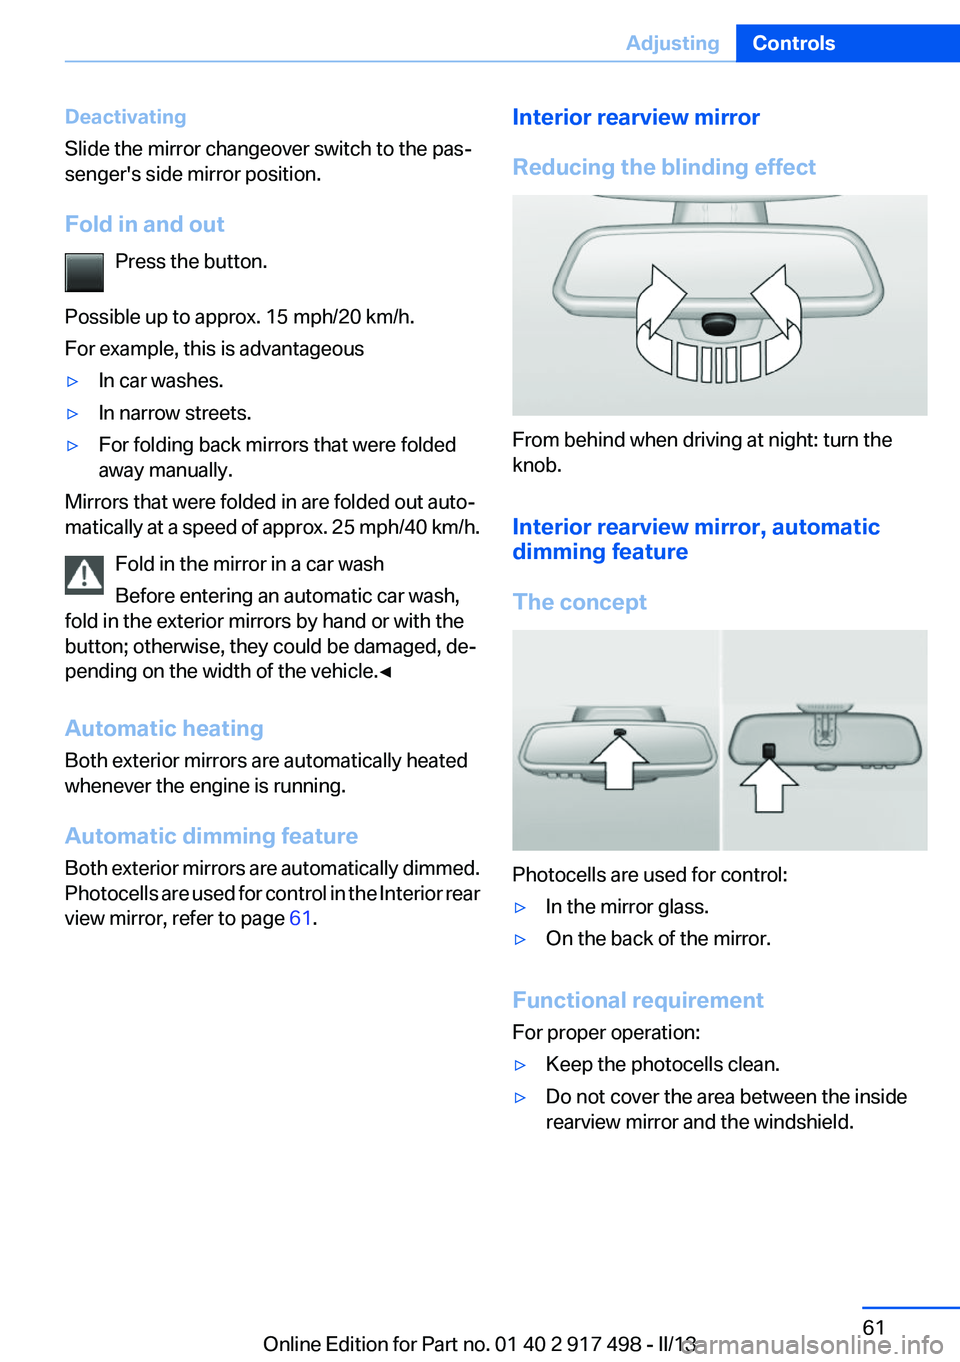
Interior rearview mirror
Reducing the blinding effect
From behind when driving at night: turn the
knob.
Interior rearview mirror, automatic
dimming feature
The concept
Photocells are used for control:
▷In the mirror glass.▷On the back of the mirror.
Functional requirement
For proper operation:
▷Keep the photocells clean.▷Do not cover the area between the inside
rearview mirror and the windshield.Seite 61AdjustingControls61
Online Edition for Part no. 01 40 2 917 498 - II/13
Page 62 of 240
Steering wheel
General information Do not adjust while driving
Do not adjust the steering wheel while
driving; otherwise, an unexpected movement
could result in an accident.◀
Manual steering wheel adjustment1.Fold the lever down.2.Move the steering wheel to the preferred
height and angle to suit your seating posi‐
tion.3.Fold the lever back.
Power steering wheel adjustment
The steering wheel can be adjusted in four di‐
rections.
Storing the position
Seat, mirror, and steering wheel memory, refer
to page 59.
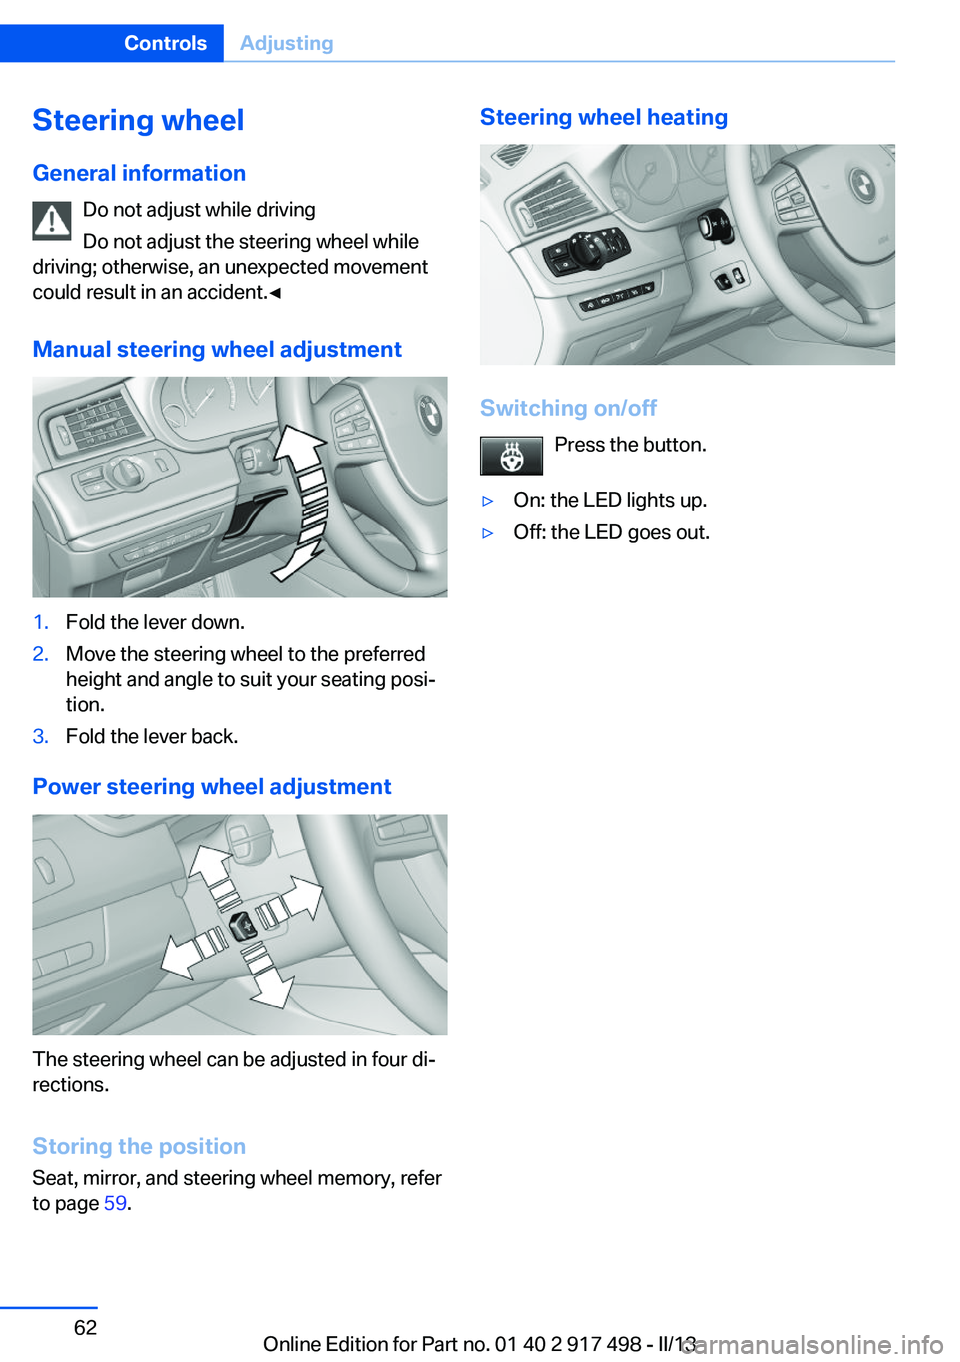
Steering wheel heating
Switching on/off
Press the button.
▷On: the LED lights up.▷Off: the LED goes out.Seite 62ControlsAdjusting62
Online Edition for Part no. 01 40 2 917 498 - II/13