Page 81 of 308

80
ControlsControls overview
Controls overview
Vehicle equipment
In this chapter, all production, country, and
optional equipment that is offered in the model
range is described. For this reason, descrip-
tions will be given of some equipment that may
not be available in a vehicle, for example due to
the special options or national-market version
selected. This also applies to safety related
functions and systems.
Odometer, outside
temperature display, clock
1Knob in the instrument cluster
2 Outside temperature display and clock
3 Odometer and trip odometer
Knob in the instrument cluster
>To reset the trip odometer while the ignition
is switched on
> To display the time, outside temperature
and odometer briefly while the ignition is
switched off
Units of measure
To select the respective units of measure, miles
or km for the odometer as well as 7 or 6 for
the outside temperature, refer to page 85.
The setting is stored for the remote control cur-
rently in use.
Time, outside temperature display
Setting the time, refer to page 87.
Outside temperature warning
When the displayed temperature sinks to
approx. +37 7/+3 6, a signal sounds and a
warning lamp lights up. There is an increased
risk of black ice.
Black ice can also form at temperatures
above +37 7/+3 6. You should there-
fore drive carefully on bridges and shaded
roads, for example; otherwise, there is an
increased risk of an accident. <
Odometer and trip odometer
Resetting the trip odometer:
With the ignition switched on, press button 1 in
the instrument cluster.
When the vehicle is parked
If you still want to view the time, outside tem-
perature and odometer reading briefly after the
remote control has been taken out of the igni-
tion lock:
Press button 1 in the instrument cluster.
00320051004F004C00510048000300280047004C0057004C005200510003
Page 86 of 308

85
Controls overview
Controls
Units of measure
You can change the units for fuel consumption,
route/distance, temperature and pressure.
1.
"Settings"
2. "Language/Units"
3. Select the desired menu item.
4. Select the desired unit.
The settings are stored for the remote control
currently in use.
Service requirements
The remaining driving distance and the date of
the next scheduled service are displayed briefly
immediately after you start the engine or switch
on the ignition. The extent of service work required can
be read out from the remote control by
your dealership Service Advisor. <
For certain maintenanc e operations, you can
view the respective distance remaining or due
date individually in the instrument cluster. 1.
Switch on the ignition, refer to page 60.
2. Push button 1 in the turn signal/high beam
lever up or down repeatedly until the appro-
priate symbol appears in the display,
accompanied by the words "SERVICE-
INFO".
3. Press button 2.
4. Use button 1 to scroll through the individual
service items.
00320051004F004C00510048000300280047004C0057004C005200510003
Page 88 of 308

87
Controls overview
Controls
Entering deadlines for legally required
inspections
Make sure the date on the Control Display is set
correctly, refer to page
89; otherwise, the effec-
tiveness of CBS Condition Based Service is not
ensured.
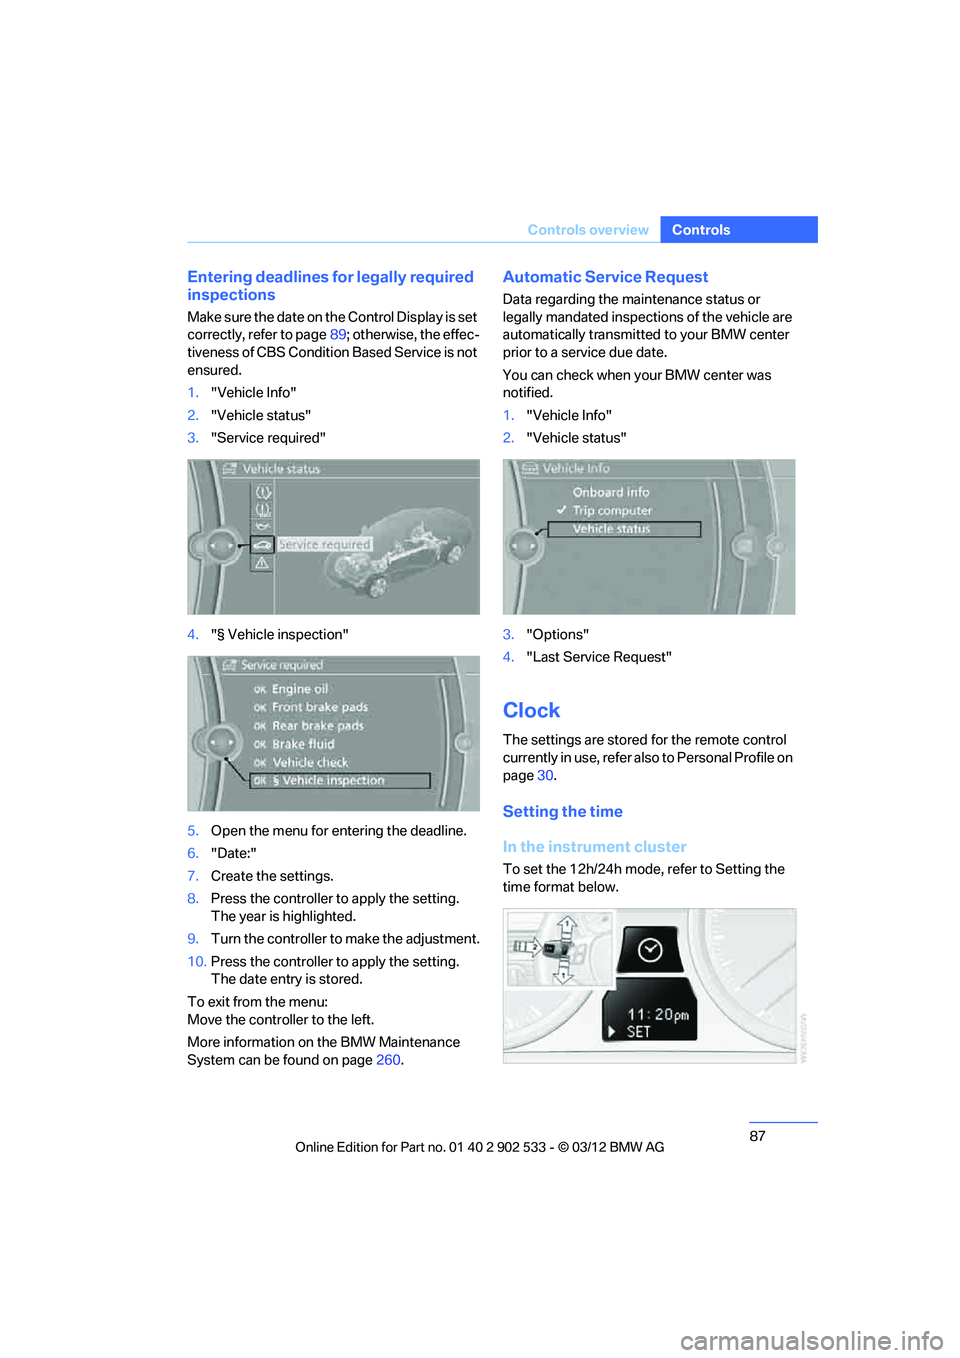
1. "Vehicle Info"
2. "Vehicle status"
3. "Service required"
4. "§ Vehicle inspection"
5. Open the menu for entering the deadline.
6. "Date:"
7. Create the settings.
8. Press the controller to apply the setting.
The year is highlighted.
9. Turn the controller to make the adjustment.
10. Press the controller to apply the setting.
The date entry is stored.
To exit from the menu:
Move the controller to the left.
More information on the BMW Maintenance
System can be found on page 260.
Automatic Service Request
Data regarding the maintenance status or
legally mandated inspections of the vehicle are
automatically transmitted to your BMW center
prior to a service due date.
You can check when your BMW center was
notified.
1."Vehicle Info"
2. "Vehicle status"
3. "Options"
4. "Last Service Request"
Clock
The settings are stored for the remote control
currently in use, refer also to Personal Profile on
page 30.
Setting the time
In the instrument cluster
To set the 12h/24h mode, refer to Setting the
time format below.
00320051004F004C00510048000300280047004C0057004C005200510003
Page 89 of 308

88
ControlsControls overview
1.Push button 1 in the turn signal/high beam
lever up or down repeatedly until the appro-
priate symbol appears in the display,
accompanied by the time and the word
"SET".
2. Press button 2.
3. Use button 1 to set the hours.
4. Press button 2 to confirm the entry.
5. Use button 1 to set the minutes.
6. Press button 2 to confirm the entry.
7. Press button 2.
The system accepts the new time.
Via iDrive
1. Press the MENUbutton.
The main menu is displayed.
2. "Settings"
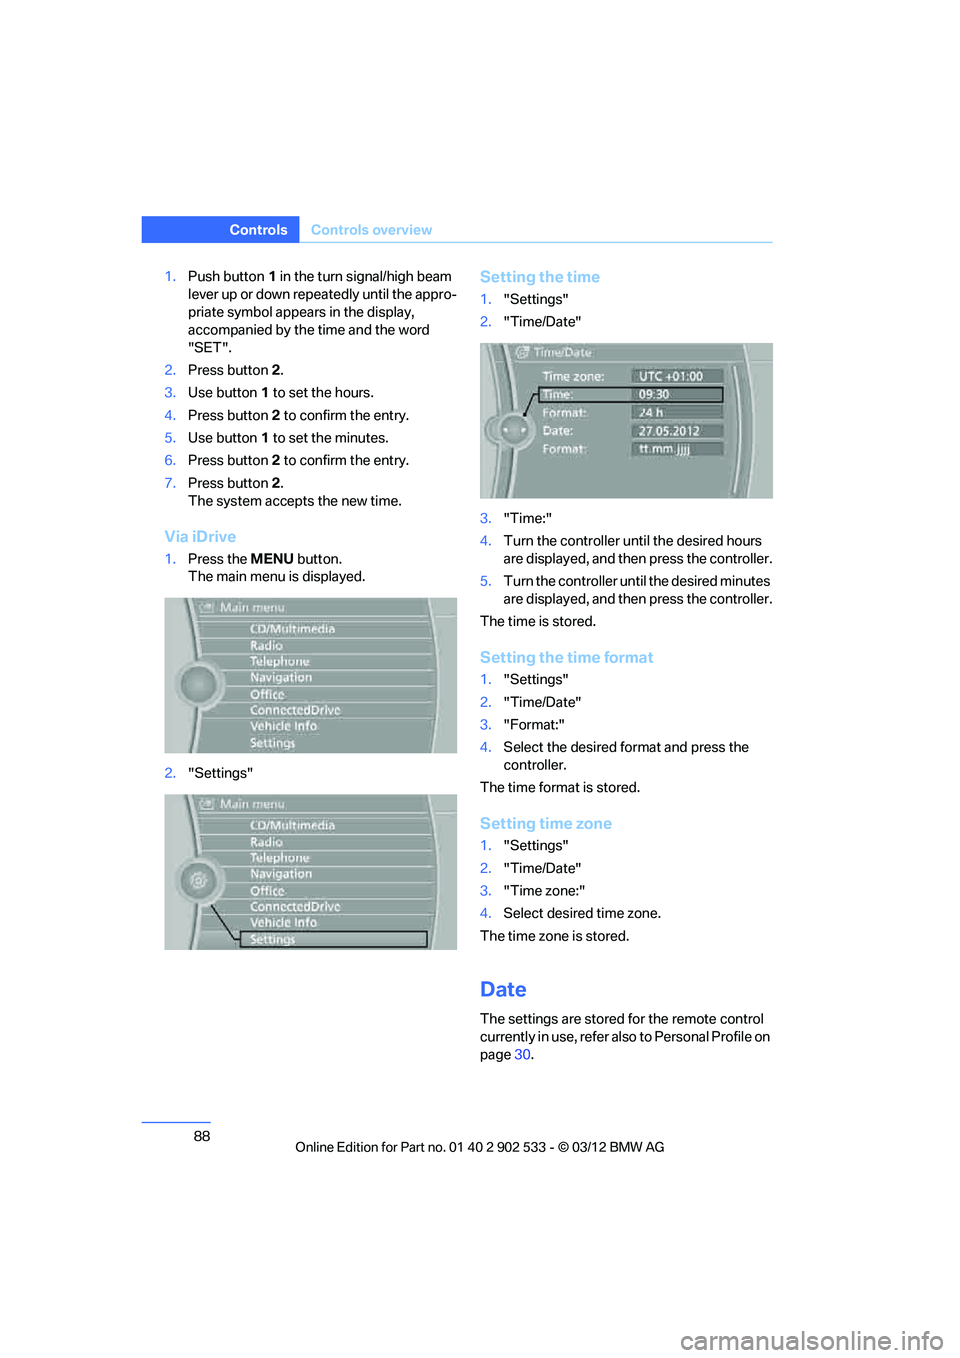
Setting the time
1."Settings"
2. "Time/Date"
3. "Time:"
4. Turn the controller until the desired hours
are displayed, and then press the controller.
5. Turn the controller until the desired minutes
are displayed, and then press the controller.
The time is stored.
Setting the time format
1. "Settings"
2. "Time/Date"
3. "Format:"
4. Select the desired format and press the
controller.
The time format is stored.
Setting time zone
1. "Settings"
2. "Time/Date"
3. "Time zone:"
4. Select desired time zone.
The time zone is stored.
Date
The settings are stored for the remote control
currently in use, refer also to Personal Profile on
page 30.
00320051004F004C00510048000300280047004C0057004C005200510003
Page 93 of 308
92
ControlsControls overview
3."Select current speed"
The system adopts your current speed as the
limit.
Activating/deactivating the limit
1. "Settings"
2. "Speed"
3. "Warning"
4. Press the controller.
Settings on the Control
Display
Language on the Control Display
Setting the language
1."Settings"
2. "Language/Units" 3.
"Language:"
4. Select the desired language.
The setting is stored for the remote control cur-
rently in use.
Setting the voice dialog
Switch between a standard dialog and a short
dialog.
1. "Settings"
2. "Language/Units"
3. "Speech mode:"
4. Select the desired dialog.
The setting is stored for the remote control cur-
rently in use.
Brightness of the Control Display
The brightness is automatically adapted to the
ambient lighting conditions. However, you can
change the basic setting.
1. "Settings"
2. "Control display"
00320051004F004C00510048000300280047004C0057004C005200510003
Page 94 of 308
93
Controls overview
Controls
3.
"Brightness"
4. Turn the controller until the desired setting
is selected.
5. Press the controller.
The setting is stored for the remote control cur-
rently in use. In bright conditions, for example,
the brightness control may not be clearly visi-
ble.
00320051004F004C00510048000300280047004C0057004C005200510003
Page 110 of 308

109
Lamps
Controls
low-beam headlamps manually under these
conditions.
<
Welcome lamps
If you leave the light switch in position 2 or3
when you park the car, the parking lamps and
the interior lamps light up briefly when you
unlock the vehicle.
Activating/deactivating welcome
lamps
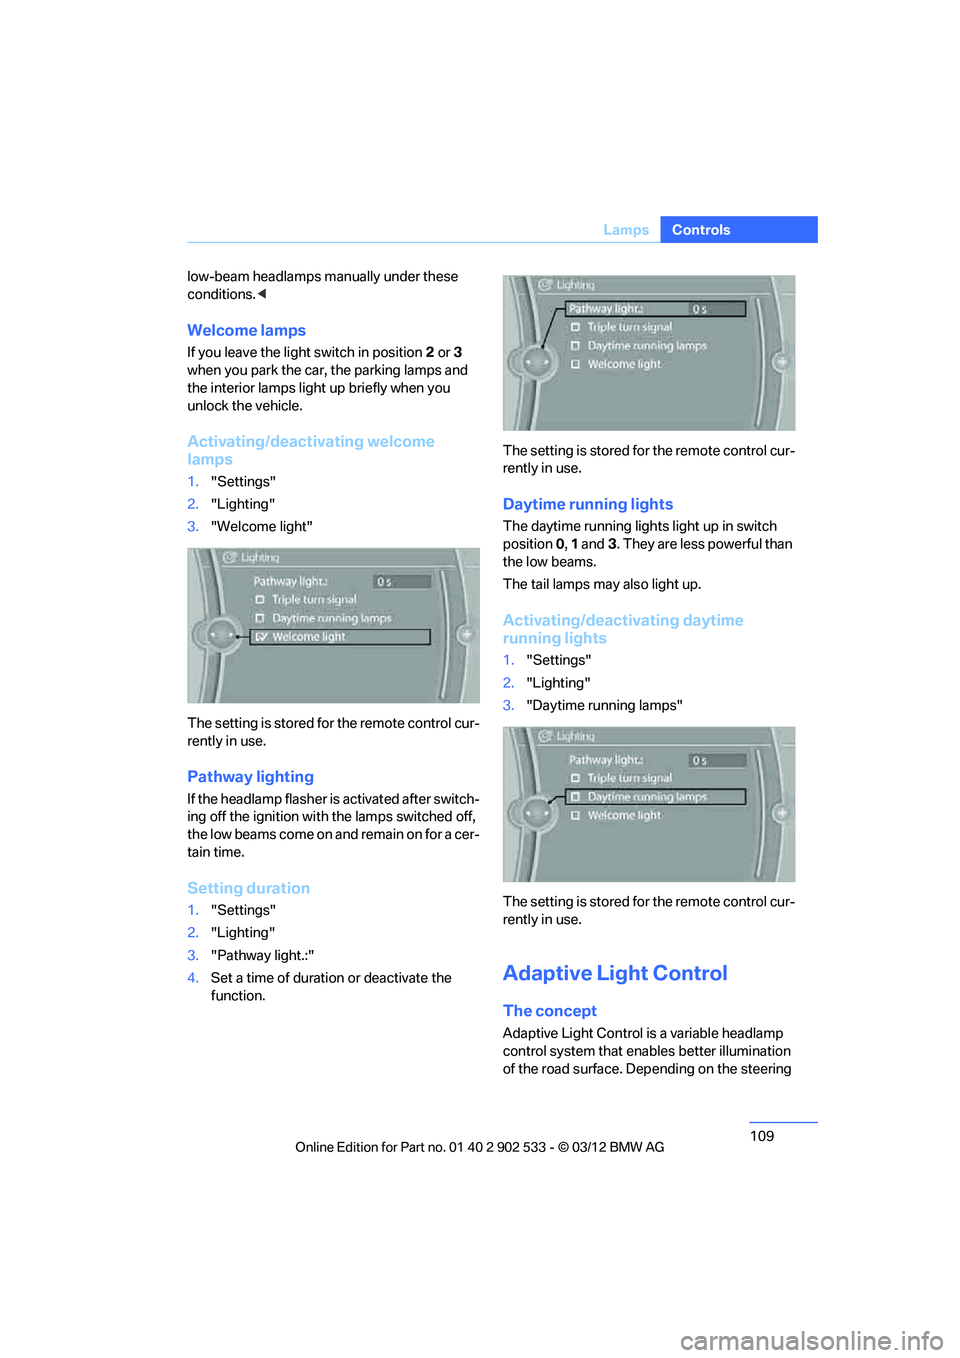
1. "Settings"
2. "Lighting"
3. "Welcome light"
The setting is stored for the remote control cur-
rently in use.
Pathway lighting
If the headlamp flasher is activated after switch-
ing off the ignition with the lamps switched off,
the low beams come on and remain on for a cer-
tain time.
Setting duration
1. "Settings"
2. "Lighting"
3. "Pathway light.:"
4. Set a time of duration or deactivate the
function. The setting is stored for the remote control cur-
rently in use.
Daytime running lights
The daytime running lights light up in switch
position
0, 1 and 3. They are less powerful than
the low beams.
The tail lamps may also light up.
Activating/deactivating daytime
running lights
1. "Settings"
2. "Lighting"
3. "Daytime running lamps"
The setting is stored for the remote control cur-
rently in use.
Adaptive Light Control
The concept
Adaptive Light Control is a variable headlamp
control system that enables better illumination
of the road surface. Depending on the steering
00320051004F004C00510048000300280047004C0057004C005200510003
Page 112 of 308

111
Lamps
Controls
traffic ahead of you, and adequate ambient
lighting, e.g. on city streets.
Switching the high beams on and off
manually
Whenever you wish, or when the situation
requires, you can intervene:
>
If the High-beam Assistant switches on the
high beams, but you would like to drive with
the low beams, simply switch off the high
beams using the turn signal/high beam
lever. This deactivates the High-beam
Assistant.
To reactivate the system, briefly push the
turn signal/high beam lever toward the high
beams again.
> If the High-beam Assistant switches on the
low beams, but you would like to drive with
the high beams, switch on the high beams
as usual. This deactivates the system and
the high beams need to be switched off
manually, if necessary.
To reactivate the system, briefly push the
turn signal/high beam lever toward the high
beams again.
> Use the headlamp flasher as usual with the
low beams switched on.
System limitations
The High-beam Assistant cannot serve
as a substitute for the driver's personal
judgment of when to use the high beams.
Therefore, manually switch off the high beams
in situations where this is required to avoid a
safety risk.<
The system is not fully functional in situations
such as the following, and driver intervention
may be necessary:
> In very unfavorable weather conditions,
such as fog or heavy precipitation
> In detecting poorly-lit road users, such as
pedestrians, cyclists, horseback riders and
wagons; when driving close to train or ship
traffic; and at animal crossings >
In tight curves, on hilltops or in depressions,
in cross traffic or half-obscured oncoming
traffic on highways
> In poorly lit towns and cities and in the pres-
ence of highly reflective signs
> At low speeds
> When the windshield in front of the interior
rearview mirror is fogged over, dirty or cov-
ered with stickers, etc.
> If the sensor is dirty. Clean the sensor on
the front of the interior rearview mirror using
a cloth moistened with a small amount of
glass cleaner.
Activating via iDrive
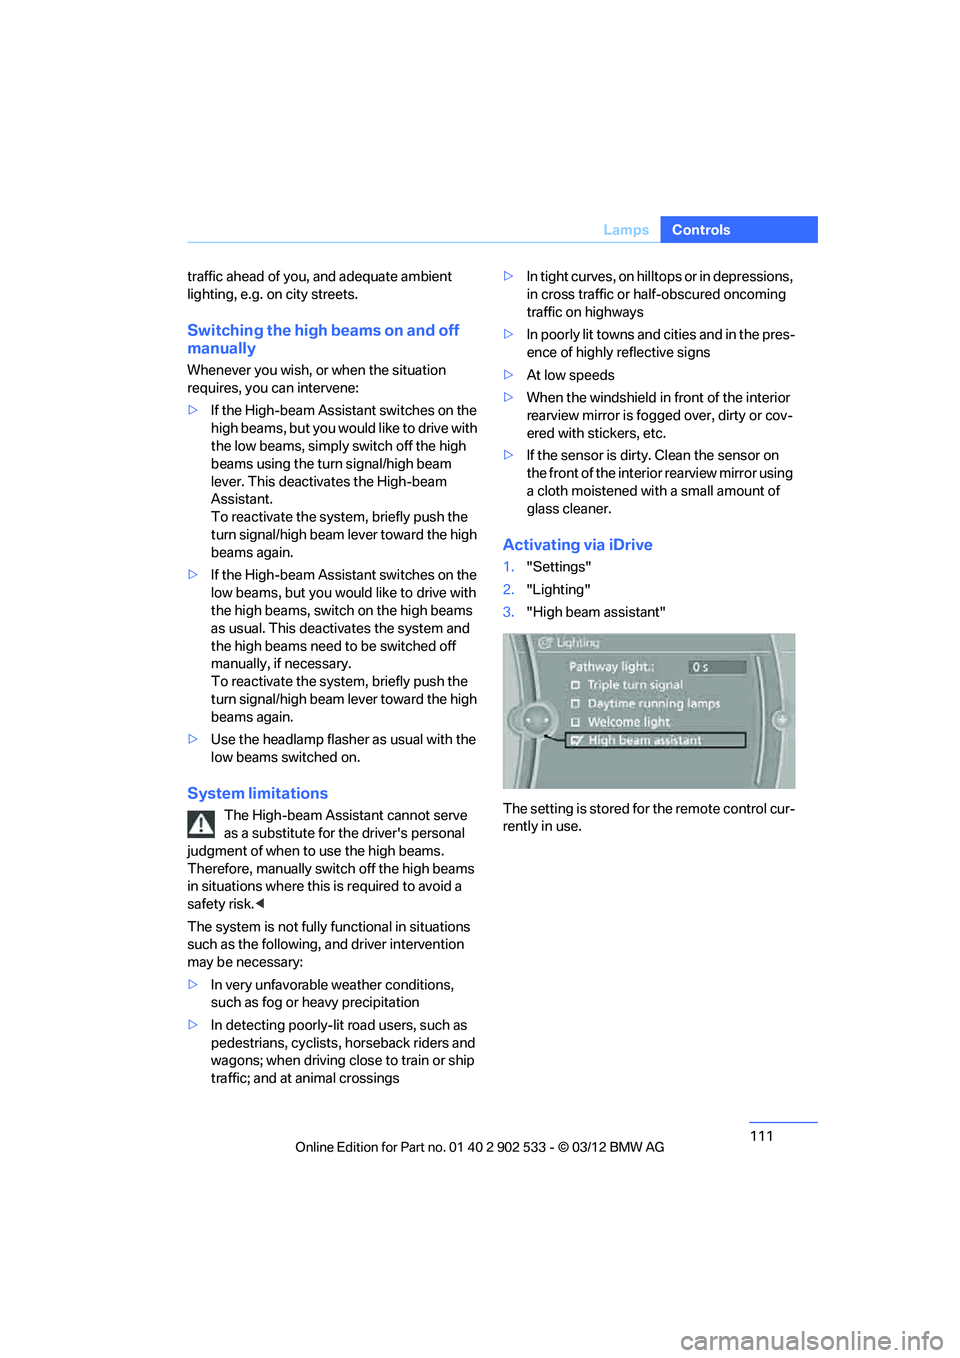
1."Settings"
2. "Lighting"
3. "High beam assistant"
The setting is stored for the remote control cur-
rently in use.
00320051004F004C00510048000300280047004C0057004C005200510003