2013 BMW 328I XDRIVE COUPE trunk
[x] Cancel search: trunkPage 130 of 308
129
Practical interior accessories
Controls
aging the seats. Depending on the vehicle
equipment, the mounting points for the trunk
net are found on the rear panel of the backrest.
To unlock the rear seat backrest: press the but-
ton on the driver's or the opposite side.
Closing
Return the rear seat backrest to the upright
seating position and engage it.
When returning the backrest to its seating
position, make sure that the seat's lock-
ing mechanism engages properly. Otherwise,
cargo could be thrown around in the event of
sharp braking or swerving and endanger the
occupants. <
Bag holder
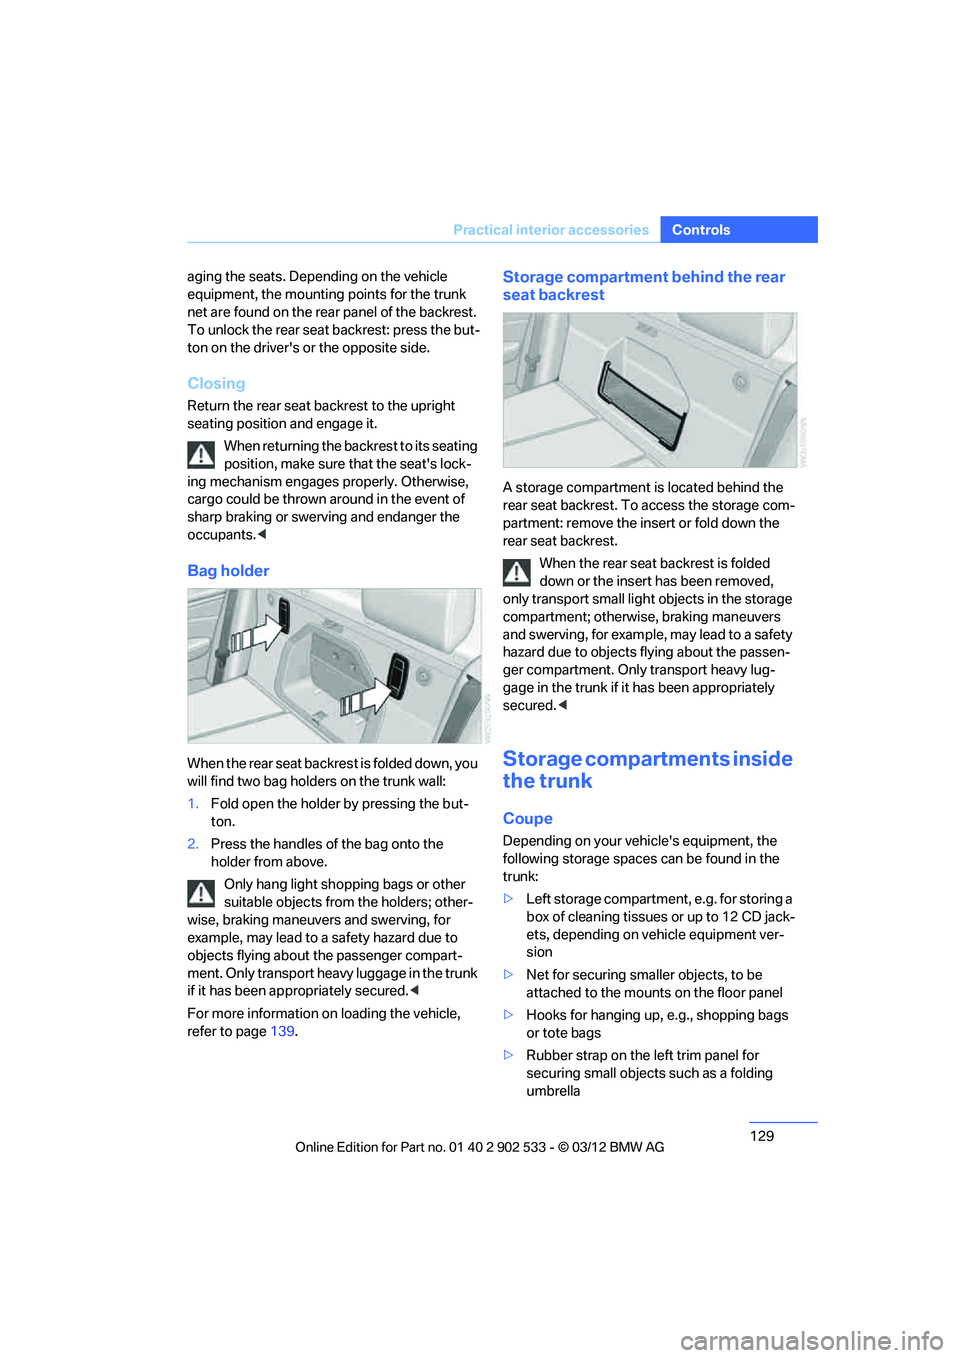
When the rear seat backrest is folded down, you
will find two bag holders on the trunk wall:
1.Fold open the holder by pressing the but-
ton.
2. Press the handles of the bag onto the
holder from above.
Only hang light shopping bags or other
suitable objects from the holders; other-
wise, braking maneuvers and swerving, for
example, may lead to a safety hazard due to
objects flying about the passenger compart-
ment. Only transport heavy luggage in the trunk
if it has been appropriately secured. <
For more information on loading the vehicle,
refer to page 139.
Storage compartment behind the rear
seat backrest
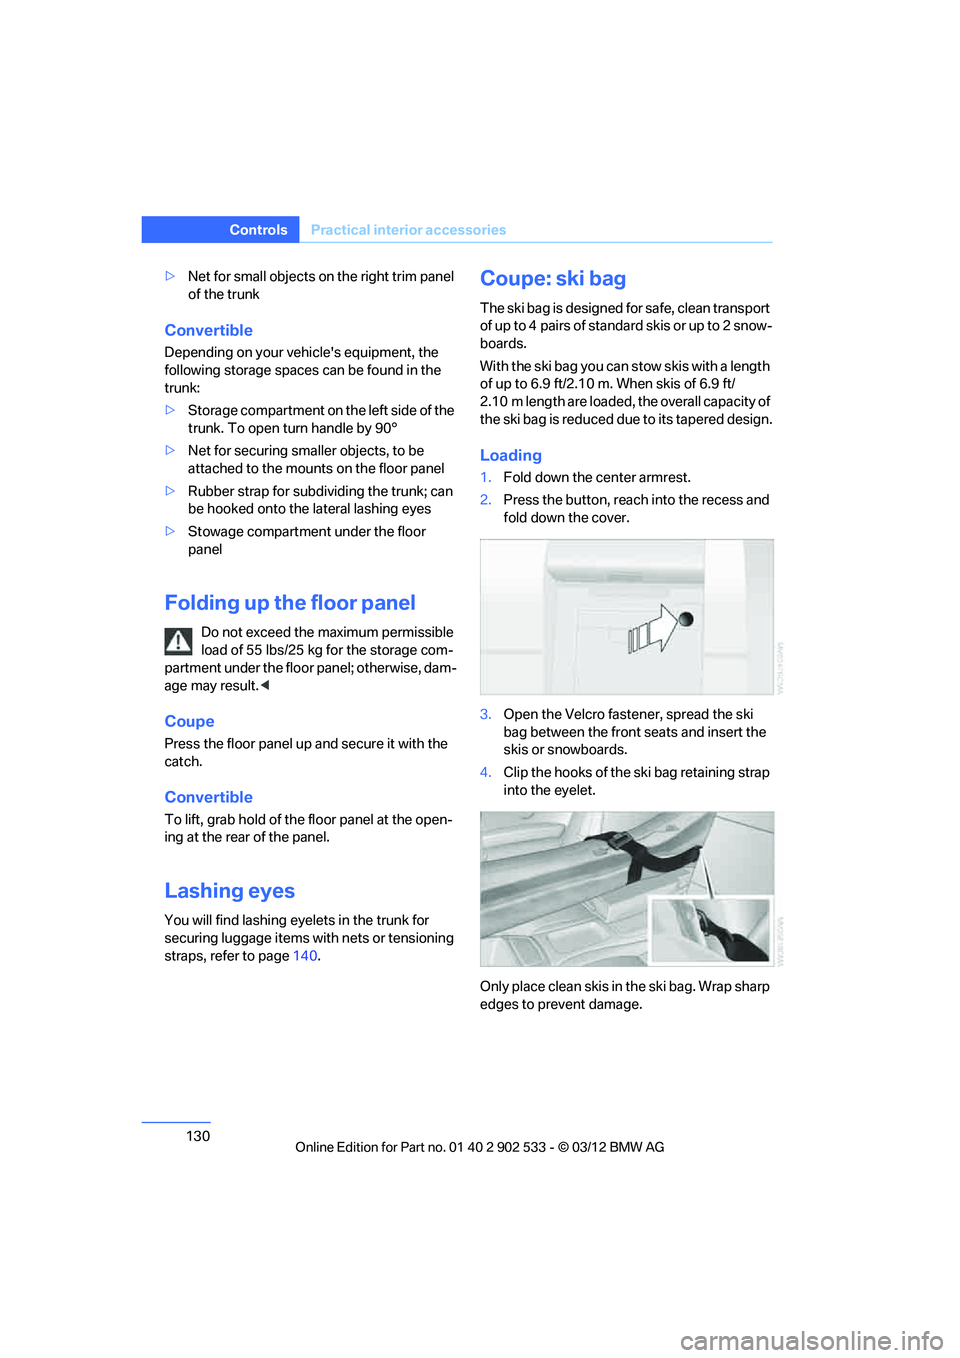
A storage compartment is located behind the
rear seat backrest. To access the storage com-
partment: remove the insert or fold down the
rear seat backrest.
When the rear seat backrest is folded
down or the insert has been removed,
only transport small ligh t objects in the storage
compartment; otherwise, braking maneuvers
and swerving, for example, may lead to a safety
hazard due to objects flying about the passen-
ger compartment. Only transport heavy lug-
gage in the trunk if it has been appropriately
secured. <
Storage compartments inside
the trunk
Coupe
Depending on your vehicle's equipment, the
following storage spaces can be found in the
trunk:
>Left storage compartment, e.g. for storing a
box of cleaning tissues or up to 12 CD jack-
ets, depending on vehicle equipment ver-
sion
> Net for securing smaller objects, to be
attached to the mounts on the floor panel
> Hooks for hanging up, e.g., shopping bags
or tote bags
> Rubber strap on the left trim panel for
securing small objects such as a folding
umbrella
00320051004F004C00510048000300280047004C0057004C005200510003
Page 131 of 308
130
ControlsPractical interior accessories
>Net for small objects on the right trim panel
of the trunk
Convertible
Depending on your vehicle's equipment, the
following storage spaces can be found in the
trunk:
>Storage compartment on the left side of the
trunk. To open turn handle by 90°
> Net for securing smaller objects, to be
attached to the mounts on the floor panel
> Rubber strap for subdividing the trunk; can
be hooked onto the lateral lashing eyes
> Stowage compartment under the floor
panel
Folding up the floor panel
Do not exceed the maximum permissible
load of 55 lbs/25 kg for the storage com-
partment under the floor panel; otherwise, dam-
age may result. <
Coupe
Press the floor panel up and secure it with the
catch.
Convertible
To lift, grab hold of the floor panel at the open-
ing at the rear of the panel.
Lashing eyes
You will find lashing eyelets in the trunk for
securing luggage items with nets or tensioning
straps, refer to page 140.
Coupe: ski bag
The ski bag is designed for safe, clean transport
of up to 4 pairs of sta nda rd s kis o r up to 2 s now-
boards.
With the ski bag you can stow skis with a length
of up to 6.9 ft/2.10 m. When skis of 6.9 ft/
2.10 m length are loaded, the overall capacity of
the ski bag is reduced due to its tapered design.
Loading
1.Fold down the center armrest.
2. Press the button, reach into the recess and
fold down the cover.
3. Open the Velcro fastener, spread the ski
bag between the front seats and insert the
skis or snowboards.
4. Clip the hooks of the ski bag retaining strap
into the eyelet.
Only place clean skis in the ski bag. Wrap sharp
edges to prevent damage.
00320051004F004C00510048000300280047004C0057004C005200510003
Page 133 of 308
132
ControlsPractical interior accessories
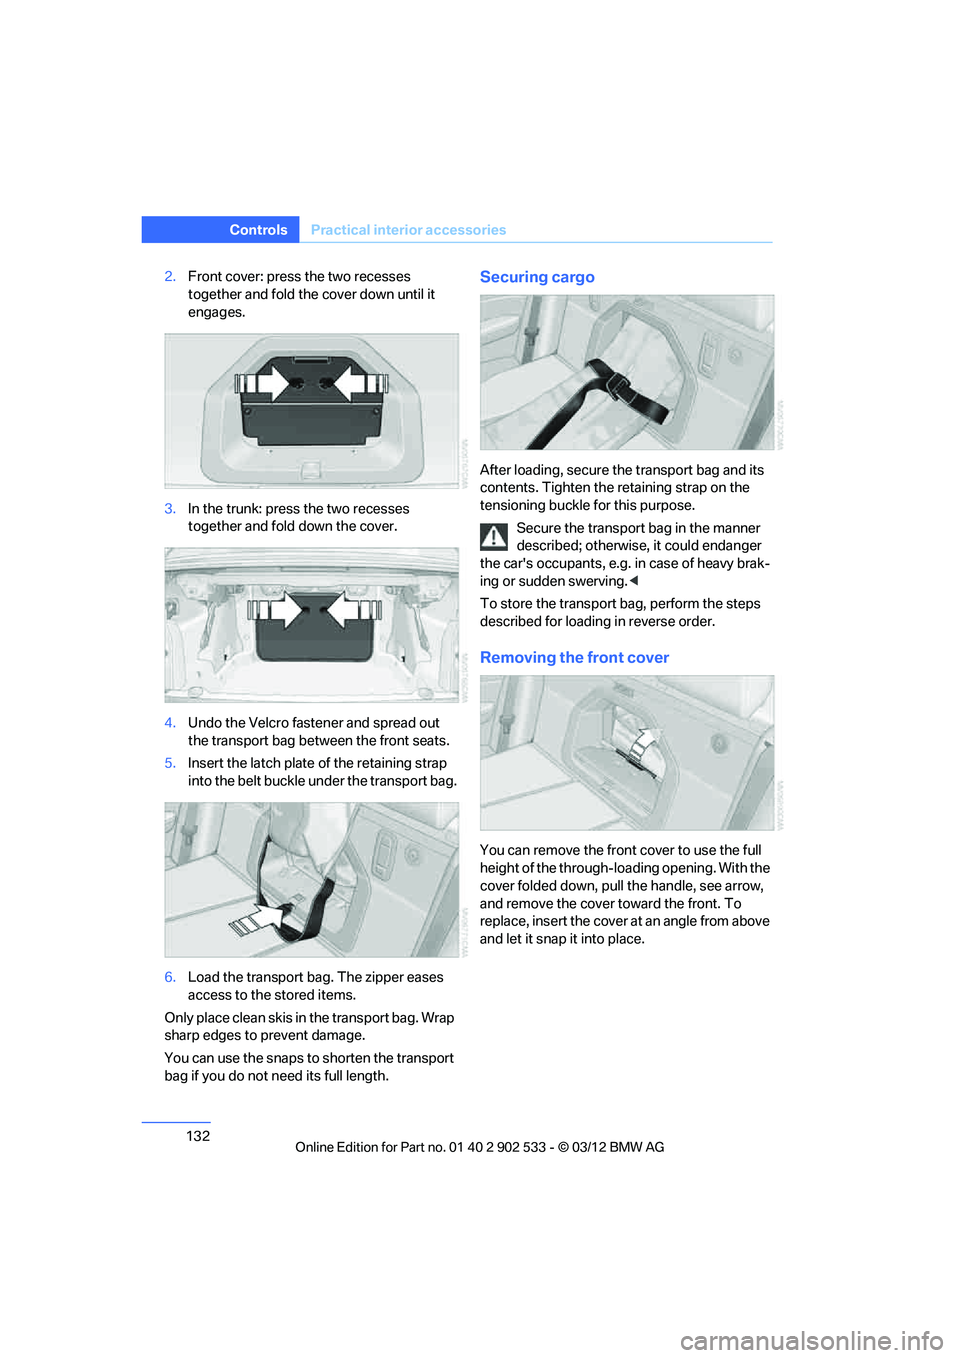
2.Front cover: press the two recesses
together and fold the cover down until it
engages.
3. In the trunk: press the two recesses
together and fold down the cover.
4. Undo the Velcro fastener and spread out
the transport bag between the front seats.
5. Insert the latch plate of the retaining strap
into the belt buckle under the transport bag.
6. Load the transport bag. The zipper eases
access to the stored items.
Only place clean skis in the transport bag. Wrap
sharp edges to prevent damage.
You can use the snaps to shorten the transport
bag if you do not need its full length.Securing cargo
After loading, secure the transport bag and its
contents. Tighten the retaining strap on the
tensioning buckle for this purpose. Secure the transport bag in the manner
described; otherwise, it could endanger
the car's occupants, e.g. in case of heavy brak-
ing or sudden swerving. <
To store the transport bag, perform the steps
described for loading in reverse order.
Removing the front cover
You can remove the front cover to use the full
height of the through-loading opening. With the
cover folded down, pull the handle, see arrow,
and remove the cover toward the front. To
replace, insert the cover at an angle from above
and let it snap it into place.
00320051004F004C00510048000300280047004C0057004C005200510003
Page 138 of 308
137
Things to remember when driving
Driving tips
Check tire inflation pressure regularly
Check the tire inflation pressure at least twice a
month and before embarkin
g on a long journey,
and correct it if necessary.
Low tire inflation pressure causes higher rolling
resistance and thus increases fuel consumption
and tire wear.
Set off immediately
Do not let the engine warm up while the car is
still standing, but set off immediately at moder-
ate engine speed. This is the fastest way for the
cold engine to reach its operating temperature.
Drive defensively
Avoid unnecessary acceleration and braking
maneuvers. To do so, keep an adequate dis-
tance between you and the vehicle in front of
you. A defensive and smooth driving style
keeps fuel consumption down.
Avoid high engine speeds
Only use first gear when setting off. In second
and higher gears, accelerate without hesitation
or pauses. When accelerating, shift up before
reaching high engine speeds.
When you reach the desired speed, shift into
the highest applicable gear and drive with the
engine speed as low as possible and at a con-
stant speed.
As a rule: driving at low engine speeds lowers
fuel consumption and reduces wear.
Coasting
When approaching a red light, take your foot off
the accelerator and coast to a stop in the high-
est applicable gear.
On a downhill slope, take your foot off the accel-
erator and coast in a suitable gear.
The fuel supply is interrupted when coasting.
Switch off the engine during lengthy
stops
Switch off the engine when stopping for lengthy
periods, e.g. at traffic lights, railroad crossings
or in traffic congestions.
Switch off functions you do not need at
the moment
Functions such as the air conditioner, seat
heating or rear window defroster draw large
amounts of power and consume additional fuel.
Especially in city traffic and in stop-and-go driv-
ing they have a considerable impact. Therefore,
switch these functions off when they are not
really needed.
Have the vehicle serviced
Have the vehicle serviced regularly to achieve
good economy and a long vehicle life. BMW
recommends having the vehicle serviced at
your BMW center. Also note the BMW Mainte-
nance System, refer to page 260.
General driving notes
Close the trunk lid
Only drive with the trunk closed. Failure to
do so may endanger passengers or other
road users or may damage the vehicle in the
event of an accident or a braking and evasive
maneuver. In addition, exhaust gas may flow
into the passenger compartment. <
If special circumstances make it absolutely nec-
essary to drive with the trunk open:
1. Close all windows and the glass roof.
2. Greatly increase the air volume of the auto-
matic climate control system, refer to
page 116.
3. Drive cautiously.
Hot exhaust system
In all vehicles, extremely high tempera-
tures are generated in the exhaust sys-
00320051004F004C00510048000300280047004C0057004C005200510003
Page 140 of 308
139
Things to remember when driving
Driving tips
Hills
To prevent overheating and the resulting
reduced efficiency of the brake system,
drive long or steep downhill gradients in the
gear in which the least braking is required. Even
light but consistent brake pressure can lead to
high temperatures, brake wear and possibly
even brake failure. <
You can increase the engine's braking effect by
shifting down, all the way to first gear if neces-
sary. This strategy helps you avoid placing
excessive loads on the brake system. Down-
shifting in manual mode of the automatic trans-
mission, refer to page 64.
Sport automatic transmission with double
clutch: never drive with the transmission
in neutral or with the engine switched off; other-
wise, there will be no engine braking action and
no power assistance to the brakes and steering.
Manual transmission: never drive with the
clutch held down, with the transmission in neu-
tral or with the engine switched off; otherwise,
there will be no engine braking action and no
power assistance to the brakes and steering.
Never allow floor mats, carpets or any other
objects to protrude into the area around the
pedals; otherwise, pedal function could be
impaired. <
Corrosion on brake rotors
When the vehicle is driven only occasionally,
during extended periods when the vehicle is not
used at all, and in operating conditions where
brake applications are less frequent, there is an
increased tendency for corrosion to form on
rotors, while contaminants accumulate on the
brake pads. This occurs because the minimum
pressure which must be exerted by the pads
during brake applications to clean the rotors is
not reached.
Should corrosion form on the brake rotors, the
brakes will tend to respond with a pulsating
effect that even extended application will fail to
cure.
When the vehicle is parked
Condensation forms while the automatic cli-
mate control is in operation, and then exits
under the vehicle. Traces of condensed water
under the vehicle are therefore normal.
Cargo loading
To avoid loading the tires beyond their
approved carrying capacity, never over-
load the vehicle. Overloading can lead to over-
heating and increases the rate at which damage
develops inside the tires. In some situations,
this can result in sudden loss of tire pressure. <
Make sure that no liquids are spilled or
leak from their containers in the trunk, as
this could result in damage to the vehicle. <
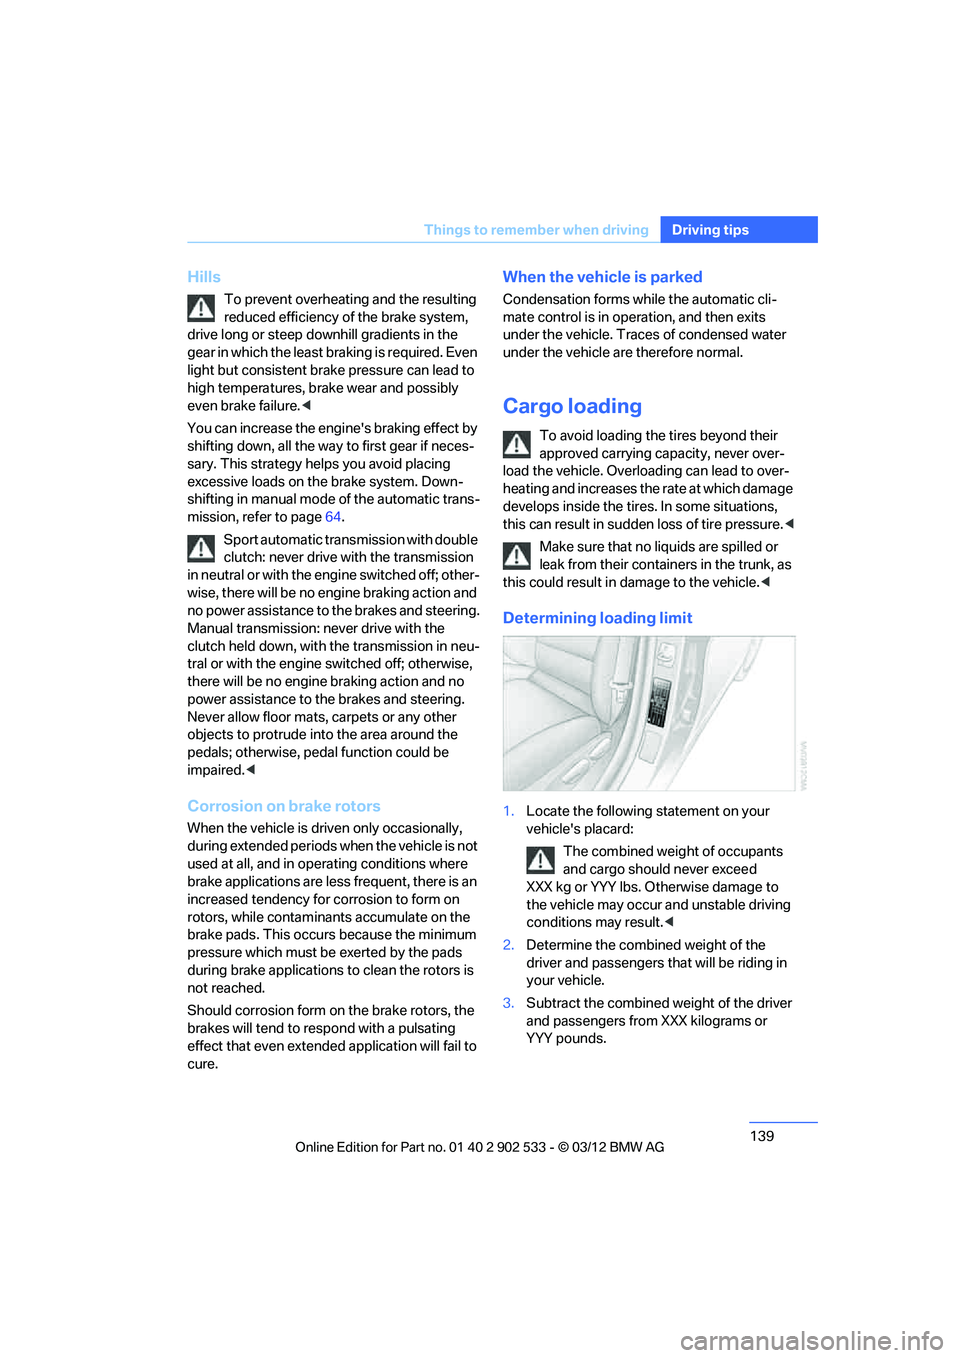
Determining loading limit
1.Locate the following statement on your
vehicle's placard:
The combined weight of occupants
and cargo should never exceed
XXX kg or YYY lbs. Otherwise damage to
the vehicle may occur and unstable driving
conditions may result. <
2. Determine the combined weight of the
driver and passengers that will be riding in
your vehicle.
3. Subtract the combined weight of the driver
and passengers from XXX kilograms or
YYY pounds.
00320051004F004C00510048000300280047004C0057004C005200510003
Page 142 of 308
141
Things to remember when driving
Driving tips
>
Secure smaller and lighter items using
retaining straps, a trunk net, or draw straps.
> Heavy-duty cargo straps for securing larger
and heavier objects are available at your
BMW center. Four lashing eyes are pro-
vided for attaching the cargo straps. Two
are located on the side walls of the trunk 1,
two additional ones are located on the
inside wall of the trunk 2.
Please note the information supplied with
the cargo straps.
Convertible: before opening the hardtop,
fold down the trunk partition. Make sure
the trunk is loaded correctly; otherwise parts of
the hardtop can be damaged, refer to
page 128.<
Always position and secure the cargo as
described above, so that it cannot endan-
ger the car's occupants, for example if sudden
braking or swerving is necessary.
Never exceed either the approved gross vehicle
weight or either of the approved axle loads, refer
to page 283, as excessive loads can pose a
safety hazard, and may also place you in viola-
tion of traffic safety laws.
Heavy or hard objects should not be carried
loose inside the car, since they could be thrown
around, for example as a result of heavy braking,
sudden swerves, etc., and endanger the occu-
pants.
Only attach the cargo straps using the lashing
eyes shown in the illustration. Do not secure
cargo with the anchors for tether straps, refer to
page 58; otherwise, these could be damaged.
A special rack system is available as an option
for your BMW. Comply with the directions given
in the installation instructions.
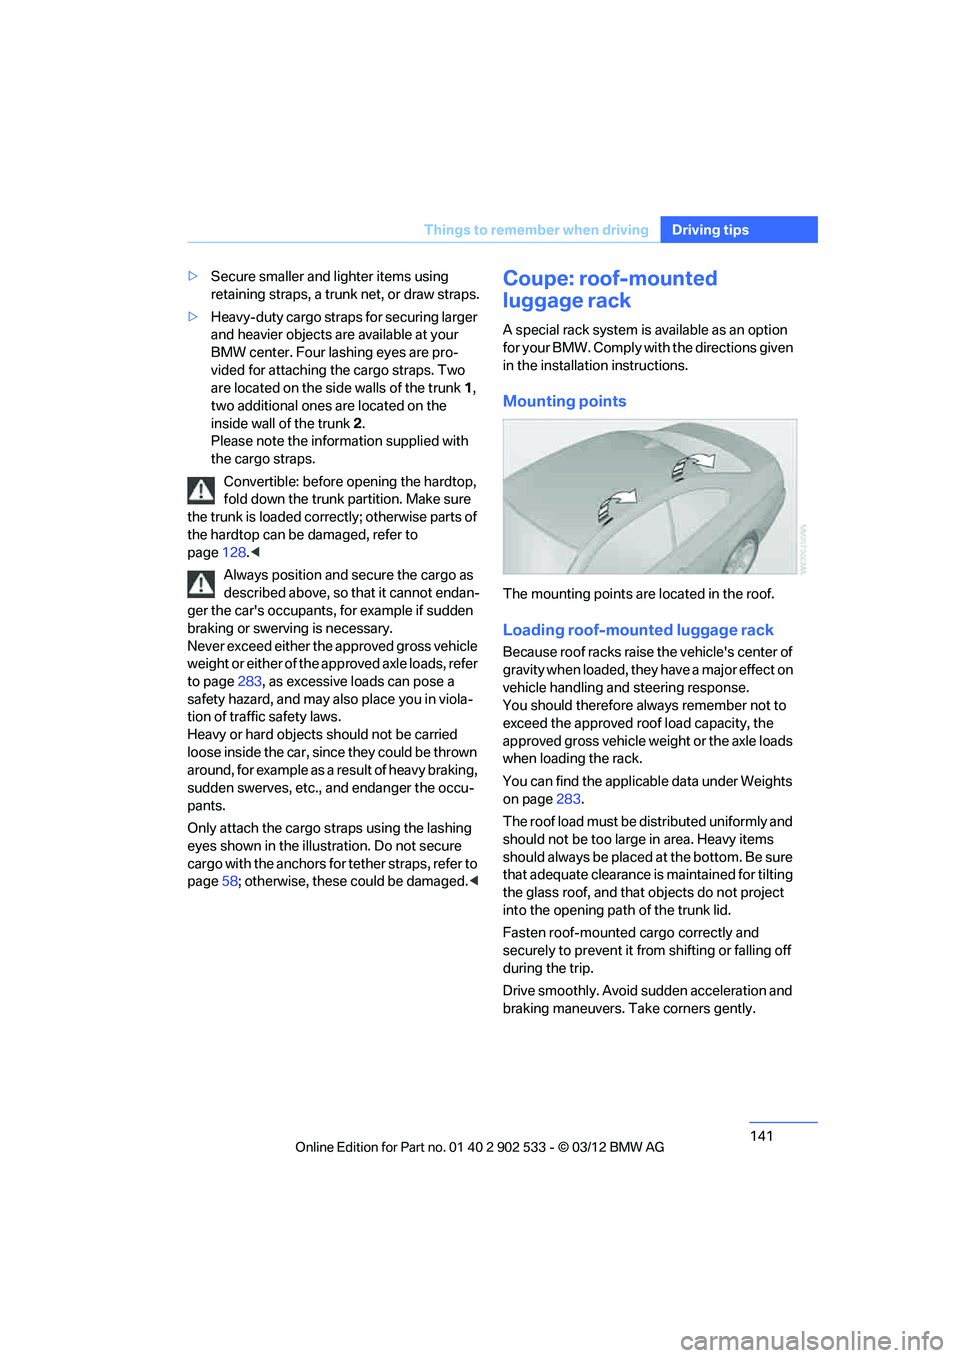
Mounting points
The mounting points are located in the roof.
Loading roof-mounted luggage rack
Because roof racks raise the vehicle's center of
gravity when loaded, they have a major effect on
vehicle handling and steering response.
You should therefore always remember not to
exceed the approved roof load capacity, the
approved gross vehicle weight or the axle loads
when loading the rack.
You can find the applicable data under Weights
on page283.
The roof load must be distributed uniformly and
should not be too large in area. Heavy items
should always be placed at the bottom. Be sure
that adequate clearance is maintained for tilting
the glass roof, and that objects do not project
into the opening path of the trunk lid.
Fasten roof-mounted cargo correctly and
securely to prevent it from shifting or falling off
during the trip.
Drive smoothly. Avoid sudden acceleration and
braking maneuvers. Take corners gently.
00320051004F004C00510048000300280047004C0057004C005200510003
Page 182 of 308
181
CD/DVD player and CD changer
Entertainment
4.
"Brightness", "Contrast" or "Color"
5. Turn the controller until the desired setting
is displayed, and then press the controller.
Zoom
Display the video image on the full screen.
1.Turn the controller during playback.
2. Open "Options".
3. "Additional options"
4. "Zoom mode"
Selecting track
DVD video:
1.Turn the controller when the DVD menu is
displayed.
2. Open "Options".
3. "Additional options"
4. "Select title"
5. Select the desired track.
VCD/SVCD:
1. "Select track"
2. Select the desired track.
Camera angle
The camera angle depends on the DVD.
1.Turn the controller during playback.
2. Open "Options".
3. "Additional options"
4. "Viewing angle"
5. Select the desired camera angle.
Opening the main menu, back
These functions are not contained on every
DVD. Therefore, they may not be available for
use.
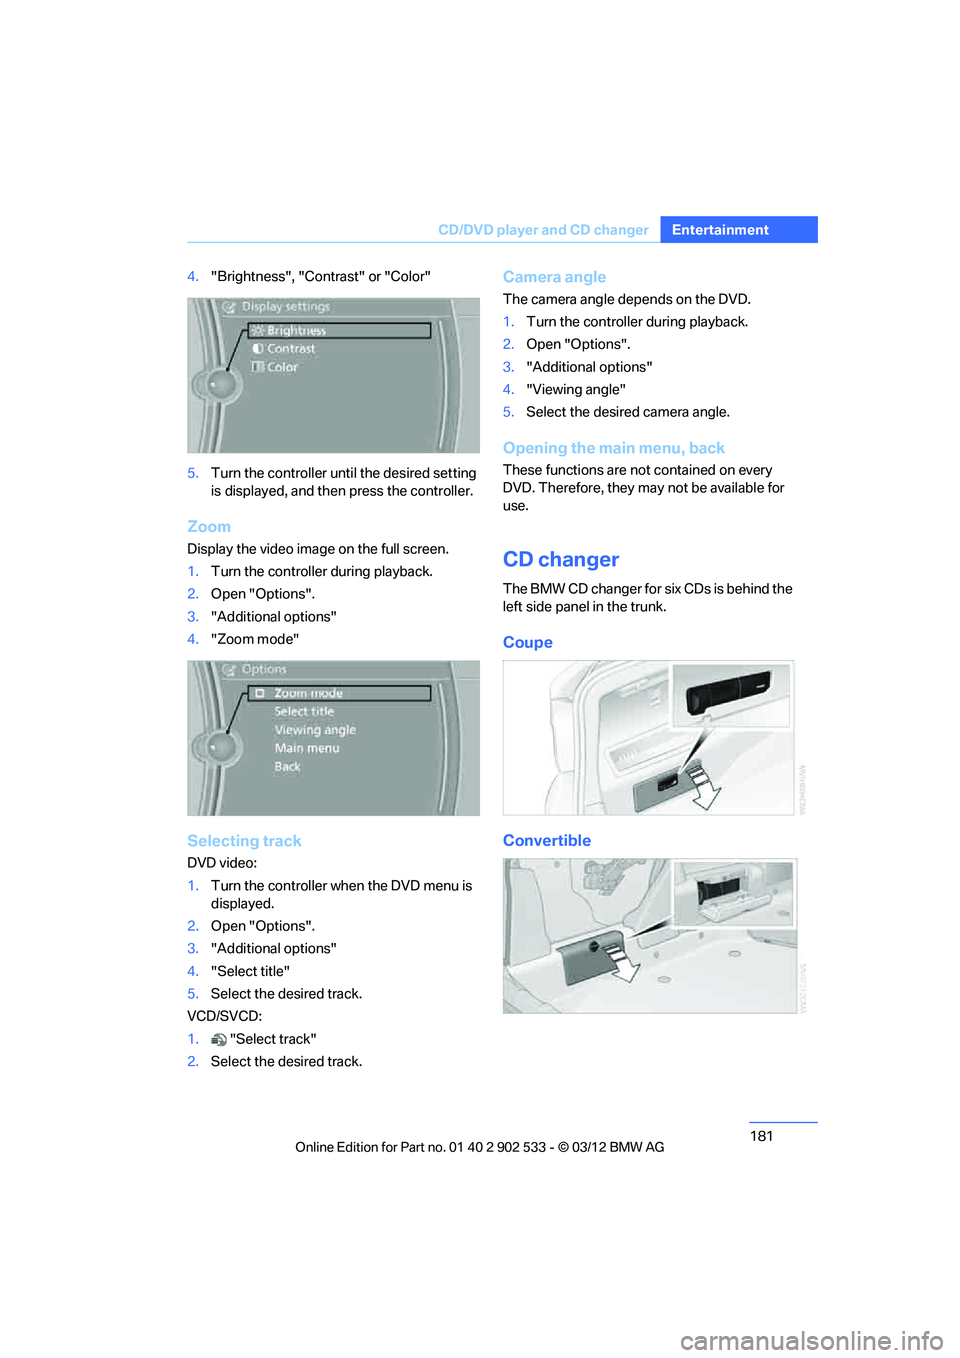
CD changer
The BMW CD changer for six CDs is behind the
left side panel in the trunk.
Coupe
Convertible
00320051004F004C00510048000300280047004C0057004C005200510003
Page 234 of 308
233
Refueling
Mobility
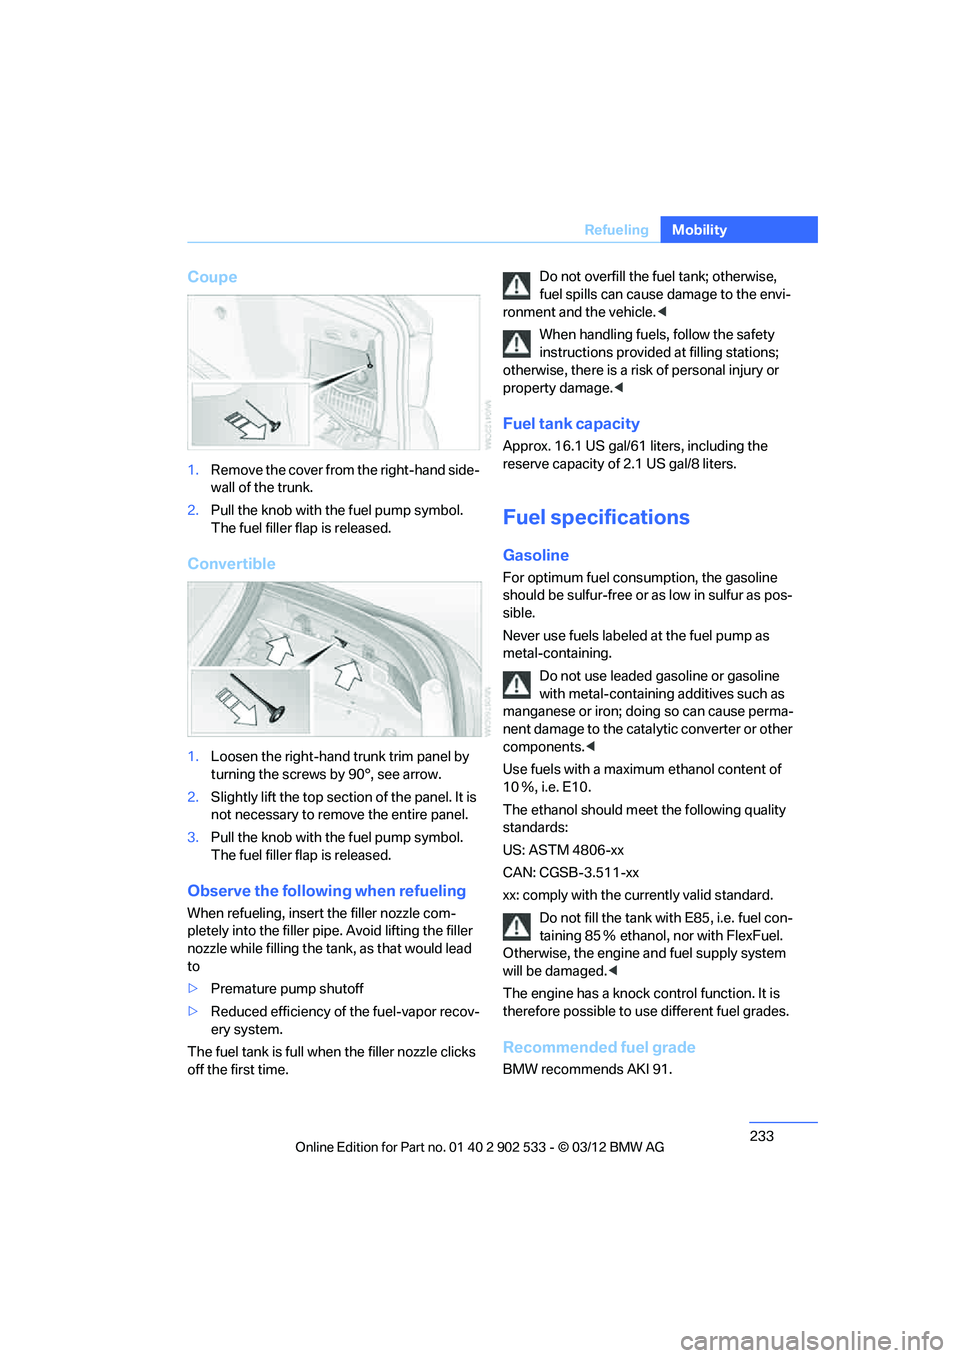
Coupe
1.
Remove the cover from the right-hand side-
wall of the trunk.
2. Pull the knob with the fuel pump symbol.
The fuel filler flap is released.
Convertible
1.Loosen the right-hand trunk trim panel by
turning the screws by 90°, see arrow.
2. Slightly lift the top section of the panel. It is
not necessary to remove the entire panel.
3. Pull the knob with the fuel pump symbol.
The fuel filler flap is released.
Observe the following when refueling
When refueling, insert the filler nozzle com-
pletely into the filler pipe. Avoid lifting the filler
nozzle while filling the tank, as that would lead
to
>Premature pump shutoff
> Reduced efficiency of the fuel-vapor recov-
ery system.
The fuel tank is full when the filler nozzle clicks
off the first time. Do not overfill the fuel tank; otherwise,
fuel spills can cause damage to the envi-
ronment and the vehicle. <
When handling fuels, follow the safety
instructions provided at filling stations;
otherwise, there is a risk of personal injury or
property damage. <
Fuel tank capacity
Approx. 16.1 US gal/61 liters, including the
reserve capacity of 2.1 US gal/8 liters.
Fuel specifications
Gasoline
For optimum fuel consumption, the gasoline
should be sulfur-free or as low in sulfur as pos-
sible.
Never use fuels labeled at the fuel pump as
metal-containing.
Do not use leaded gasoline or gasoline
with metal-containing additives such as
manganese or iron; doing so can cause perma-
nent damage to the catalytic converter or other
components. <
Use fuels with a maximum ethanol content of
10 Ξ, i.e. E10.
The ethanol should meet the following quality
standards:
US: ASTM 4806-xx
CAN: CGSB-3.511-xx
xx: comply with the currently valid standard. Do not fill the tank with E85, i.e. fuel con-
taining 85 Ξ ethanol, nor with FlexFuel.
Otherwise, the engine and fuel supply system
will be damaged. <
The engine has a knock control function. It is
therefore possible to use different fuel grades.
Recommended fuel grade
BMW recommends AKI 91.
00320051004F004C00510048000300280047004C0057004C005200510003