2013 BMW 328I CONVERTIBLE windshield wipers
[x] Cancel search: windshield wipersPage 12 of 308
11
Dashboard
At a glance
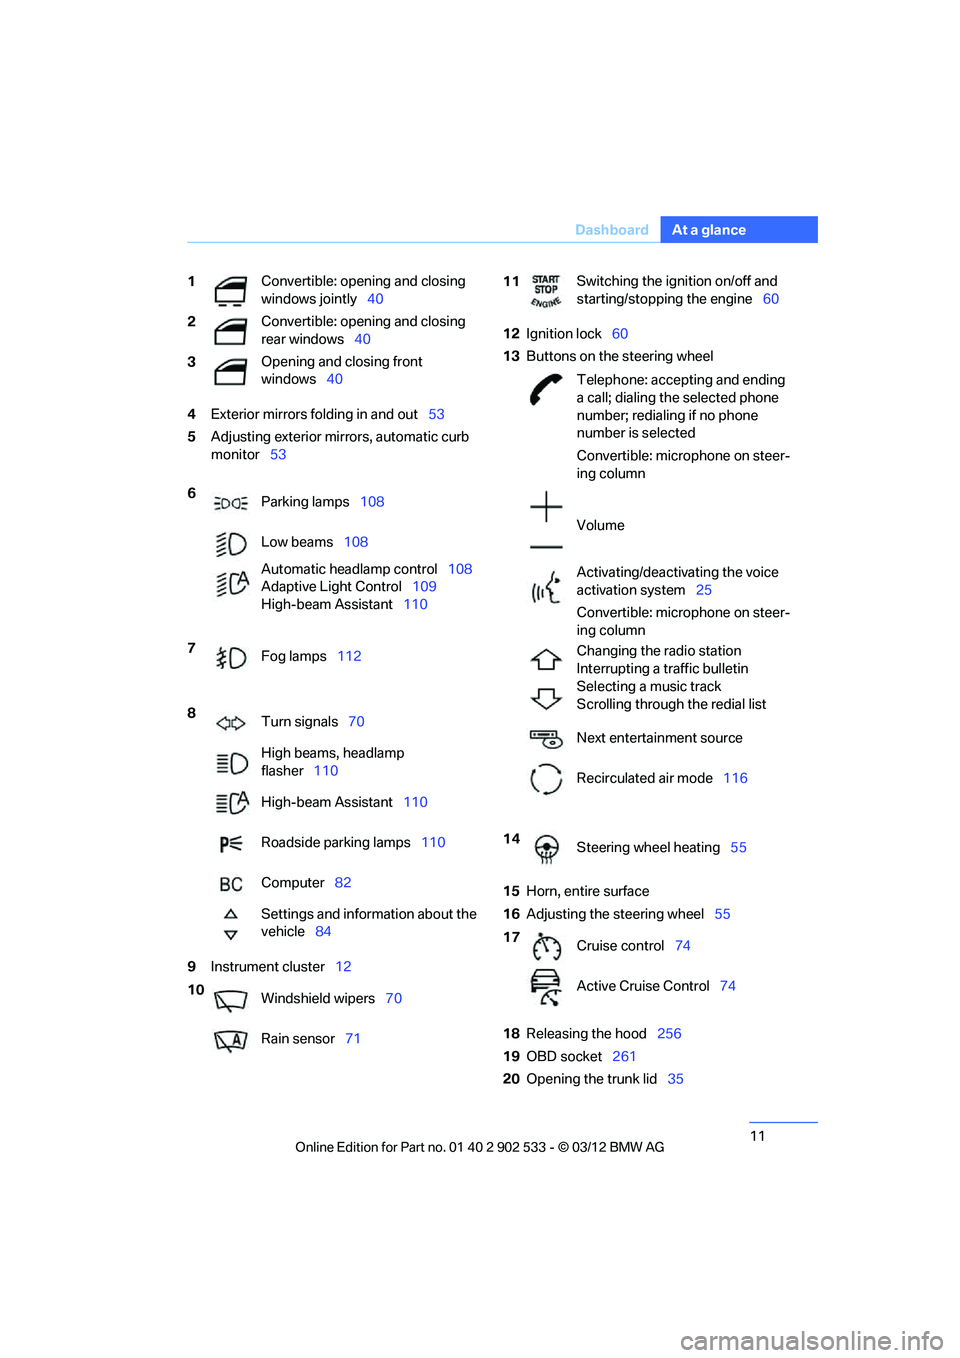
4
Exterior mirrors folding in and out 53
5 Adjusting exterior mirrors, automatic curb
monitor 53
9 Instrument cluster 12 12
Ignition lock 60
13 Buttons on the steering wheel
15 Horn, entire surface
16 Adjusting the steering wheel 55
18 Releasing the hood 256
19 OBD socket 261
20 Opening the trunk lid 35
1
Convertible: opening and closing
windows jointly
40
2 Convertible: opening and closing
rear windows
40
3 Opening and closing front
windows
40
6 Parking lamps 108
Low beams 108
Automatic headlamp control 108
Adaptive Light Control 109
High-beam Assistant 110
7 Fog lamps 112
8 Turn signals 70
High beams, headlamp
flasher 110
High-beam Assistant 110
Roadside parking lamps 110
Computer 82
Settings and information about the
vehicle 84
10 Windshield wipers 70
Rain sensor 71
11Switching the ignition on/off and
starting/stopping the engine
60
Telephone: accepting and ending
a call; dialing the selected phone
number; redialing if no phone
number is selected
Convertible: microphone on steer-
ing column
Volume
Activating/deactivating the voice
activation system 25
Convertible: microphone on steer-
ing column
Changing the radio station
Interrupting a traffic bulletin
Selecting a music track
Scrolling through the redial list
Next entertainment source
Recirculated air mode 116
14 Steering wheel heating 55
17 Cruise control 74
Active Cruise Control 74
00320051004F004C00510048000300280047004C0057004C005200510003
Page 71 of 308
70
ControlsDriving
Turn signals/
headlamp flasher
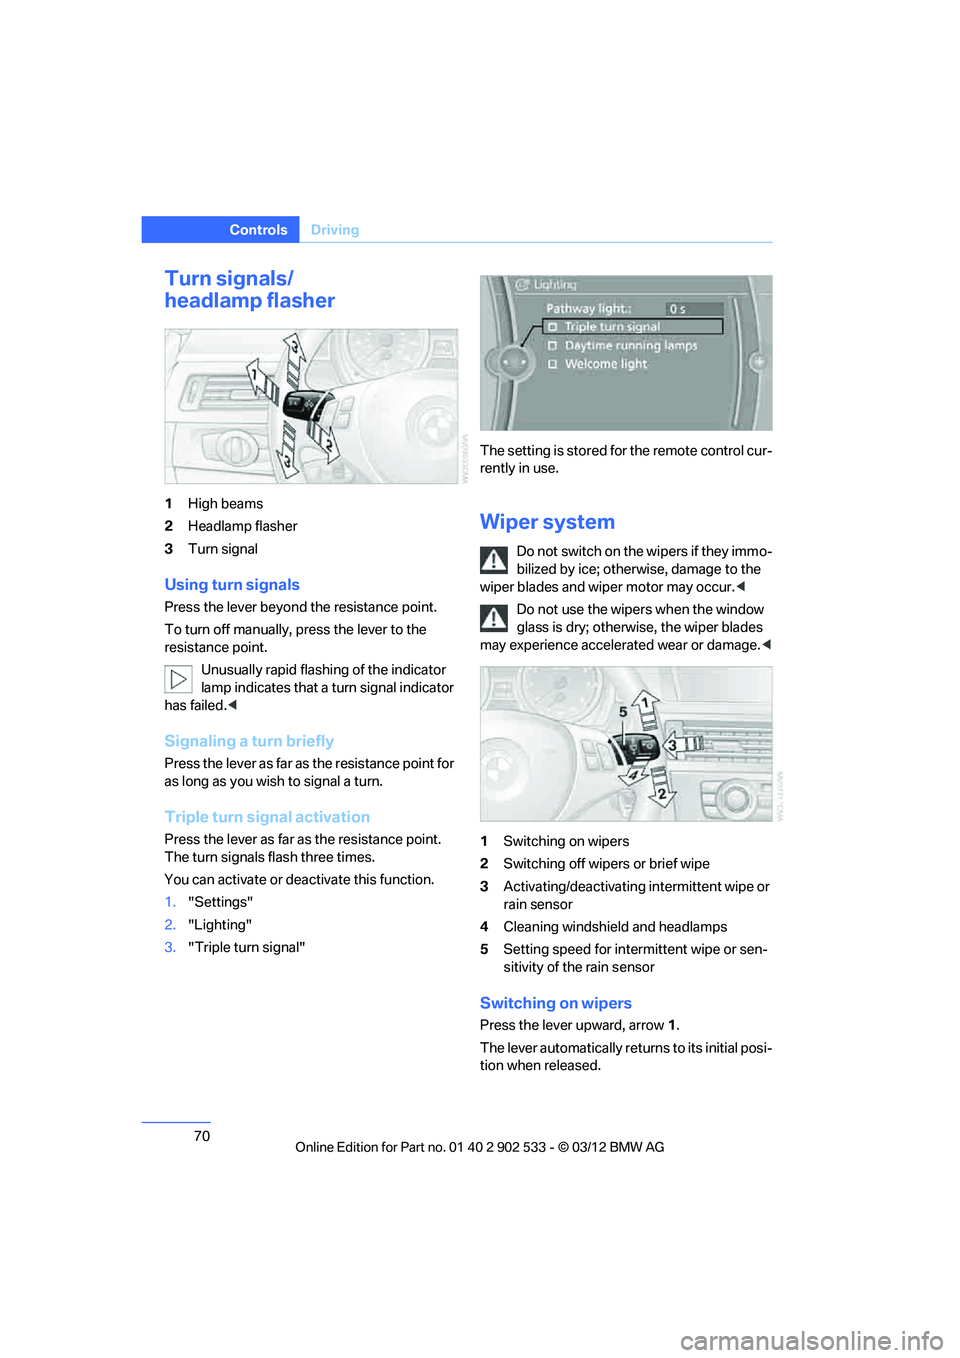
1High beams
2 Headlamp flasher
3 Turn signal
Using turn signals
Press the lever beyond the resistance point.
To turn off manually, press the lever to the
resistance point.
Unusually rapid flashing of the indicator
lamp indicates that a turn signal indicator
has failed. <
Signaling a turn briefly
Press the lever as far as the resistance point for
as long as you wish to signal a turn.
Triple turn signal activation
Press the lever as far as the resistance point.
The turn signals flash three times.
You can activate or deactivate this function.
1."Settings"
2. "Lighting"
3. "Triple turn signal" The setting is stored for the remote control cur-
rently in use.
Wiper system
Do not switch on the wipers if they immo-
bilized by ice; otherwise, damage to the
wiper blades and wiper motor may occur. <
Do not use the wipers when the window
glass is dry; otherwise, the wiper blades
may experience accelerated wear or damage. <
1 Switching on wipers
2 Switching off wipers or brief wipe
3 Activating/deactivating intermittent wipe or
rain sensor
4 Cleaning windshield and headlamps
5 Setting speed for intermittent wipe or sen-
sitivity of the rain sensor
Switching on wipers
Press the lever upward, arrow 1.
The lever automatically returns to its initial posi-
tion when released.
00320051004F004C00510048000300280047004C0057004C005200510003
Page 72 of 308
71
Driving
Controls
Normal wiper speed
Press once.
The system switches to operation in the inter-
mittent mode when the vehicle is stationary.
Fast wiper speed
Press twice or press beyond the resistance
point.
The system switches to normal speed when the
vehicle is stationary.
Intermittent wipe or rain sensor
If the car is not equipped with a rain sensor, the
intermittent-wipe time is a preset.
If the car is equipped with a rain sensor, the time
between wipes is controlled automatically and
depends on the intensity of the rainfall. The rain
sensor is mounted on the windshield, directly in
front of the interior rearview mirror.
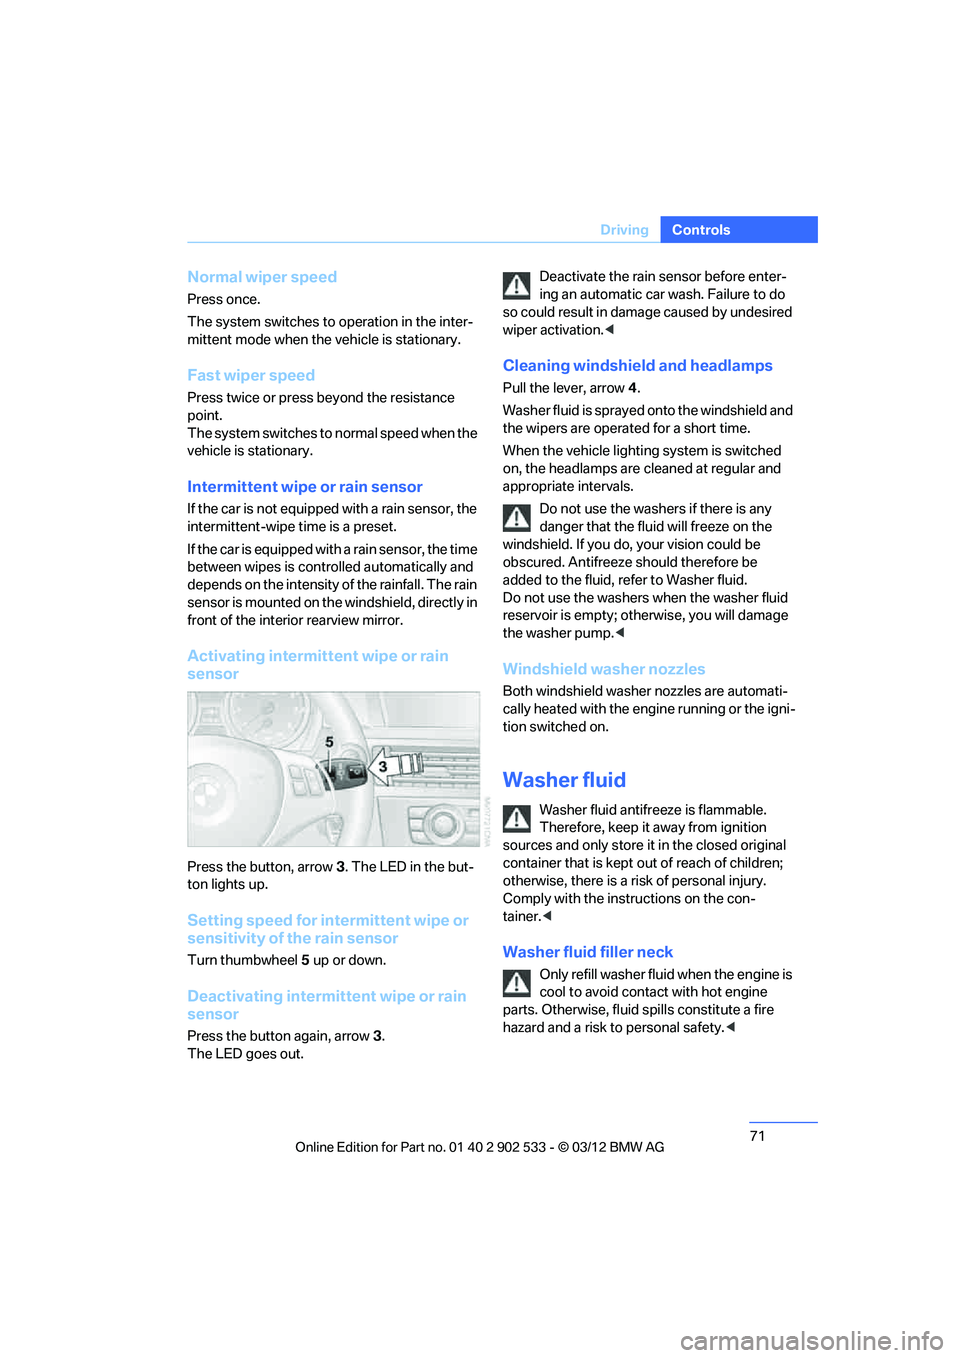
Activating intermittent wipe or rain
sensor
Press the button, arrow
3. The LED in the but-
ton lights up.
Setting speed for intermittent wipe or
sensitivity of the rain sensor
Turn thumbwheel 5 up or down.
Deactivating intermittent wipe or rain
sensor
Press the button again, arrow 3.
The LED goes out. Deactivate the rain sensor before enter-
ing an automatic car wash. Failure to do
so could result in damage caused by undesired
wiper activation. <
Cleaning windshield and headlamps
Pull the lever, arrow 4.
Washer fluid is sprayed onto the windshield and
the wipers are operated for a short time.
When the vehicle lighting system is switched
on, the headlamps are cleaned at regular and
appropriate intervals. Do not use the washers if there is any
danger that the fluid will freeze on the
windshield. If you do, your vision could be
obscured. Antifreeze should therefore be
added to the fluid, refer to Washer fluid.
Do not use the washers when the washer fluid
reservoir is empty; otherwise, you will damage
the washer pump. <
Windshield washer nozzles
Both windshield washer nozzles are automati-
cally heated with the engine running or the igni-
tion switched on.
Washer fluid
Washer fluid antifreeze is flammable.
Therefore, keep it away from ignition
sources and only store it in the closed original
container that is kept out of reach of children;
otherwise, there is a risk of personal injury.
Comply with the instructions on the con-
tainer.<
Washer fluid filler neck
Only refill washer fluid when the engine is
cool to avoid contact with hot engine
parts. Otherwise, fluid spills constitute a fire
hazard and a risk to personal safety. <
00320051004F004C00510048000300280047004C0057004C005200510003
Page 264 of 308

263
Care
Mobility
Automatic transmission
Before driving into an automatic car wash, per-
form the following steps to ensure that the vehi-
cle can roll:
1.
Insert the remote control into the ignition
lock, even with Comfort Access.
2. Move the selector lever to position N.
3. Release the parking brake.
4. Switch off the engine.
5. Leave the remote control in the ignition lock
so that the vehicle can roll.
Sport automatic transmission with
double clutch
Before driving into an automatic car wash, per-
form the following steps to ensure that the vehi-
cle can roll:
1.Insert the remote control into the ignition
lock, even with Comfort Access.
2. Engage transmission position N.
3. Release the parking brake.
4. Switch off the engine.
5. Leave the remote control in the ignition lock
so that the vehicle can roll.
The transmission is switched into position P:
> automatically after approx. 30 minutes
> if you remove the infrared remote control
from the ignition lock
Steam jets/high-pressure washers
When using steam jets or high-pressure
washers, make sure to maintain sufficient
distance from the vehicle and do not exceed a
temperature of 140 7/60 6.
Insufficient clearance or excessive pressure or
temperature can lead to component damage or
water penetration. Follow the operating instruc-
tions of the high-pressure washer. <
When using high-pressure washers, do
not spray the sensors, e.g. of the Park
Distance Control, for an extended period and maintain a distance of at least 1 ft/30 cm from
them.
<
Manual car wash
When washing the vehicle by hand, use large
quantities of water and car shampoo if neces-
sary. Clean the vehicle with a sponge or wash-
ing brush, applying light pressure only.
Before cleaning the windshield, deacti-
vate the rain sensor or switch off the igni-
tion to prevent unintentional activation of the
wipers. <
Observe local regulations pertaining to
washing vehicles by hand. <
Headlamps
Do not rub them dry and do not use abrasive or
corrosive cleaning agents.
Loosen dirt, e.g. insects, with shampoo or
insect remover and wash away with copious
quantities of water.
Thaw ice with a windshield deicer and do not
use an ice scraper.
Windows
Clean the inside and outside surfaces of the
windows and the mirrors with window cleaner.
Do not clean the mirrors with cleaners
containing quartz. <
Convertible: retractable hardtop
Proceed as you would in a normal car wash.
When you open a wet hardtop, water
drops may run into the trunk. If necessary,
remove items from the trunk beforehand to
avoid water stains or soiling. <
Paintwork care
Regular care contributes to value retention and
protects the paintwork against the long-term
effects of damaging substances.
Environmental influences in regions with ele-
vated levels of air pollution or natural contami-
00320051004F004C00510048000300280047004C0057004C005200510003
Page 276 of 308
275
Giving and receiving assistance
Mobility
5.
Attach the second terminal clamp of the
minus/– jumper cable to the negative termi-
nal of the battery or to the engine or body
ground of the vehicle to be started.
Starting the engine
1.Start the engine of the donor vehicle and
allow it to run for a few minutes at slightly
increased idle speed.
2. Start the engine on the other vehicle in the
usual way.
If the first start attempt is not successful,
wait a few minutes before another attempt
in order to allow the discharged battery to
recharge.
3. Let the engines run for a few minutes.
4. Disconnect the jumper cables by reversing
the above connecting sequence.
If necessary, have the battery checked and
recharged.
Never use spray fluids to start the
engine. <
Tow-starting, towing away
Observe the applicable laws and regula-
tions for tow-starting and towing vehi-
cles. <
Do not transport any passengers other
than the driver in a vehicle that is being
towed. <
Using a tow fitting
The screw-in tow fitting must always be carried
in the car. It can be screwed in at the front or
rear of the BMW.
Coupe: it is stored in the onboard vehicle tool kit
underneath the cover on the right-hand side of
the trunk, refer to page 266.
Convertible: it is stored in the onboard vehicle
tool kit underneath the trunk floor, refer to
page 266. Use only the tow fitting provided with the
vehicle and screw it all the way in. Use the
tow fitting for towing on paved roads only. Avoid
lateral loading of the tow fitting, e.g. do not lift
the vehicle by the tow fitting. Otherwise, the
tow fitting and the vehicle could be damaged. <
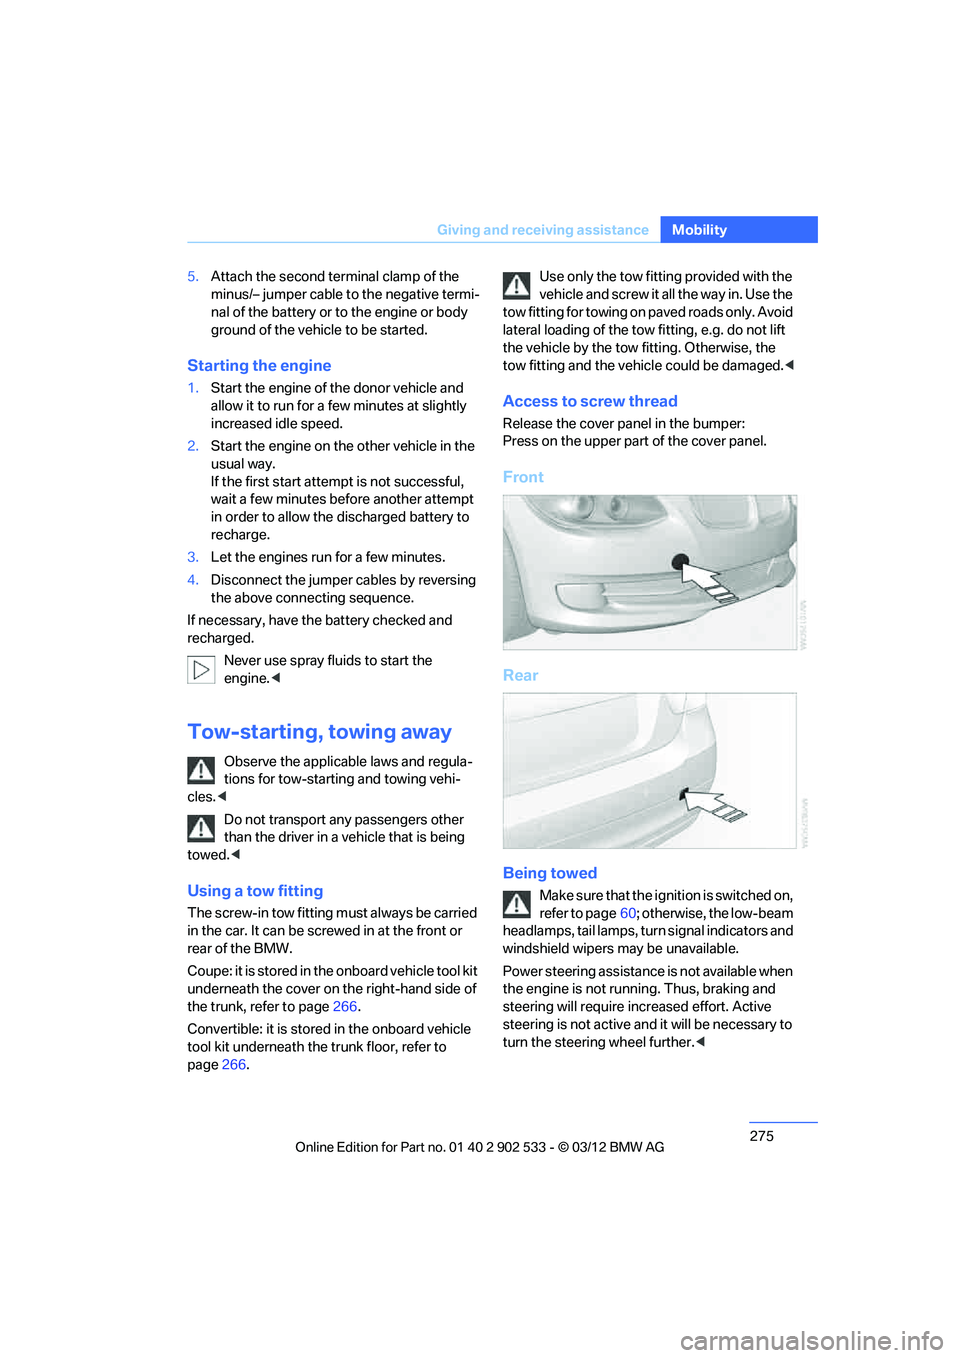
Access to screw thread
Release the cover panel in the bumper:
Press on the upper part of the cover panel.
Front
Rear
Being towed
Make sure that the ignition is switched on,
refer to page60; otherwise, the low-beam
headlamps, tail lamps, turn signal indicators and
windshield wipers may be unavailable.
Power steering assistance is not available when
the engine is not running. Thus, braking and
steering will require increased effort. Active
steering is not active and it will be necessary to
turn the steering wheel further. <
00320051004F004C00510048000300280047004C0057004C005200510003
Page 307 of 308
306
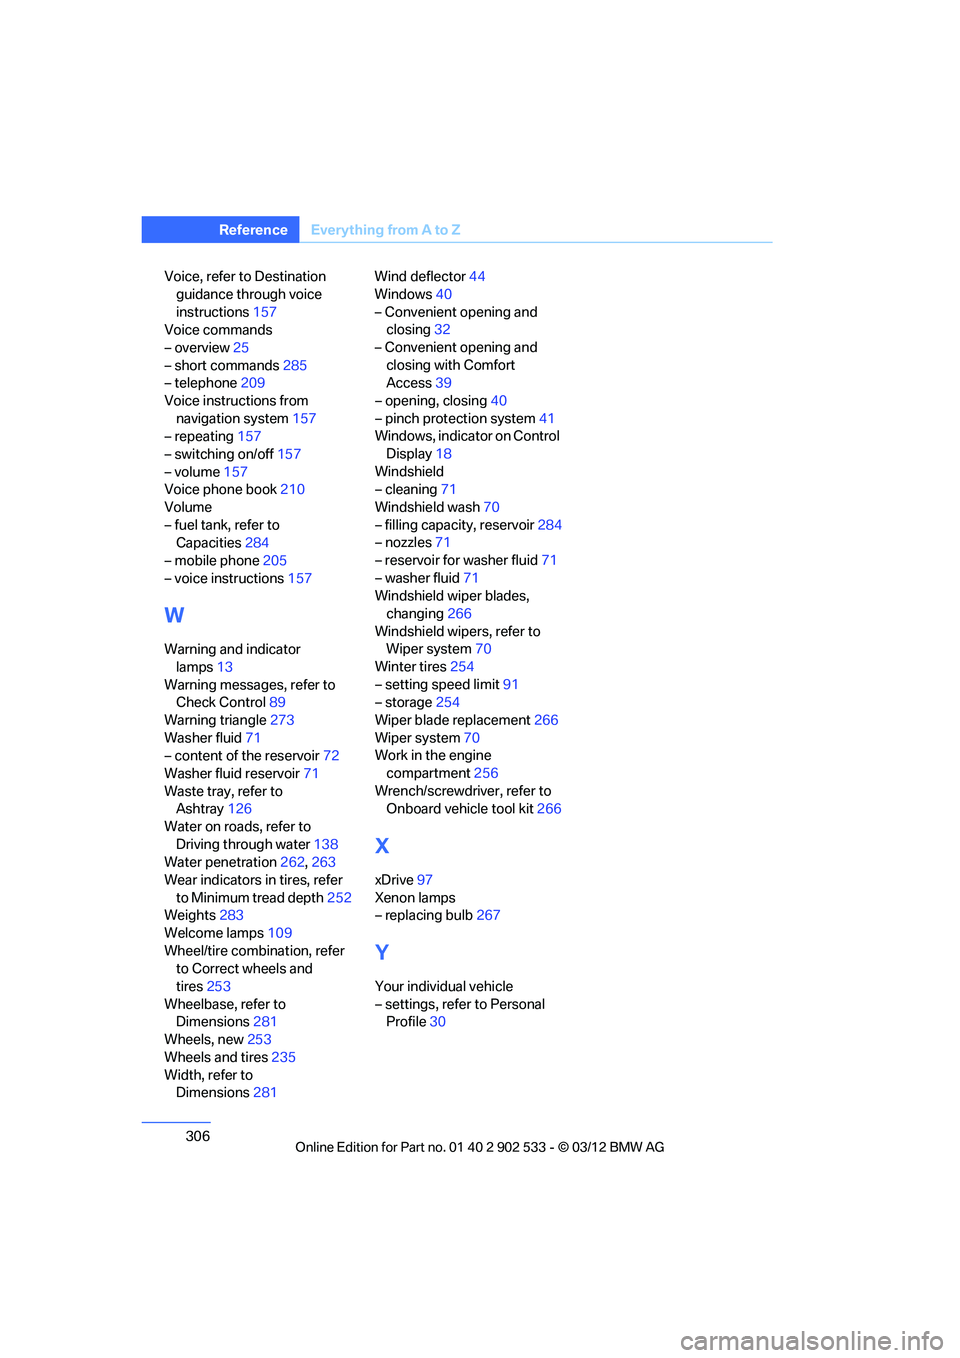
Referen ceEverything from A to Z
Voice, refer to Destination
guidance through voice
instructions 157
Voice commands
– overview 25
– short commands 285
– telephone 209
Voice instructions from navigation system 157
– repeating 157
– switching on/off 157
– volume 157
Voice phone book 210
Volume
– fuel tank, refer to Capacities 284
– mobile phone 205
– voice instructions 157
W
Warning and indicator
lamps 13
Warning messages, refer to Check Control 89
Warning triangle 273
Washer fluid 71
– content of the reservoir 72
Washer fluid reservoir 71
Waste tray, refer to Ashtray 126
Water on roads, refer to Driving through water 138
Water penetration 262,263
Wear indicators in tires, refer to Minimum tread depth 252
Weights 283
Welcome lamps 109
Wheel/tire combination, refer to Correct wheels and
tires 253
Wheelbase, refer to Dimensions 281
Wheels, new 253
Wheels and tires 235
Width, refer to
Dimensions 281 Wind deflector
44
Windows 40
– Convenient opening and closing 32
– Convenient opening and closing with Comfort
Access 39
– opening, closing 40
– pinch protection system 41
Windows, indicator on Control
Display 18
Windshield
– cleaning 71
Windshield wash 70
– filling capacity, reservoir 284
– nozzles 71
– reservoir for washer fluid 71
– washer fluid 71
Windshield wiper blades,
changing 266
Windshield wipers, refer to Wiper system 70
Winter tires 254
– setting speed limit 91
– storage 254
Wiper blade replacement 266
Wiper system 70
Work in the engine
compartment 256
Wrench/screwdriver, refer to Onboard vehicle tool kit 266
X
xDrive97
Xenon lamps
– replacing bulb 267
Y
Your individual vehicle
– settings, refer to Personal
Profile 30
00320051004F004C00510048000300280047004C0057004C005200510003