2013 BMW 320i XDRIVE SEDAN overheating
[x] Cancel search: overheatingPage 68 of 248

When the ignition is switched off, by opening
or closing the driver's door or unbuckling the
driver's seat belt, the radio ready state remains
active.
Radio ready state
Activate radio ready state:▷When the engine is running: press the
Start/Stop button.
Some electronic systems/power consumers
remain ready for operation.
The radio ready state switches off automati‐
cally:
▷After approx. 8 minutes.▷When the vehicle is locked using the cen‐
tral locking system.▷Shortly before the battery is discharged
completely, so that the engine can still be
started.
Starting the engine
Hints Enclosed areas
Do not let the engine run in enclosed
areas, since breathing in exhaust fumes may
lead to loss of consciousness and death. The
exhaust gases contain carbon monoxide, an
odorless and colorless, but highly toxic gas.◀
Unattended vehicle
Do not leave the vehicle unattended with
the engine running; doing so poses a risk of
danger.
Before leaving the vehicle with the engine run‐
ning, set the parking brake and place the trans‐
mission in selector lever position P or neutral
to prevent the vehicle from moving.◀
Repeated starting in quick succession
Avoid repeated unsuccessful attempts to
start the vehicle or starting the vehicle several
times in quick succession. Otherwise, the fuel
is not burned or is inadequately burned, posing
a risk of overheating and damage to the cata‐
lytic converter.◀
Do not wait for the engine to warm-up while
the vehicle remains stationary. Start driving at
moderate engine speeds.
Diesel engine
If the engine is cold and temperatures are be‐
low approx. 32 ℉/0 ℃, the start process may
be delayed somewhat due to automatic pre‐
heating.
A Check Control message is displayed.
Automatic transmission
Starting the engine1.Depress the brake pedal.2.Press the Start/Stop button.
The ignition is activated automatically for a
certain time and is stopped as soon as the en‐
gine starts.
Manual transmission
Starting the engine
1.Depress the brake pedal.2.Press on the clutch pedal and shift to neu‐
tral.3.Press the Start/Stop button.
The ignition is activated automatically for a
certain time and is stopped as soon as the en‐
gine starts.
Seite 64ControlsDriving64
Online Edition for Part no. 01 40 2 926 810 - X/13
Page 173 of 248

LoadingVehicle equipment
All standard, country-specific and optional
equipment that is offered in the model series is
described in this chapter. Therefore, equip‐
ment is also described that is not available in a
vehicle, e. g., because of the selected optional
equipment or country variant. This also applies
for safety-related functions and systems.
Hints Overloading the vehicle
To avoid exceeding the approved carry‐
ing capacity of the tires, never overload the ve‐
hicle. Overloading can lead to overheating and
increases the rate at which damage develops
inside the tires. This could result in a sudden
loss of tire inflation pressure.◀
No fluids in the trunk
Make sure that fluids do not leak into the
trunk; otherwise, the vehicle may be dam‐
aged.◀
Securing cargo
Always position and secure the cargo as
described above; otherwise, it can endanger
the car's occupants if sudden braking or
swerving becomes necessary.
Heavy or hard objects should not be carried
loose inside the car; otherwise, they could be
thrown around as a result of hard braking, sud‐
den swerves, etc., and endanger the occu‐
pants.◀
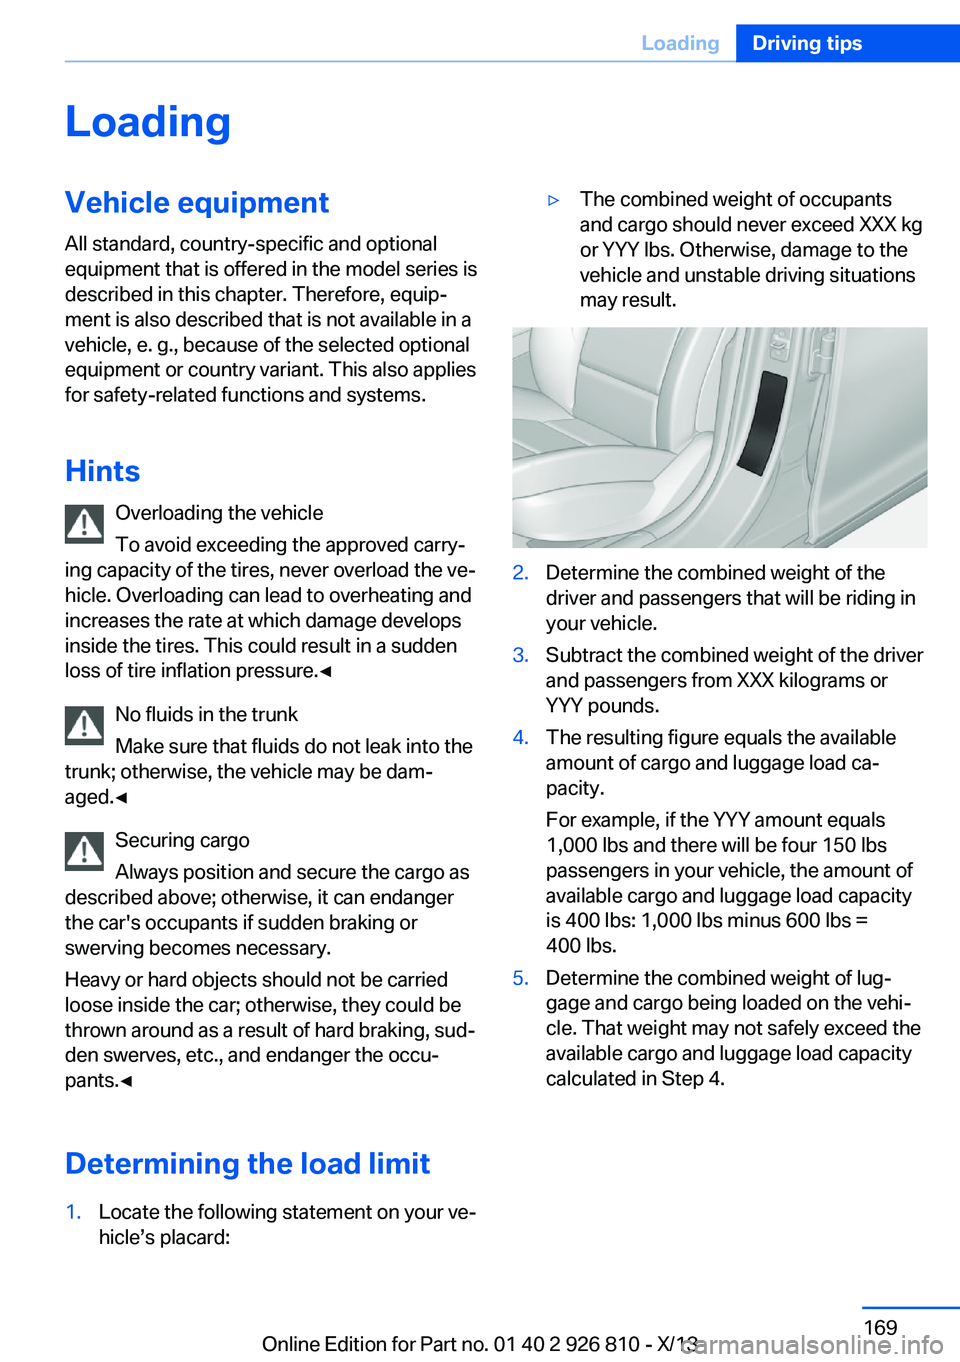
Determining the load limit1.Locate the following statement on your ve‐
hicle’s placard:▷The combined weight of occupants
and cargo should never exceed XXX kg
or YYY lbs. Otherwise, damage to the
vehicle and unstable driving situations
may result.2.Determine the combined weight of the
driver and passengers that will be riding in
your vehicle.3.Subtract the combined weight of the driver
and passengers from XXX kilograms or
YYY pounds.4.The resulting figure equals the available
amount of cargo and luggage load ca‐
pacity.
For example, if the YYY amount equals
1,000 lbs and there will be four 150 lbs
passengers in your vehicle, the amount of
available cargo and luggage load capacity
is 400 lbs: 1,000 lbs minus 600 lbs =
400 lbs.5.Determine the combined weight of lug‐
gage and cargo being loaded on the vehi‐
cle. That weight may not safely exceed the
available cargo and luggage load capacity
calculated in Step 4.Seite 169LoadingDriving tips169
Online Edition for Part no. 01 40 2 926 810 - X/13
Page 243 of 248

Low-Sulfur Diesel 183
Luggage rack, refer to Roof- mounted luggage rack 171
Lumbar support 51
M
Maintenance 204
Maintenance require‐ ments 204
Maintenance, service require‐ ments 82
Maintenance system, BMW 204
Malfunction displays, refer to Check Control 78
Manual air distribu‐ tion 145, 148
Manual air flow 145, 148
Manual mode, transmis‐ sion 73
Manual operation, door lock 40
Manual operation, exterior mirrors 57
Manual operation, fuel filler flap 180
Manual operation, Park Dis‐ tance Control PDC 131
Manual operation, rearview camera 133
Manual operation, Side View 136
Manual operation, Top View 137
Manual transmission 71
Marking on approved tires 196
Marking, run-flat tires 197
Master key, refer to Remote control 34
Maximum cooling 147
Maximum speed, display 83
Maximum speed, winter tires 196
Measure, units of 89 Medical kit 218
Memory, seat, mirror 55
Menu, EfficientDynamics 175
Menu in instrument clus‐ ter 85
Menus, operating, iDrive 18
Menus, refer to iDrive operat‐ ing concept 20
Messages, refer to Check Control 78
Microfilter 146, 149
Minimum tread, tires 195
Mirror 56
Mirror memory 55
Mobile communication devi‐ ces in the vehicle 167
Modifications, technical, refer to Safety 7
Moisture in headlamp 207
Monitor, refer to Control Dis‐ play 18
Mounting of child restraint fix‐ ing systems 59
Multifunction steering wheel, buttons 14
N Navigation, see user's manual for Navigation, Entertain‐
ment and Communication
Neck restraints, front, refer to Head restraints 53
Neck restraints, rear, refer to Head restraints 54
Neutral cleaner, see wheel cleaner 225
New wheels and tires 195
No Passing Information 83
Nylon rope for tow-starting/ towing 221
O OBD Onboard Diagnosis 204 OBD, see OBD Onboard Di‐
agnosis 204
Obstacle marking, rearview camera 134
Octane rating, refer to Gaso‐ line quality 182
Odometer 81
Office, see user's manual for Navigation, Entertainment
and Communication
Oil 200
Oil, adding 201
Oil additives 201
Oil change 202
Oil change interval, service requirements 82
Oil filler neck 201
Oil types, alternative 202
Oil types, approved 202
Old batteries, disposal 215
Onboard monitor, refer to Control Display 18
Onboard vehicle tool kit 206
Opening and closing 34
Opening and closing, from in‐ side 40
Opening and closing via door lock 39
Opening and closing, with re‐ mote control 38
Opening the trunk lid with no- touch activation 42
Operating concept, iDrive 18
Optional equipment, standard equipment 6
Outside air, refer to Auto‐ matic recirculated-air con‐
trol 148
Overheating of engine, refer to Coolant temperature 81
P Paint, vehicle 224
Parallel parking assistant 138 Seite 239Everything from A to ZReference239
Online Edition for Part no. 01 40 2 926 810 - X/13