2013 BMW 3 SERIES CONVERTIBLE Control
[x] Cancel search: ControlPage 134 of 311

129
Practical interior accessories
Controls
Closing
Return the rear seat backrest to the upright
seating position and engage it.
When returning the backrest to its seating
position, make sure th at the seat's lock-
ing mechanism engages properly. Otherwise,
cargo could be thrown around in the event of
sharp braking or swerving and endanger the
occupants. <
Bag holder
W h e n t h e r e a r s e a t b a c k r e s t i s f o l d e d d o w n , y o u
will find two bag holders on the trunk wall:
1.Fold open the holder by pressing the
button.
2. Press the handles of the bag onto the
holder from above.
Only hang light shopping bags or other
suitable objects from the holders; other-
wise, braking maneuvers and swerving, for
example, may lead to a safety hazard due to
objects flying around the passenger compart-
ment. Only transport heav y luggage in the trunk
if it has been appropriately secured. <
For more information on loading the vehicle,
refer to page 139.
Storage compartment behind the rear
seat backrest
A storage compartment is located behind the
rear seat backrest. To access the storage com-
partment: remove the inse rt or fold down the
rear seat backrest.
When the rear seat backrest is folded
down or the insert has been removed,
only transport small light objects in the storage
compartment; otherwise, braking maneuvers
and swerving, for example, may lead to a safety
hazard due to objects flying around the passen-
ger compartment. Only transport heavy lug-
gage in the trunk if it has been appropriately
secured. <
Storage compartments inside
the trunk
Coupe
Depending on your vehicle's equipment, the
following storage spaces can be found in the
trunk:
>Left storage compartment, e.g. for storing a
box of cleaning tissues or up to 12 CD
jackets, depending on vehicle equipment
version
> Net for securing smaller objects, to be
attached to the mounts on the floor panel
> Hooks for hanging up, e.g., shopping bags
or tote bags
00320051004F004C00510048000300280047004C0057004C005200510003
Page 135 of 311

130
ControlsPractical interior accessories
>Rubber strap on the left trim panel for
securing small objects such as a folding
umbrella
> Net for small objects on the right trim panel
of the trunk
Convertible
Depending on your vehi cle's equipment, the
following storage spaces can be found in the
trunk:
> Storage compartment on the left side of the
trunk. To open turn handle by 90°.
> Net for securing smaller objects, to be
attached to the mounts on the floor panel
> Rubber strap for subdividing the trunk; can
be hooked onto the lateral lashing eyes
> Stowage compartmen t under the floor
panel
Folding up the floor panel
Do not exceed the maximum permissible
load of 55 lbs/25 kg for the storage
compartment under the fl oor panel; otherwise,
damage may result. <
Coupe
Press the floor panel up and secure it with the
catch.
Convertible
To lift, grab hold of the floor panel at the open-
ing at the rear of the panel.
Lashing eyes
You will find lashing eyelets in the trunk for
securing luggage items with nets or tensioning
straps, refer to page 140.
Coupe: ski bag
The ski bag is designed for safe, clean transport
of up to 4 pairs of standard skis or up to
2snowboards.
With the ski bag you can stow skis with a length
of up to 6.9 ft/2.10 m. When skis of 6.9 ft/
2.10 m length are loaded, the overall capacity of
the ski bag is reduced due to its tapered design.
Loading
1. Fold down the center armrest.
2. Press the button, reach into the recess and
fold down the cover.
3. Open the Velcro fastener, spread the ski
bag between the front seats and insert the
skis or snowboards.
4. Clip the hooks of the ski bag retaining strap
into the eyelet.
Only place clean skis in the ski bag. Wrap sharp
edges to prevent damage.
00320051004F004C00510048000300280047004C0057004C005200510003
Page 136 of 311

131
Practical interior accessories
Controls
Securing cargo
After loading, secure the ski bag and its
contents. Tighten the retaining strap on the
tensioning buckle for this purpose.
Secure the ski bag in the manner
described; otherwise, it could endanger
the car's occupants, e.g. in case of heavy brak-
ing or sudden swerving. <
To store the ski bag, perform the steps
described for loadin g in reverse order.
Removing the ski bag
The ski bag can be comple tely removed, e.g. for
faster drying or to allow you to use other inserts.
1. Fold down the center panel in the rear seat
backrest.
2. Pull the handle, arrow 1.
3. Pull out the insert, arrow 2.
For more information on the various
inserts available, contact your BMW
center. <
Convertible: through-loading
opening with integrated
transport bag
The transport bag is designed for safe, clean
transport of up to 4 pairs of standard skis or up
to 2 snowboards.
When the rear seat backrest is folded up, you
can remove the insert and use the transport bag
with the regular through-loading opening. To
transport larger objects, you can fold down the
rear seat backrest to create an expanded
through-loading opening.
With the transport bag you can stow skis with a
length of up to 6.2 ft/1.90 m. When skis of 6.2 ft/
1.90 m length are loaded, the overall capacity of
the transport bag is reduced due to its tapered
design.
Loading
1. For loading using the regular through-
loading opening:
Press the button down and remove the
insert from the front.
For loading with the through-loading open-
ing expanded:
Fold down the rear seat backrest, refer to
page 128.
00320051004F004C00510048000300280047004C0057004C005200510003
Page 137 of 311

132
ControlsPractical interior accessories
2.Front cover: press the two recesses
together and fold the cover down until it
engages.
3. In the trunk: press the two recesses
together and fold down the cover.
4. Undo the Velcro fastener and spread out
the transport bag between the front seats.
5. Insert the latch plate of the retaining strap
into the belt buckle under the transport bag.
6. Load the transport bag. The zipper eases
access to the stored items.
Only place clean skis in the transport bag. Wrap
sharp edges to prevent damage.
You can use the snaps to shorten the transport
bag if you do not need its full length.Securing cargo
After loading, secure th e transport bag and its
contents. Tighten the retaining strap on the
tensioning buckle for this purpose.
Secure the transport bag in the manner
described; otherwise, it could endanger
the car's occupants, e.g. in case of heavy brak-
ing or sudden swerving. <
To store the transport bag, perform the steps
described for loadin g in reverse order.
Removing the front cover
You can remove the fron t cover to use the full
height of the through-loading opening. With the
cover folded down, pull the handle, see arrow,
and remove the cover to ward the front. To
replace, insert the cover at an angle from above
and let it snap it into place.
00320051004F004C00510048000300280047004C0057004C005200510003
Page 138 of 311

133
Practical interior accessories
Controls
00320051004F004C00510048000300280047004C0057004C005200510003
Page 144 of 311

139
Things to remember when driving
Driving tips
Hills
To prevent overheating and the resulting
reduced efficiency of the brake system,
drive long or steep downhill gradients in the
gear in which the least br aking is required. Even
light but consistent brak e pressure can lead to
high temperatures, brake wear and possibly
even brake failure. <
You can increase the engine's braking effect by
shifting down, all the way to first gear if neces-
sary. This strategy he lps you avoid placing
excessive loads on the brake system. Down-
shifting in manual mo de of the automatic
transmission, refer to page 66.
Sport automatic transm ission with double
clutch: never drive with the transmission
in neutral or with the en gine switched off; other-
wise, there will be no en gine braking action and
no power assistance to the brakes and steering.
Manual transmission: never drive with the
clutch held down, with the transmission in neu-
tral or with the engine switched off; otherwise,
there will be no engine braking action and no
power assistance to the brakes and steering. <
Corrosion on brake rotors
When the vehicle is driven only occasionally,
during extended periods when the vehicle is not
used at all, and in operating conditions where
brake applications are le ss frequent, there is an
increased tendency for corrosion to form on
rotors, while contaminan ts accumulate on the
brake pads. This occurs because the minimum
pressure which must be exerted by the pads
during brake applications to clean the rotors is
not reached.
Should corrosion form on the brake rotors, the
brakes will tend to respond with a pulsating
effect that even extended application will fail to
cure.
When the vehicle is parked
Condensation forms while the automatic
climate control is in operation, and then exits
under the vehicle. Traces of condensed water
under the vehicle are therefore normal.
Cargo loading
To avoid loading the tires beyond their
approved carrying ca pacity, never over-
load the vehicle. Overlo ading can lead to over-
heating and increases the rate at which damage
develops inside the tires. In some situations,
this can result in sudden loss of tire pressure. <
Make sure that no liquids are spilled or
leak from their containers in the trunk, as
this could result in damage to the vehicle.<
Determining loading limit
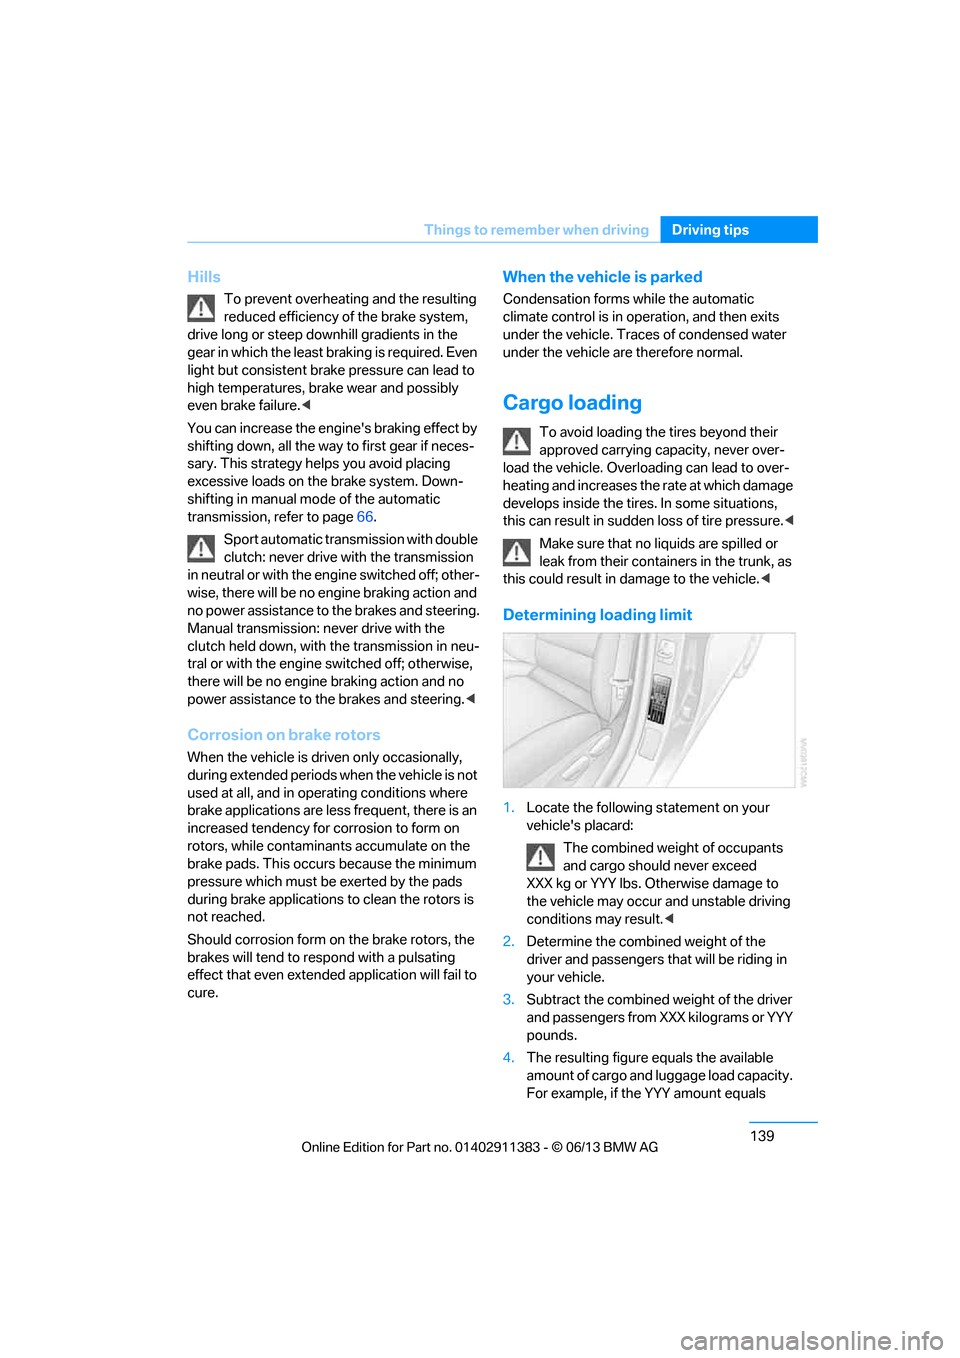
1. Locate the following statement on your
vehicle's placard:
The combined weight of occupants
and cargo should never exceed
XXX kg or YYY lbs. Otherwise damage to
the vehicle may occur and unstable driving
conditions may result.<
2. Determine the combined weight of the
driver and passengers that will be riding in
your vehicle.
3. Subtract the combined weight of the driver
and passengers from XXX kilograms or YYY
pounds.
4. The resulting figure equals the available
amount of cargo and luggage load capacity.
For example, if the YYY amount equals
00320051004F004C00510048000300280047004C0057004C005200510003
Page 149 of 311

144
NavigationNavigation system
Navigation system
Vehicle equipment
In this chapter, all pr oduction, country, and
optional equipment that is offered in the model
range is described. Equipment is also described
that is not available because of, for example,
selected options or country version. This also
applies to safety related functions and systems.
General information
The navigation system can determine the pre-
cise position of the vehicle, with the aid of satel-
lites and vehicle sensors, and can reliably guide
you to every entered destination.
Enter data only with the vehicle station-
ary, and always give priority to the appli-
cable traffic regulations in the event of any con-
tradiction between traffi c and road conditions
and the instructions issu ed by the navigation
system. Failure to take to this precaution can
place you in violation of the law and put vehicle
occupants and other road users in danger. <
Accessing navigation system
1.Press the button.
2. "Navigation"
The navigation syst em can also be
accessed directly with the button on the
controller.
Navigation data
General information
Navigation data and au thorization codes are
available from your BMW center. Navigation
data are stored in the vehicle and can be
updated. >
Depending on the data volume, a data
update may take several hours.
> Update data while dr iving to reduce the
drain on the battery.
> Only the main functions of the navigation
system are available during updating.
The update is resumed automatically when a
trip is continued after an interruption.
> You can inquire as to the status of the
update.
> The data are stored in the vehicle.
> After the update, the system restarts.
> The medium that holds the navigation
data can be removed after the update is
completed.
Information about navigation data
1."Navigation"
2. Open "Options".
3. "Navigation system version":
Information about the data version is
displayed.
Updating the navigation data
Inserting navigation DVD
1.Insert the navigation DVD into the DVD
player with the labe led side facing up.
2. Follow the instructions on the Control
Display.
3. Enter the authorization code of the naviga-
tion DVD and change the DVD if needed.
00320051004F004C00510048000300280047004C0057004C005200510003
Page 152 of 311

147
Destination entry
Navigation
2.
Select letters, if necessary.
The list is reduced in steps with each entry.
To delete letters:
> To delete individual letters:
Turn the controller to select , and
then press the controller.
> To delete all letters:
Turn the controller to select , and
then press the controller for an extended
period.
To enter spaces:
> Select the symbol.
The list gradually grow s smaller each time
you enter a new letter.
3. Move the controller to the right.
4. Select the name of the town/city from the
list.
If there are several town s/cities with the same
name:
1. Change to the list of town/city names.
2. Highlight the town/city.
3. Select the town/city.
Entering the postal code
1.Select "Town/City/Postal Code" or the
displayed town/city.
2. Select the symbol.
3. Select the digits.
4. Change to the list of postal codes and
towns/cities.
5. Highlight the entry.
6. Select an entry.
Entering street and intersection
1.Select "Street" or displayed street.
2. Enter the street and cross-street the same
way you entered the town/city.
After you enter the street, you can also enter
the cross street or the house number. If there are several streets with the same name:
1.
Change to the list of street names.
2. Highlight street.
3. Select the street.
Alternative: entering street and house
number
1.Select "Street" or displayed street.
2. Enter the street the same way you entered
the town/city.
3. "House number"
4. Select the digits.
5. Change to the list of house numbers.
6. Select a house number or range of house
numbers.
No such street at the destination
The desired street is not in the entered town/
city because it belongs to another district of the
town/city.
1."Navigation"
2. "Enter address"
3. Select "Street" or displayed street.
4. Change to the list of street names.
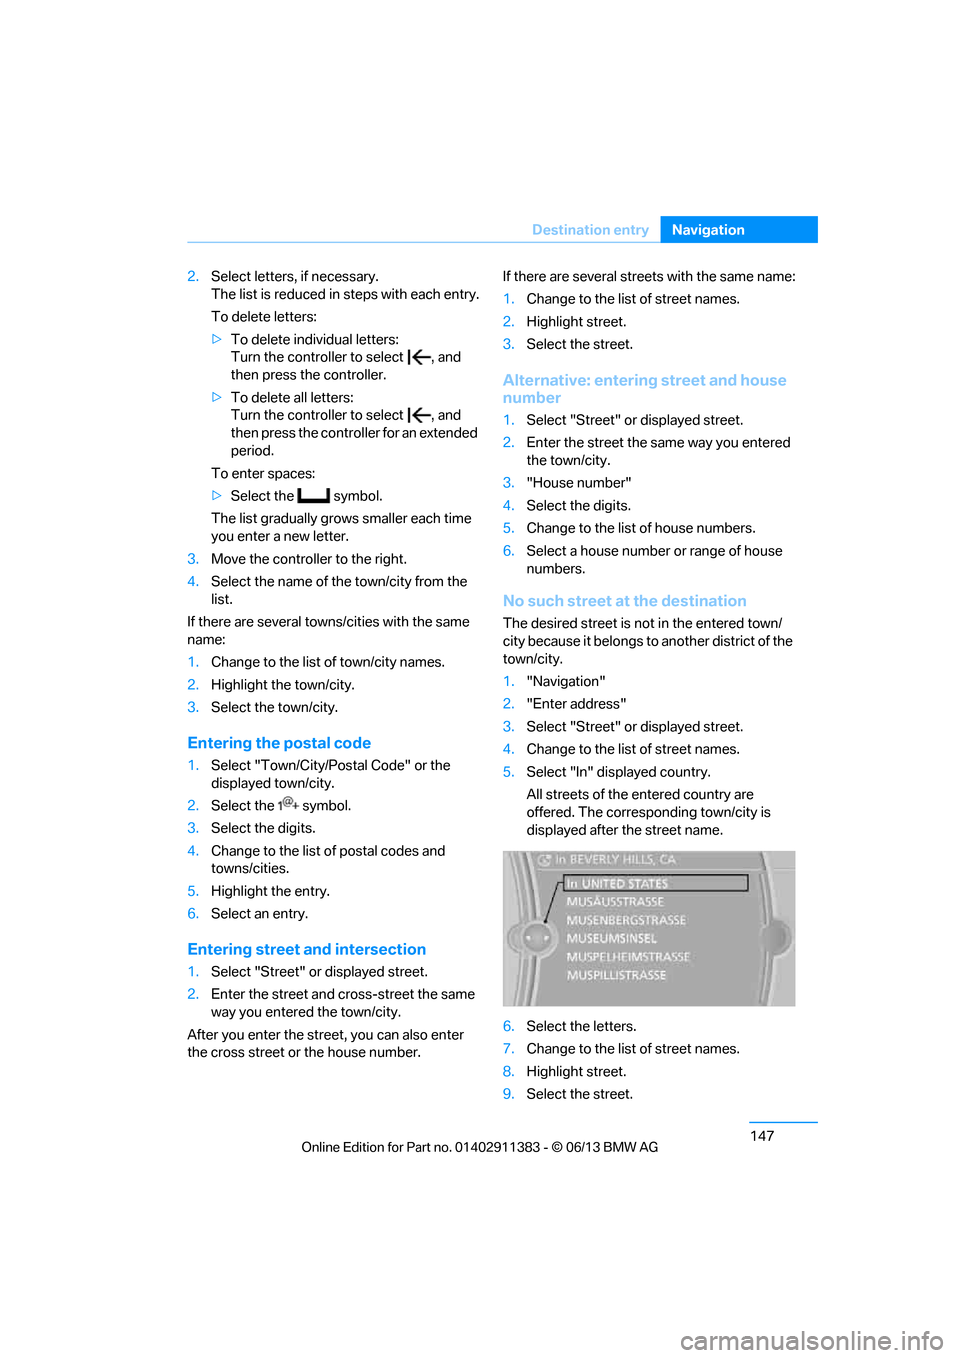
5. Select "In" displayed country.
All streets of the entered country are
offered. The corresponding town/city is
displayed after the street name.
6. Select the letters.
7. Change to the list of street names.
8. Highlight street.
9. Select the street.
00320051004F004C00510048000300280047004C0057004C005200510003