2013 BMW 135IS CONVERTIBLE seats
[x] Cancel search: seatsPage 99 of 284
98
ControlsTechnology for driving comfort and safety
Before transporting a child on the front
passenger seat, read the safety precau-
tions and handling inst ructions under Trans-
porting children safely, refer to page 58.
The front and side airbags can also be deacti-
vated by adolescents and adults sitting in cer-
tain positions; the indi cator lamp for the front
passenger airbags lights up. In such cases, the
passenger should change his or her sitting
position so that the fr ont passenger airbags are
activated and the indicator lamp goes out. If the
desired airbag status cannot be achieved by
changing the sitting position, transport the rele-
vant passenger on a rear seat. Do not attach
seat covers, seat cushion padding, ball mats or
other items to the front passenger seat unless
they are specifically recommended by BMW.
Do not place any items under the seat which
could press against the seat from below. Other-
wise, a correct analysis of the seat cushion is
not ensured. <
Status of front passenger airbags
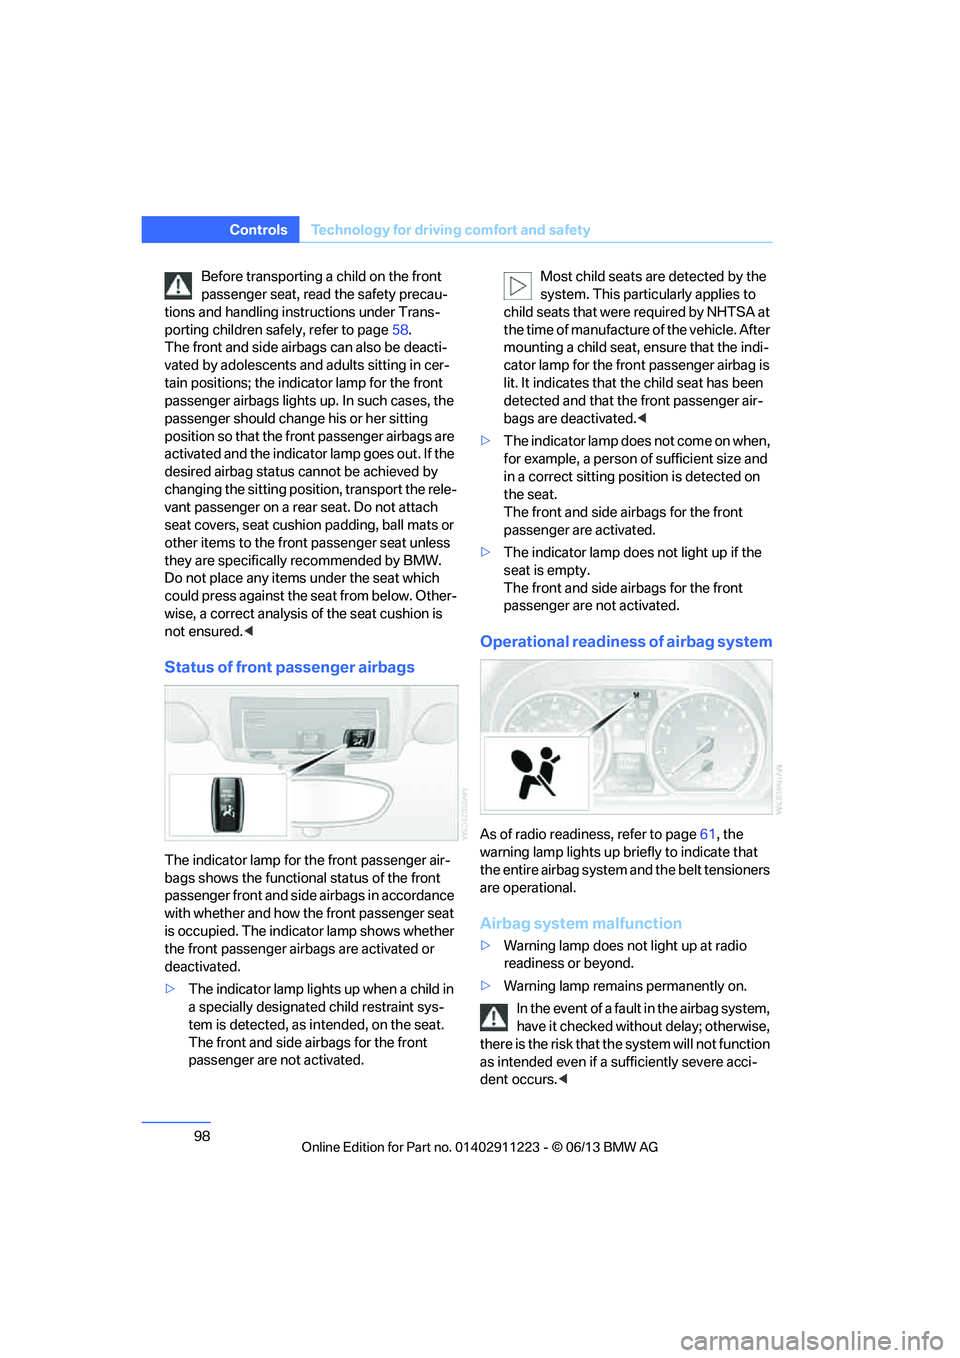
The indicator lamp for the front passenger air-
bags shows the functional status of the front
passenger front and side airbags in accordance
with whether and how the front passenger seat
is occupied. The indicator lamp shows whether
the front passenger airbags are activated or
deactivated.
>The indicator lamp lights up when a child in
a specially designated child restraint sys-
tem is detected, as in tended, on the seat.
The front and side airbags for the front
passenger are not activated. Most child seats are detected by the
system. This partic
ularly applies to
child seats that were required by NHTSA at
the time of manufacture of the vehicle. After
mounting a child seat, ensure that the indi-
cator lamp for the fron t passenger airbag is
lit. It indicates that th e child seat has been
detected and that the front passenger air-
bags are deactivated. <
> The indicator lamp does n o t c o m e o n w h e n ,
for example, a person of sufficient size and
in a correct sitting position is detected on
the seat.
The front and side airbags for the front
passenger are activated.
> The indicator lamp does not light up if the
seat is empty.
The front and side airbags for the front
passenger are not activated.
Operational readine ss of airbag system
As of radio readiness, refer to page 61, the
warning lamp lights up br iefly to indicate that
the entire airbag system and the belt tensioners
are operational.
Airbag system malfunction
> Warning lamp does not light up at radio
readiness or beyond.
> Warning lamp remains permanently on.
In the event of a fault in the airbag system,
have it checked withou t delay; otherwise,
there is the risk that th e system will not function
as intended even if a sufficiently severe acci-
dent occurs. <
00320051004F004C00510048000300280047004C0057004C005200510003
Page 116 of 284
115
Practical interior accessories
Controls
Glove compartment
Opening
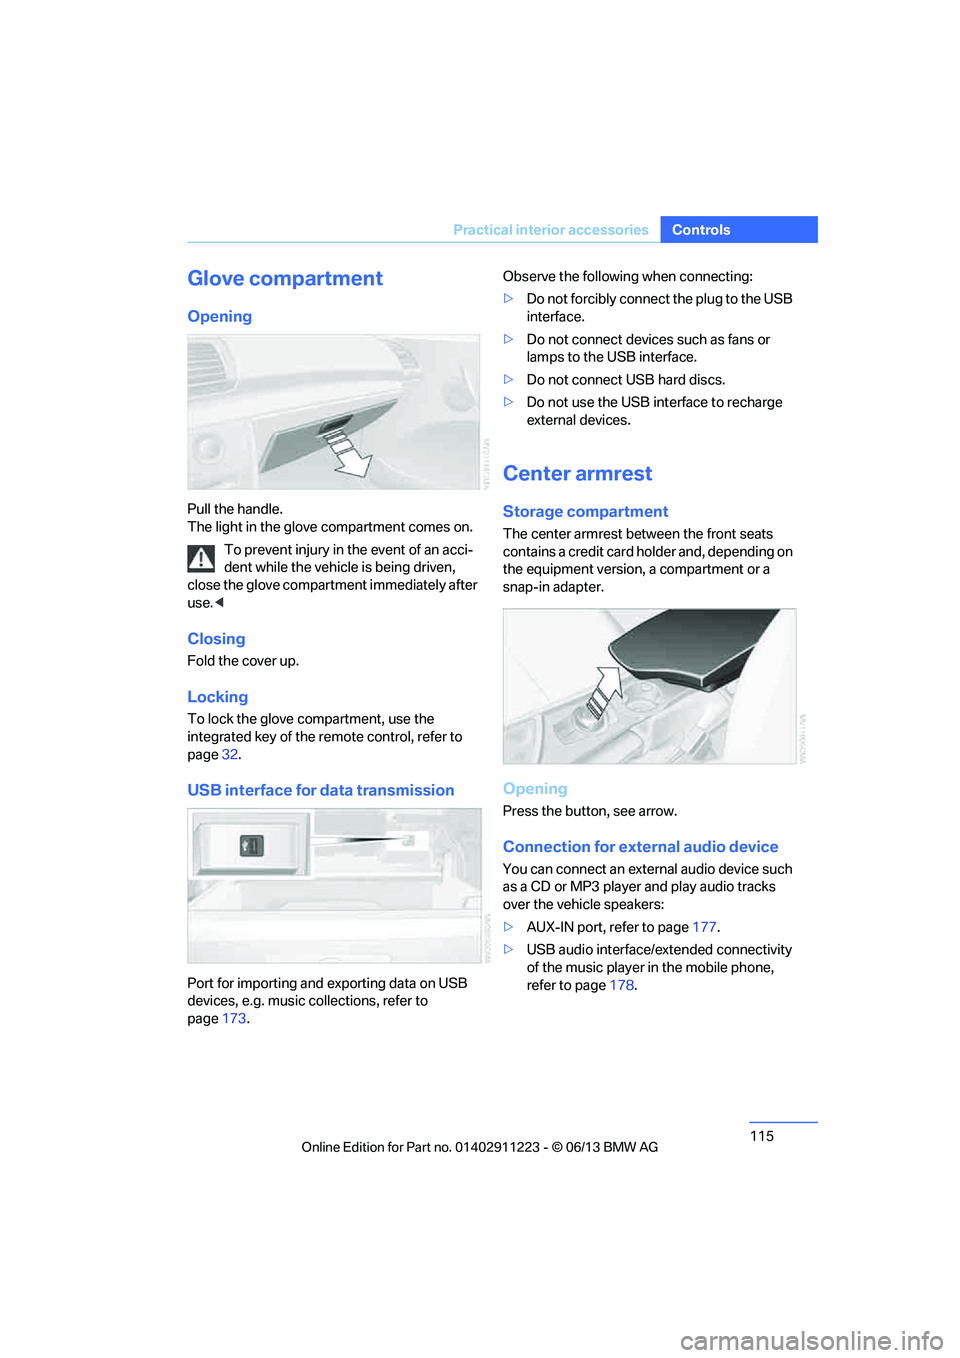
Pull the handle.
The light in the glove compartment comes on.
To prevent injury in the event of an acci-
dent while the vehicle is being driven,
close the glove compartment immediately after
use. <
Closing
Fold the cover up.
Locking
To lock the glove compartment, use the
integrated key of the re mote control, refer to
page 32.
USB interface for data transmission
Port for importing and exporting data on USB
devices, e.g. music collections, refer to
page 173. Observe the following when connecting:
>
Do not forcibly connect the plug to the USB
interface.
> Do not connect devices such as fans or
lamps to the USB interface.
> Do not connect USB hard discs.
> Do not use the USB interface to recharge
external devices.
Center armrest
Storage compartment
The center armrest between the front seats
contains a credit card holder and, depending on
the equipment version, a compartment or a
snap-in adapter.
Opening
Press the button, see arrow.
Connection for external audio device
You can connect an external audio device such
as a CD or MP3 player and play audio tracks
over the vehicle speakers:
>AUX-IN port, refer to page 177.
> USB audio interface/extended connectivity
of the music player in the mobile phone,
refer to page 178.
00320051004F004C00510048000300280047004C0057004C005200510003
Page 117 of 284
116
ControlsPractical interior accessories
Storage compartments inside
the vehicle
Compartments are located next to the steering
column, on the doors, in the center console, and
in the rear between the seats.
Do not place unsecured objects in them;
otherwise, they could endanger the car's
occupants, e.g. in the event of braking or
evasive maneuvers. <
Do not place non-slip pads, e.g. anti-slip
mats, on the dashboard; the materials of
these pads may damage it. <
Coupe: clothes hooks
There are clothes hooks in the rear.
Items of clothing hung from the hooks
must not obstruct the driver's view. Do
not hang heavy objects from the hooks; other-
wise, they could endanger the car's occupants,
e.g. in case of he avy braking or sudden
swerving.<
Cupholders
Use lightweight and shatterproof contain-
ers and do not transp ort hot beverages;
otherwise, there is an incr eased risk of injury in
the event of the accident. Do not force contain-
ers that are too large into the cupholders; other-
wise, damage could result. <
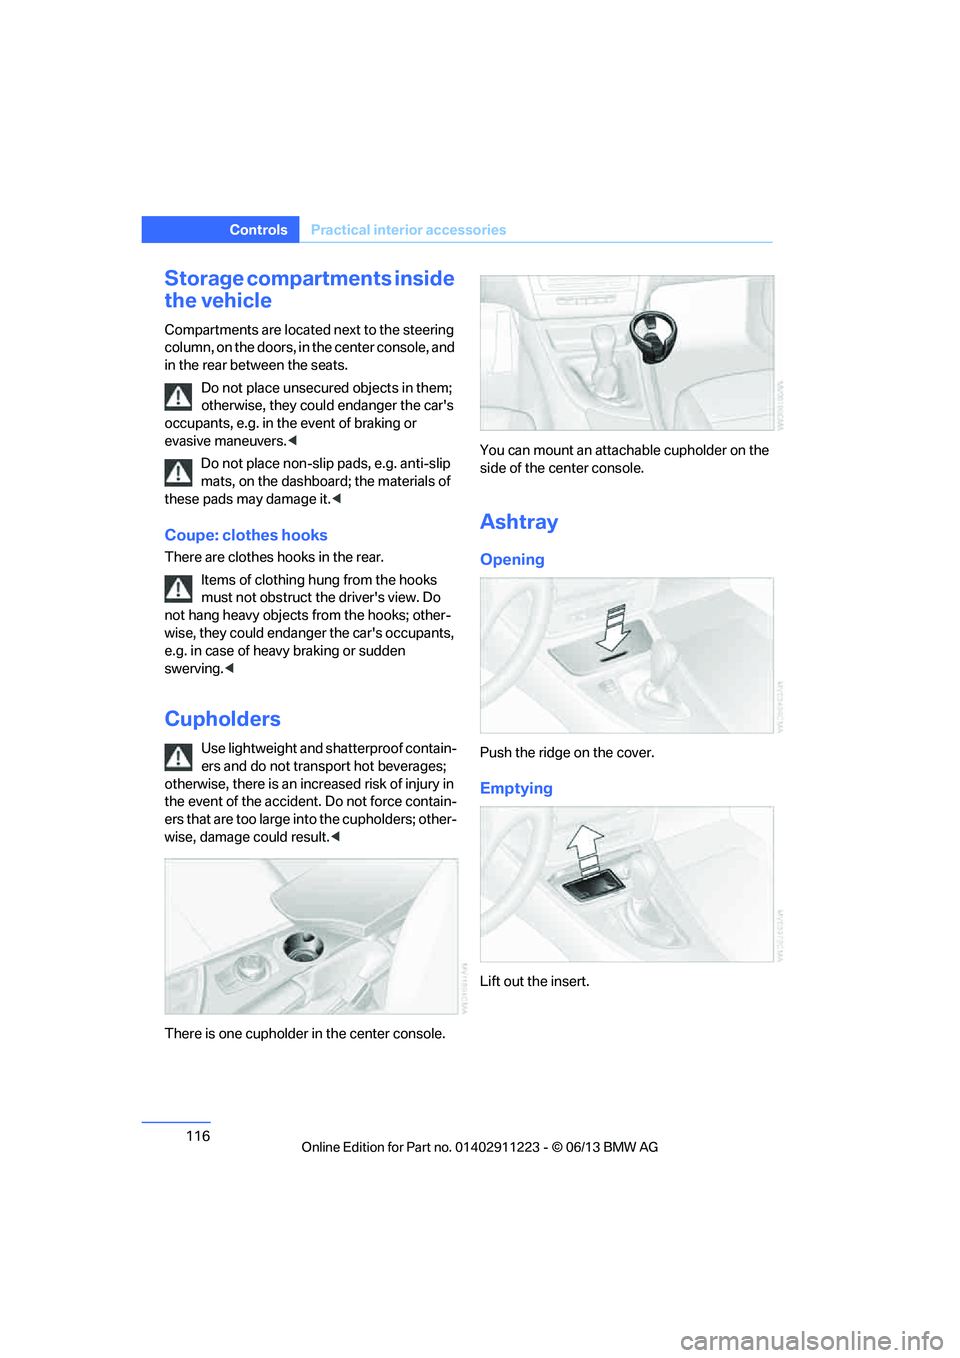
There is one cupholder in the center console. You can mount an attach
able cupholder on the
side of the center console.
Ashtray
Opening
Push the ridge on the cover.
Emptying
Lift out the insert.
00320051004F004C00510048000300280047004C0057004C005200510003
Page 119 of 284
118
ControlsPractical interior accessories
Otherwise, cargo could be thrown around and
endanger the occupants in the event of sharp
braking or swerving. <
The lashing eyes in the trunk provide you with a
way to attach trunk nets or draw straps for
securing suitcases an d luggage, refer to
page 127.
Convertible: cargo loading
Enlarging the trunk
When the convertible top is closed you can
enlarge the trunk:
To do so, fold the trunk partition upward.
Before opening the convertible top, pull the
trunk partition down until it engages.
Ensure that pointed objects do not press
against the trunk partition from below.
The convertible top can only be opened
when the trunk partition is folded down. <
Storage compartments inside
the trunk
Depending on your vehicle's equipment, the left
side trim panel of the trunk will contain a rubber
strap for securing small objects such as a fold-
ing umbrella.
The lashing eyes in the trunk provide you with a
way to attach trunk nets or draw straps for
securing suitcases an d luggage, refer to
page 128.
Coupe: ski bag
The ski bag is designed for safe, clean transport
of up to 4 pairs of standard skis or up to
2snowboards.
With the ski bag you can stow skis with a length
of up to 6.6 ft/2.0 m. When skis of 6.6 ft/2.0 m
length are loaded, the over all capacity of the ski
bag is reduced due to its tapered design.
Loading
Ensure that the skis ar e clean when they are
loaded into the ski bag. Wrap sharp edges to
prevent damage.
1. Fold down the center pa nel in the rear seat
backrest.
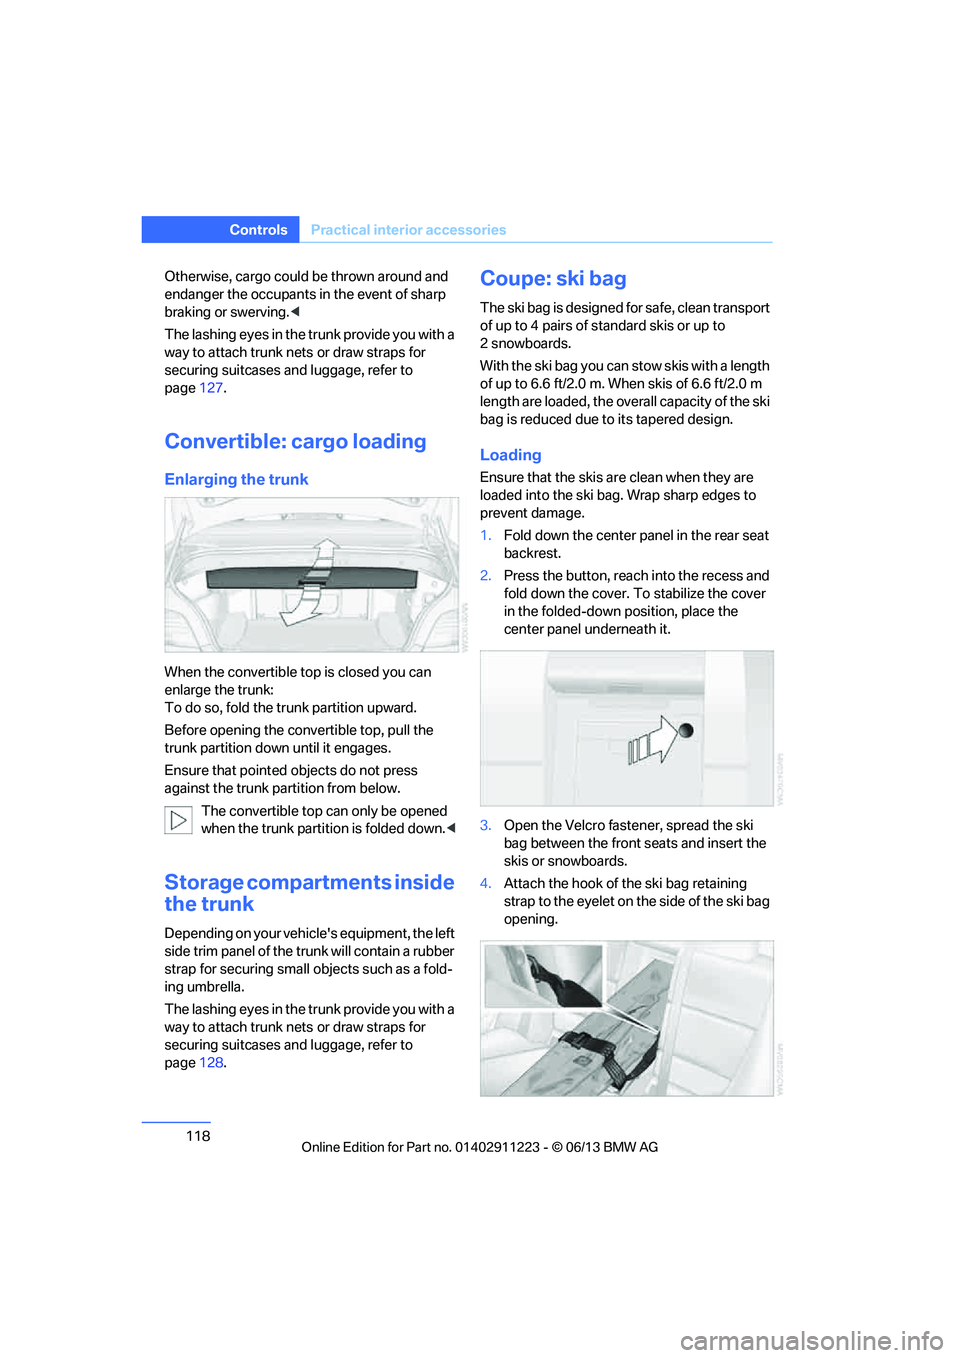
2. Press the button, reach into the recess and
fold down the cover. To stabilize the cover
in the folded-down position, place the
center panel underneath it.
3. Open the Velcro fastener, spread the ski
bag between the front seats and insert the
skis or snowboards.
4. Attach the hook of the ski bag retaining
strap to the eyelet on the side of the ski bag
opening.
00320051004F004C00510048000300280047004C0057004C005200510003
Page 120 of 284
119
Practical interior accessories
Controls
Securing cargo
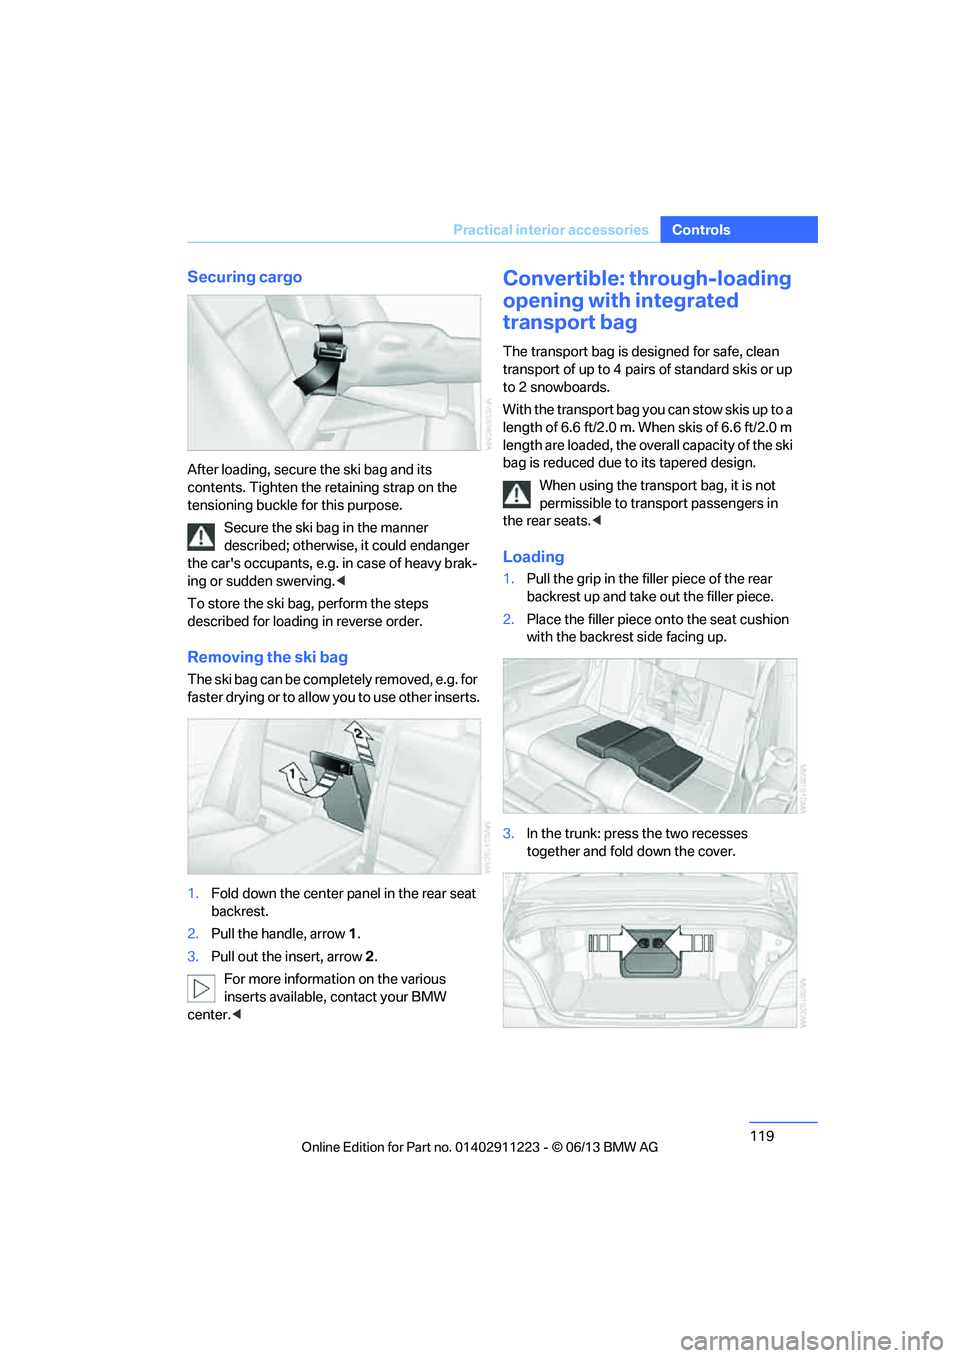
After loading, secure the ski bag and its
contents. Tighten the retaining strap on the
tensioning buckle for this purpose.
Secure the ski bag in the manner
described; otherwise, it could endanger
the car's occupants, e.g. in case of heavy brak-
ing or sudden swerving. <
To store the ski bag, perform the steps
described for loadin g in reverse order.
Removing the ski bag
The ski bag can be comple tely removed, e.g. for
faster drying or to allow you to use other inserts.
1. Fold down the center panel in the rear seat
backrest.
2. Pull the handle, arrow 1.
3. Pull out the insert, arrow 2.
For more information on the various
inserts available, contact your BMW
center. <
Convertible: through-loading
opening with integrated
transport bag
The transport bag is designed for safe, clean
transport of up to 4 pairs of standard skis or up
to 2 snowboards.
With the transport bag you can stow skis up to a
length of 6.6 ft/2.0 m. When skis of 6.6 ft/2.0 m
length are loaded, the over all capacity of the ski
bag is reduced due to its tapered design.
When using the transport bag, it is not
permissible to transport passengers in
the rear seats. <
Loading
1.Pull the grip in the f iller piece of the rear
backrest up and take out the filler piece.
2. Place the filler piece on to the seat cushion
with the backrest side facing up.
3. In the trunk: press the two recesses
together and fold down the cover.
00320051004F004C00510048000300280047004C0057004C005200510003
Page 121 of 284
120
ControlsPractical interior accessories
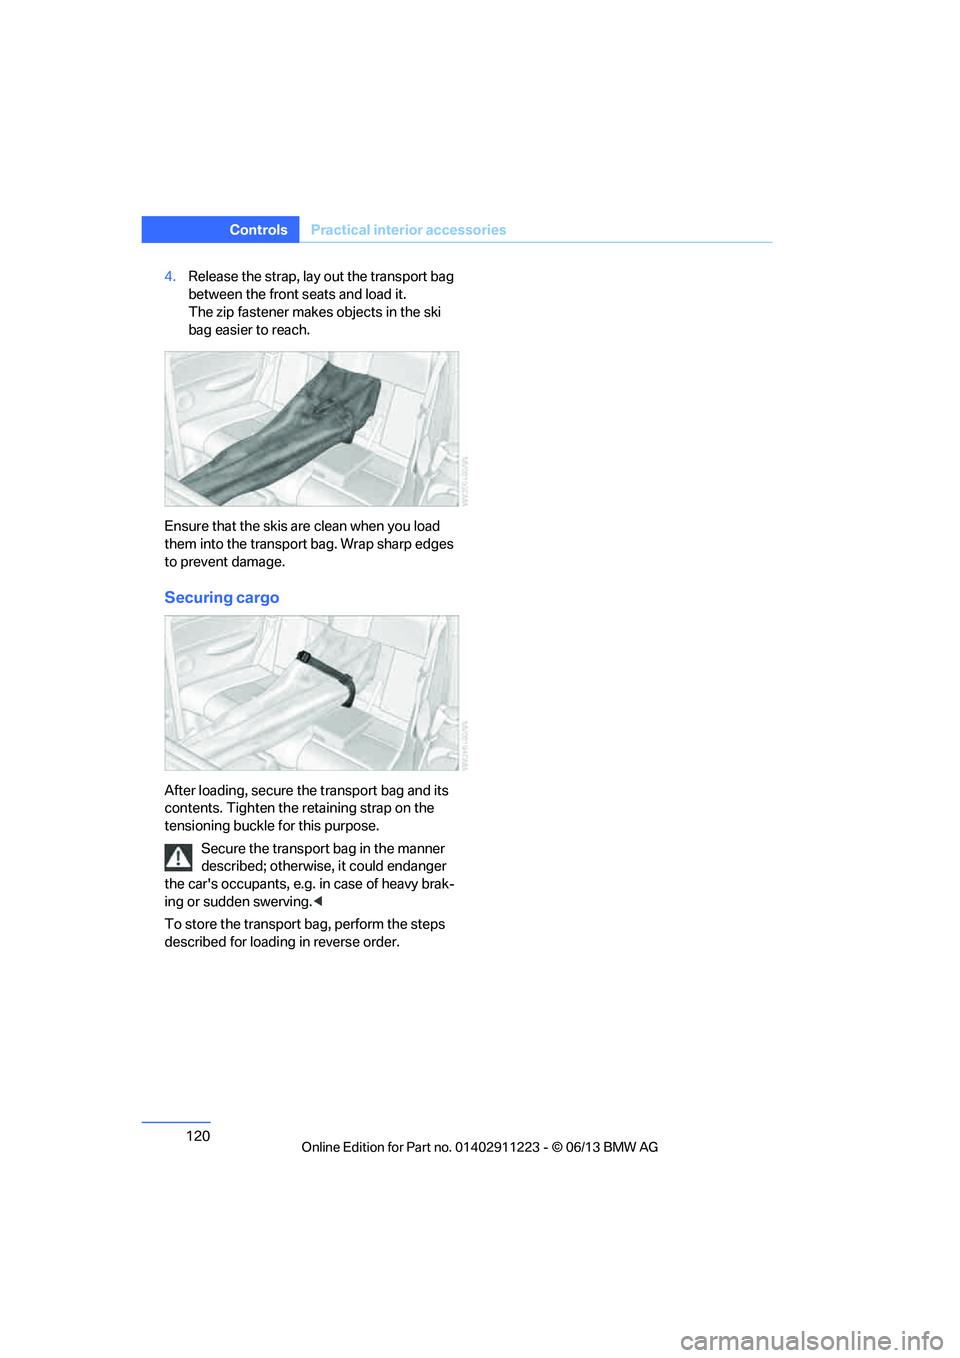
4.Release the strap, lay out the transport bag
between the front seats and load it.
The zip fastener makes objects in the ski
bag easier to reach.
Ensure that the skis are clean when you load
them into the transport bag. Wrap sharp edges
to prevent damage.
Securing cargo
After loading, secure th e transport bag and its
contents. Tighten the retaining strap on the
tensioning buckle for this purpose.
Secure the transport bag in the manner
described; otherwise, it could endanger
the car's occupants, e.g. in case of heavy brak-
ing or sudden swerving. <
To store the transport bag, perform the steps
described for loadin g in reverse order.
00320051004F004C00510048000300280047004C0057004C005200510003
Page 270 of 284

269
Everything from A to Z
Reference
Average speed
77
Avoid highways in
navigation 143
Avoiding unintentional alarms 40
Axle loads, refer to Weights 259
B
Backrests, refer to Seats 50
Backrest width adjustment 51
Back seats, refer to Rear seats
– adjusting head restraints 52
Backup lamp, replacing bulb 247
Bag for skis, refer to Ski bag 118
Band-aids, refer to First aid
pouch 251
Bar, refer to Tow-starting, towing away 253
Base plate for telephone or mobile phone
– refer to Snap-in adapter 199
Bass, tone control 155
Battery 248
– charging 248
– disposal 42,249
– jump starting 251
– replacing 248
– temporary power failure 248
Battery renewal
– remote control for vehicle 41
Being towed 253
Belts, refer to Safety belts 54
Belt tensioner, refer to Safety
belts 54
Beverage holders, refer to Cupholders 116
Blower, refer to Air volume 108 Bluetooth, activating/
deactivating 189
Bluetooth audio 180
– disconnecting an audio connection 183
– pairing device 181
– playback 182
– unpairing device 183
– what to do if … 183
BMW Assist 212
– updating 216
BMW Info 206
BMW Maintenance System 237
BMW Online 214
Bottle holders, refer to
Cupholders 116
Brake Assist, refer to Dynamic Brake Control 89
Brake fluid
– service requirements 80
Brake Force Display 96
Brake lamps
– brake force display 96
– replacing bulb 247
Brake pads, breaking in 124
Brake pedal, refer to Braking safely 126
Bra k
e rotors 127
– brakes 124
– breaking in 124
Brakes
– ABS 89
– BMW Maintenance
System 237
– braking safely 126
– breaking in 124
– parking brake 63
– service requirements 80Brake system
124
– BMW Maintenance
System 237
– breaking in 124
– disc brakes 127
Breakdown services, refer to Roadside Assistance 251
Breaking in the clutch 124
Break-in period 124
Bulb changing, refer to Lamps and bulbs 243
Button for starting the engine 61
Buttons on the steering
wheel 13
C
Calendar 207
– displaying appointment 207
– selecting calendar day 207
California Proposition 65
warning 6
Call
– accepting 193
– ending 193
– muting the microphone 195
– rejecting 193
Calling, refer to Phone numbers, dialing 194
Calls
– with multiple parties 194
Can holders, refer to Cupholders 116
Capacities 259
Capacity of the trunk 259
Car battery, refer to Vehicle
battery 248
Car care, refer to Care 239
00320051004F004C00510048000300280047004C0057004C005200510003
Page 271 of 284

270
ReferenceEverything from A to Z
Care239
– automatic car washes 239
– care products 240
– carpets 242
– chrome parts 241
– convertible top 242
– displays 242
– fine wood parts 241
– headlamps 240
– leather 240
– light-alloy wheels 241
– paintwork 240
– plastic parts 241
– rubber seals 241
– safety belts 241
– sensors and cameras 242
– upholstery and cloth trim 241
Cargo, securing 128
Cargo area, refer to Trunk
Cargo area lid, refer to Trunk lid 37
Cargo loading 127
– securing cargo 128
– stowing cargo 128
– vehicle 127
Car jack
– jacking points 248
Car key, refer to Integrated key/remote control 32
Car phone
– installation location, refer to Center armrest 115
Car phone, refer to
Telephone 188
Car radio, refer to Radio 157
Car wash 239
Catalytic converter, refer to Hot exhaust system 126
CD, audio playback 166CD player
166
– controls 154
– fast forward/reverse 168
– random sequence 167
– selecting a track 166
– switching on/off 154
– tone control 155
– volume 155
Center armrest 115
Center brake lamp, replacing bulb 247
Center console, refer to Around the center
console 16
Central key, refer to Integrated key/remote control 32
Central locking
– from inside 37
– from outside 33
Central lo cking
system33
– comfort access 40
Changes, technical, refer to
For your own safety 5
Changing bulbs 243
Changing gears 68
Changing the language on the Control Display 87
Changing wheels 248
Chassis number, refer to Engine compartment 232
Check Control 84
Child restraint fixing system LATCH 59
Child restraint systems 58
Child seats 58
Chrome parts 241
Chrome polish 241
Cigarette lighter 117
Cleaning headlamps 72
– washer fluid 73
Cleaning your BMW, refer to Care 239 Climate control
– automatic air
distribution 107
Clock 75
– 12h/24h mode 83
– setting the time and date 83
– setting time 82
Closing
– from inside 37
– from outside 34
Clothes hooks 116
Cold start, refer to Starting the engine 62
Comfort Access 40
– replacing the battery 41
Comfort area, refer to Around
the center console 16
Compartment for remote control, refer to Ignition
lock 61
Compass 113
Computer 77
– displays on Control Display 78
Computer, refer to iDrive 20
Concierge service 213
Condensation, refer to When the vehicle is parked 127
Condition Based Service CBS 237
Configuring settings, refer to
Personal Profile 32
Confirmation signals for locking/unlocking the
vehicle 35
ConnectedDrive 212
Con n
ecting a music player,
AUX-In connection 177
Connecting a music player, USB audio interface 178
Connecting an iPod, refer to AUX-In connection 177
Connecting an iPod, refer to
USB audio interface 178
00320051004F004C00510048000300280047004C0057004C005200510003