2013 BMW 135I CONVERTIBLE reset
[x] Cancel search: resetPage 15 of 284
14
At a glanceDashboard
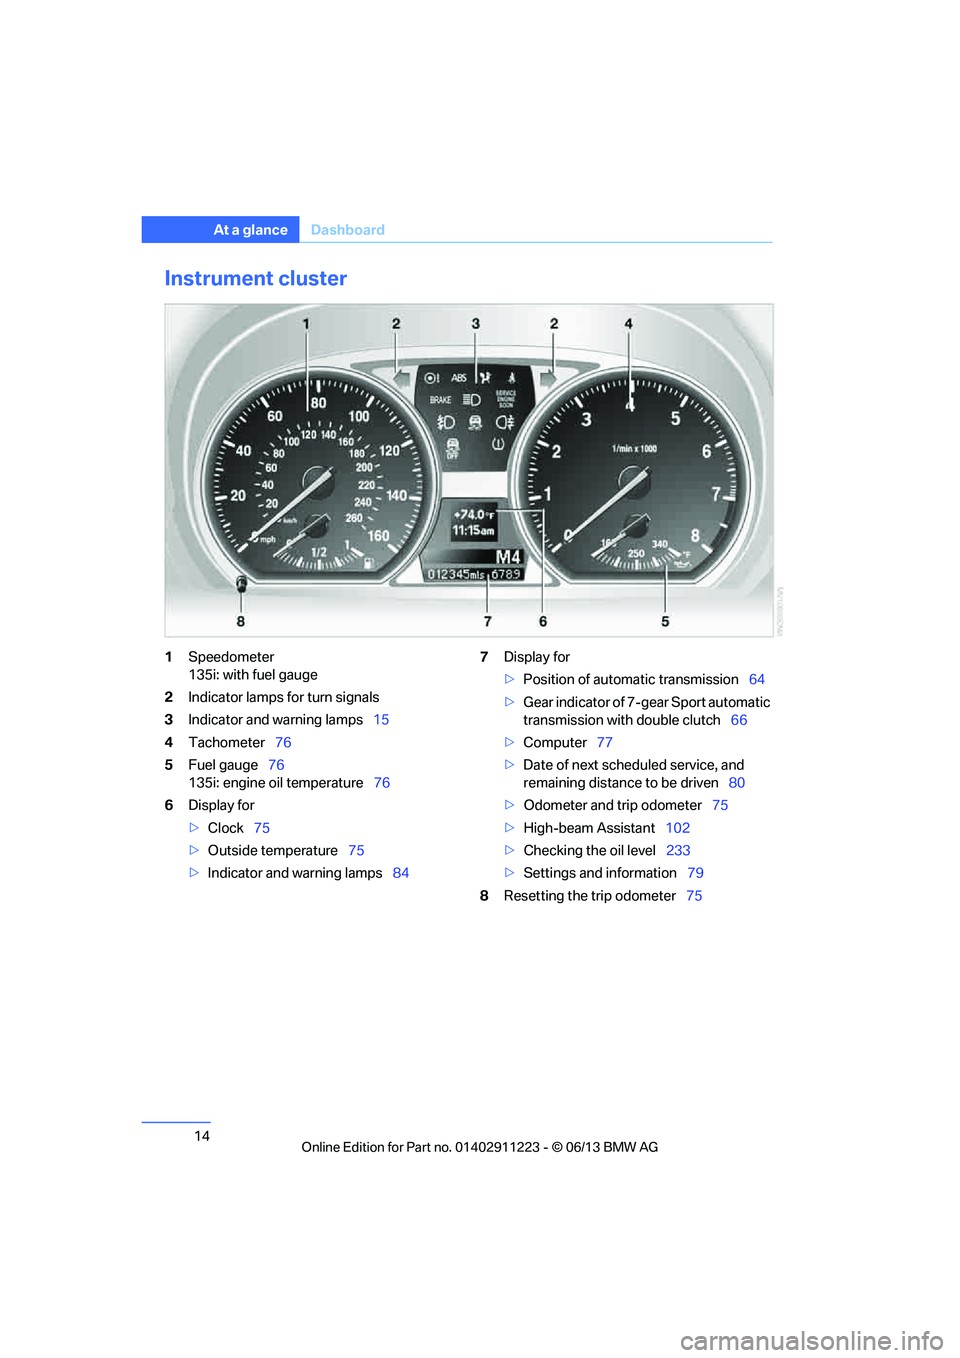
Instrument cluster
1Speedometer
135i: with fuel gauge
2 Indicator lamps for turn signals
3 Indicator and warning lamps 15
4 Tachometer 76
5 Fuel gauge 76
135i: engine oil temperature 76
6 Display for
>Clock 75
> Outside temperature 75
> Indicator and warning lamps 847
Display for
>Position of automatic transmission 64
> Gear indicator of 7-gear Sport automatic
transmission with double clutch 66
> Computer 77
> Date of next scheduled service, and
remaining distance to be driven 80
> Odometer and trip odometer 75
> High-beam Assistant 102
> Checking the oil level 233
> Settings and information 79
8 Resetting the trip odometer 75
00320051004F004C00510048000300280047004C0057004C005200510003
Page 36 of 284

35
Opening and closing
Controls
Switching on interior lamps
While the car is locked:
Press the button.
You can also use this fu
nction to locate your
vehicle in parking garages etc.
Unlocking the trunk lid
Press the button for about 1 second and
then release it.
The trunk lid opens a short distance, regardless
of whether it was locked or unlocked.
The trunk lid swings backward and up
when opened. Make sure that adequate
clearance is available before opening.
To avoid locking yourself out by accident, do
not place the remote control in the trunk.
A previously locked trun k lid is locked again
after closing.
Before and after each tr ip, check that the trunk
lid has not been inad vertently unlocked.<
Confirmation signals
You can activate or deac tivate the confirmation
signals.
1. "Settings"
2. "Door locks"
3. "Flash when lock/unlock"
4. Press the controller.
Calling up the driver's seat position
The driver's seat position last set is stored for
the remote control currently in use.
You can select whether or not the seat is reset
to that position automatically. When this Personal Profile function is
used, first make sure
that the footwell
behind the driver's seat is free of obstacles.
Failure to do so could ca use injury to persons or
damage to objects as a result of a rearward
movement of the seat. <
The adjusting procedure is halted when you
touch a seat adjustment switch or one of the
memory buttons.
Selecting automatic call-up
1. "Settings"
2. "Door locks"
3. "Last seat position auto."
The setting is stored for the remote control
currently in use.
Malfunctions
The remote control ma y malfunction due to
local radio waves. If this occurs, unlock and lock
the car at the door lock with the integrated key.
Coupe: in vehicles without Comfort Access,
only the driver's door can be locked and
unlocked with the integr ated key via the door
lock.
If the car can no longer be locked with a remote
control, the battery in th e remote control is dis-
charged. Use the remote control on an
extended trip to recharge the battery, refer to
page 32. The remote control for Comfort
Access contains a battery that may have to be
changed, refer to page 41.
00320051004F004C00510048000300280047004C0057004C005200510003
Page 73 of 284
72
ControlsDriving
Switching on wipers
Press the lever upward, arrow 1.
The lever automatically returns to its initial
position when released.
Normal wiper speed
Press once.
The system switches to operation in the inter-
mittent mode when the vehicle is stationary.
Fast wiper speed
Press twice or press beyond the resistance
point.
The system switches to normal speed when the
vehicle is stationary.
Intermittent wipe or rain sensor
If the car is not equipped with a rain sensor, the
intermittent-wipe time is a preset.
If the car is equipped with a rain sensor, the time
between wipes is contro lled automatically and
depends on the intensity of the rainfall. The rain
sensor is mounted on the windshield, directly in
front of the interior rearview mirror.
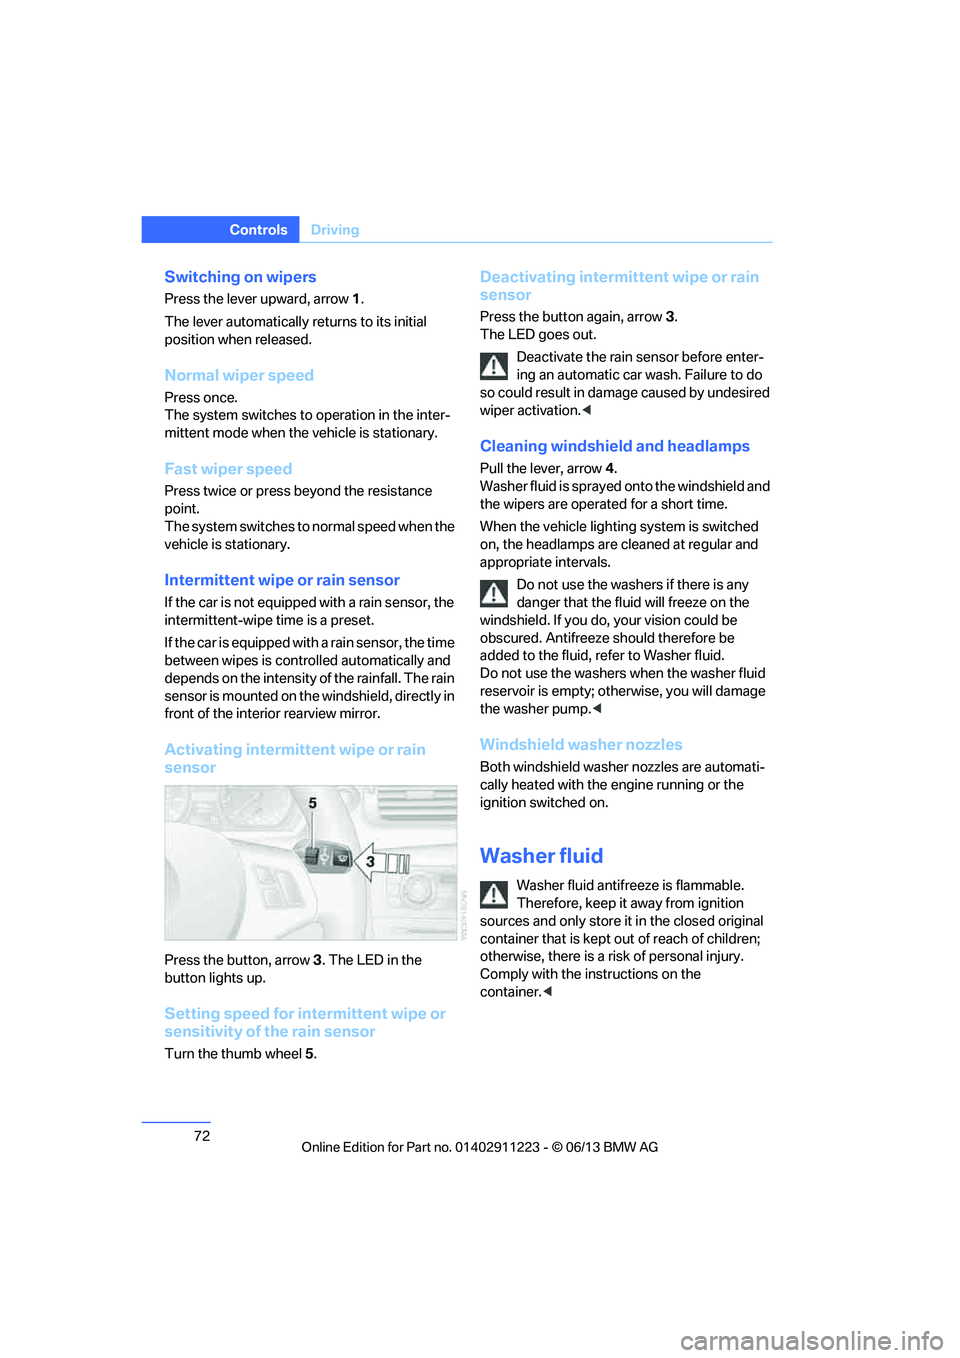
Activating intermittent wipe or rain
sensor
Press the button, arrow 3. The LED in the
button lights up.
Setting speed for intermittent wipe or
sensitivity of the rain sensor
Turn the thumb wheel 5.
Deactivating intermit tent wipe or rain
sensor
Press the button again, arrow 3.
The LED goes out.
Deactivate the rain sensor before enter-
ing an automatic car wash. Failure to do
so could result in damage caused by undesired
wiper activation. <
Cleaning windshield and headlamps
Pull the lever, arrow 4.
Washer fluid is sprayed onto the windshield and
the wipers are operated for a short time.
When the vehicle lighting system is switched
on, the headlamps are cleaned at regular and
appropriate intervals.
Do not use the washers if there is any
danger that the flui d will freeze on the
windshield. If you do, your vision could be
obscured. Antifreeze should therefore be
added to the fluid, refer to Washer fluid.
Do not use the washers when the washer fluid
reservoir is empty; othe rwise, you will damage
the washer pump. <
Windshield washer nozzles
Both windshield washer nozzles are automati-
cally heated with the engine running or the
ignition switched on.
Washer fluid
Washer fluid antifree ze is flammable.
Therefore, keep it away from ignition
sources and only store it in the closed original
container that is kept out of reach of children;
otherwise, there is a risk of personal injury.
Comply with the instructions on the
container. <
00320051004F004C00510048000300280047004C0057004C005200510003
Page 76 of 284
75
Controls overview
Controls
Controls overview
Vehicle equipment
In this chapter, all production, country, and
optional equipment that is offered in the model
range is described. For this reason, descrip-
tions will be given of some equipment that may
not be available in a vehi
cle, for example due to
the special options or national-market version
selected. This also app lies to safety related
functions and systems.
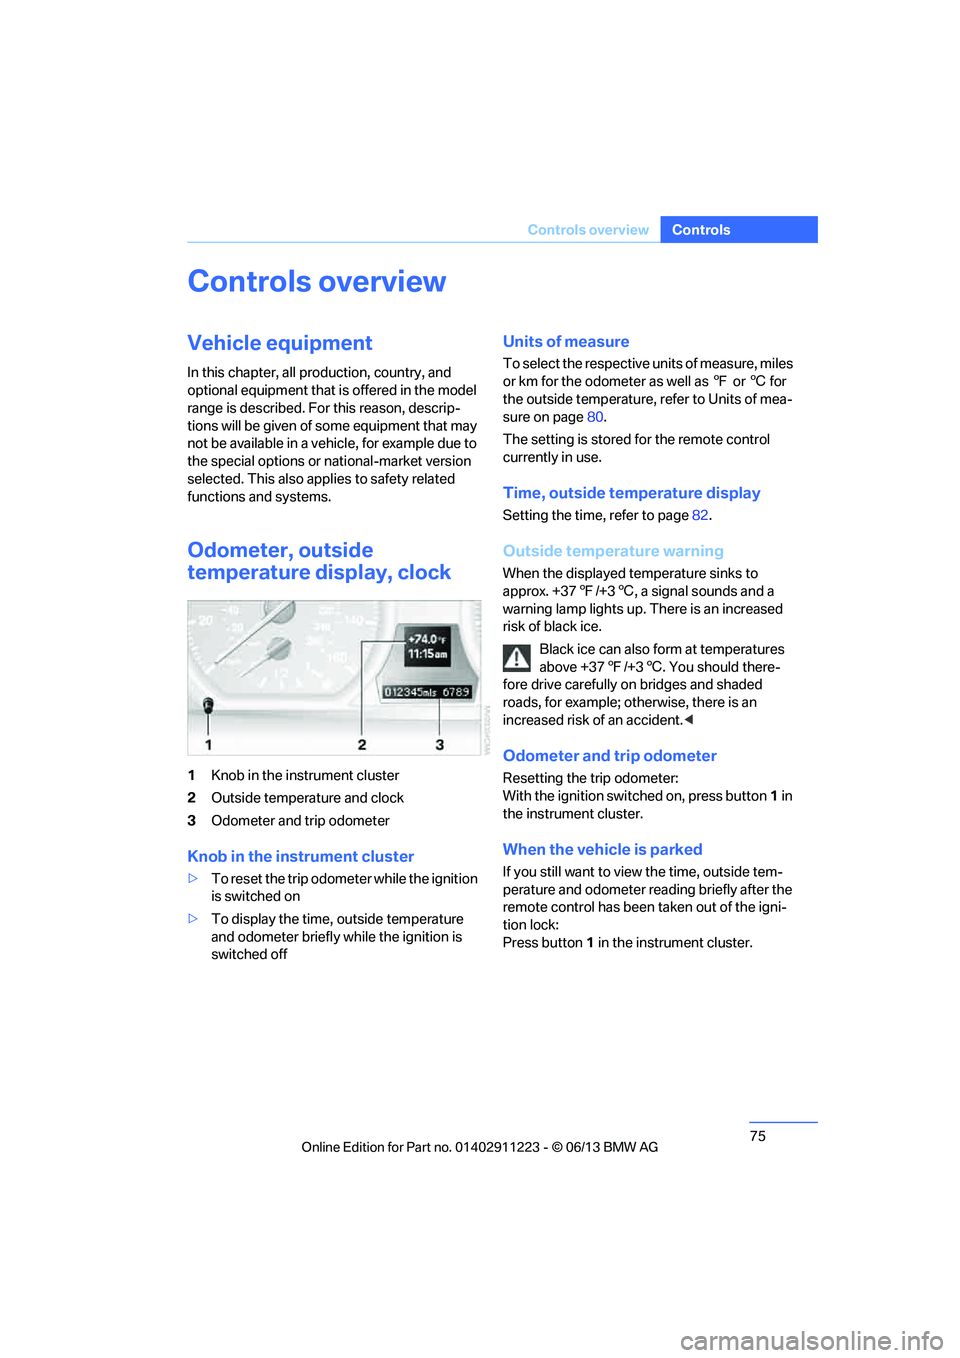
Odometer, outside
temperature display, clock
1 Knob in the instrument cluster
2 Outside temperature and clock
3 Odometer and trip odometer
Knob in the instrument cluster
>To reset the trip odomet er while the ignition
is switched on
> To display the time, outside temperature
and odometer briefly while the ignition is
switched off
Units of measure
To select the respective units of measure, miles
or km for the odometer as well as 7 or 6 for
the outside temperature, refer to Units of mea-
sure on page 80.
The setting is stored for the remote control
currently in use.
Time, outside temperature display
Setting the time, refer to page 82.
Outside temperature warning
When the displayed temperature sinks to
approx. +377/+3 6, a signal sounds and a
warning lamp lights up. There is an increased
risk of black ice.
Black ice can also form at temperatures
above +37 7/+3 6. You should there-
fore drive carefully on bridges and shaded
roads, for example; otherwise, there is an
increased risk of an accident. <
Odometer and trip odometer
Resetting the trip odometer:
With the ignition switched on, press button 1 in
the instrument cluster.
When the vehicle is parked
If you still want to view the time, outside tem-
perature and odometer reading briefly after the
remote control has been taken out of the igni-
tion lock:
Press button 1 in the instrument cluster.
00320051004F004C00510048000300280047004C0057004C005200510003
Page 78 of 284
77
Controls overview
Controls
Computer
Displays in the instrument cluster
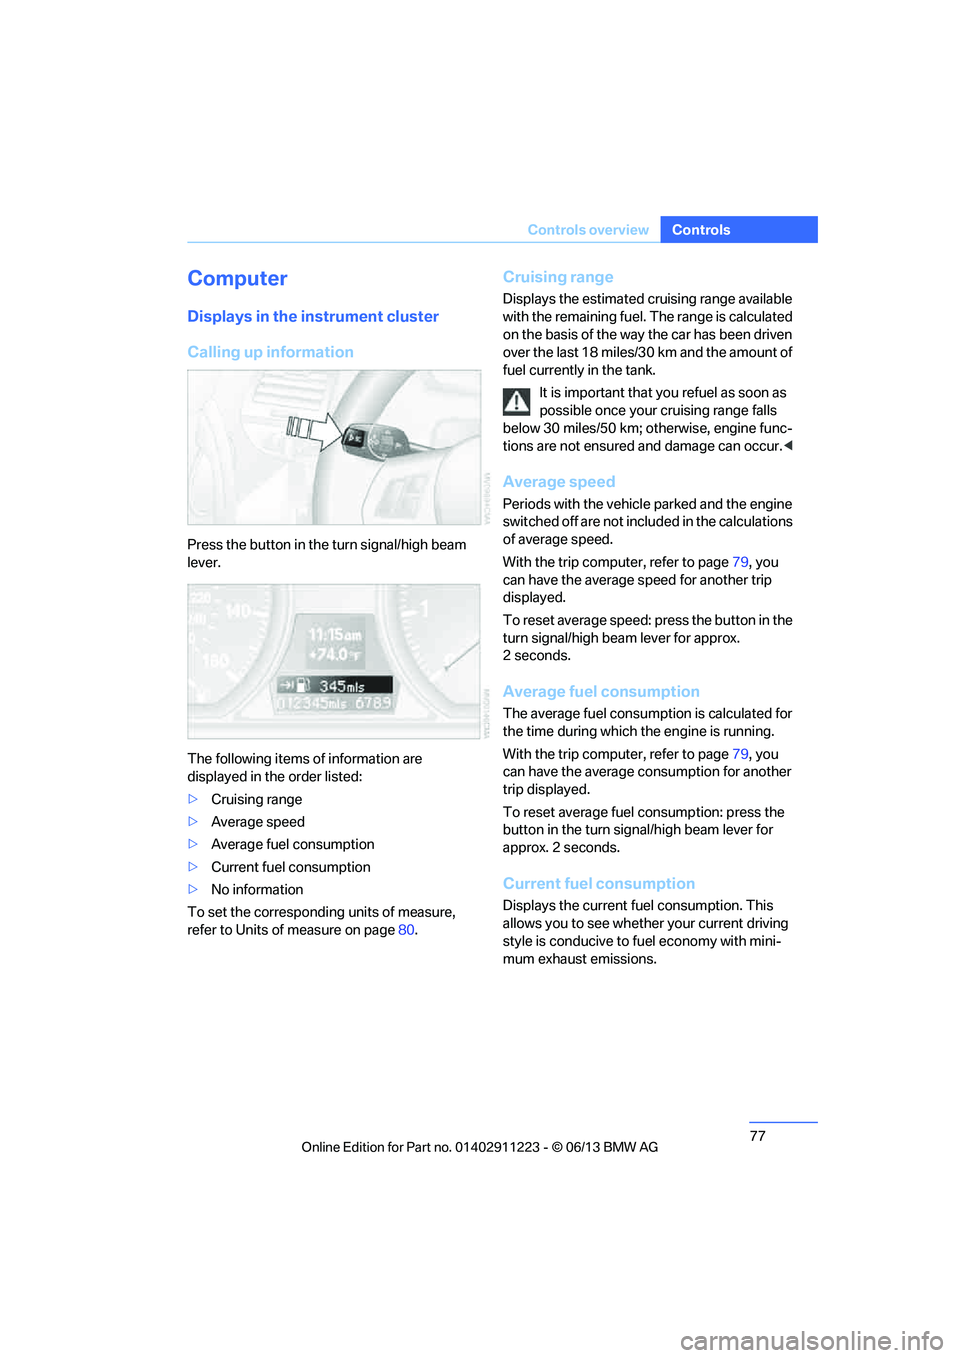
Calling up information
Press the button in the turn signal/high beam
lever.
The following items of information are
displayed in the order listed:
>
Cruising range
> Average speed
> Average fuel consumption
> Current fuel consumption
> No information
To set the corresponding units of measure,
refer to Units of measure on page 80.
Cruising range
Displays the estimated cruising range available
with the remaining fuel. The range is calculated
on the basis of the way the car has been driven
over the last 18 miles/30 km and the amount of
fuel currently in the tank.
It is important that you refuel as soon as
possible once your cruising range falls
below 30 miles/50 km; otherwise, engine func-
tions are not ensured and damage can occur. <
Average speed
Periods with the vehicle parked and the engine
switched off are not included in the calculations
of average speed.
With the trip comp uter, refer to page79, you
can have the average speed for another trip
displayed.
To reset average speed: press the button in the
turn signal/high beam lever for approx.
2seconds.
Average fuel consumption
The average fuel consumption is calculated for
the time during which the engine is running.
With the trip comp uter, refer to page79, you
can have the average consumption for another
trip displayed.
To reset average fuel consumption: press the
button in the turn signal/high beam lever for
approx. 2 seconds.
Current fuel consumption
Displays the current fuel consumption. This
allows you to see whethe r your current driving
style is conducive to fuel economy with mini-
mum exhaust emissions.
00320051004F004C00510048000300280047004C0057004C005200510003
Page 79 of 284

78
ControlsControls overview
Displays on the Control Display
The computer can also be opened via iDrive.
1."Vehicle Info"
2. "Onboard info" or "Trip computer"
Displaying "Onboard info":
> Cruising range
> Distance from destination
> Estimated time of arrival if a destination has
been entered in the navigation system.
Displaying "Trip computer":
> Departure time
> Trip duration
> Trip distance Both displays show:
>
The average speed and
> the average fuel consumption.
Resetting the fuel consumption and
speed
You can reset the values for average speed and
average consumption:
1.Select the respective menu entry.
2. Press the controller again to confirm your
selection.
Resetting the trip computer
You can reset all values:
1."Vehicle Info"
2. "Trip computer"
3. "Reset"
00320051004F004C00510048000300280047004C0057004C005200510003
Page 92 of 284
91
Technology for driving comfort and safety
Controls
Flat Tire Monitor FTM
The concept
The system does not measure the actual infla-
tion pressure in the tires.
The system detects a pressure loss in a tire by
comparing the rotational
speeds of the individ-
ual wheels while moving.
In the event of a pressure loss, the diameter and
therefore the rotational speed of the corre-
sponding wheel change. This is detected and
reported as a flat tire.
Functional requirement
The system must have be en initialized while the
tire inflation pressure was correct; otherwise,
reliable signaling of a flat tire is not ensured.
Each time a tire inflation pressure has been
corrected or a wheel or tire has been changed,
reinitialize the system.
System limitations
Sudden serious tire damage caused by
external influences ca nnot be indicated in
advance.<
The system will not detect a natural, uniform
pressure loss in all four tires. Therefore, check
the tire inflation pressure regularly.
In the following situations, the system could be
delayed or malfunction:
> System has not been initialized
> Driving on snowy or slippery road surface
> Performance-oriented style of driving: slip
in the drive wheels, hi gh lateral acceleration
> Snow chains are attached
Status display
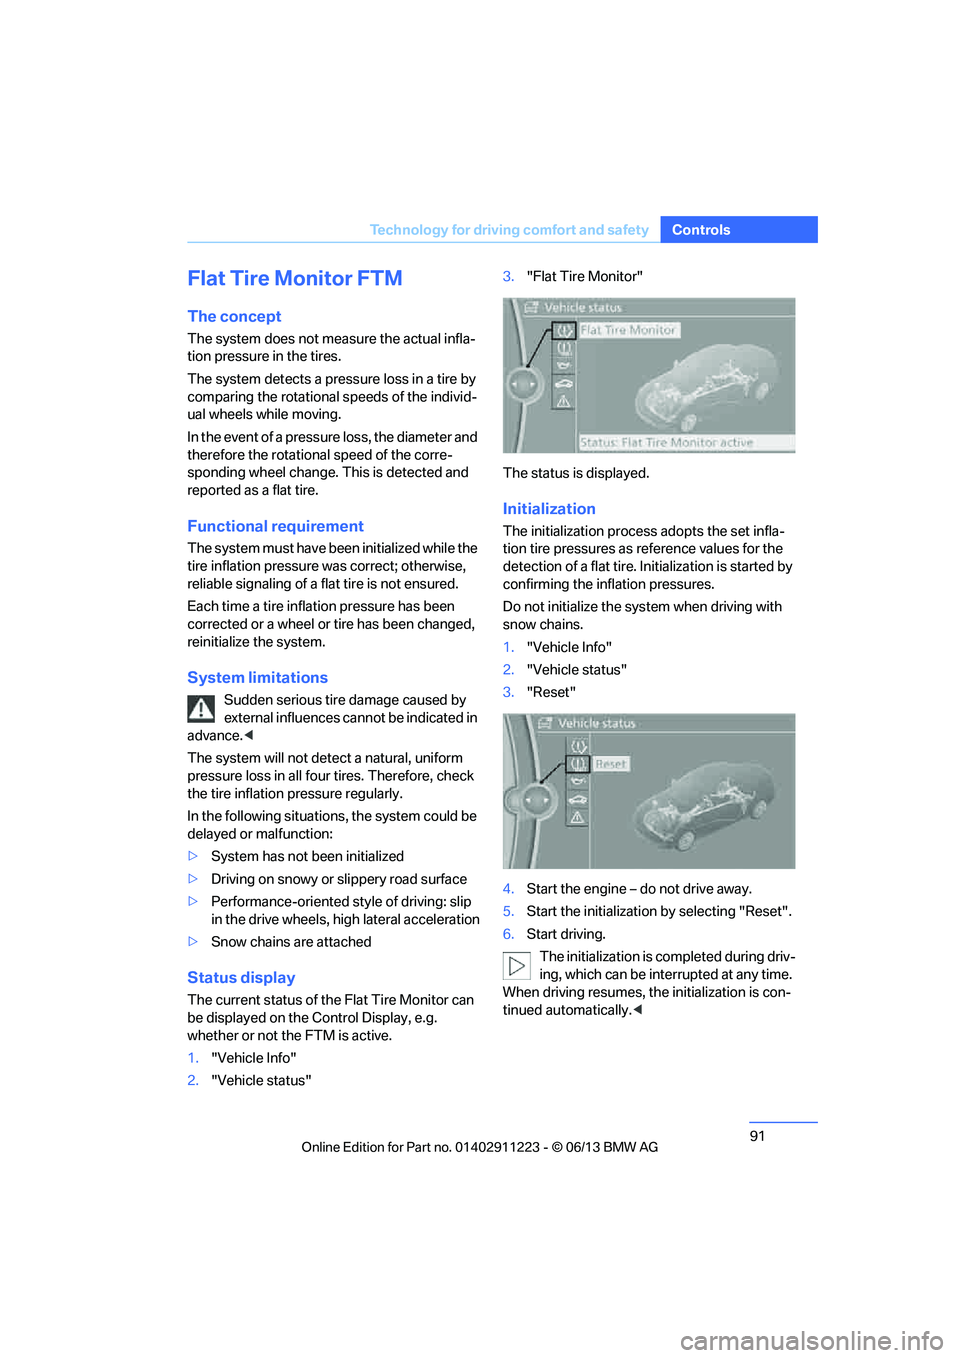
The current status of the Flat Tire Monitor can
be displayed on the Control Display, e.g.
whether or not the FTM is active.
1."Vehicle Info"
2. "Vehicle status" 3.
"Flat Tire Monitor"
The status is displayed.
Initialization
The initialization process adopts the set infla-
tion tire pressures as reference values for the
detection of a flat tire. Initialization is started by
confirming the inflation pressures.
Do not initialize the system when driving with
snow chains.
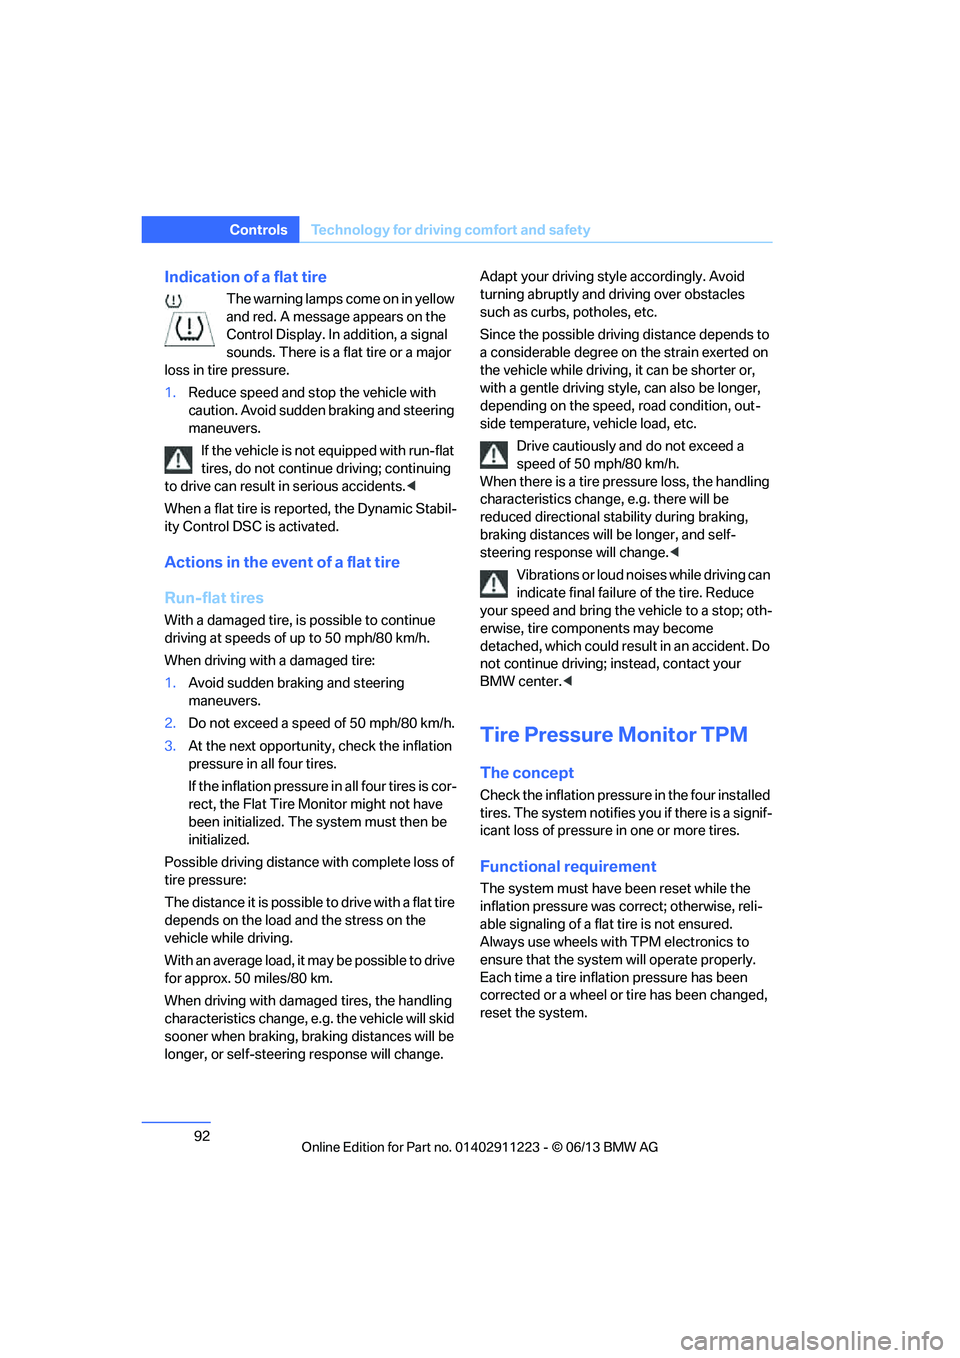
1. "Vehicle Info"
2. "Vehicle status"
3. "Reset"
4. Start the engine – do not drive away.
5. Start the initialization by selecting "Reset".
6. Start driving.
The initialization is completed during driv-
ing, which can be interrupted at any time.
When driving resumes, the initialization is con-
tinued automatically. <
00320051004F004C00510048000300280047004C0057004C005200510003
Page 93 of 284
92
ControlsTechnology for driving comfort and safety
Indication of a flat tire
The warning lamps come on in yellow
and red. A message appears on the
Control Display. In addition, a signal
sounds. There is a flat tire or a major
loss in tire pressure.
1. Reduce speed and stop the vehicle with
caution. Avoid sudden braking and steering
maneuvers.
If the vehicle is not equipped with run-flat
tires, do not continue driving; continuing
to drive can result in serious accidents. <
When a flat tire is reported, the Dynamic Stabil-
ity Control DSC is activated.
Actions in the event of a flat tire
Run-flat tires
With a damaged tire, is possible to continue
driving at speeds of up to 50 mph/80 km/h.
When driving with a damaged tire:
1. Avoid sudden braking and steering
maneuvers.
2. Do not exceed a speed of 50 mph/80 km/h.
3. At the next opportunity, check the inflation
pressure in all four tires.
If the inflation pressure in all four tires is cor-
rect, the Flat Tire Monitor might not have
been initialized. The sy stem must then be
initialized.
Possible driving distance with complete loss of
tire pressure:
The distance it is possible to drive with a flat tire
depends on the load and the stress on the
vehicle while driving.
With an average load, it may be possible to drive
for approx. 50 miles/80 km.
When driving with damaged tires, the handling
characteristics ch ange, e.g. the vehicle will skid
sooner when braking, braking distances will be
longer, or self-steerin g response will change. Adapt your driving style accordingly. Avoid
turning abruptly and driving over obstacles
such as curbs, potholes, etc.
Since the possible driving distance depends to
a considerable degree on
the strain exerted on
the vehicle while driving, it can be shorter or,
with a gentle driving style, can also be longer,
depending on the speed, road condition, out-
side temperature, vehicle load, etc.
Drive cautiously an d do not exceed a
speed of 50 mph/80 km/h.
When there is a tire pressure loss, the handling
characteristics change , e.g. there will be
reduced directional stability during braking,
braking distances will be longer, and self-
steering response will change. <
Vibrations or loud noises while driving can
indicate final failure of the tire. Reduce
your speed and bring the vehicle to a stop; oth-
erwise, tire components may become
detached, which could result in an accident. Do
not continue driving; instead, contact your
BMW center. <
Tire Pressure Monitor TPM
The concept
Check the inflation pressure in the four installed
tires. The system notifies you if there is a signif-
icant loss of pressure in one or more tires.
Functional requirement
The system must have been reset while the
inflation pressure was correct; otherwise, reli-
able signaling of a flat tire is not ensured.
Always use wheels with TPM electronics to
ensure that the system will operate properly.
Each time a tire inflation pressure has been
corrected or a wheel or tire has been changed,
reset the system.
00320051004F004C00510048000300280047004C0057004C005200510003