2013 BMW 135I CONVERTIBLE parking brake
[x] Cancel search: parking brakePage 16 of 284
15
Dashboard
At a glance
Indicator and warning lamps
The concept
Indicator and warning lamps can light up in a
variety of combinations and colors.
Several of the lamps are checked for proper
functioning and light up temporarily when the
engine is started or the ignition is switched on.
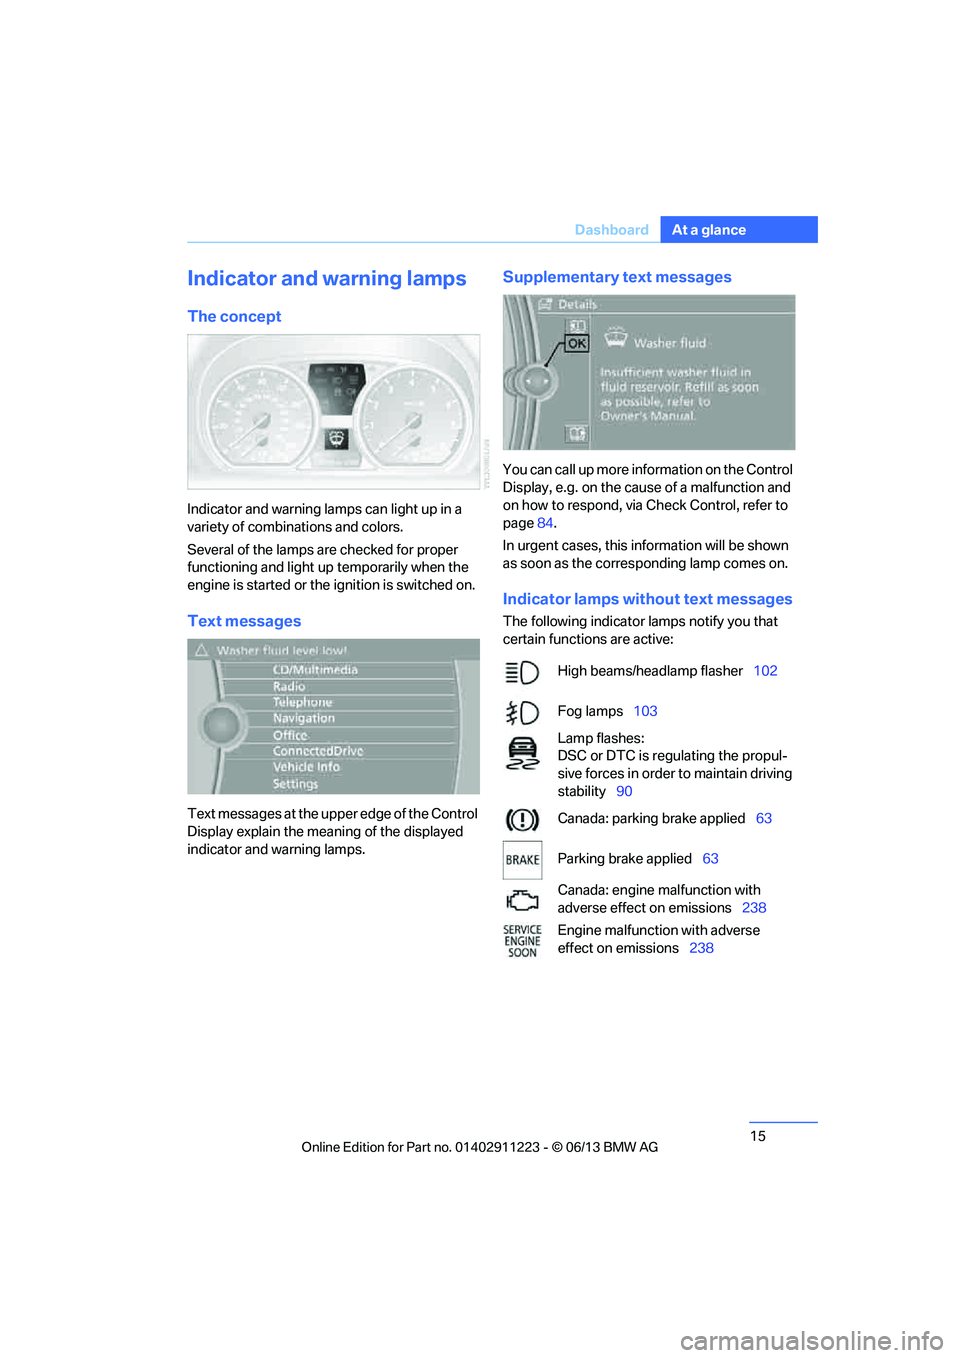
Text messages
Text messages at the uppe
r edge of the Control
Display explain the meaning of the displayed
indicator and warning lamps.
Supplementary text messages
You can call up more information on the Control
Display, e.g. on the cause of a malfunction and
on how to respond, via Check Control, refer to
page 84.
In urgent cases, this information will be shown
as soon as the corresponding lamp comes on.
Indicator lamps without text messages
The following indicator lamps notify you that
certain functions are active:
High beams/headlamp flasher 102
Fog lamps 103
Lamp flashes:
DSC or DTC is regulating the propul-
sive forces in order to maintain driving
stability 90
Canada: parking brake applied 63
Parking brake applied 63
Canada: engine malfunction with
adverse effect on emissions 238
Engine malfunction with adverse
effect on emissions 238
00320051004F004C00510048000300280047004C0057004C005200510003
Page 63 of 284
62
ControlsDriving
Ignition on
All electrical consumers can operate. The
odometer and trip odometer are displayed in
the instrument cluster.
When the engine is off, please switch
off the ignition and any unnecessary
electrical consumers in order to preserve the
battery. <
Radio readiness and ignition off
All indicator and warnin g lamps as well as
displays in the instrument cluster go out.
Starting the engine
Do not run the engine in enclosed areas;
otherwise, the inhalati on of toxic exhaust
gases can cause loss of consciousness and
death. The exhaust gases contain carbon mon-
oxide, an odorless and colorless, but highly
toxic gas. Never leave an unattended vehicle
with the engine running; otherwise, such a
vehicle represents a po tential safety hazard.
Before leaving the car with the engine running,
place the transmission in neutral or move the
selector lever to positi on P and forcefully apply
the parking brake to prevent the car from
moving. <
Do not wait for the engine to warm up while the
vehicle remains stationary. Start driving right
away, but at moderate engine speeds. Avoid frequent starting in quick succes-
sion as well as repeated start attempts in
which the engine does no t start. Otherwise, the
fuel is not burned or incompletely burned and
there is a danger of overheating and damaging
the catalytic converter. <
Manual transmission
Remote control in the ignition lock or, with
Comfort Access, inside the vehicle, refer to
page40.
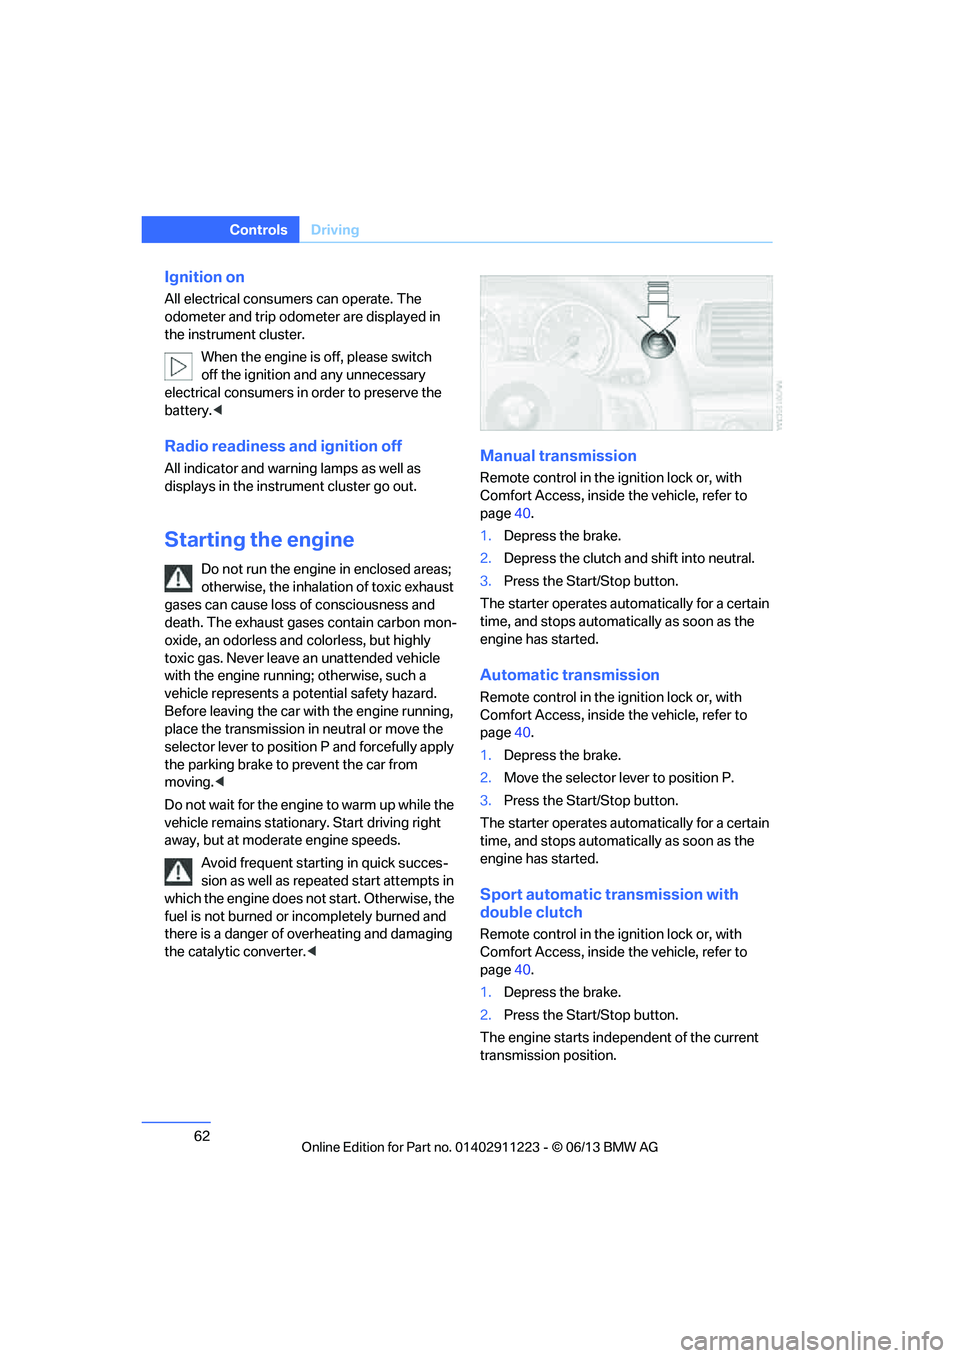
1. Depress the brake.
2. Depress the clutch an d shift into neutral.
3. Press the Start/Stop button.
The starter operates automatically for a certain
time, and stops automatically as soon as the
engine has started.
Automatic transmission
Remote control in the ignition lock or, with
Comfort Access, inside the vehicle, refer to
page 40.
1. Depress the brake.
2. Move the selector lever to position P.
3. Press the Start/Stop button.
The starter operates automatically for a certain
time, and stops automatically as soon as the
engine has started.
Sport automatic transmission with
double clutch
Remote control in the ignition lock or, with
Comfort Access, inside the vehicle, refer to
page 40.
1. Depress the brake.
2. Press the Start/Stop button.
The engine starts independent of the current
transmission position.
00320051004F004C00510048000300280047004C0057004C005200510003
Page 64 of 284

63
Driving
Controls
Switching off the engine
When leaving the vehicle, always take
along the remote control; this precaution
prevents children from starting the engine, for
example. <
When parking, apply the parking brake
forcefully; otherwise, the vehicle could
begin to roll. On steep uphill and downhill
inclines, also secure th e vehicle by turning the
wheels toward the curb, for example.<
Manual transmission
1. With the car at a standstill, press the
Start/Stop button.
2. Shift into first gear or reverse.
3. Forcefully apply the parking brake.
4. Removing the remote control from the
ignition lock, refer to page 61.
Automatic transmission
1.With the car at a stan dstill, move the selec-
tor lever to position P.
2. Press the Start/Stop button.
3. Forcefully apply the parking brake.
4. Removing the remote control from the
ignition lock, refer to page 61.
Sport automatic transmission with
double clutch
1.With the car at a standstill, press the
Start/Stop button.
If the transmission is shifted into N when
the engine is switched off, you will be
notified visually and acoustically of this
fact.
2. Forcefully apply the parking brake.
3. Remove remote contro l from the ignition
lock, refer to page 61. The transmission is
automatically shifted into transmission
position P.
Parking brake
The parking brake is primarily intended to pre-
vent the vehicle from rolling while parked; it
brakes the rear wheels.
Also follow the instructions on page 63, under
Switching off the engine.
Indicator lamp
The indicator lamp is lit, and when you
drive off a signal sounds in addition.
The parking brake is still applied.
Indicator lamp for Canadian models.
Applying
The lever locks in po sition automatically.
Releasing
Pull slightly upwards, press the button and
lower the lever.
In exceptional cases, if the parking brake
has to be used to slow or stop the car, do
not pull the lever up too hard. In doing so, con-
tinuously press the button of the parking brake
lever.
Otherwise, excessive force on the parking
brake can lock up the rear wheels and cause the
rear of the car to swerve. <
To prevent corrosion and one-sided brak-
ing action, occasionally apply the parking
brake lightly when the vehicle is slowly coming
to a stop if the traffic conditions are suitable.
The brake lamps do not light up when the park-
ing brake is applied. <
00320051004F004C00510048000300280047004C0057004C005200510003
Page 65 of 284
64
ControlsDriving
Manual transmission
When shifting into 5th or 6th gear, press
the gearshift lever to the right. Otherwise,
the engine could be damaged if you inadvert-
ently shift into 3rd or 4th gear. <
Reverse gear
Select this only when the vehicle is stationary.
When the gearshift lever is pressed to the left, a
slight resistance has to be overcome.
Automatic transmission with
Steptronic
In addition to fully auto matic operation, you can
also manually shift with the Steptronic, refer to
page 65.
Vehicle parking
To prevent the vehicle from rolling,
always select position P and apply the
parking brake before le aving the vehicle with
the engine running. <
Disengaging the remote control
In order to remove the remote control from the
ignition lock, you must first move the selector
lever to position P and switch off the engine:
interlock. Removing the remote control from
the ignition lock, refer to page 61.
Selector lever positions
P R N D M/S + –
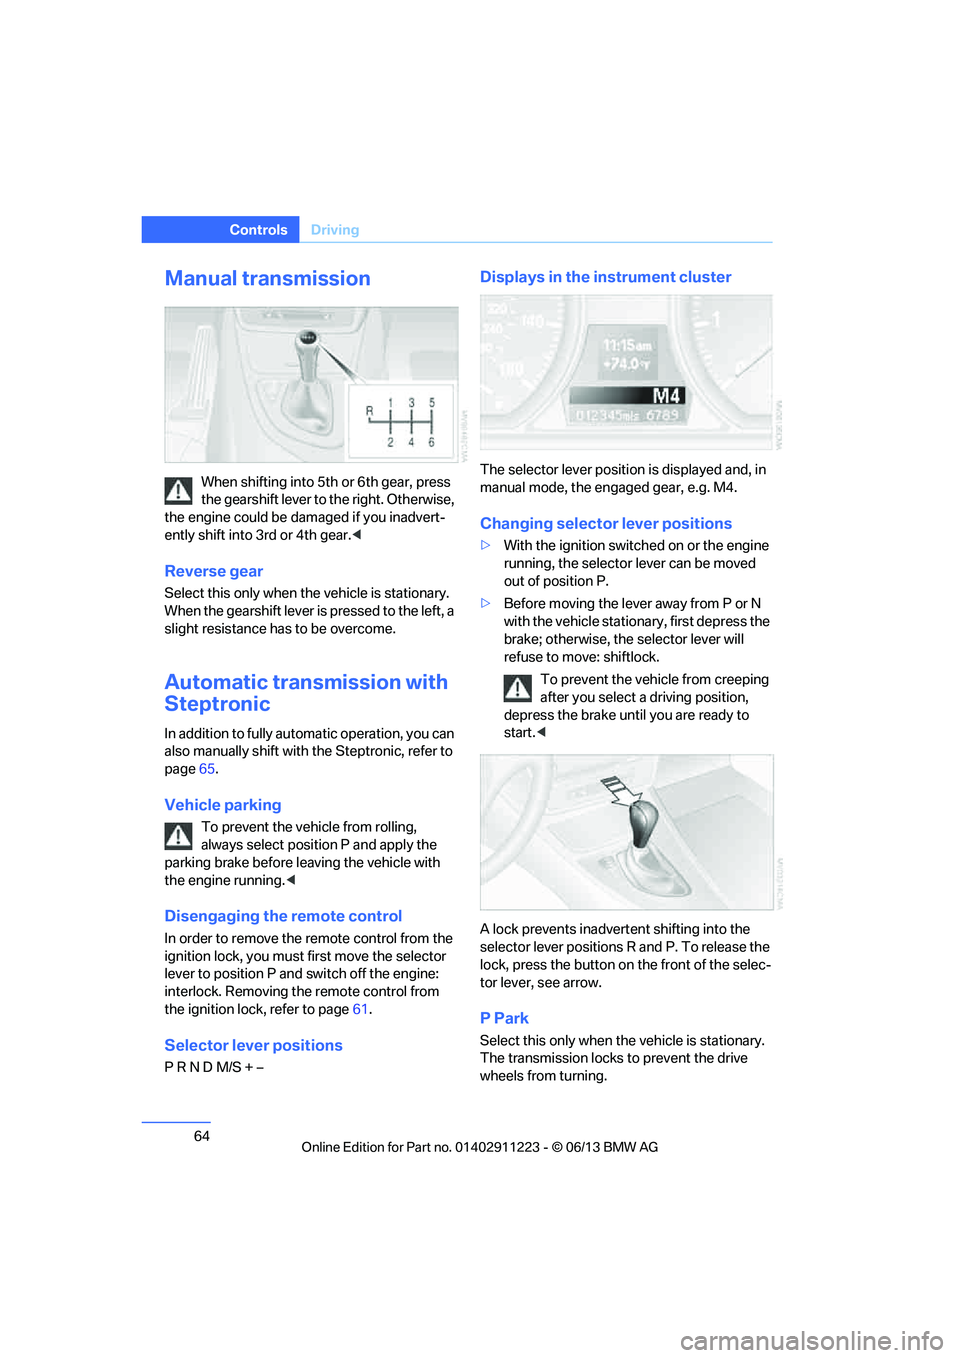
Displays in the instrument cluster
The selector lever position is displayed and, in
manual mode, the engaged gear, e.g. M4.
Changing selector lever positions
>With the ignition switched on or the engine
running, the selector lever can be moved
out of position P.
> Before moving the lever away from P or N
with the vehicle statio nary, first depress the
brake; otherwise, the selector lever will
refuse to move: shiftlock.
To prevent the vehicle from creeping
after you select a driving position,
depress the brake until you are ready to
start. <
A lock prevents inadvert ent shifting into the
selector lever positions R and P. To release the
lock, press the button on the front of the selec-
tor lever, see arrow.
P Park
Select this only when th e vehicle is stationary.
The transmission locks to prevent the drive
wheels from turning.
00320051004F004C00510048000300280047004C0057004C005200510003
Page 70 of 284

69
Driving
Controls
>
To upshift, briefly pull the right shift
paddle +.
> To downshift, briefly pull the left shift
paddle –.
Driving dynamics control
The driving dynamics control permits you, at
the push of a button, to have your BMW react in
an even more sporty fashion when driving:
> Optimal use is made of the engine's speed
range.
> Gear changes occur more quickly.
> The engine reacts more spontaneously to
accelerator pe dal movements.
Activating the system
Press the SPORT button.
The LED in the button lights up.
Deactivating the system
>Press the SPORT button again
> Switch off the engine
The LED in the button goes out.
Manually unlocking parking lock
In the event of a power supply interrup-
tion such as a discharged or discon-
nected battery or an elec trical malfunction, the
parking lock must be ma nually unlocked; other-
wise, the rear wheels are immobilized and the
vehicle cannot be towed. <
Only unlock the parkin g lock manually for
towing and make sure to set the parking brake
forcefully beforehand so that the vehicle cannot
roll. Lock the parking lock again after the vehicle
is parked.
Releasing
1. Unclip the sleeve of the selector lever.
2. Pull the sleeve up over the selector lever
until the sleeve is inside out.
3. Using the allen wrench from the tool kit,
refer to page 243, rotate the cover until it
reaches the stop, arrow 1, and remove,
arrow 2.
4. Insert allen wrench into the opening,
arrow 1.
00320051004F004C00510048000300280047004C0057004C005200510003
Page 71 of 284
70
ControlsDriving
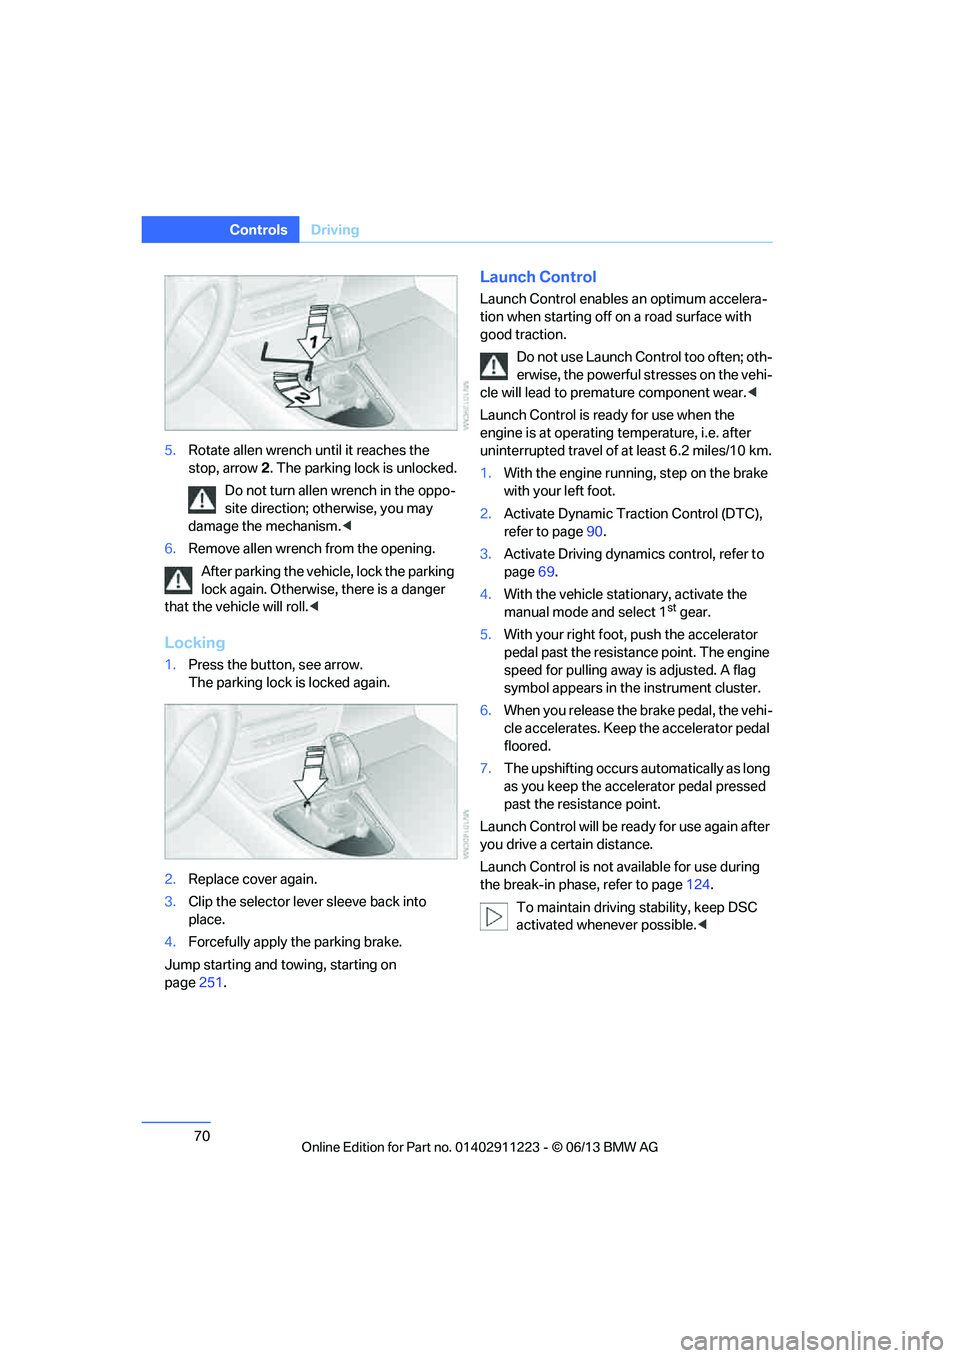
5.Rotate allen wrench until it reaches the
stop, arrow 2. The parking lock is unlocked.
Do not turn allen wrench in the oppo-
site direction; otherwise, you may
damage the mechanism. <
6. Remove allen wrench from the opening.
After parking the vehicle, lock the parking
lock again. Otherwise, there is a danger
that the vehicle will roll. <
Locking
1.Press the button, see arrow.
The parking lock is locked again.
2. Replace cover again.
3. Clip the selector lever sleeve back into
place.
4. Forcefully apply the parking brake.
Jump starting and towing, starting on
page 251.
Launch Control
Launch Control enables an optimum accelera-
tion when starting off on a road surface with
good traction.
Do not use Launch Control too often; oth-
erwise, the powerful stresses on the vehi-
cle will lead to premature component wear. <
Launch Control is ready for use when the
engine is at operating temperature, i.e. after
uninterrupted travel of at least 6.2 miles/10 km.
1. With the engine running, step on the brake
with your left foot.
2. Activate Dynamic Trac tion Control (DTC),
refer to page 90.
3. Activate Driving dynami cs control, refer to
page 69.
4. With the vehicle stationary, activate the
manual mode and select 1
stgear.
5. With your right foot, push the accelerator
pedal past the resistance point. The engine
speed for pulling away is adjusted. A flag
symbol appears in the instrument cluster.
6. When you release the brake pedal, the vehi-
cle accelerates. Keep the accelerator pedal
floored.
7. The upshifting occurs automatically as long
as you keep the accelerator pedal pressed
past the resistance point.
Launch Control will be ready for use again after
you drive a certain distance.
Launch Control is not available for use during
the break-in phase, refer to page 124.
To maintain driving stability, keep DSC
activated whenever possible. <
00320051004F004C00510048000300280047004C0057004C005200510003
Page 91 of 284
90
ControlsTechnology for driving comfort and safety
In the same way as with a differential interlock,
even if DSC is deactivated, brake actions are
still performed on the rear axle to enhance drive
output if the drive whee ls experience a signifi-
cant loss of traction.
To increase vehicle stability, activate DSC again
as soon as possible.
Activating DSC
Press the button again; th e indicator lamp in the
instrument cluster goes out.
For better control
If the indicator lamp flashes: the DSC
controls the driving and braking forces.
If the indicator lamp lights up: DSC and
DTC have failed.
The indicator lamp lights up and
DSC OFF is displayed in the instrument
cluster: DSC is deactivated.
Dynamic Traction Control DTC
DTC is a version of DSC in which the drive out-
put is optimized for part icular road conditions,
e.g. unplowed snow-covered roads. The sys-
tem assures the maximal drive output, but with
reduced driving stability. It is therefore neces-
sary to drive with appropriate caution.
You may find it useful to briefly activate DTC
under the following sp ecial circumstances:
> When driving uphill on snow-covered roads,
in slush or on unplowed, snow-covered
roads
> When rocking a stuck vehicle free or start-
ing off in deep snow or on loose ground
> When driving with snow chains
Activating DTC
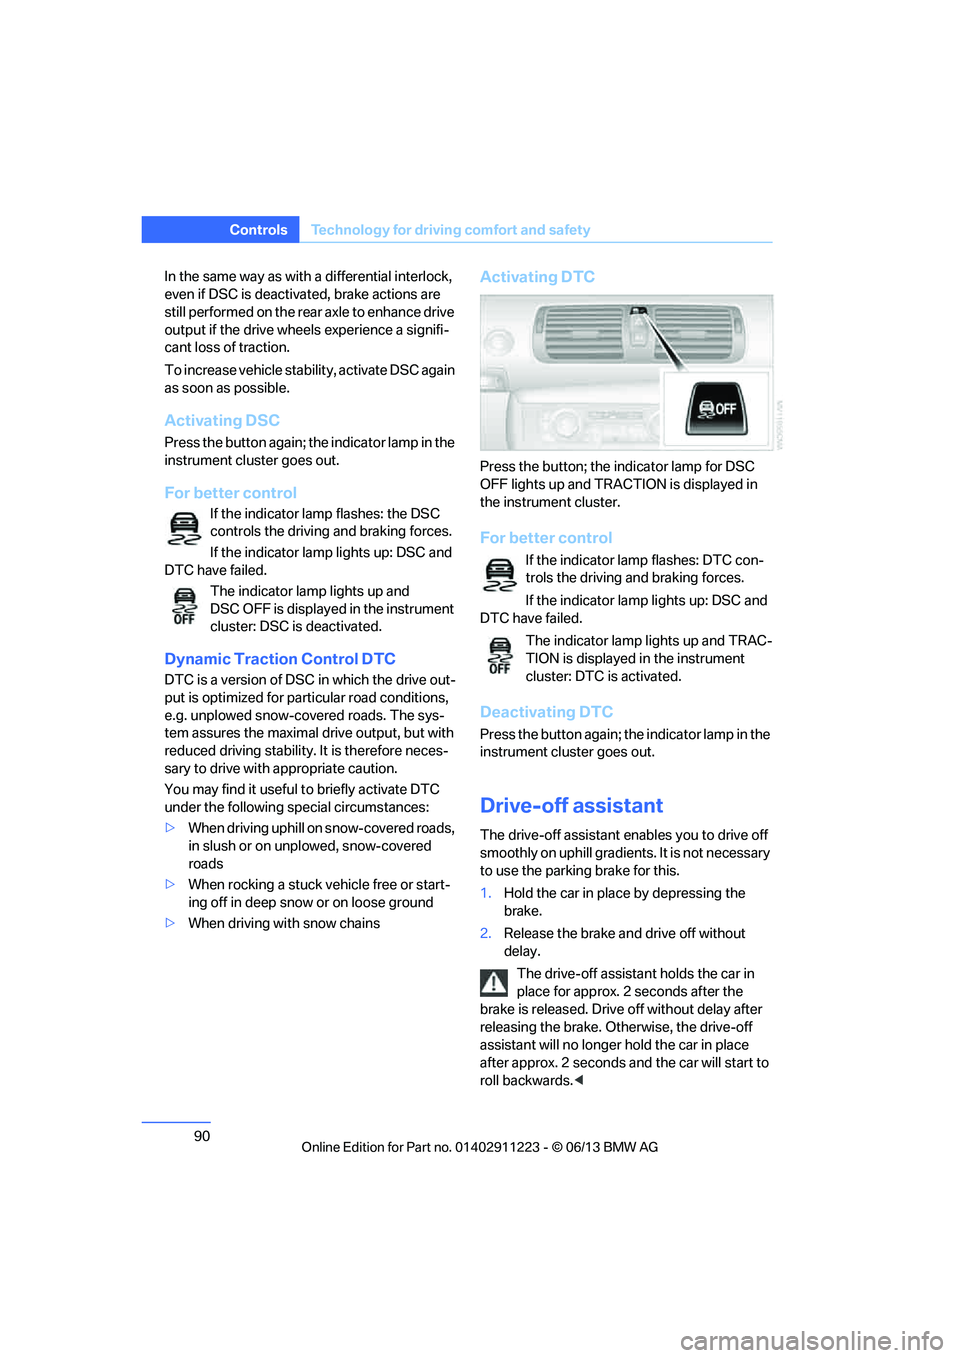
Press the button; the indicator lamp for DSC
OFF lights up and TRACTION is displayed in
the instrument cluster.
For better control
If the indicator lamp flashes: DTC con-
trols the driving and braking forces.
If the indicator lamp lights up: DSC and
DTC have failed.
The indicator lamp lights up and TRAC-
TION is displayed in the instrument
cluster: DTC is activated.
Deactivating DTC
Press the button again; th e indicator lamp in the
instrument cluster goes out.
Drive-off assistant
The drive-off assistant enables you to drive off
smoothly on uphill gradients. It is not necessary
to use the parking brake for this.
1. Hold the car in place by depressing the
brake.
2. Release the brake and drive off without
delay.
The drive-off assistant holds the car in
place for approx. 2 seconds after the
brake is released. Drive off without delay after
releasing the brake. Otherwise, the drive-off
assistant will no longer hold the car in place
after approx. 2 seconds and the car will start to
roll backwards. <
00320051004F004C00510048000300280047004C0057004C005200510003
Page 97 of 284
96
ControlsTechnology for driving comfort and safety
Active steering
The concept
Active steering varies the turning angle of the
front wheels in relation to steering wheel move-
ments. It also varies the steering force required
to turn the wheels depending on the speed at
which you are driving.
When you are driving in the low speed range,
e.g. in a town or when parking, the steering
angle is increased, i.e. steering becomes very
direct and less effort is required to turn the
wheels. In the higher speed range, on the other
hand, the steering angle is reduced as the
speed increases. This improves the handling of
your BMW over the entire speed range.
In critical situations, the system can make tar-
geted corrections to th e steering angle pro-
vided by the driver and thus stabilize the vehicle
before the driver intervenes. This stabilizing
intervention is simult aneously deactivated
when DSC is switched off, refer to page 89.
Malfunction
The warning lamps come on. Active
steering is malfunctioning or is tem-
porarily deactivate d. At low speeds,
greater steering wheel movements
are required, whereas at higher speeds the
vehicle reacts more sensitively to steering
wheel movements. Th e stability-enhancing
feature may also be deactivated. Drive cau-
tiously and think well ahead.
Deactivation
Active steering is deacti vated to perform an ini-
tialization. A message indicates that the feature
is deactivated. Initializ ation may take several
minutes.
If the message does not disappear during the
current trip, have the system checked.
Defect
If there is a defect, a corresponding text mes-
sage appears. Have the system checked.
Servotronic
The concept
The Servotronic varies the steering force
required to turn the wh eels relative to the
vehicle speed.
At low speeds, the steering force is strongly
assisted, i.e. less force is needed for steering.
As the vehicle speed increases, the steering
assisting power is reduced.
This system functions automatically.
Malfunctions
The warning lamp lights up. A mes-
sage appears on the Control Display.
Servotronic is malfunctioning or has
failed. Steering response will be different. You
can continue your journey, but moderate your
speed and exercise due caution. Have the
system checked as soon as possible.
Brake Force Display
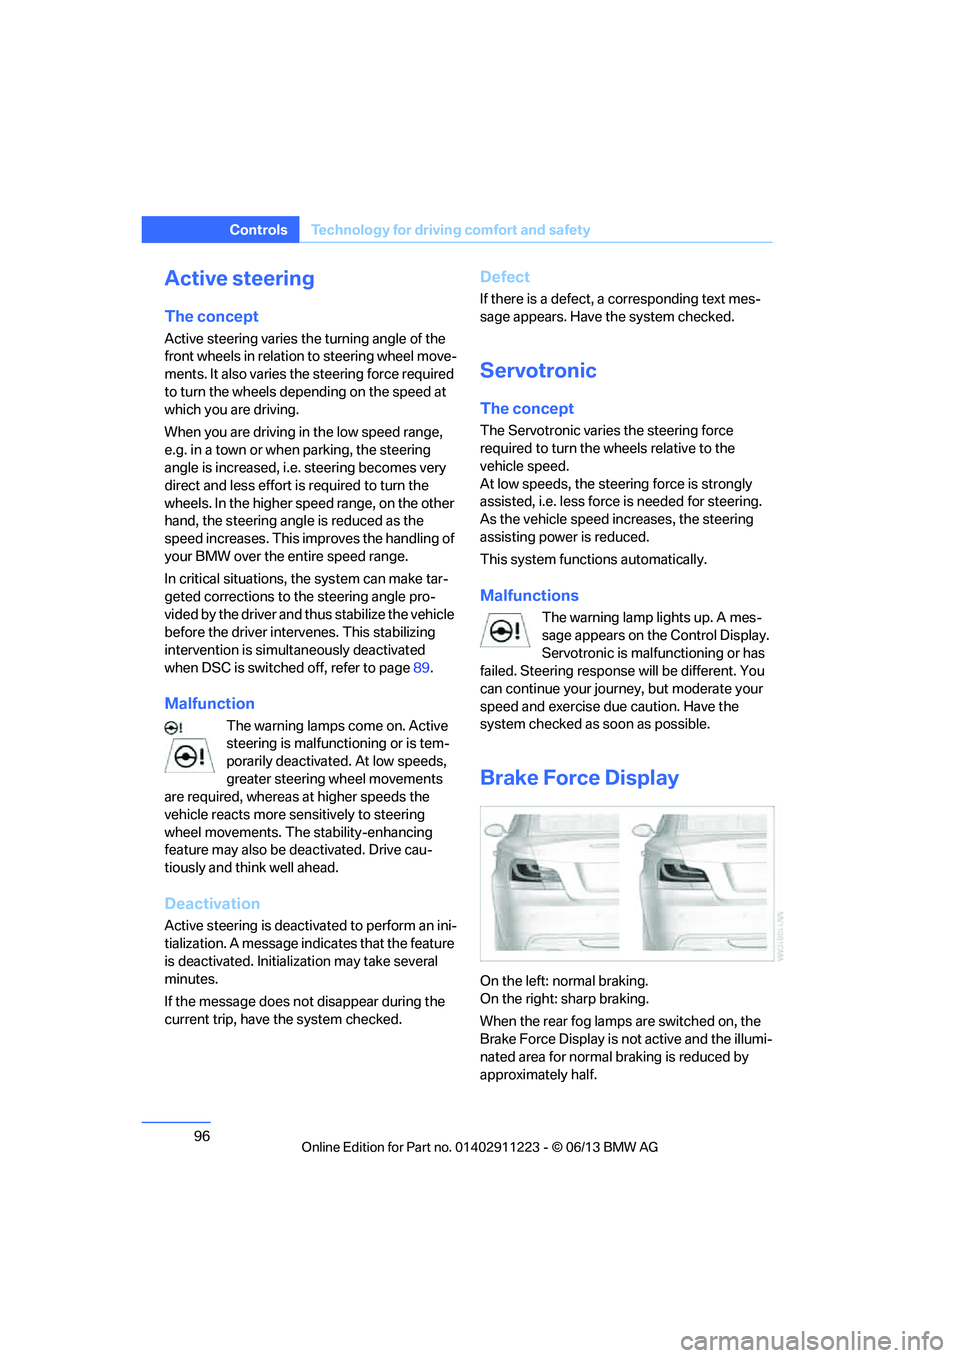
On the left: normal braking.
On the right: sharp braking.
When the rear fog lamps are switched on, the
Brake Force Display is no t active and the illumi-
nated area for normal braking is reduced by
approximately half.
00320051004F004C00510048000300280047004C0057004C005200510003