Page 156 of 284
155
On/off and tone
Entertainment
Adjusting volume
Turn knob
1 next to the CD/DVD player until the
desired volume is obtained.
You can also adjust the volume with buttons on
the steering wheel, refer to page 13.
Setting tone controls
You can alter various tone settings, e.g. treble
and bass or the speed-dependent volume
increase.
The tone settings are set for all audio sources at
once.
The settings are stored for the remote control
currently in use.
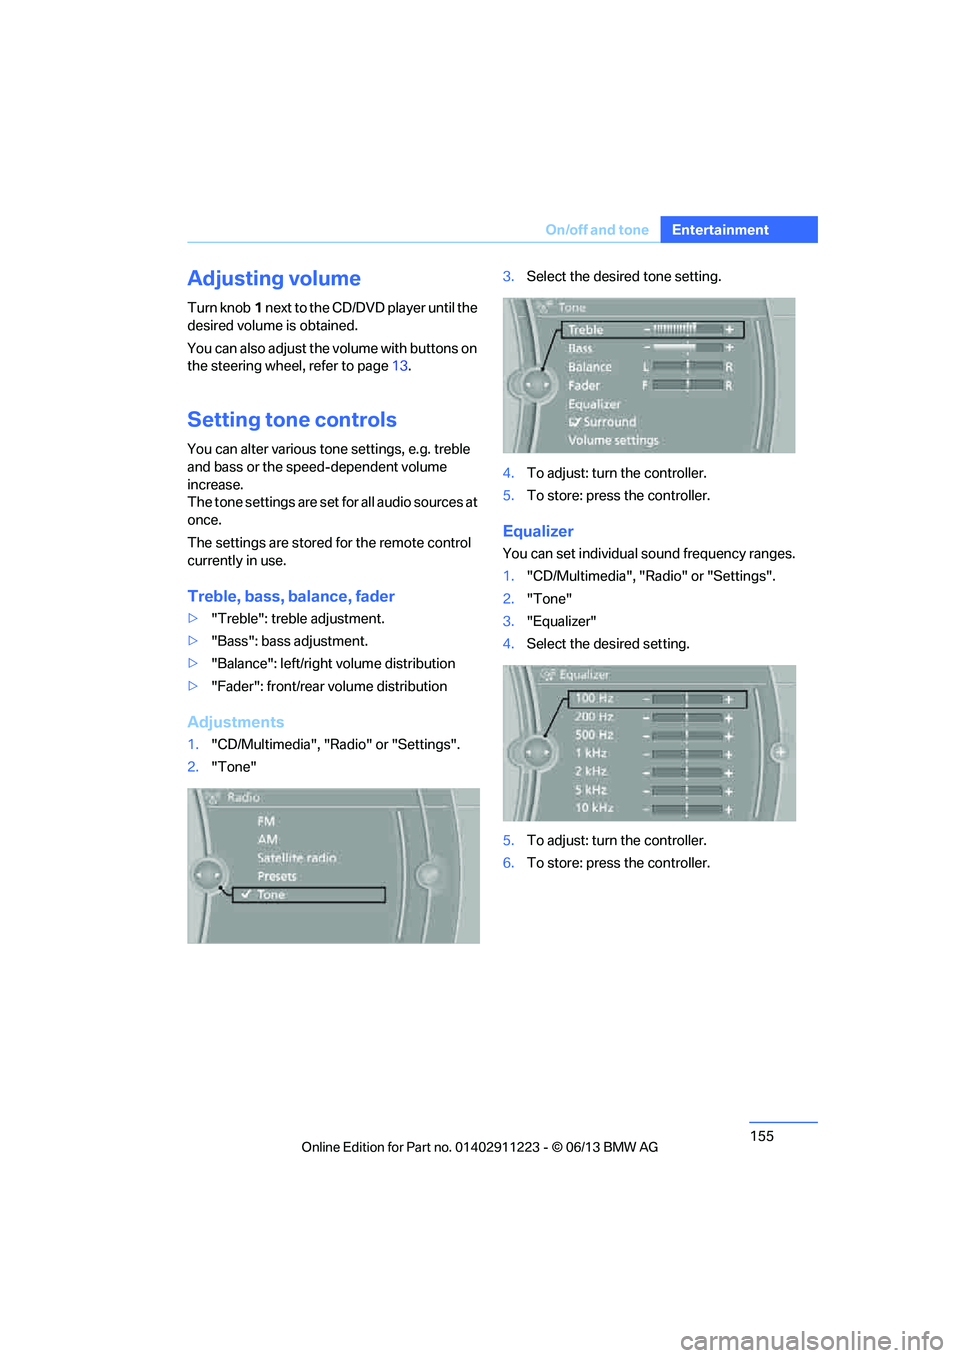
Treble, bass, balance, fader
> "Treble": treble adjustment.
> "Bass": bass adjustment.
> "Balance": left/right volume distribution
> "Fader": front/rear volume distribution
Adjustments
1."CD/Multimedia", "Radio" or "Settings".
2. "Tone" 3.
Select the desired tone setting.
4. To adjust: turn the controller.
5. To store: press the controller.
Equalizer
You can set individual sound frequency ranges.
1."CD/Multimedia", "Radio" or "Settings".
2. "Tone"
3. "Equalizer"
4. Select the desired setting.
5. To adjust: turn the controller.
6. To store: press the controller.
00320051004F004C00510048000300280047004C0057004C005200510003
Page 157 of 284
156
EntertainmentOn/off and tone
Multi-channel playback, surround
You can choose between stereo and multi-
channel playback, surround.
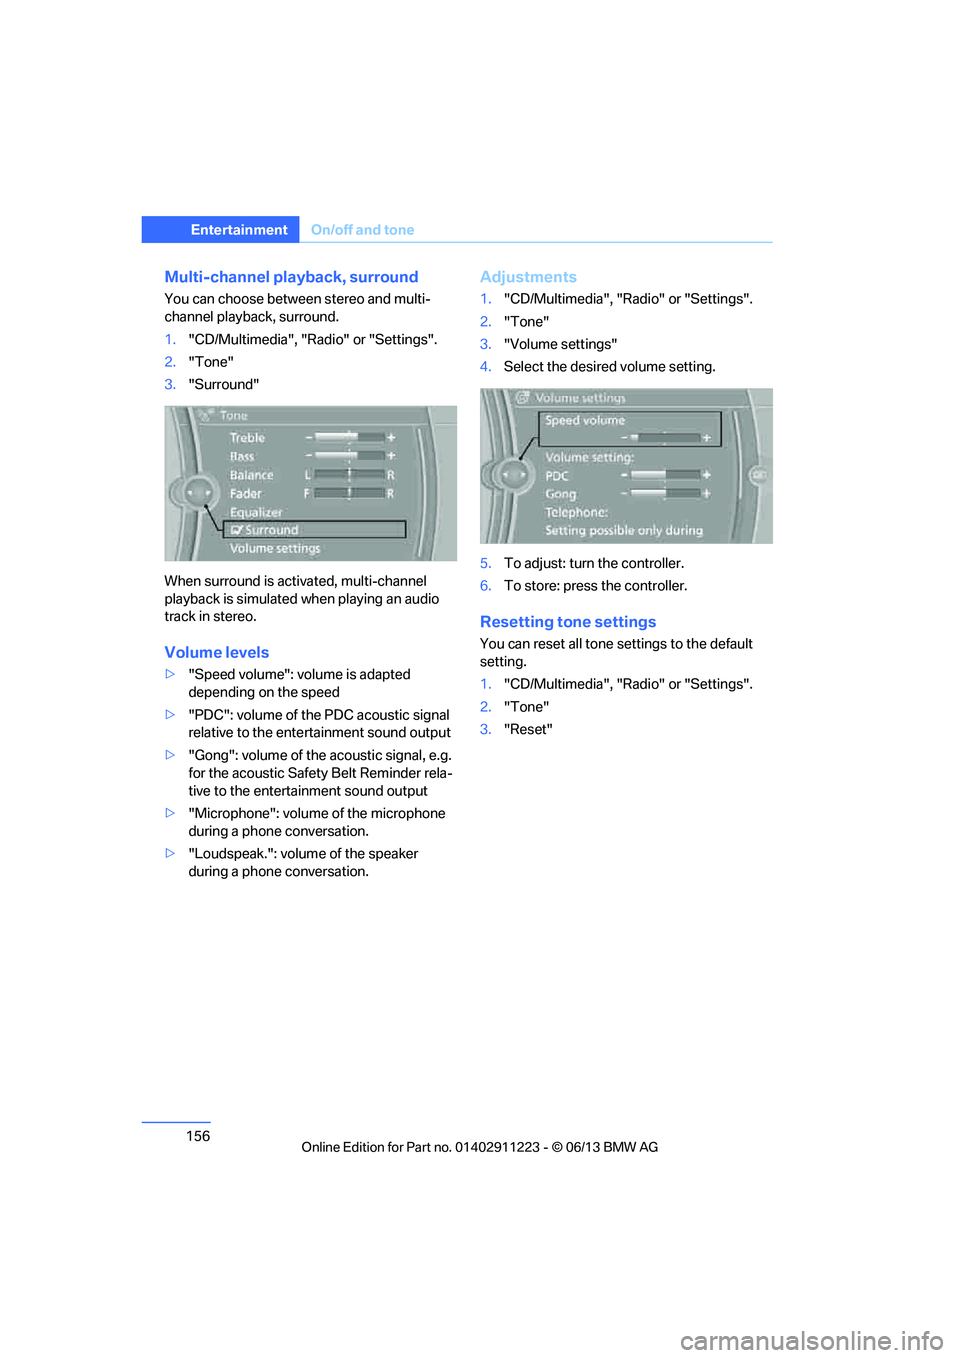
1."CD/Multimedia", "Radio" or "Settings".
2. "Tone"
3. "Surround"
When surround is acti vated, multi-channel
playback is simulated when playing an audio
track in stereo.
Volume levels
> "Speed volume": volume is adapted
depending on the speed
> "PDC": volume of the PDC acoustic signal
relative to the ente rtainment sound output
> "Gong": volume of the acoustic signal, e.g.
for the acoustic Safety Belt Reminder rela-
tive to the entertainment sound output
> "Microphone": volume of the microphone
during a phone conversation.
> "Loudspeak.": volume of the speaker
during a phone conversation.
Adjustments
1."CD/Multimedia", "Radio" or "Settings".
2. "Tone"
3. "Volume settings"
4. Select the desired volume setting.
5. To adjust: turn the controller.
6. To store: press the controller.
Resetting tone settings
You can reset all tone settings to the default
setting.
1. "CD/Multimedia", "Radio" or "Settings".
2. "Tone"
3. "Reset"
00320051004F004C00510048000300280047004C0057004C005200510003
Page 158 of 284
157
Radio
Entertainment
Radio
Vehicle equipment
In this chapter, all production, country, and
optional equipment that is offered in the model
range is described. Equipment is also described
that is not available because of, for example,
selected options or coun
try version. This also
applies to safety related functions and systems.
General information
Your radio is designed for reception of the
following stations:
> FM and AM
> HD Radio
> Satellite radio
Selecting a station
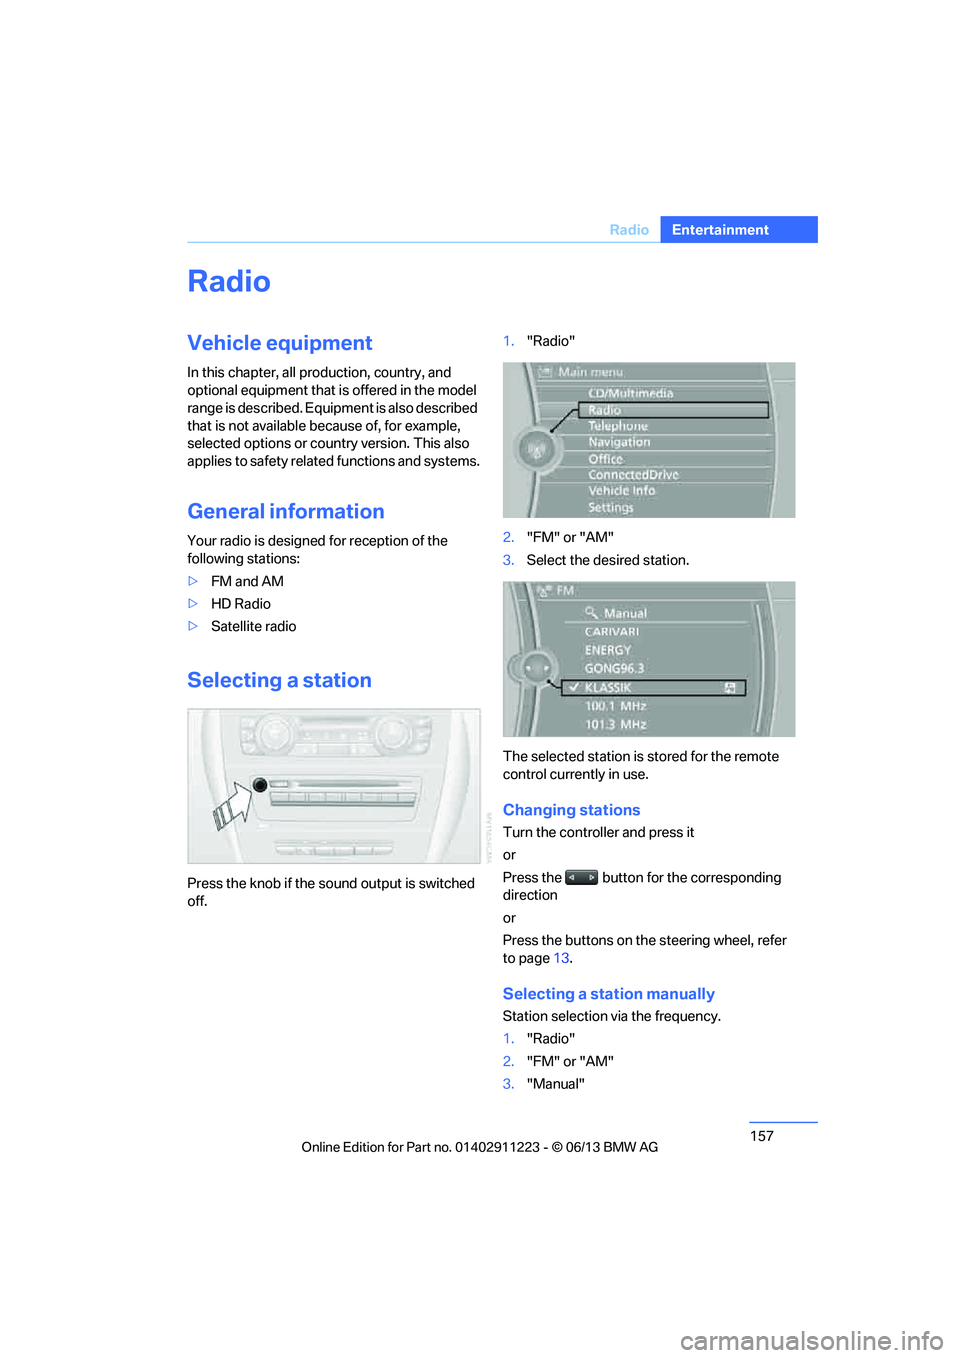
Press the knob if the sound output is switched
off. 1.
"Radio"
2. "FM" or "AM"
3. Select the desired station.
The selected station is stored for the remote
control currently in use.
Changing stations
Turn the controller and press it
or
Press the button for the corresponding
direction
or
Press the buttons on the steering wheel, refer
to page 13.
Selecting a station manually
Station selection via the frequency.
1. "Radio"
2. "FM" or "AM"
3. "Manual"
00320051004F004C00510048000300280047004C0057004C005200510003
Page 159 of 284
158
EntertainmentRadio
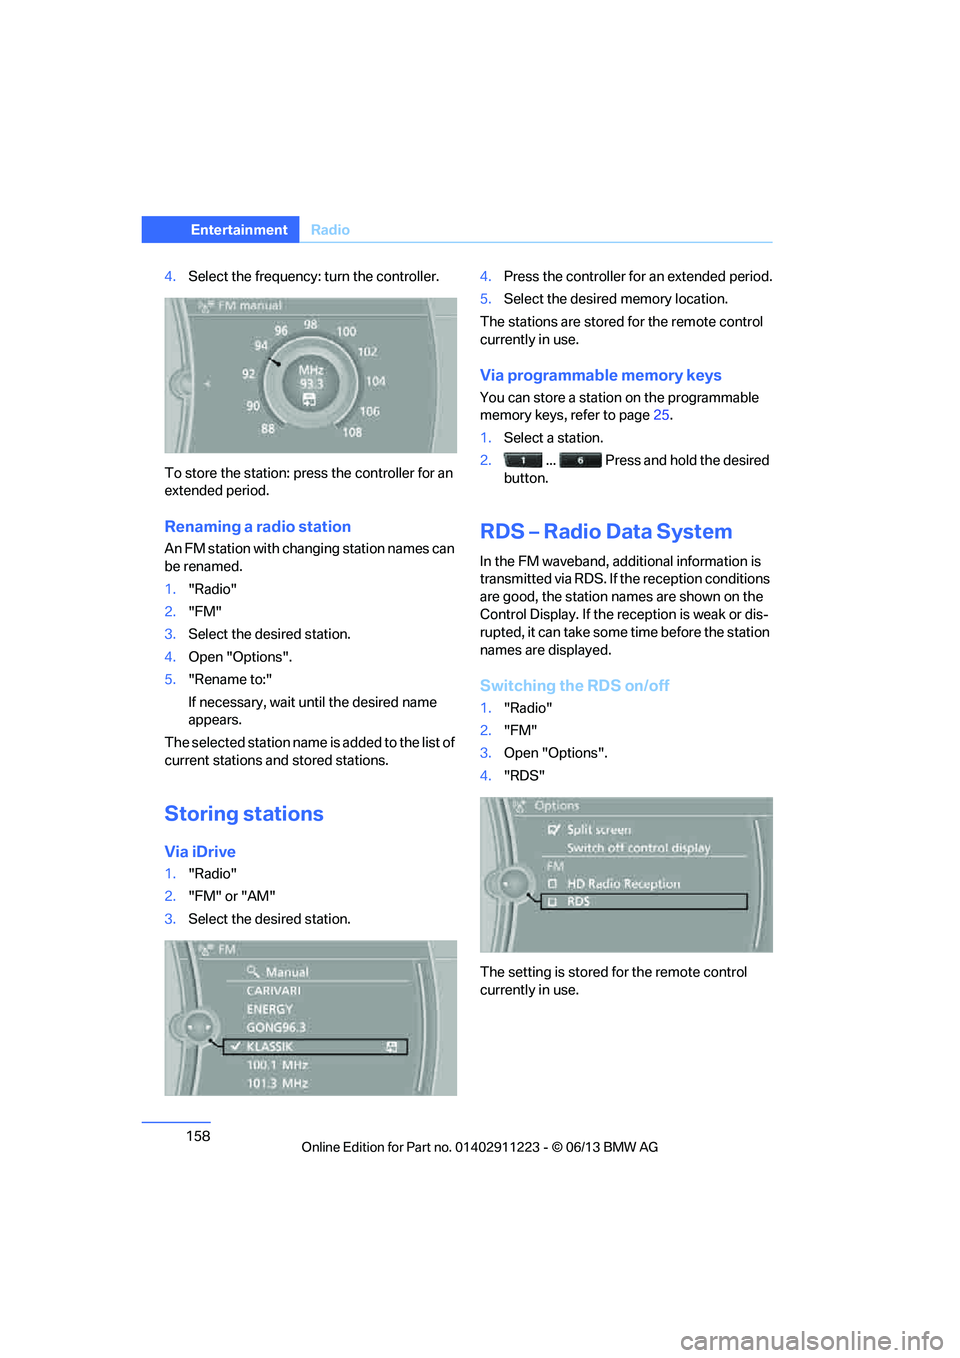
4.Select the frequency: turn the controller.
To store the station: press the controller for an
extended period.
Renaming a radio station
An FM station with changing station names can
be renamed.
1. "Radio"
2. "FM"
3. Select the desired station.
4. Open "Options".
5. "Rename to:"
If necessary, wait un til the desired name
appears.
The selected station name is added to the list of
current stations and stored stations.
Storing stations
Via iDrive
1. "Radio"
2. "FM" or "AM"
3. Select the desired station. 4.
Press the controller for an extended period.
5. Select the desired memory location.
The stations are stored for the remote control
currently in use.
Via programmable memory keys
You can store a station on the programmable
memory keys, refer to page 25.
1. Select a station.
2. ... Press and hold the desired
button.
RDS – Radio Data System
In the FM waveband, addi tional information is
transmitted via RDS. If the reception conditions
are good, the station names are shown on the
Control Display. If the reception is weak or dis-
rupted, it can take some time before the station
names are displayed.
Switching the RDS on/off
1. "Radio"
2. "FM"
3. Open "Options".
4. "RDS"
The setting is stored for the remote control
currently in use.
00320051004F004C00510048000300280047004C0057004C005200510003
Page 160 of 284
159
Radio
Entertainment
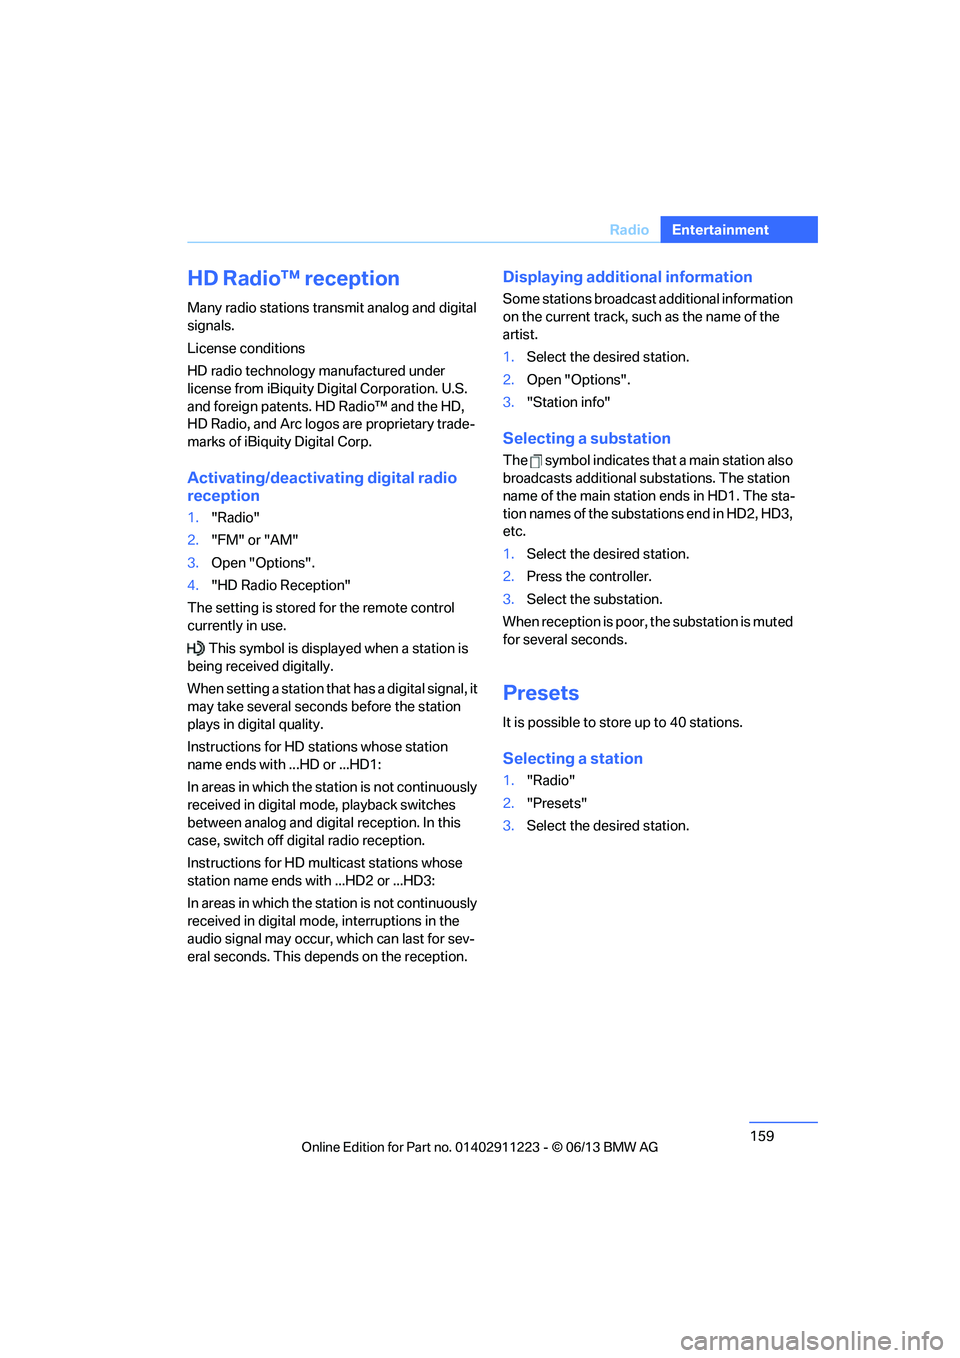
HD Radio™ reception
Many radio stations transmit analog and digital
signals.
License conditions
HD radio technology manufactured under
license from iBiquity Di
gital Corporation. U.S.
and foreign patents. HD Radio™ and the HD,
HD Radio, and Arc logos are proprietary trade-
marks of iBiquity Digital Corp.
Activating/deactivating digital radio
reception
1. "Radio"
2. "FM" or "AM"
3. Open "Options".
4. "HD Radio Reception"
The setting is stored for the remote control
currently in use.
This symbol is displa yed when a station is
being received digitally.
When setting a station that has a digital signal, it
may take several second s before the station
plays in digital quality.
Instructions for HD stations whose station
name ends with ...HD or ...HD1:
In areas in which the station is not continuously
received in digital mode, playback switches
between analog and digital reception. In this
case, switch off digital radio reception.
Instructions for HD multicast stations whose
station name ends with ...HD2 or ...HD3:
In areas in which the station is not continuously
received in digital mode, interruptions in the
audio signal may occur, which can last for sev-
eral seconds. This depends on the reception.
Displaying additional information
Some stations broadcast additional information
on the current track, such as the name of the
artist.
1. Select the desired station.
2. Open "Options".
3. "Station info"
Selecting a substation
The symbol indicates that a main station also
broadcasts additional substations. The station
name of the main station ends in HD1. The sta-
tion names of the substations end in HD2, HD3,
etc.
1.Select the desired station.
2. Press the controller.
3. Select the substation.
When reception is poor, the substation is muted
for several seconds.
Presets
It is possible to store up to 40 stations.
Selecting a station
1. "Radio"
2. "Presets"
3. Select the desired station.
00320051004F004C00510048000300280047004C0057004C005200510003
Page 161 of 284
160
EntertainmentRadio
Storing stations
The station currently selected is stored.
1."Radio"
2. "Presets"
3. "Store station"
4. Select the desired memory location.
The list of stored stations is stored for the
remote control currently in use.
You can also store the stations on the program-
mable memory keys, refer to page 25.
Deleting a station
1."Radio"
2. "Presets"
3. Select the desired station.
4. Open "Options".
5. "Delete entry"
00320051004F004C00510048000300280047004C0057004C005200510003
Page 162 of 284
161
Satellite radio
Entertainment
Satellite radio
Vehicle equipment
In this chapter, all production, country, and
optional equipment that is offered in the model
range is described. Equipment is also described
that is not available because of, for example,
selected options or coun
try version. This also
applies to safety related functions and systems.
General information
The channels are offered in fixed packages.
Packages must be ac tivated by telephone.
Navigation bar
The functions of the navigation bar symbols can
also be stored on the programmable memory
buttons, refer to page 25.
Managing subscription
Clear reception is required for activating and
deactivating channels. Re ception is best when
you have an unobstructed view to the sky. The
channel name is displayed in the status line.
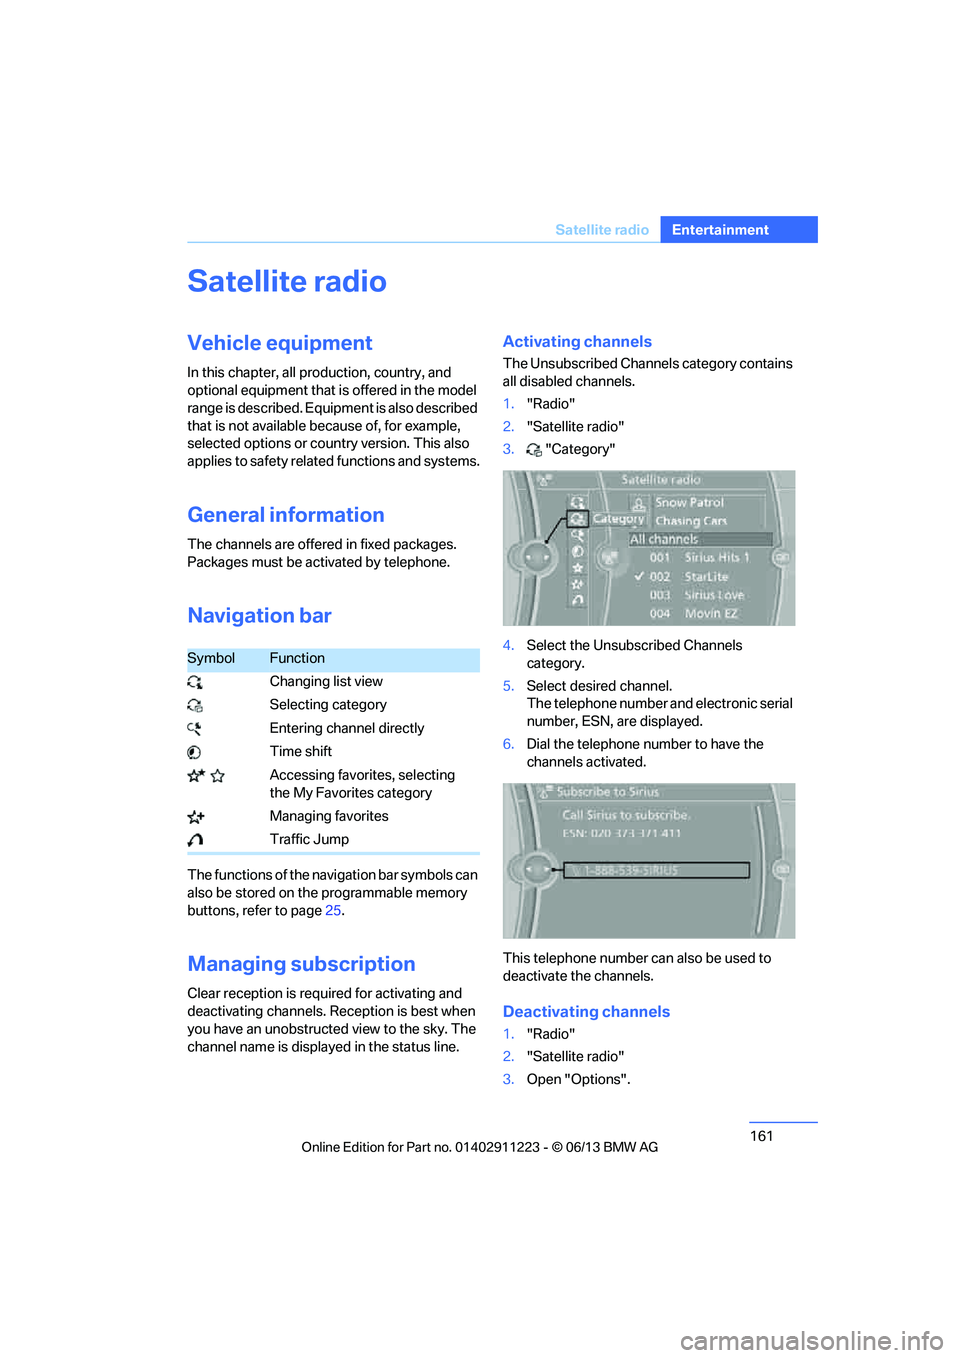
Activating channels
The Unsubscribed Channels category contains
all disabled channels.
1. "Radio"
2. "Satellite radio"
3. "Category"
4. Select the Unsubscribed Channels
category.
5. Select desired channel.
The telephone number and electronic serial
number, ESN, are displayed.
6. Dial the telephone number to have the
channels activated.
This telephone number can also be used to
deactivate the channels.
Deactivating channels
1. "Radio"
2. "Satellite radio"
3. Open "Options".
SymbolFunction
Changing list view
Selecting category
Entering channel directly
Time shift
Accessing favorites, selecting the My Favorites category
Managing favorites
Traffic Jump
00320051004F004C00510048000300280047004C0057004C005200510003
Page 163 of 284
162
EntertainmentSatellite radio
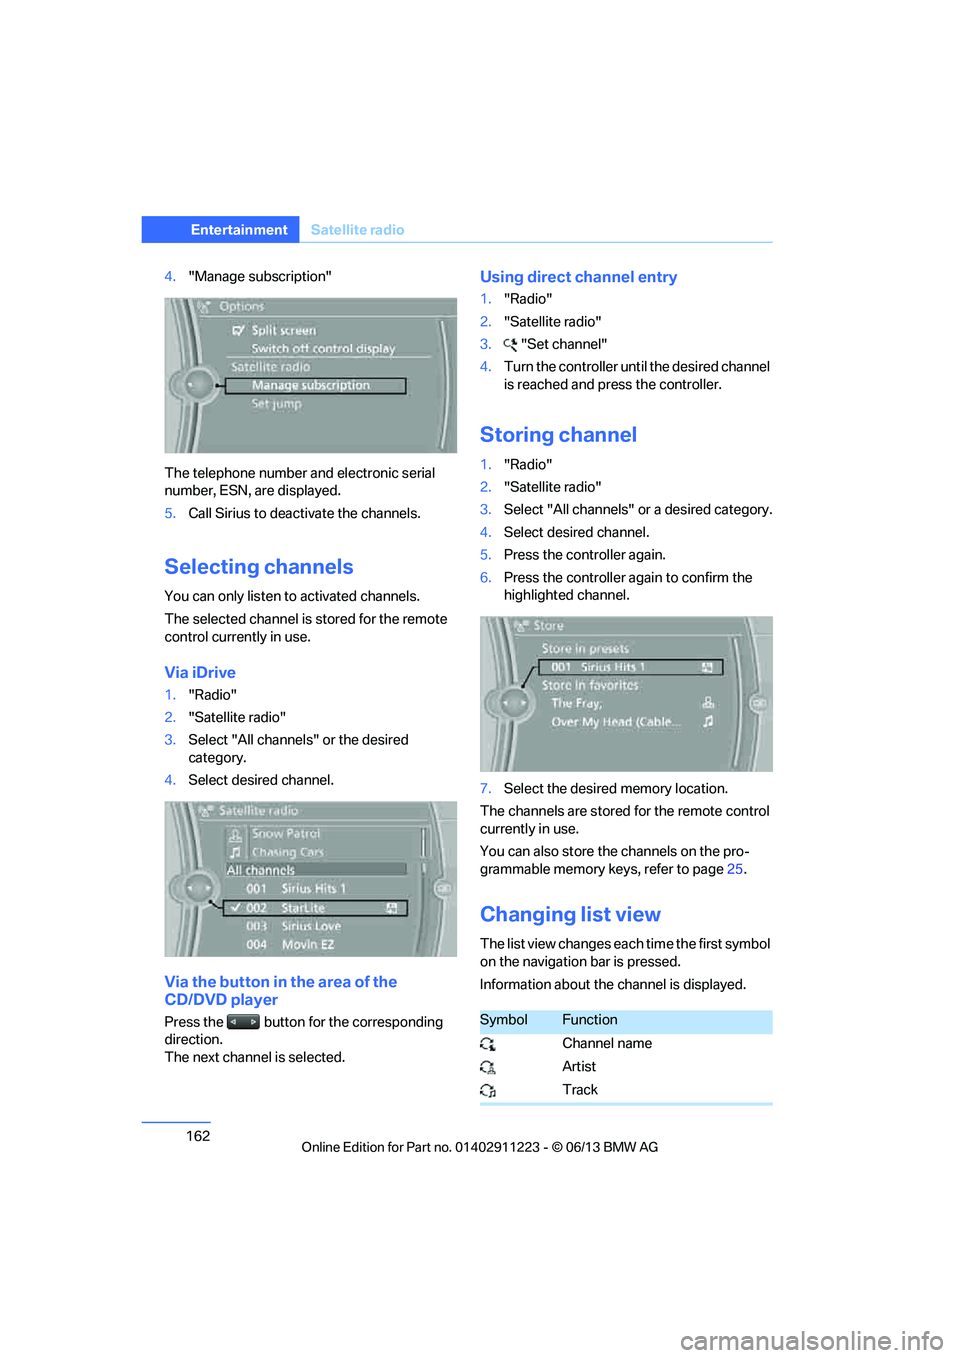
4."Manage subscription"
The telephone number and electronic serial
number, ESN, are displayed.
5. Call Sirius to deacti vate the channels.
Selecting channels
You can only listen to activated channels.
The selected channel is stored for the remote
control currently in use.
Via iDrive
1. "Radio"
2. "Satellite radio"
3. Select "All channels" or the desired
category.
4. Select desired channel.
Via the button in the area of the
CD/DVD player
Press the button for the corresponding
direction.
The next channel is selected.
Using direct channel entry
1."Radio"
2. "Satellite radio"
3. "Set channel"
4. Turn the controller unt il the desired channel
is reached and pr ess the controller.
Storing channel
1."Radio"
2. "Satellite radio"
3. Select "All channels" or a desired category.
4. Select desired channel.
5. Press the controller again.
6. Press the controller again to confirm the
highlighted channel.
7. Select the desired memory location.
The channels are stored for the remote control
currently in use.
You can also store the channels on the pro-
grammable memory ke ys, refer to page25.
Changing list view
The list view changes each time the first symbol
on the navigation bar is pressed.
Information about the channel is displayed.
SymbolFunction
Channel name
Artist
Track
00320051004F004C00510048000300280047004C0057004C005200510003