2013 BMW 128I change time
[x] Cancel search: change timePage 110 of 284
109
Climate
Controls
Defrosting windows and removing
condensation
Press the button.
Quickly removes ice and conden-
sation from the windshield and
front side windows.
For this purpose, also switch on the air
conditioning.
Switching air conditioning on/off
The passenger compartment can only be
cooled while the engine is running.
Press the button.
The air is cooled and dehumidified
and – depending on the tempera-
ture setting – warmed again.
Depending on the weathe r, the windshield may
fog up briefly when the engine is started.
Pressing the AUTO button automatically
switches on the air conditioning.
Rear window defroster
Press the button.
The defroster is switched off auto-
matically after a certain time.
Depending on your vehicle's equipment, the
upper wires serve as an antenna and are not
part of the rear window defroster.
Switching the system on/off
Switching off
Press and hold the left button or
press the left button at the lowest
level.
All displays are cleared except for the rear
window defroster if it is switched on.
The outside air supply is blocked when
the automatic climate control is switched
off. If the air quality de teriorates or the window
fogs over, switch the system back on and
increase the air volume. <
Switching on
Press any button, except the buttons for the
ALL program or the rear window defroster.
Ventilation
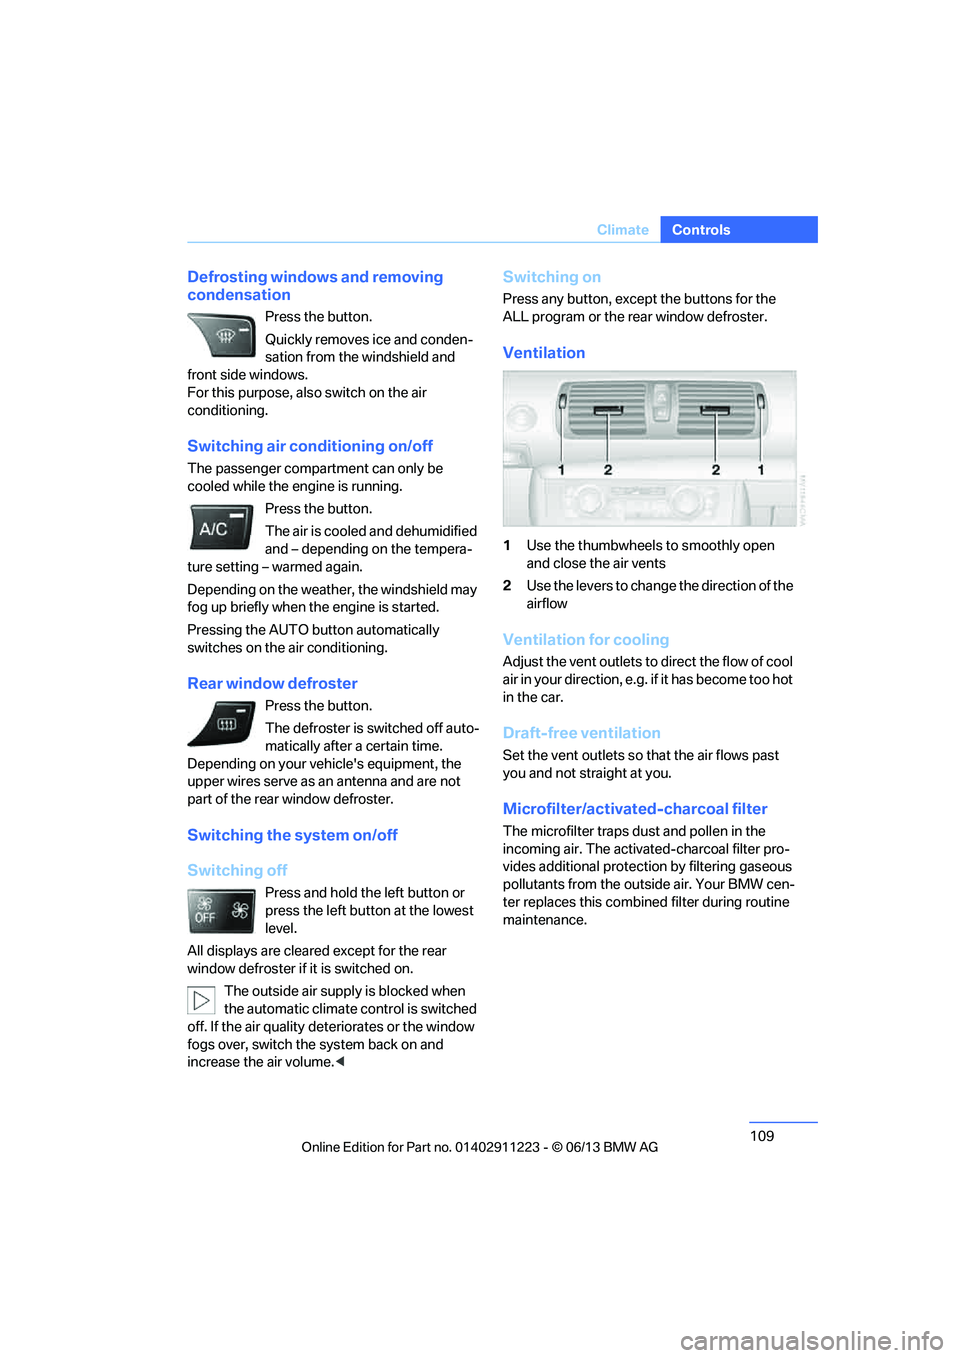
1 Use the thumbwheels to smoothly open
and close the air vents
2 Use the levers to change the direction of the
airflow
Ventilation for cooling
Adjust the vent outlets to direct the flow of cool
air in your direction, e.g. if it has become too hot
in the car.
Draft-free ventilation
Set the vent outlets so that the air flows past
you and not straight at you.
Microfilter/activated-charcoal filter
The microfilter traps dust and pollen in the
incoming air. The activated-charcoal filter pro-
vides additional protection by filtering gaseous
pollutants from the outs ide air. Your BMW cen-
ter replaces this combined filter during routine
maintenance.
00320051004F004C00510048000300280047004C0057004C005200510003
Page 113 of 284
112
ControlsPractical interior accessories
3.Hold the hand-held transmitter of the
device to be controlled about 1 in/2.5 cm to
3 in/8 cm away from the buttons on the
inside mirror.
The required distance depends on the
hand-held transmitter.
4. Simultaneously press and hold the button
of the desired function on the hand-held
transmitter and the button to be pro-
grammed on the inside mirror.
The LED on the inside mirror will flash
slowly at first.
5. As soon as the LED flashes rapidly, release
both buttons. The rapi d flashing indicates
that the button on th e inside mirror has
been programmed.
If the LED does not flash rapidly within
60 seconds, change the distance between
the inside mirror and the hand-held trans-
mitter and repeat this step. This may
require several attempts. Allow at least
15 seconds between attempts.
6. To program additional functions on the
other buttons of the inside mirror, repeat
steps 3 through 5.
The buttons on the inside mirror can be used to
operate the devices if th e ignition is switched
on.
Special procedure with alternating-
code systems
If the device fails to function even after repeated
programming, check whether the device to be
controlled uses an alternating-code system.
To do so, either read the instructions for the
device or hold down the programmed button on
the inside mirror. If the LED on the inside mirror
flashes quickly at first and then remains lit for
2 seconds, the device uses an alternating-code
system. The LED flashes and lights up repeat-
edly for approx. 20 seconds.
In devices with an alternating-code system, the
Integrated universal remote control and the
device must also be synchronized. For information about synchronizing can also
be found in the operating instructions for the
device to be set.
Programming will be easier with the aid of a
second person.
Synchronizing:
1.
Park your vehicle within the range of the
remote-controlled device.
2. Program the Integrated universal remote
control as described above.
3. Locate and press the synchronization
button on the device to be set. You have
approx. 30 seconds to perform the next
step.
4. Hold down the prog rammed button on the
inside mirror for approx. 3 seconds and then
release it. Repeat this operation, up to three
times if necessary, to complete the syn-
chronization. If the synchronization has
succeeded, the programmed function is
performed.
Reprogramming individual buttons
1. Switch on the ignition.
2. Hold the hand-held transmitter of the
device to be controlled about 1 in/2.5 cm to
3 in/8 cm away from the buttons on the
inside mirror.
The required distance depends on the
hand-held transmitter.
3. Press the desired button on the inside
mirror.
4. If the LED on the inside mirror flashes
slowly after approx. 20 seconds, press the
transmit key of the hand-held transmitter.
5. As soon as the LED flashes rapidly, release
both buttons.
If the LED does not flash rapidly after
approx. 60 seconds, alter the distance and
repeat the step.
00320051004F004C00510048000300280047004C0057004C005200510003
Page 136 of 284
135
Destination entry
Navigation
2.
Select letters, if necessary.
The list is reduced in steps with each entry.
To delete letters:
> To delete individual letters:
Turn the controller to select , and
then press the controller.
> To delete all letters:
Turn the controller to select , and
then press the controller for an extended
period.
To enter spaces:
> Select the symbol.
The list gradually grow s smaller each time
you enter a new letter.
3. Move the controller to the right.
4. Select the name of the town/city from the
list.
If there are several town s/cities with the same
name:
1. Change to the list of town/city names.
2. Highlight the town/city.
3. Select the town/city.
Entering the postal code
1.Select "Town/City/Postal Code" or the
displayed town/city.
2. Select the symbol.
3. Select the digits.
4. Change to the list of postal codes and
towns/cities.
5. Highlight the entry.
6. Select an entry.
Entering street and intersection
1.Select "Street" or displayed street.
2. Enter the street and cross-street the same
way you entered the town/city.
After you enter the street, you can also enter
the cross street or the house number. If there are several streets with the same name:
1.
Change to the list of street names.
2. Highlight street.
3. Select the street.
Alternative: entering street and house
number
1.Select "Street" or displayed street.
2. Enter the street the same way you entered
the town/city.
3. "House number"
4. Select the digits.
5. Change to the list of house numbers.
6. Select a house number or range of house
numbers.
No such street at the destination
The desired street is not in the entered town/
city because it belongs to another district of the
town/city.
1."Navigation"
2. "Enter address"
3. Select "Street" or displayed street.
4. Change to the list of street names.
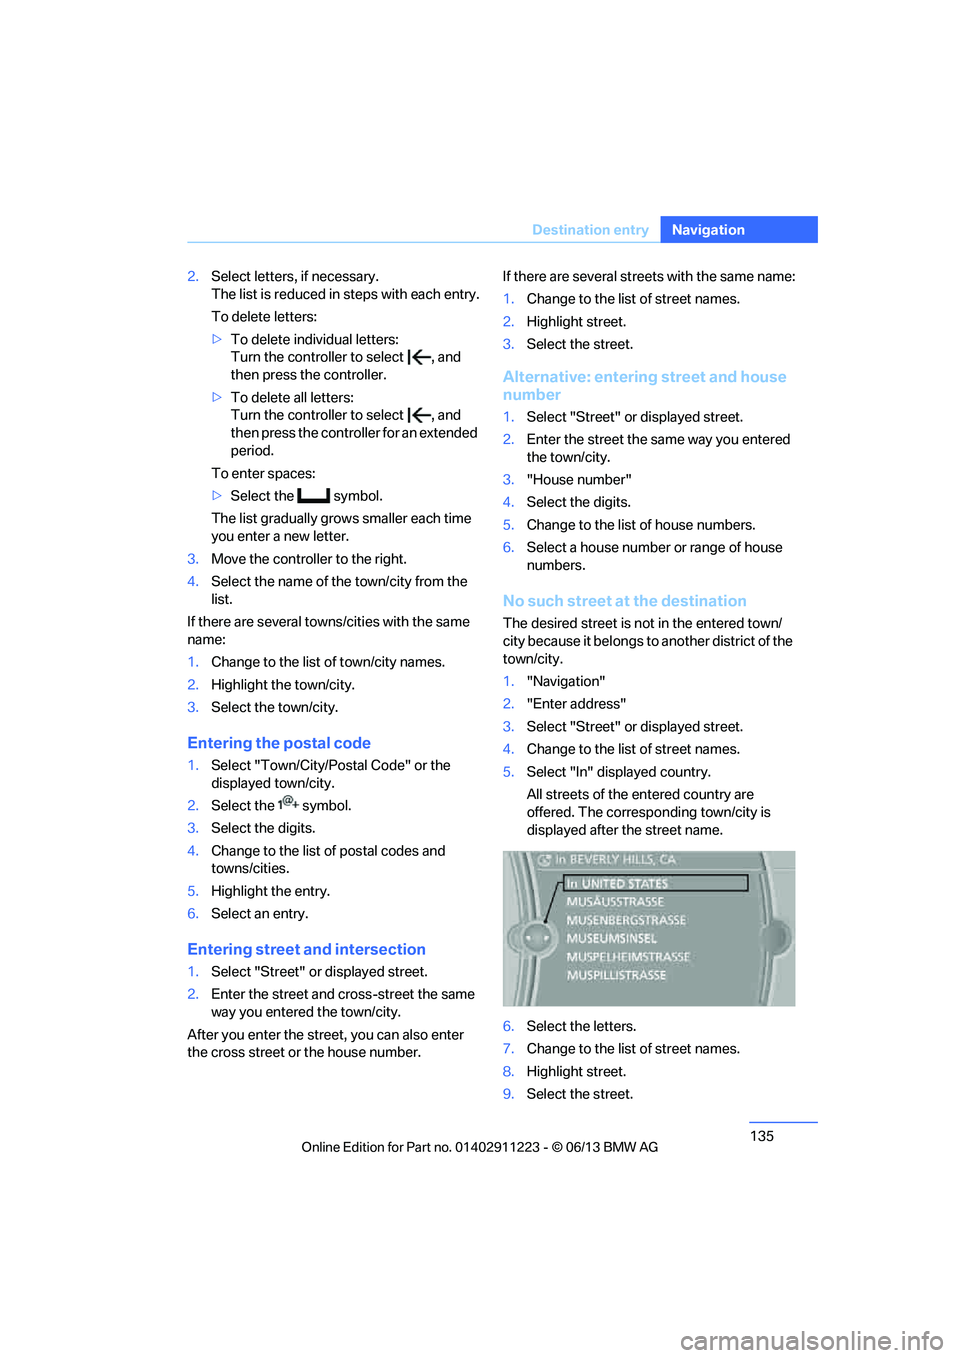
5. Select "In" displayed country.
All streets of the entered country are
offered. The corresponding town/city is
displayed after the street name.
6. Select the letters.
7. Change to the list of street names.
8. Highlight street.
9. Select the street.
00320051004F004C00510048000300280047004C0057004C005200510003
Page 144 of 284
143
Destination guidance
Navigation
Destination guidance
Vehicle equipment
In this chapter, all production, country, and
optional equipment that is offered in the model
range is described. Equipment is also described
that is not available because of, for example,
selected options or coun
try version. This also
applies to safety related functions and systems.
Starting destination
guidance
1. "Navigation"
2. Entering a destination, refer to page 134.
3. "Accept destination"
4. "Start guidance"
The route is displayed on the Control Display
after it is calculated.
In the map view, the distance to the destination/
intermediate destinat ion and the estimated
time of arrival are displayed.
The arrow display appears on the Control
Display, if so desired.
Terminating destination
guidance
1. "Navigation"
2. "Map"
3. "Guidance".
4. "Stop guidance"
Continuing destination
guidance
If the destination was not reached during the
last trip, destination gu idance can be resumed.
"Resume guidance"
Route criteria
General information
> You can influence the calculated route by
selecting certain trip criteria.
> Route criteria can be changed during desti-
nation entry and during route guidance.
> Street types are part of the navigation data
and are taken into account in route plan-
ning, e.g. avoiding highways.
> The proposed route can differ from
personal experience.
> The settings are stored for the remote
control currently in use.
> Route guidance with traffic bulletins, refer
to page 149.
Changing route criteria
1."Navigation"
2. "Map"
3. "Route preference"
4. Selecting a criterion:
> "Fast route": time-optimized route
through a combination of the least pos-
sible distance and stretches of road that
allow rapid driving.
> "ECO PRO route": optimized
combination of the fa stest and shortest
possible route.
> "Short route": short distance without
taking time into account.
> "Alternative routes": are suggested,
where possible, during active route
guidance.
The individual suggestions are labeled in
color.
00320051004F004C00510048000300280047004C0057004C005200510003
Page 148 of 284
147
Destination guidance
Navigation
>
"Day/night mode"
Select and adjust depending on light
conditions.
"Traffic conditions/gray map" active:
Settings are not taken into account.
> "Satellite images"
Depending on the ava ilability and resolu-
tion, satellite images ar e displayed in scales
of approx. 1 mile to 600 miles/2 km to
1,000 km.
> "Perspective view in 3D"
Displays a three-dimensional view. Promi-
nent areas that are contained in the naviga-
tion data are displayed on the map in 3D.
> "Traffic conditions/gray map"
The map is optimized for displaying traffic
bulletins. Symbols for the special destina-
tions are no longer displayed.
Map view for the sp lit screen display
The map view for the split screen can be
selected separately fr om the main screen.
1. Open "Options".
2. "Split screen"
3. Move the controller to the right repeatedly
until the split screen content is selected.
4. Select "Split screen content" or scale.
5. Select the map view:
>"Arrow display"
> "Map facing north"
> "Map direction of travel"
> "Map view with perspective"
> "Position"
> "Exit ramp view"
> "Traffic conditions/gray map"
6. To change the scale: switch to the split
screen and turn the controller.
Traffic bulletins
Overview
>You can display the tr affic bulletins from
radio stations that broadcast the TMC
(Traffic Message Channel) of a traffic infor-
mation service. Bulletins about traffic
obstructions and hazards are continuously
updated.
> Traffic bulletins are in dicated by symbols on
the map.
> Traffic bulletins for th e surrounding area are
stored in a list.
The symbol in the toolbar of the map view
turns red if a traffic bulletin relates to the
calculated route.
Real Time Traffic Information End-User
Provisions
Certain BMW models equi pped with navigation
have the capability to display real-time traffic
information. If your sy stem has this capability
the following additional terms and conditions
apply:
An End-User shall no longer have the right to
use the Traffic Data in the event that the End-
User is in material breach of the terms and
conditions contained herein.
A. Total Traffic Network, a division of Clear
Channel Broadcasting, Inc. ("Total Traffic Net-
work") holds the rights to the traffic incident
data and RDS-TMC network through which it is
delivered. You may not modify, copy, scan or
use any other method to reproduce, duplicate,
republish, transmit or distribute in any way any
portion of traffic incident data. You agree to
indemnify, defend and hold harmless BMW of
North America, LLC. ("BMW NA") and Total
Traffic Network, Inrix, Inc (and their affiliates)
against any and all claims, damages, costs or
other expenses that arise directly or indirectly
out of (a) your unauthor ized use of the traffic
00320051004F004C00510048000300280047004C0057004C005200510003
Page 150 of 284
149
Destination guidance
Navigation
>
Green: clear roads
> Gray: general traffic information, e.g.
construction zone
The bulletins displayed depend in the respec-
tive traffic information service.
Filtering traffic bulletins
Set which traffic bulletins are displayed on the
map.
1. "Navigation"
2. "Map"
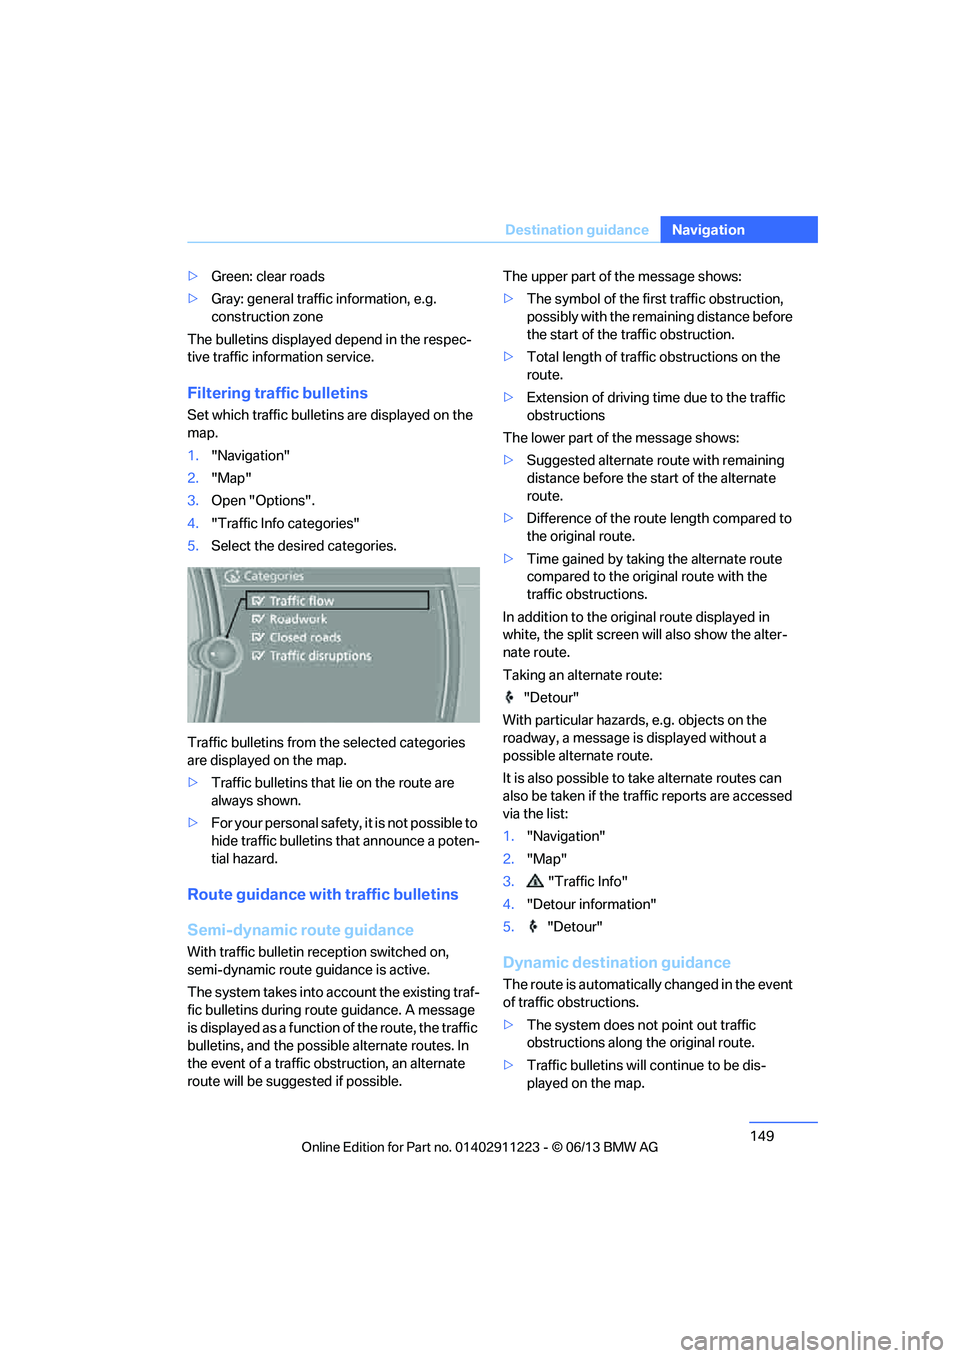
3. Open "Options".
4. "Traffic Info categories"
5. Select the desired categories.
Traffic bulletins from th e selected categories
are displayed on the map.
> Traffic bulletins that lie on the route are
always shown.
> For your personal safety, it is not possible to
hide traffic bulletins that announce a poten-
tial hazard.
Route guidance with traffic bulletins
Semi-dynamic route guidance
With traffic bulletin re ception switched on,
semi-dynamic route guidance is active.
The system takes into ac count the existing traf-
fic bulletins during route guidance. A message
is displayed as a function of the route, the traffic
bulletins, and the possible alternate routes. In
the event of a traffic obstruction, an alternate
route will be suggested if possible. The upper part of the message shows:
>
The symbol of the first traffic obstruction,
possibly with the remaining distance before
the start of the traffic obstruction.
> Total length of traffic obstructions on the
route.
> Extension of driving ti me due to the traffic
obstructions
The lower part of the message shows:
> Suggested alternate route with remaining
distance before the st art of the alternate
route.
> Difference of the route length compared to
the original route.
> Time gained by taking the alternate route
compared to the original route with the
traffic obstructions.
In addition to the original route displayed in
white, the split screen will also show the alter-
nate route.
Taking an alternate route:
"Detour"
With particular hazards, e.g. objects on the
roadway, a message is displayed without a
possible alternate route.
It is also possible to take alternate routes can
also be taken if the tr affic reports are accessed
via the list:
1. "Navigation"
2. "Map"
3. "Traffic Info"
4. "Detour information"
5. "Detour"Dynamic destination guidance
The route is automatically changed in the event
of traffic obstructions.
>The system does not point out traffic
obstructions along the original route.
> Traffic bulletins will continue to be dis-
played on the map.
00320051004F004C00510048000300280047004C0057004C005200510003
Page 155 of 284
154
EntertainmentOn/off and tone
On/off and tone
Vehicle equipment
In this chapter, all pr oduction, country, and
optional equipment that is offered in the model
range is described. Equipment is also described
that is not available because of, for example,
selected options or country version. This also
applies to safety related functions and systems.
General information
The following audio and video sources share
the same control elements and adjustments:
> Radio
> CD/DVD player
> Video
> External devices, e.g. MP3 player
Controls
The audio and video sources can be controlled
using the:
>Buttons near th e CD/DVD player
> iDrive
> Buttons on the steering wheel, refer to
page 13
> Programmable memory keys, refer to
page 25
> Voice activation system
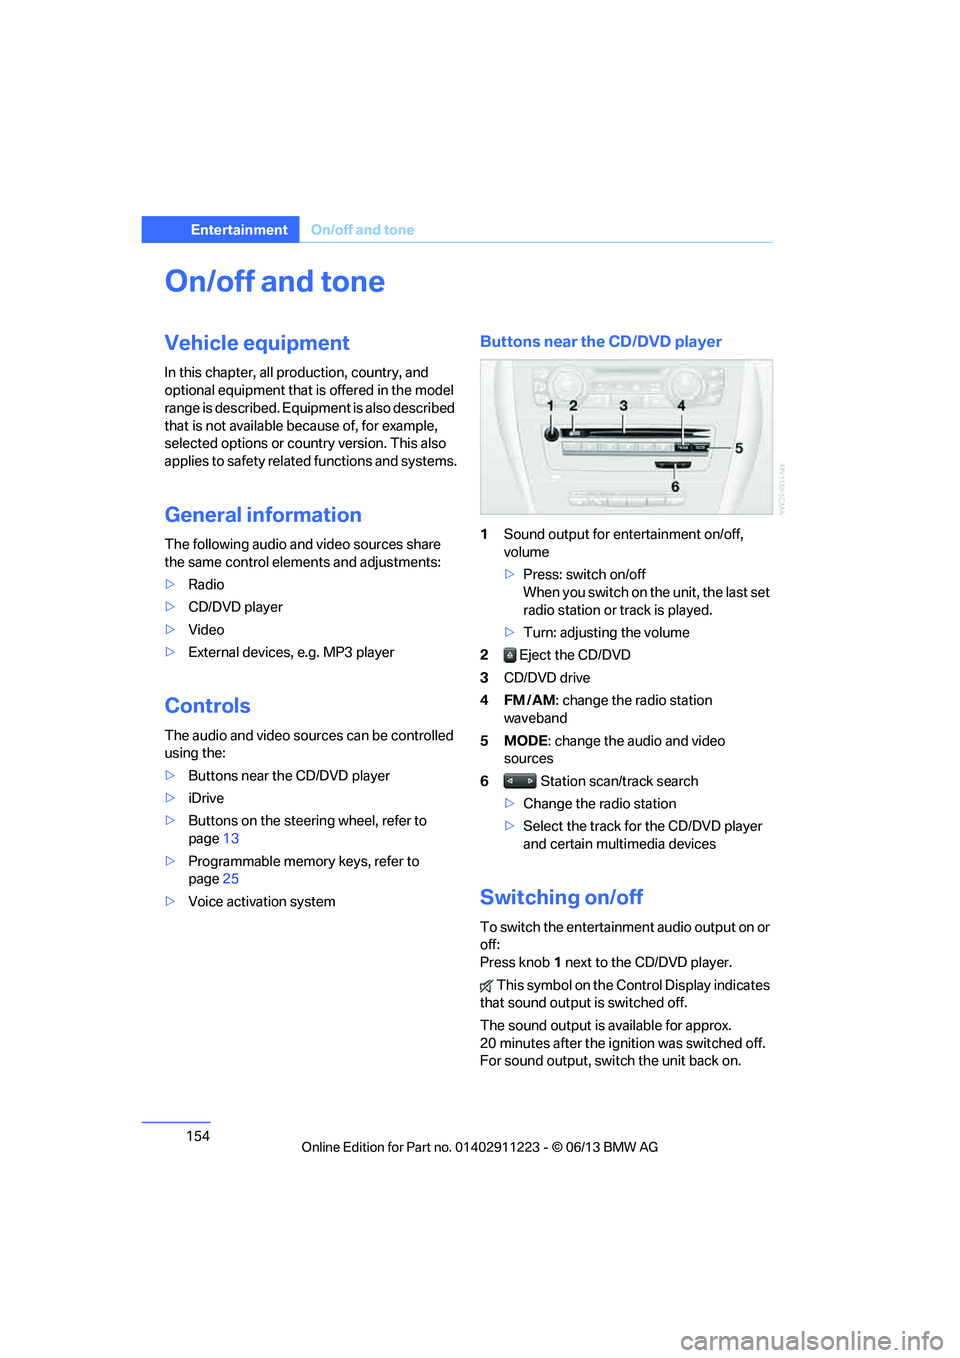
Buttons near the CD/DVD player
1Sound output for entertainment on/off,
volume
>Press: switch on/off
When you switch on the unit, the last set
radio station or track is played.
> Turn: adjusting the volume
2 Eject the CD/DVD
3 CD/DVD drive
4FM/AM : change the radio station
waveband
5MODE : change the audio and video
sources
6 Station scan/track search
> Change the radio station
> Select the track for the CD/DVD player
and certain multimedia devices
Switching on/off
To switch the entertainment audio output on or
off:
Press knob 1 next to the CD/DVD player.
This symbol on the Co ntrol Display indicates
that sound output is switched off.
The sound output is available for approx.
20 minutes after the ignition was switched off.
For sound output, switch the unit back on.
00320051004F004C00510048000300280047004C0057004C005200510003
Page 163 of 284
162
EntertainmentSatellite radio
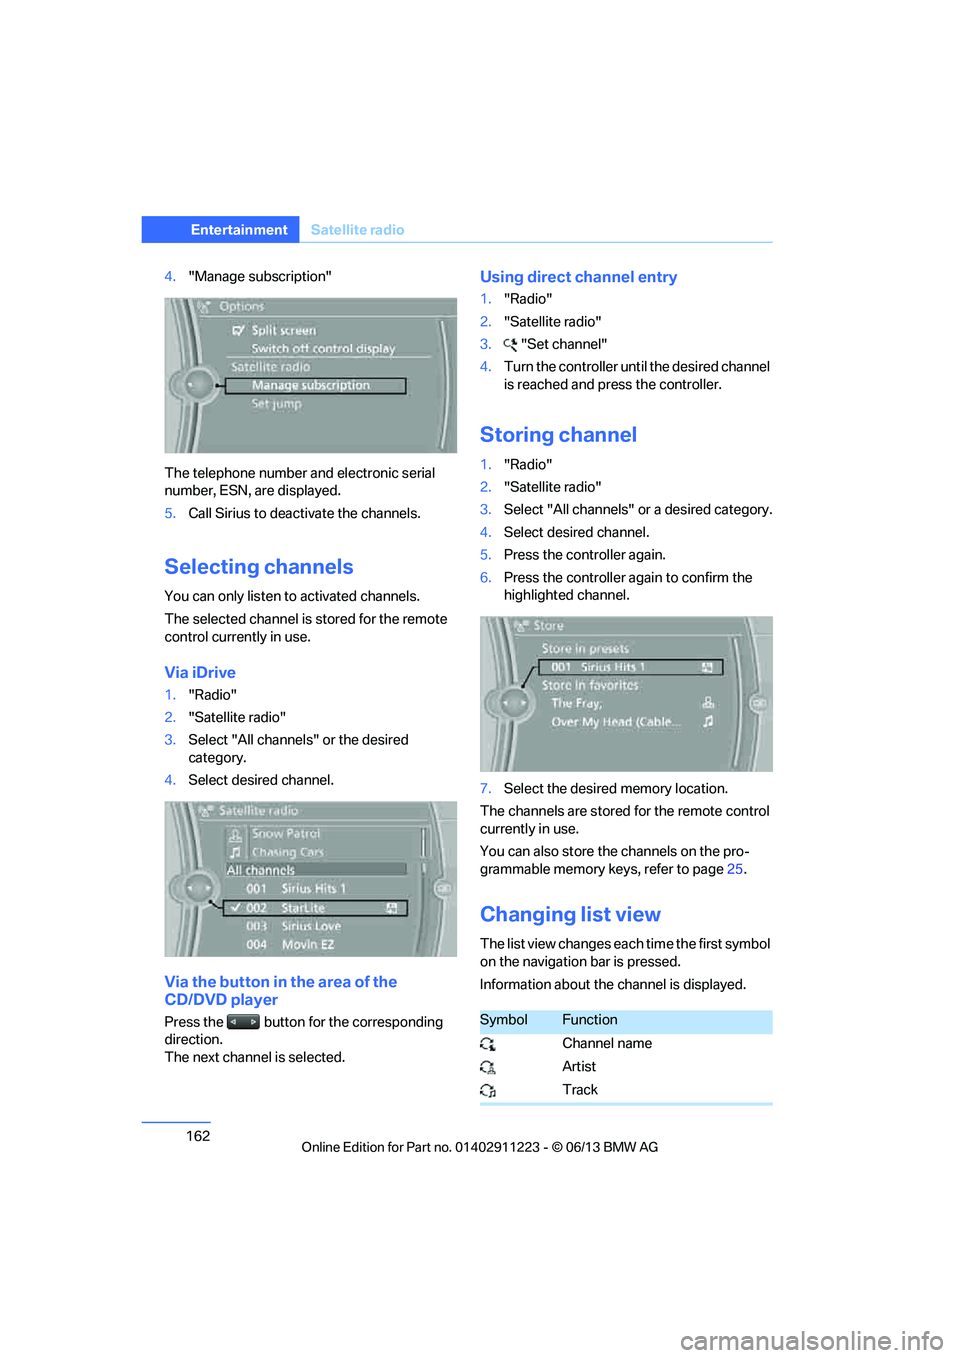
4."Manage subscription"
The telephone number and electronic serial
number, ESN, are displayed.
5. Call Sirius to deacti vate the channels.
Selecting channels
You can only listen to activated channels.
The selected channel is stored for the remote
control currently in use.
Via iDrive
1. "Radio"
2. "Satellite radio"
3. Select "All channels" or the desired
category.
4. Select desired channel.
Via the button in the area of the
CD/DVD player
Press the button for the corresponding
direction.
The next channel is selected.
Using direct channel entry
1."Radio"
2. "Satellite radio"
3. "Set channel"
4. Turn the controller unt il the desired channel
is reached and pr ess the controller.
Storing channel
1."Radio"
2. "Satellite radio"
3. Select "All channels" or a desired category.
4. Select desired channel.
5. Press the controller again.
6. Press the controller again to confirm the
highlighted channel.
7. Select the desired memory location.
The channels are stored for the remote control
currently in use.
You can also store the channels on the pro-
grammable memory ke ys, refer to page25.
Changing list view
The list view changes each time the first symbol
on the navigation bar is pressed.
Information about the channel is displayed.
SymbolFunction
Channel name
Artist
Track
00320051004F004C00510048000300280047004C0057004C005200510003