2013 BMW 128I COUPE transmission
[x] Cancel search: transmissionPage 67 of 284
66
ControlsDriving
>To upshift, briefly pull the right shift
paddle +.
> To downshift, briefly pull the left shift
paddle –.
Upshifts and downshifts are executed only
when they will result in a plausible combination
of engine and vehicle speed; thus, for example,
a downshift that would cause the engine to
overrev will not be exec uted by the system.
The gear selected is briefly displayed in the
instrument cluster, followed again by the gear
actually in use.
Overriding selector lever lock
If the selector lever will not move out of
position P even though the ignition is switched
on, the brake is depressed, and the button on
the selector lever is pre ssed, the selector lever
lock can be overridden:
1. Unclip the sleeve of the selector lever.
2. Pull the sleeve up over the selector lever
until the sleeve is inside out.
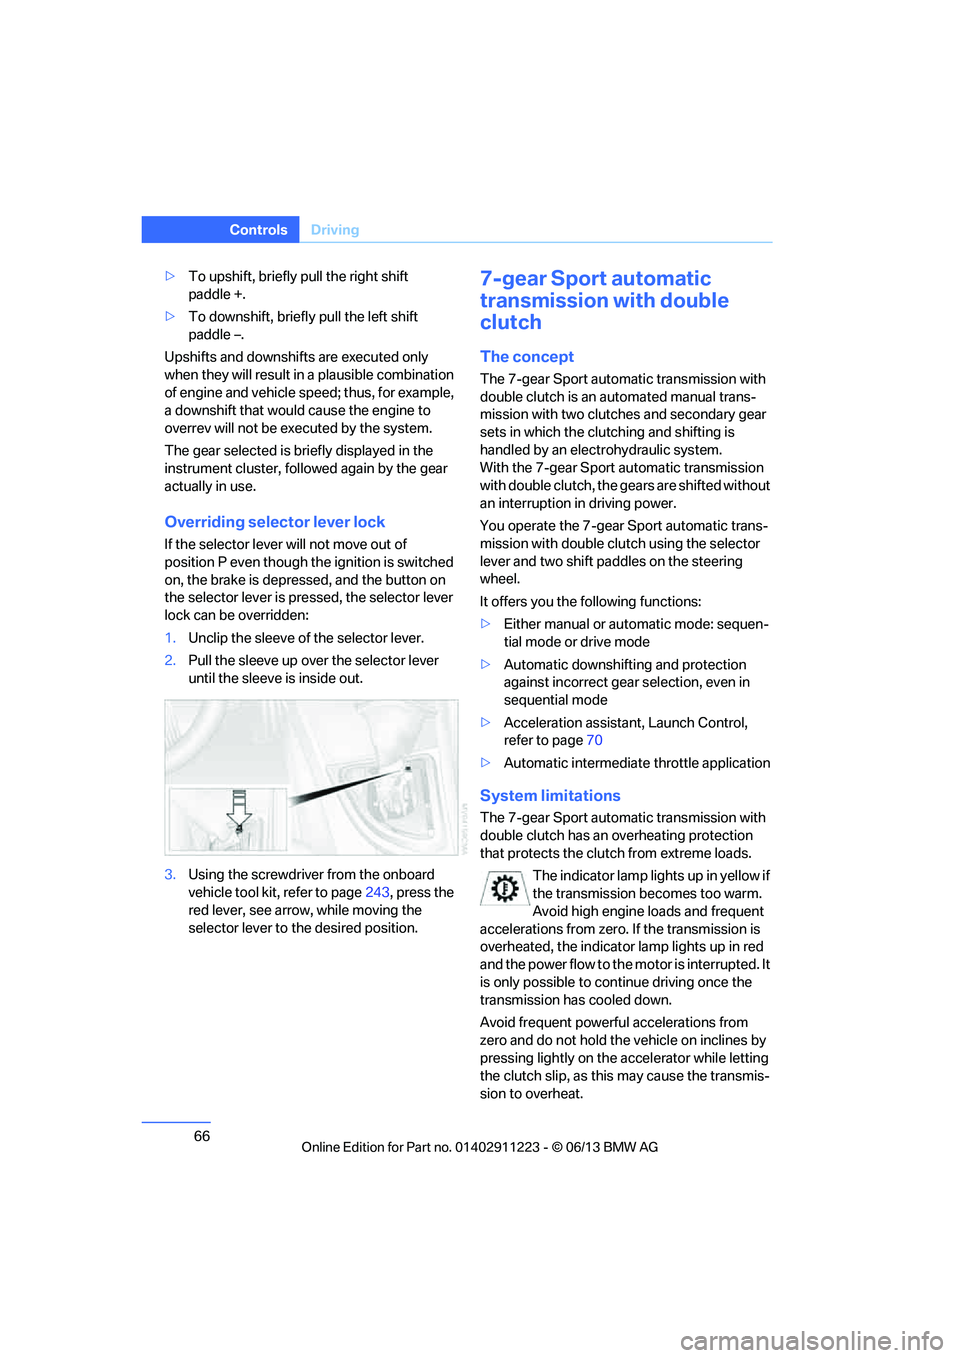
3. Using the screwdriver from the onboard
vehicle tool kit, refer to page 243, press the
red lever, see arrow, while moving the
selector lever to the desired position.
7-gear Sport automatic
transmission with double
clutch
The concept
The 7-gear Sport automatic transmission with
double clutch is an automated manual trans-
mission with two clutches and secondary gear
sets in which the clutching and shifting is
handled by an electr ohydraulic system.
With the 7-gear Sport automatic transmission
with double clutch, the gears are shifted without
an interruption in driving power.
You operate the 7-gear Sport automatic trans-
mission with double clutch using the selector
lever and two shift paddles on the steering
wheel.
It offers you the following functions:
> Either manual or au tomatic mode: sequen-
tial mode or drive mode
> Automatic downshifting and protection
against incorrect gear selection, even in
sequential mode
> Acceleration assistan t, Launch Control,
refer to page 70
> Automatic intermediate throttle application
System limitations
The 7-gear Sport automatic transmission with
double clutch has an overheating protection
that protects the clutch from extreme loads.
The indicator lamp lights up in yellow if
the transmission becomes too warm.
Avoid high engine loads and frequent
accelerations from zero. If the transmission is
overheated, the indicator lamp lights up in red
and the power flow to the motor is interrupted. It
is only possible to continue driving once the
transmission has cooled down.
Avoid frequent powerful accelerations from
zero and do not hold the vehicle on inclines by
pressing lightly on the accelerator while letting
the clutch slip, as this may cause the transmis-
sion to overheat.
00320051004F004C00510048000300280047004C0057004C005200510003
Page 68 of 284
67
Driving
Controls
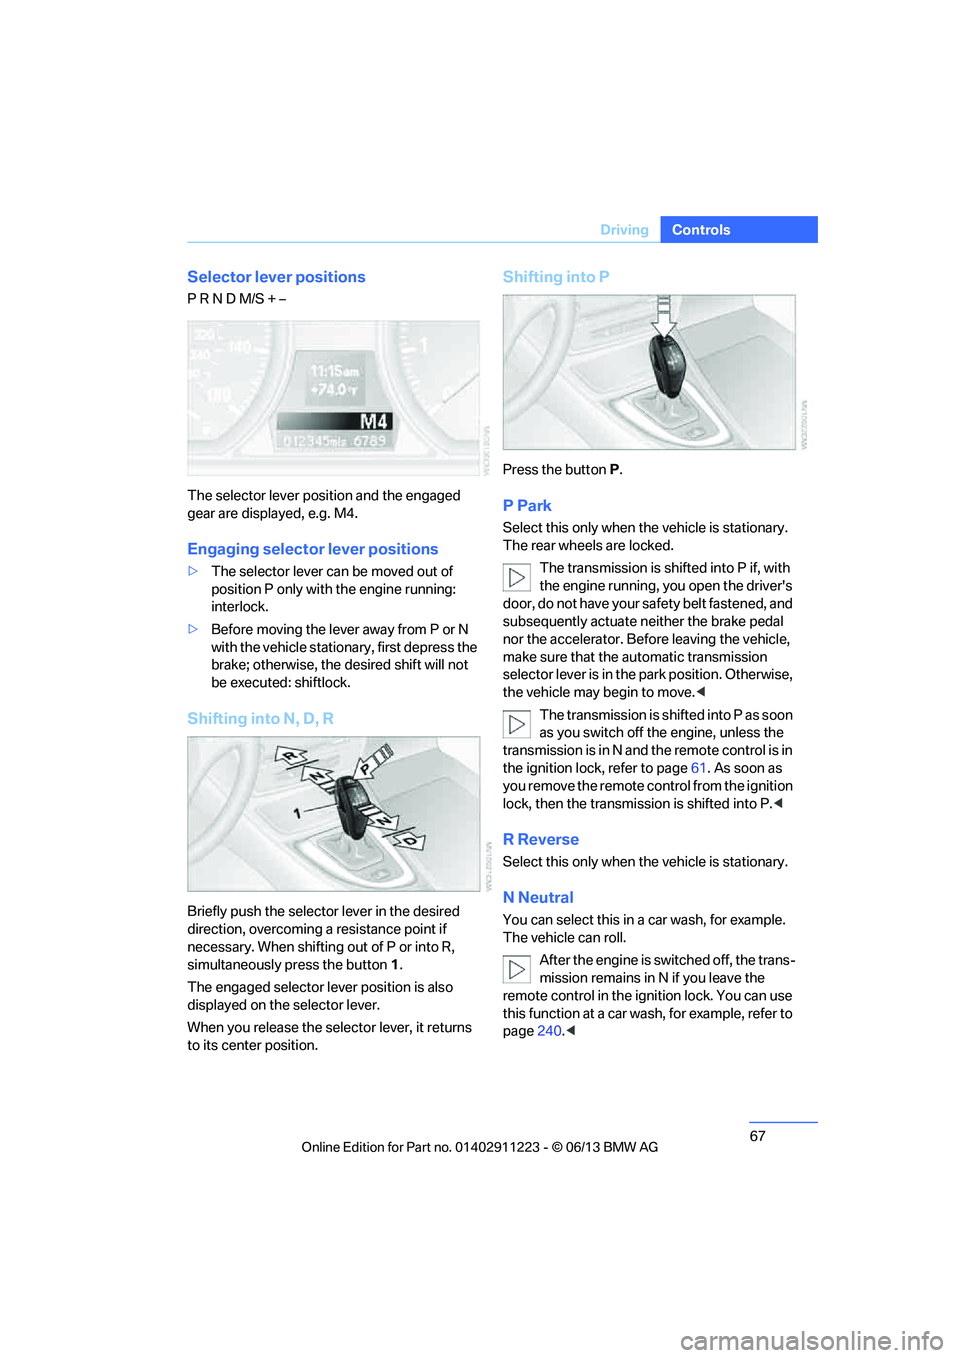
Selector lever positions
P R N D M/S + –
The selector lever position and the engaged
gear are displayed, e.g. M4.
Engaging selector lever positions
>
The selector lever can be moved out of
position P only with the engine running:
interlock.
> Before moving the lever away from P or N
with the vehicle statio nary, first depress the
brake; otherwise, the desired shift will not
be executed: shiftlock.
Shifting into N, D, R
Briefly push the selector lever in the desired
direction, overcoming a resistance point if
necessary. When shifting out of P or into R,
simultaneously press the button 1.
The engaged selector lever position is also
displayed on the selector lever.
When you release the sele ctor lever, it returns
to its center position.
Shifting into P
Press the button P.
P Park
Select this only when the vehicle is stationary.
The rear wheels are locked.
The transmission is shifted into P if, with
the engine running, you open the driver's
doo r, do not have yo ur sa fety belt fastened, and
subsequently actuate neither the brake pedal
nor the accelerator. Befo re leaving the vehicle,
make sure that the au tomatic transmission
selector lever is in the park position. Otherwise,
the vehicle may begin to move. <
The transmission is shifted into P as soon
as you switch off th e engine, unless the
transmission is in N and the remote control is in
the ignition lock, refer to page 61. As soon as
you remove the remote control from the ignition
lock, then the transmission is shifted into P. <
R Reverse
Select this only when the vehicle is stationary.
N Neutral
You can select this in a car wash, for example.
The vehicle can roll.
After the engine is switched off, the trans-
mission remains in N if you leave the
remote control in the ignition lock. You can use
this function at a car wash, for example, refer to
page 240.<
00320051004F004C00510048000300280047004C0057004C005200510003
Page 69 of 284
68
ControlsDriving
D Drive mode
In Drive mode, all forward gears are shifted
automatically.
Kickdown
For sudden acceleration maneuvers such as
passing, depress the accelerator past the resis-
tance point. This prov ides maximum accelera-
tion.
Sport program and manual operation
M/S
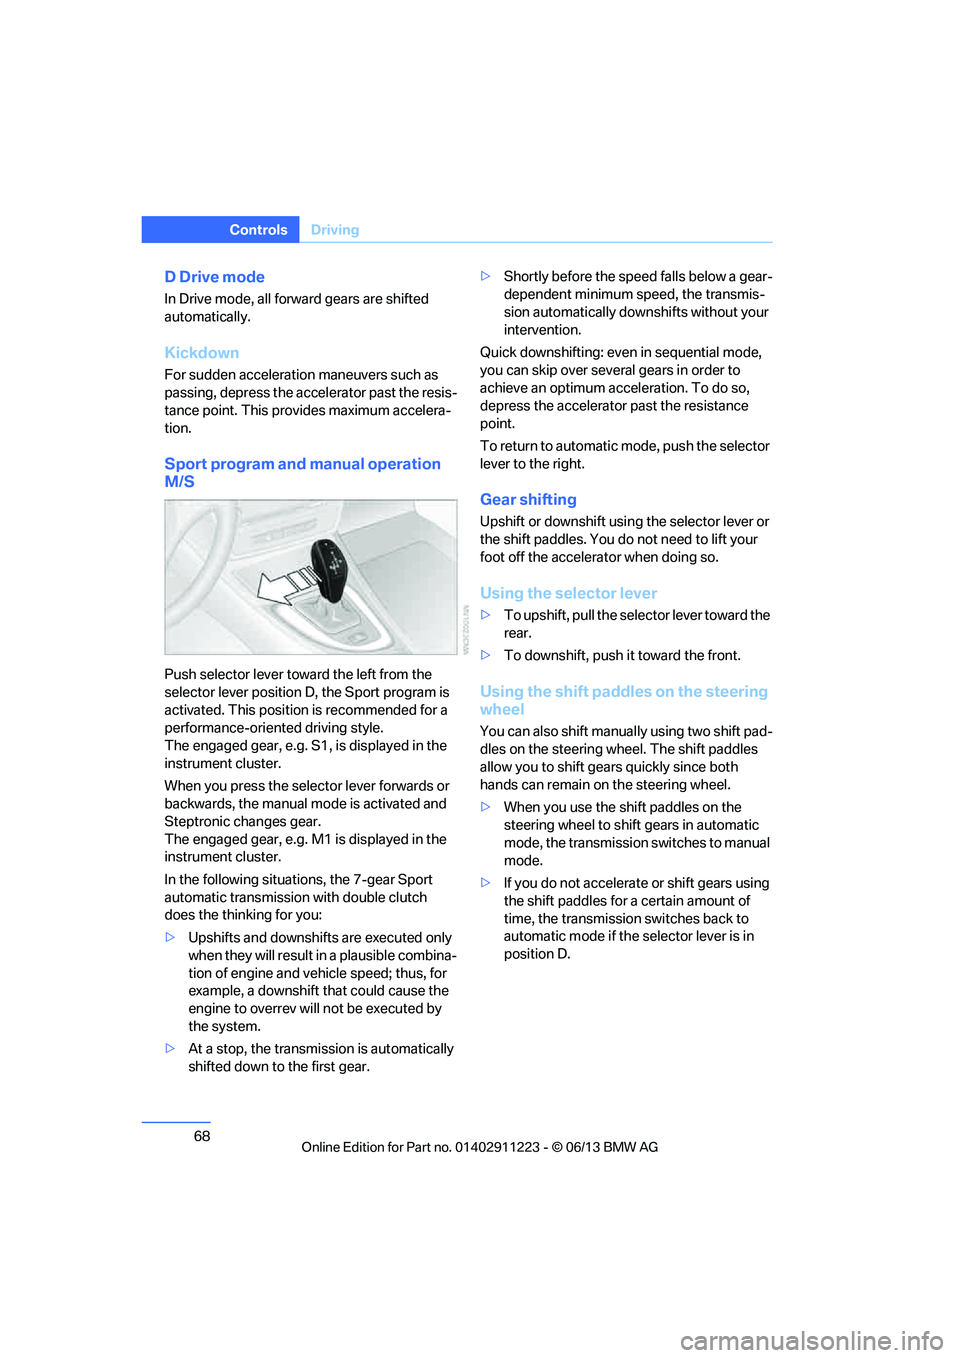
Push selector lever towa rd the left from the
selector lever position D, the Sport program is
activated. This position is recommended for a
performance-oriented driving style.
The engaged gear, e.g. S1, is displayed in the
instrument cluster.
When you press the selector lever forwards or
backwards, the manual mode is activated and
Steptronic changes gear.
The engaged gear, e.g. M1 is displayed in the
instrument cluster.
In the following situat ions, the 7-gear Sport
automatic transmission with double clutch
does the thinking for you:
> Upshifts and downshifts are executed only
when they will result in a plausible combina-
tion of engine and vehicle speed; thus, for
example, a downshift that could cause the
engine to overrev will not be executed by
the system.
> At a stop, the transmission is automatically
shifted down to the first gear. >
Shortly before the spee d falls below a gear-
dependent minimum speed, the transmis-
sion automatically down shifts without your
intervention.
Quick downshifting: even in sequential mode,
you can skip over several gears in order to
achieve an optimum acceleration. To do so,
depress the accelerator past the resistance
point.
To return to automatic mode, push the selector
lever to the right.
Gear shifting
Upshift or downshift usin g the selector lever or
the shift paddles. You do not need to lift your
foot off the accelerator when doing so.
Using the selector lever
> To upshift, pull the sele ctor lever toward the
rear.
> To downshift, push it toward the front.
Using the shift paddl es on the steering
wheel
You can also shift manua lly using two shift pad-
dles on the steering wheel. The shift paddles
allow you to shift gear s quickly since both
hands can remain on the steering wheel.
> When you use the shift paddles on the
steering wheel to shift gears in automatic
mode, the transmission switches to manual
mode.
> If you do not accelerate or shift gears using
the shift paddles for a certain amount of
time, the transmission switches back to
automatic mode if the selector lever is in
position D.
00320051004F004C00510048000300280047004C0057004C005200510003
Page 75 of 284
74
ControlsDriving
Increasing speed
Briefly press the lever, arrow 1, until the desired
speed is reached.
Each time the lever is pr essed briefly, the speed
is increased by approx. 1 mph/1 km/h.
Accelerating using the lever
Press the lever, arrow 1, until the desired speed
is reached.
The vehicle accelerates without pressure on
the accelerator pedal. The system stores and
maintains the speed.
Decreasing speed
Repeatedly pull the lever, arrow 2, until the
desired speed is reached.
The functions here are the same as for increas-
ing the speed or accelera ting, except that the
speed will be decreased.
Deactivating cruise control
Push the lever briefly upwards or downwards,
arrow 3.
In addition, the system is automatically
deactivated:
> When the brakes are applied.
> When the clutch of the manual transmission
is engaged or the transmission is shifted
into neutral.
> When the automatic transmission selector
lever is moved into th e neutral position N.
> When the selector lever of the sport auto-
matic transmission with double clutch is
moved into the neutral position N.
> When the vehicle travels faster or slower
than the set speed for an extended period,
e.g. when the accelerator is depressed.
> When DSC is intervening.
Resuming a previously stored speed
Press the button, arrow 4.
The last stored speed is resumed and
maintained.
The stored speed is briefly displayed in the
instrument cluster.
The stored speed is cleared when the ignition is
switched off.
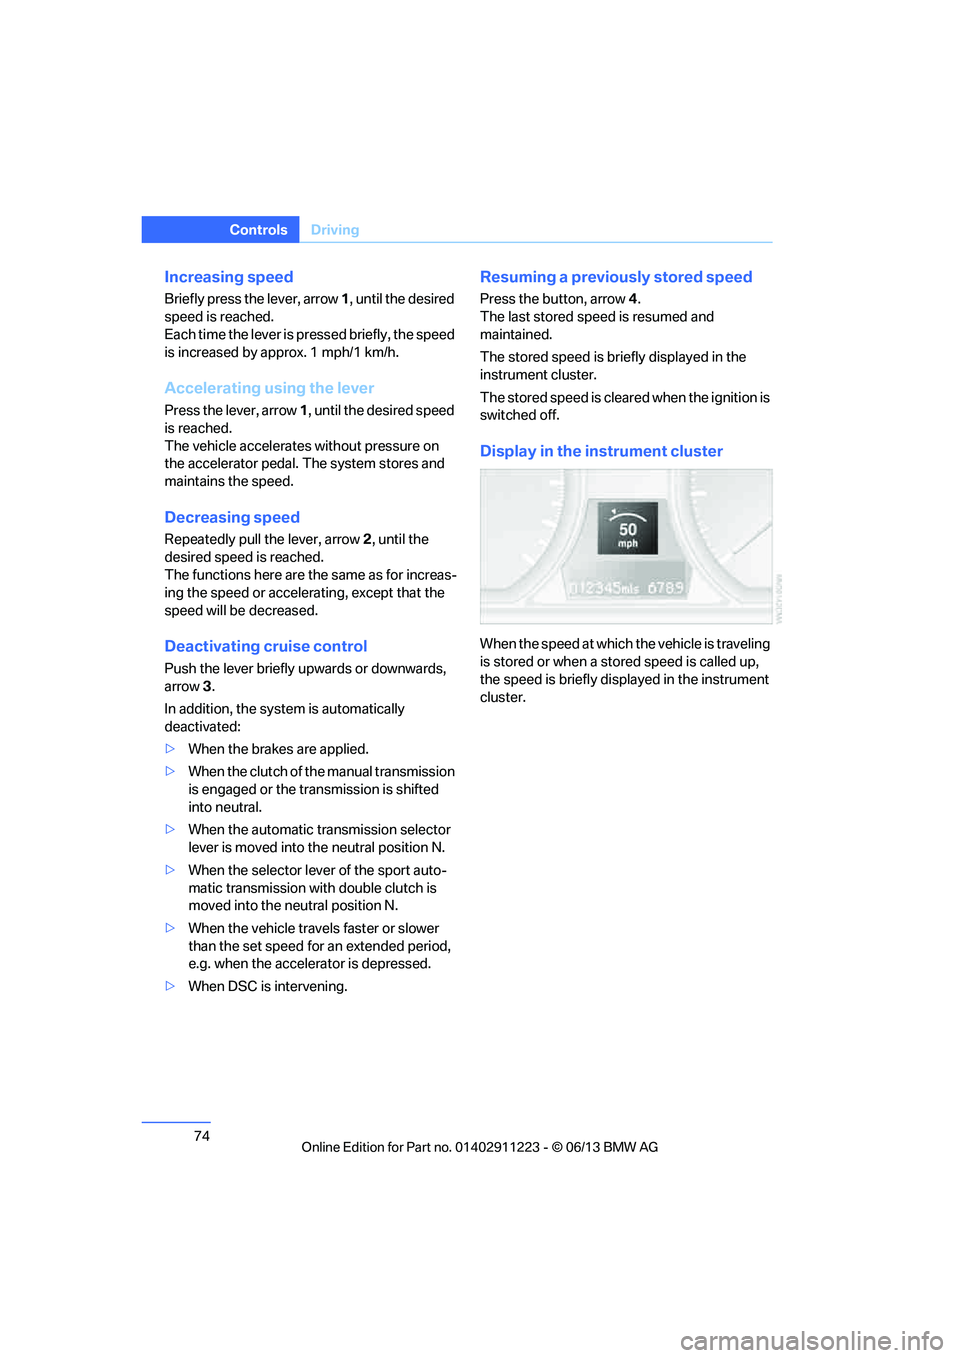
Display in the instrument cluster
When the speed at which the vehicle is traveling
is stored or when a stored speed is called up,
the speed is briefly disp layed in the instrument
cluster.
00320051004F004C00510048000300280047004C0057004C005200510003
Page 89 of 284

88
ControlsTechnology for driving comfort and safety
Technology for driving comfort and safety
Vehicle equipment
In this chapter, all pr oduction, country, and
optional equipment that is offered in the model
range is described. For this reason, descrip-
tions will be given of some equipment that may
not be available in a vehi cle, for example due to
the special options or national-market version
selected. This also app lies to safety related
functions and systems.
Park Distance Control PDC
The concept
The PDC assists you with maneuvering in tight
parking spaces. Acoustic signals and a visual
indicator warn you of the presence of an object
behind your vehicle. Four ultrasonic sensors in
the bumper measure the distance.
These sensors have a range of approx. 6.5 ft/
2 m. However, an acoustic warning does not
sound until an object is approx. 24 in/60 cm
from the corner sensors or approx. 5 ft/1.50 m
from the center sensors.
PDC is a parking aid that can indicate
objects when they are approached
slowly, as is usually th e case when parking.
Avoid approaching an object at high speed; oth-
erwise, physical circumstances may lead to the
system warning being issued too late. <
Switching on automatically
With the engine running or the ignition switched
on, the system is activated after approx. second
when you engage reverse gear or move the
automatic transmission selector lever to
position R. Wait this short period before driving.
Switching off automatically
After approx. 164 ft/50 m of driving or above
approx. 18 mph/30 km/h, the system switches
off and the LED goes out.
Signal tones
When nearing an object, its position is indicated
correspondingly by an in terval tone. As the dis-
tance between vehicle an d object decreases,
the intervals betwee n the tones become
shorter. If the distance to the nearest object
falls to below roughly 1 ft/30 cm, then a contin-
uous tone sounds.
An interval tone is interrupted after approx.
3seconds:
> If you stop in front of an object that has been
detected by only one of the corner sensors
> If you are driving parallel to a wall
Malfunction
The warning lamp lights up. A mes-
sage appears on the Control Display.
PDC is malfunctioning. Have the
system checked.
To avoid this problem, keep the sensors clean
and free of ice or snow in order to ensure that
they will continue to op erate effectively. When
using a high-pressure cleaner, do not spray the
sensors for extended periods of time and only
from a distance of at least 1 ft/30 cm.
PDC with visual warning
The approach of the vehicle to an object is
shown on the Control Display. Objects that are
farther away are displayed on the Control Dis-
play before a signal tone sounds. The display
appears on the Control Display as soon as PDC
is activated.
00320051004F004C00510048000300280047004C0057004C005200510003
Page 94 of 284
93
Technology for driving comfort and safety
Controls
System limitations
Sudden serious tire damage caused by
external influences ca
nnot be indicated in
advance.<
The system does not function correctly if it has
not been reset. For example, a flat tire may be
indicated even though the tire inflation pres-
sures are correct.
The system is inactive and cannot indicate a flat
tire:
> When a wheel without TPM electronics is
installed.
> Interference with TPM by other systems or
devices with the same transmission
frequency.
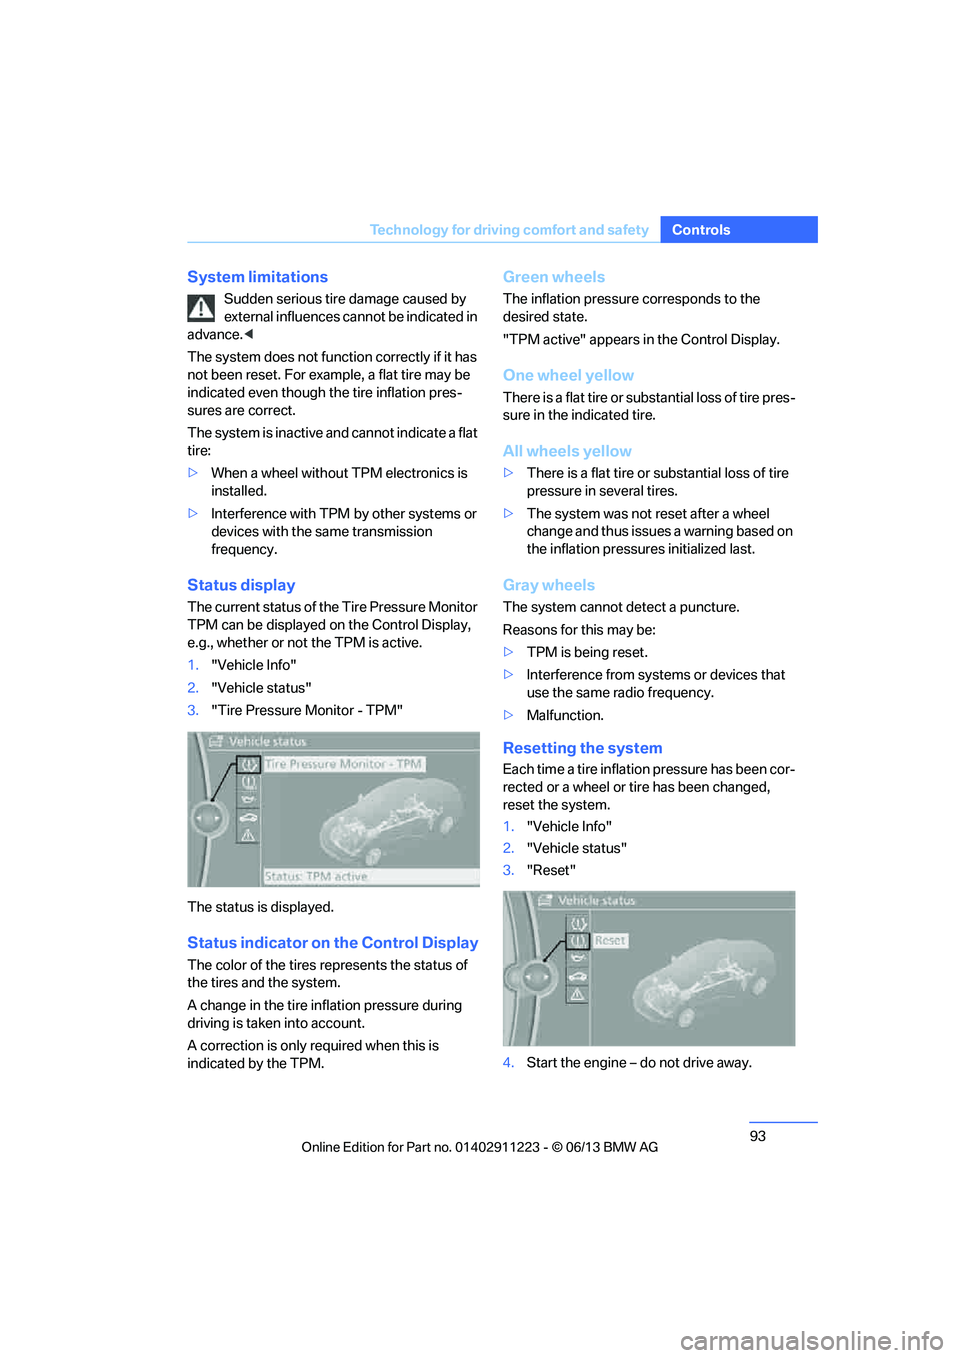
Status display
The current status of the Tire Pressure Monitor
TPM can be displayed on the Control Display,
e.g., whether or not the TPM is active.
1. "Vehicle Info"
2. "Vehicle status"
3. "Tire Pressure Monitor - TPM"
The status is displayed.
Status indicator on the Control Display
The color of the tires represents the status of
the tires and the system.
A change in the tire in flation pressure during
driving is taken into account.
A correction is only re quired when this is
indicated by the TPM.
Green wheels
The inflation pressure corresponds to the
desired state.
"TPM active" appears in the Control Display.
One wheel yellow
There is a flat tire or substantial loss of tire pres-
sure in the indicated tire.
All wheels yellow
> There is a flat tire or substantial loss of tire
pressure in several tires.
> The system was not reset after a wheel
change and thus issues a warning based on
the inflation pressure s initialized last.
Gray wheels
The system cannot detect a puncture.
Reasons for this may be:
>TPM is being reset.
> Interference from systems or devices that
use the same radio frequency.
> Malfunction.
Resetting the system
Each time a tire inflation pressure has been cor-
rected or a wheel or tire has been changed,
reset the system.
1."Vehicle Info"
2. "Vehicle status"
3. "Reset"
4. Start the engine – do not drive away.
00320051004F004C00510048000300280047004C0057004C005200510003
Page 116 of 284

115
Practical interior accessories
Controls
Glove compartment
Opening
Pull the handle.
The light in the glove compartment comes on.
To prevent injury in the event of an acci-
dent while the vehicle is being driven,
close the glove compartment immediately after
use. <
Closing
Fold the cover up.
Locking
To lock the glove compartment, use the
integrated key of the re mote control, refer to
page 32.
USB interface for data transmission
Port for importing and exporting data on USB
devices, e.g. music collections, refer to
page 173. Observe the following when connecting:
>
Do not forcibly connect the plug to the USB
interface.
> Do not connect devices such as fans or
lamps to the USB interface.
> Do not connect USB hard discs.
> Do not use the USB interface to recharge
external devices.
Center armrest
Storage compartment
The center armrest between the front seats
contains a credit card holder and, depending on
the equipment version, a compartment or a
snap-in adapter.
Opening
Press the button, see arrow.
Connection for external audio device
You can connect an external audio device such
as a CD or MP3 player and play audio tracks
over the vehicle speakers:
>AUX-IN port, refer to page 177.
> USB audio interface/extended connectivity
of the music player in the mobile phone,
refer to page 178.
00320051004F004C00510048000300280047004C0057004C005200510003
Page 125 of 284

124
Driving tipsThings to remember when driving
Things to remember when driving
Vehicle equipment
In this chapter, all pr oduction, country, and
optional equipment that is offered in the model
range is described. For this reason, descrip-
tions will be given of some equipment that may
not be available in a vehi cle, for example due to
the special options or national-market version
selected. This also app lies to safety related
functions and systems.
Break-in period
Moving parts need breaking-in time to adjust to
each other. Please follo w the instructions below
in order to achieve the optimal service life and
economy of operation for your vehicle.
Engine and differential
Always obey all official speed limits.
Up to 1,200 miles/2,000 km
Drive at varying engine and road speeds, but do
not exceed an engine speed of 4,500 rpm or a
road speed of 100 mph/160 km/h.
Avoid full-throttle operation and use of the
transmission's kickdown mode.
After driving 1,200 miles/2,000 km
Engine and vehicle speeds can be gradually
increased.
Tires
Due to technical factors associated with their
manufacture, tires do not achieve their full
traction potential until af ter an initial break-in
period. Therefore, drive cautiously during the
first 200 miles/300 km.
Brake system
Brakes require an initial break-in period of
approx. 300 miles/500 km to achieve optimized
contact and wear patterns between brake pads
and rotors. Drive cautiously during this break-in
period.
Clutch
The function of the clut ch reaches its optimal
level only after a distance driven of approx.
300 miles/500 km. During this break-in period,
engage the clutch gently.
Following part replacement
The same break-in procedures should be
observed if any of the components mentioned
above have to be renewe d in the course of the
vehicle's operating life.
Saving fuel
The fuel consumption of your vehicle depends
on several factors. You can lower fuel consump-
tion and the environmental impact by taking
certain measures, adjusting your driving style
and having the vehicl e serviced regularly.
Remove any unneeded cargo
Additional weight increases fuel consumption.
Remove any mounted parts after you
have finished using them
Remove unneeded additional mirrors, the roof
rack and the rear luggage rack after use.
Mounted parts affect th e vehicle's aerodynam-
ics and increase fuel consumption.
Close the windows and glass roof
An open glass roof or window causes higher
air resistance and thus increases fuel
consumption.
00320051004F004C00510048000300280047004C0057004C005200510003