2013 BMW 128I CONVERTIBLE change time
[x] Cancel search: change timePage 168 of 284
167
CD/DVD player
Entertainment
4.
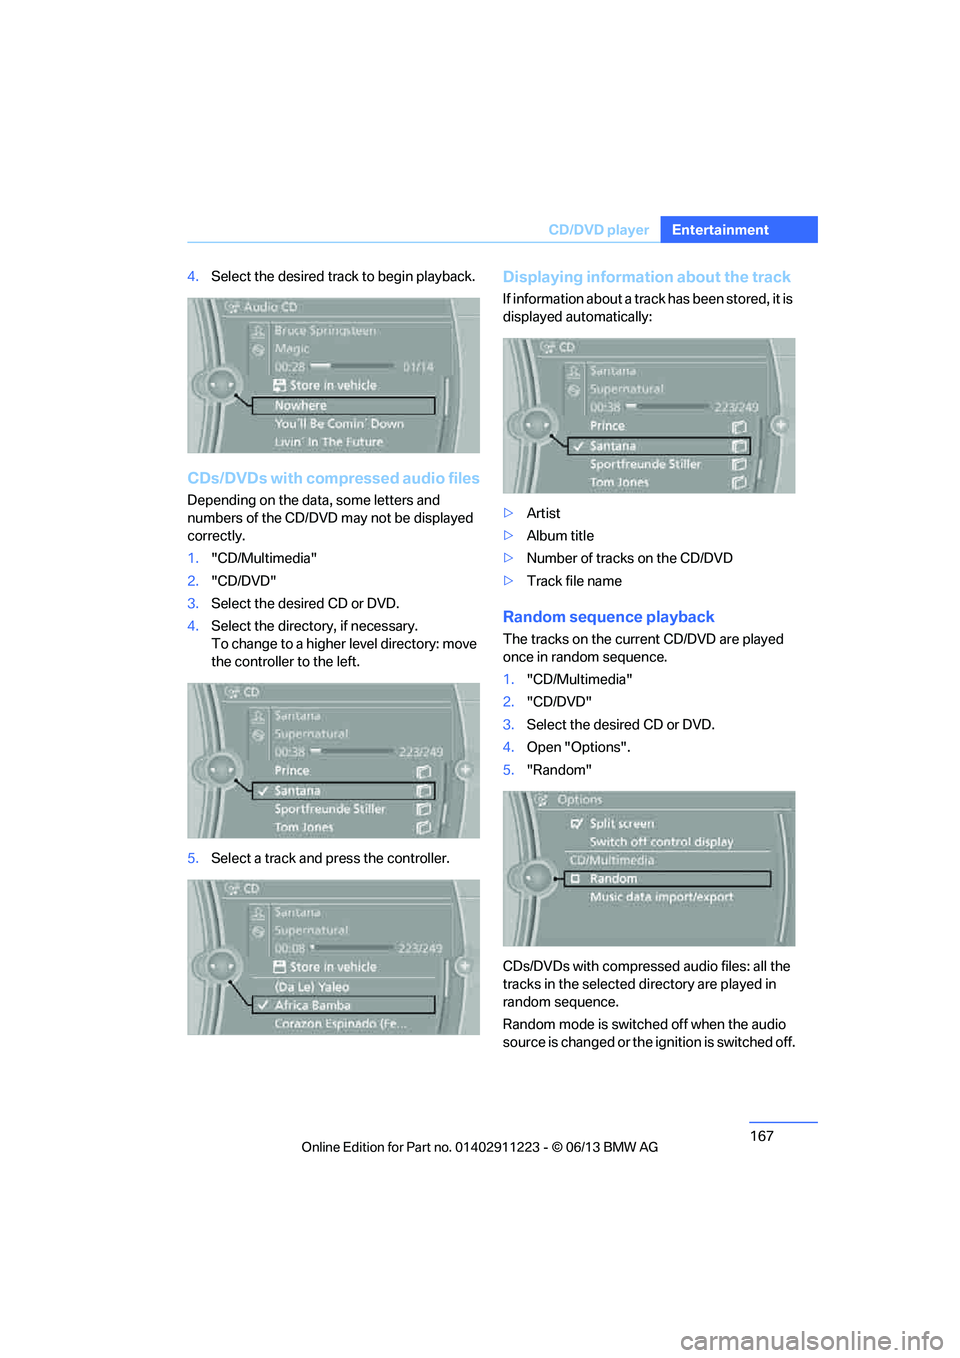
Select the desired trac k to begin playback.
CDs/DVDs with compressed audio files
Depending on the data , some letters and
numbers of the CD/DVD may not be displayed
correctly.
1. "CD/Multimedia"
2. "CD/DVD"
3. Select the desired CD or DVD.
4. Select the directory, if necessary.
To change to a higher level directory: move
the controller to the left.
5. Select a track and press the controller.
Displaying information about the track
If information about a track has been stored, it is
displayed automatically:
>Artist
> Album title
> Number of tracks on the CD/DVD
> Track file name
Random sequence playback
The tracks on the curr ent CD/DVD are played
once in random sequence.
1. "CD/Multimedia"
2. "CD/DVD"
3. Select the desired CD or DVD.
4. Open "Options".
5. "Random"
CDs/DVDs with compressed audio files: all the
tracks in the selected directory are played in
random sequence.
Random mode is switched off when the audio
source is changed or the ignition is switched off.
00320051004F004C00510048000300280047004C0057004C005200510003
Page 170 of 284
169
CD/DVD player
Entertainment
In fast forward/reverse: the speed increases
every time the controller is pressed. To stop,
start playback.
DVD menu
1.
If necessary, turn the controller to open the
Video menu.
2. "DVD menu"
The DVD menu is displayed. The display
depends on the contents of the DVD.
> To select menu items: move and press the
controller.
> To change to the Video menu: turn the
controller and select "Back".
DVD/VCD settings
For some DVDs, settings can only be made via
the DVD menu; also refer to the information on
your DVD.
Language
1.Turn the controller during playback.
2. Open "Options".
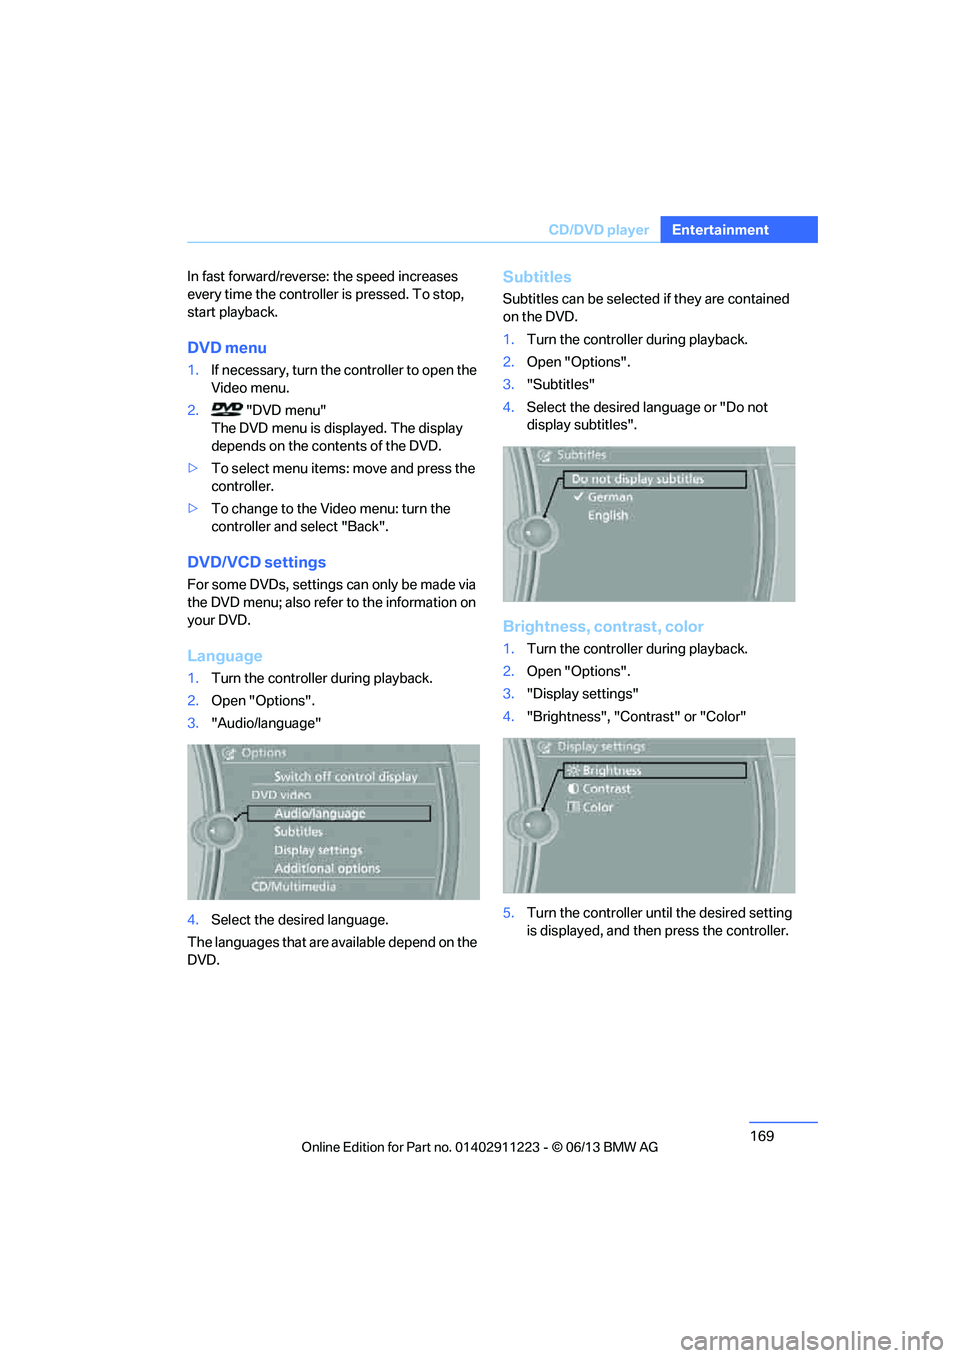
3. "Audio/language"
4. Select the desired language.
The languages that are available depend on the
DVD.
Subtitles
Subtitles can be selected if they are contained
on the DVD.
1. Turn the controller during playback.
2. Open "Options".
3. "Subtitles"
4. Select the desired la nguage or "Do not
display subtitles".
Brightness, contrast, color
1. Turn the controller during playback.
2. Open "Options".
3. "Display settings"
4. "Brightness", "Contrast" or "Color"
5. Turn the controller unt il the desired setting
is displayed, and then press the controller.
00320051004F004C00510048000300280047004C0057004C005200510003
Page 176 of 284
175
Music collection
Entertainment
Top 50
List of the 50 most frequently played tracks.
1.
"CD/Multimedia"
2. "Music collection"
3. "Top 50"
4. Select the desired track, if necessary.
Albums
All stored albums, listed in order of their storage
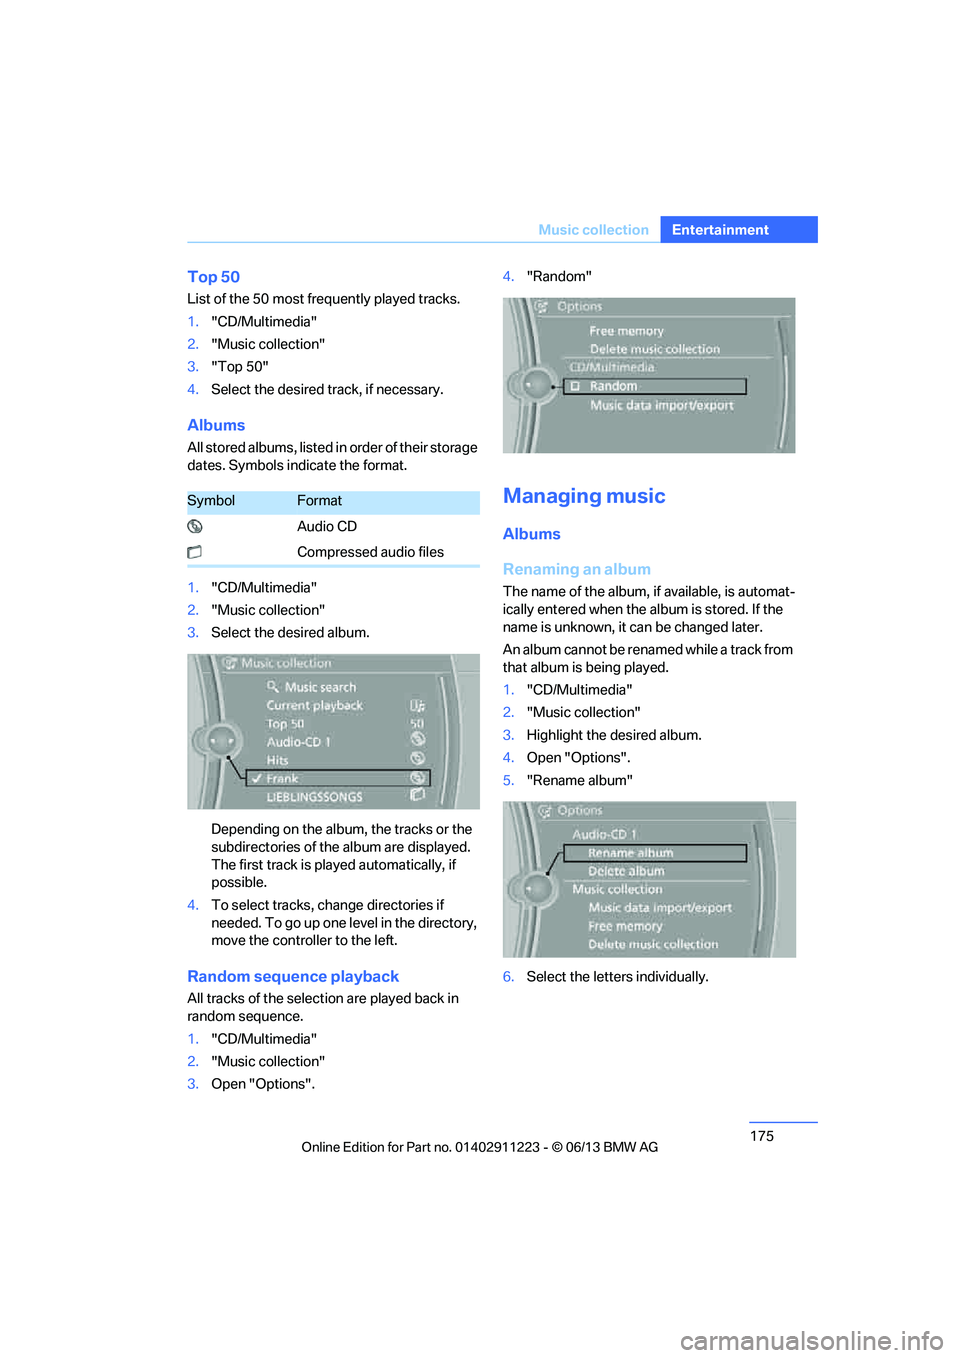
dates. Symbols indicate the format.
1. "CD/Multimedia"
2. "Music collection"
3. Select the desired album.
Depending on the album, the tracks or the
subdirectories of the album are displayed.
The first track is play ed automatically, if
possible.
4. To select tracks, ch ange directories if
needed. To go up one level in the directory,
move the controller to the left.
Random sequence playback
All tracks of the select ion are played back in
random sequence.
1. "CD/Multimedia"
2. "Music collection"
3. Open "Options". 4.
"Random"
Managing music
Albums
Renaming an album
The name of the album, if available, is automat-
ically entered when the album is stored. If the
name is unknown, it can be changed later.
An album cannot be renamed while a track from
that album is being played.
1. "CD/Multimedia"
2. "Music collection"
3. Highlight the desired album.
4. Open "Options".
5. "Rename album"
6. Select the letters individually.
SymbolFormat
Audio CD
Compressed audio files
00320051004F004C00510048000300280047004C0057004C005200510003
Page 181 of 284
180
EntertainmentExternal devices
Current playback
List of tracks currently being played.
1."CD/Multimedia"
2. "External devices"
3. Select the or symbol.
4. "Current playback"
Random play sequence
The current list of tracks is played in random
sequence.
1. "CD/Multimedia"
2. "External devices"
3. Open "Options".
4. "Random"
Fast forward/reverse
Press and hold the button.
Video playback
Overview
Video playback possible via snap-in adapter.
They can be operated via iDrive. Sound is
output over the vehicle speakers.
Playback
For your own safety, the video image is only dis-
played up to approx. 2 mph/3 km/h and in some
market-specific versions, only with the parking
brake engaged or the selector lever of the auto-
matic transmission is in the park position.
1. "CD/Multimedia"
2. "External devices"
3. Select the symbol.
4. "Video"
5. Select the directory, if necessary.
To change to a higher level directory: move
the controller to the left.
6. Select the desired video file to begin
playback.
Video menu
Notes
Do not expose the audio device to extreme
environmental conditions, e.g. very high tem-
peratures, refer to the operating instructions of
the audio device.
Depending on the configuration of the audio
files, e.g. bit rates greater than 256 Kbit/s,
proper playback cannot always be ensured.
Information on connection
>The connected audio device is supplied
with a max. power of 500 mA if supported
by the device. For this reason, do not con-
nect the device to a charging socket in the
vehicle; otherwise, it may not be possible to
ensure proper playback.
> Do not use force when plugging the con-
nector into the USB interface.
> Do not connect devices such as fans or
lamps to the USB audio interface.
> Do not connect USB hard drives.
> Do not use the USB audio interface to
recharge external devices.
Bluetooth audio
Overview
>It is possible to use Bluetooth to play music
files from external devices, e.g. audio
devices or mobile phones.
Using a mobile phone as an audio source,
refer to page 178.
> Bluetooth® is a registered trademark of
Bluetooth® SIG, Inc.
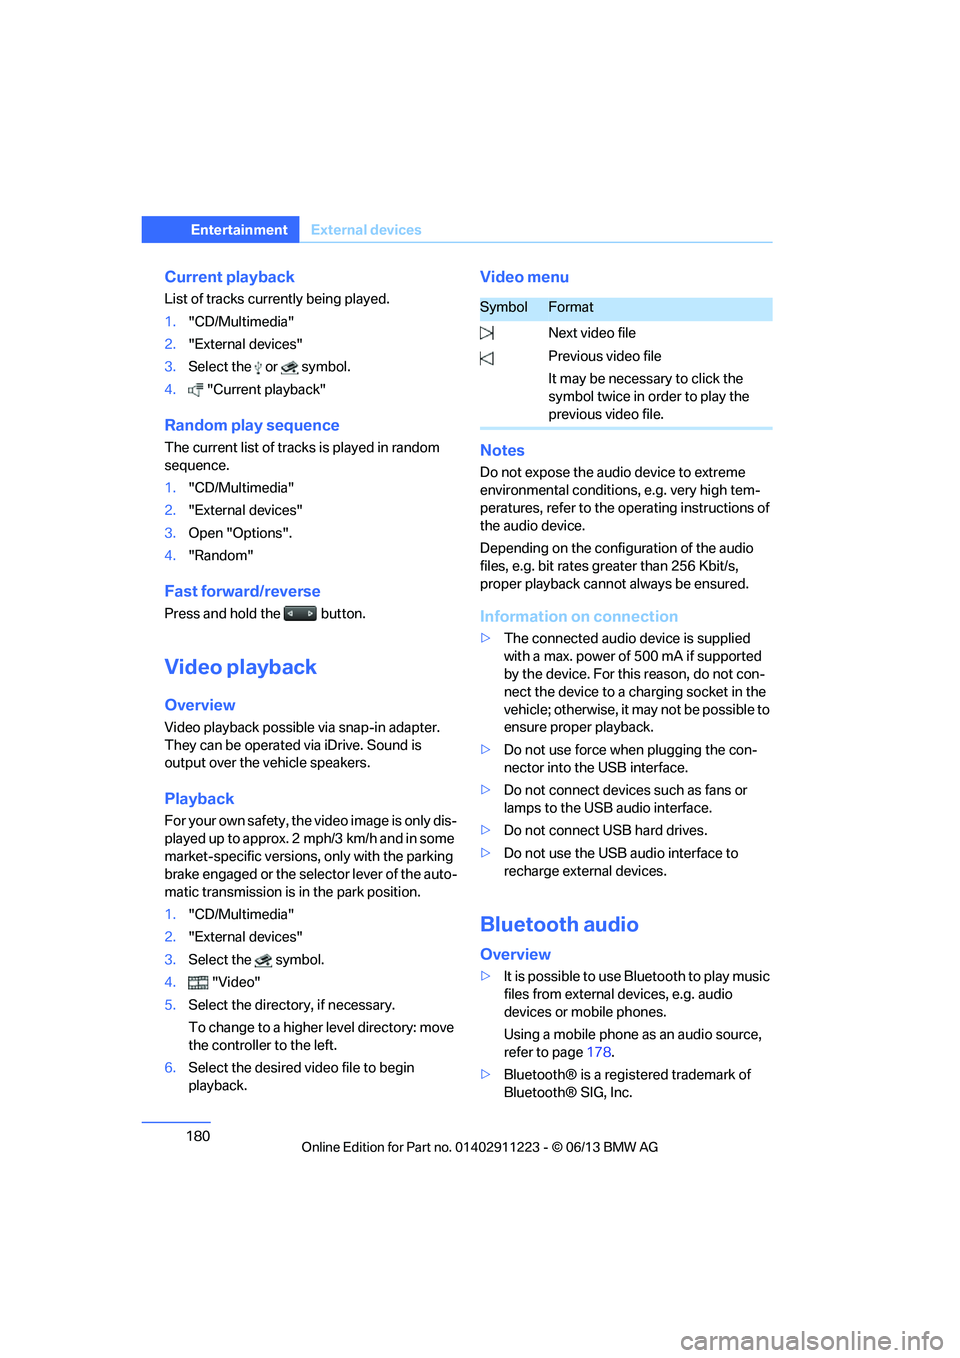
SymbolFormat
Next video file
Previous video file
It may be necessary to click the
symbol twice in order to play the
previous video file.
00320051004F004C00510048000300280047004C0057004C005200510003
Page 182 of 284
181
External devices
Entertainment
>
Sound is output over the vehicle speakers.
> The volume of the sound output depends
on the device. If necessary, change the
volume setting on the device.
> Up to four external devices can be paired
with the vehicle.
Requirements
>Suitable device. For information, go to
www.bmwusa.com/bluetooth.
> Device operational.
> Ignition switched on.
> Bluetooth activated in vehicle, refer to
page 189, and in the device.
> Activating Bluetooth audio, refer to
page 189.
> Bluetooth presets in the device are
required, e.g. connection not confirmed or
visible, refer to Owner's Manual for the
device.
> A number with at least 4 and at most
16 digits has been established as the
Bluetooth passkey. Only required once for
pairing.
Pairing and connecting
Only pair the device when the vehicle is
stopped; otherwise, inattention may lead
to endangerment of passengers or other road
users. <
1. "CD/Multimedia"
2. "Bluetooth® (audio)"
3. "Bluetooth® audio" if applicable
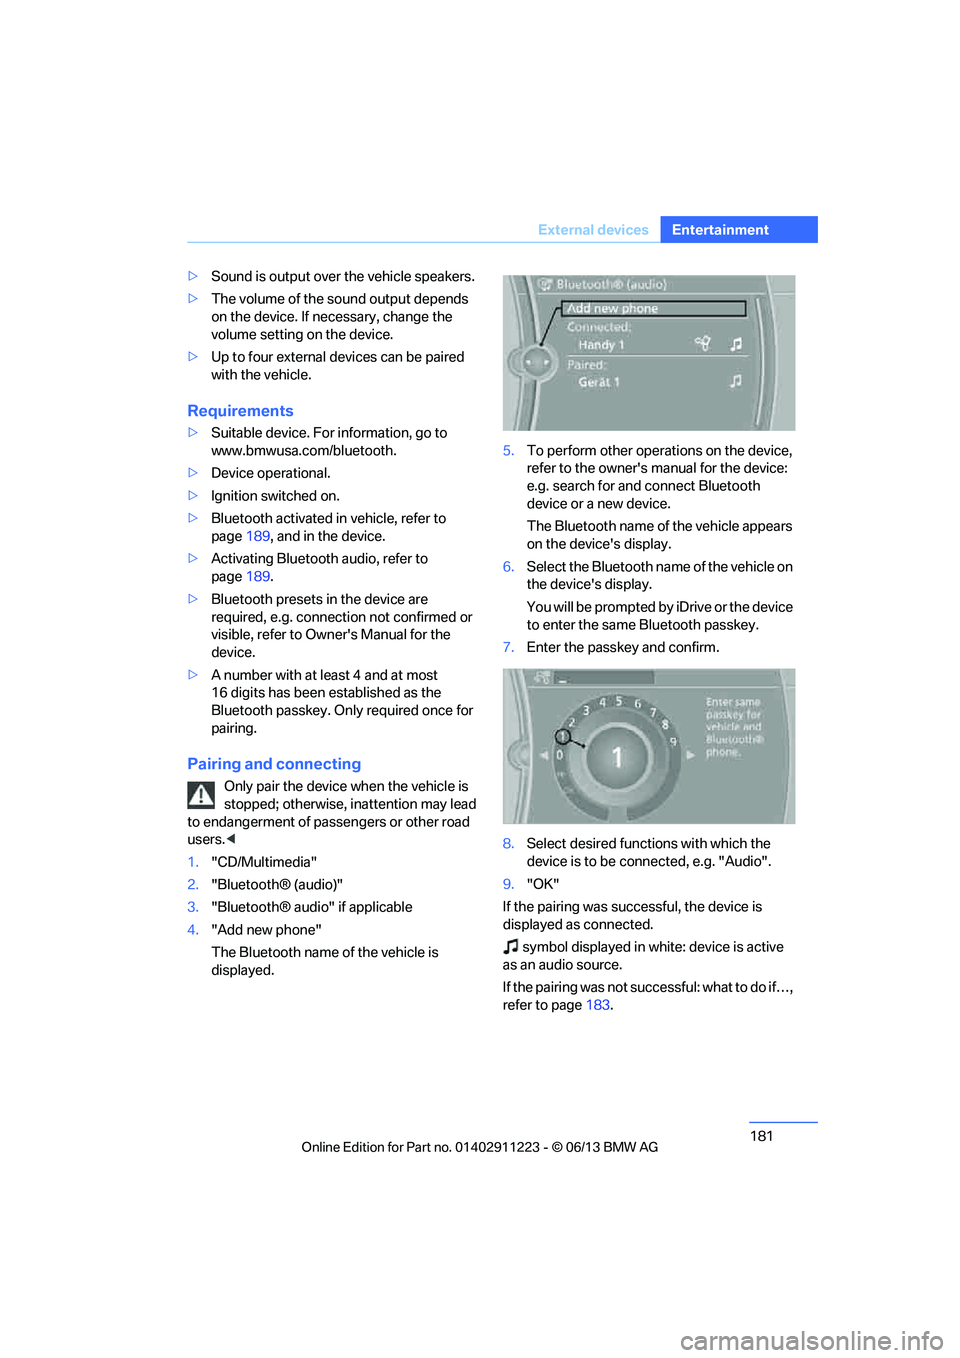
4. "Add new phone"
The Bluetooth name of the vehicle is
displayed. 5.
To perform other operations on the device,
refer to the owner's ma nual for the device:
e.g. search for and connect Bluetooth
device or a new device.
The Bluetooth name of the vehicle appears
on the device's display.
6. Select the Bluetooth na me of the vehicle on
the device's display.
You will be prompted by iDrive or the device
to enter the same Bluetooth passkey.
7. Enter the passkey and confirm.
8. Select desired functions with which the
device is to be connected, e.g. "Audio".
9. "OK"
If the pairing was successful, the device is
displayed as connected.
symbol displayed in white: device is active
as an audio source.
If the pairing was not succ e s s f u l : w h a t t o d o i f … ,
refer to page 183.
00320051004F004C00510048000300280047004C0057004C005200510003
Page 183 of 284
182
EntertainmentExternal devices
Connecting a particular device
A device that has already been paired can be
connected as an active audio source.
Connection is not possible if a data exchange is
currently taking place via a mobile phone that is
connected via Bluetooth.
Prerequisite
If necessary, activate the audio connection of
the desired device from the list of paired
devices.
1."CD/Multimedia"
2. "Bluetooth® (audio)"
3. "Bluetooth® audio" if applicable
4. Select the desired device from the list of
paired devices.
5. Open "Options".
6. "Configure phone"
7. Activate "Audio".
8. "OK"
Connecting a device
1."CD/Multimedia"
2. "Bluetooth® (audio)"
3. "Bluetooth® audio" if applicable
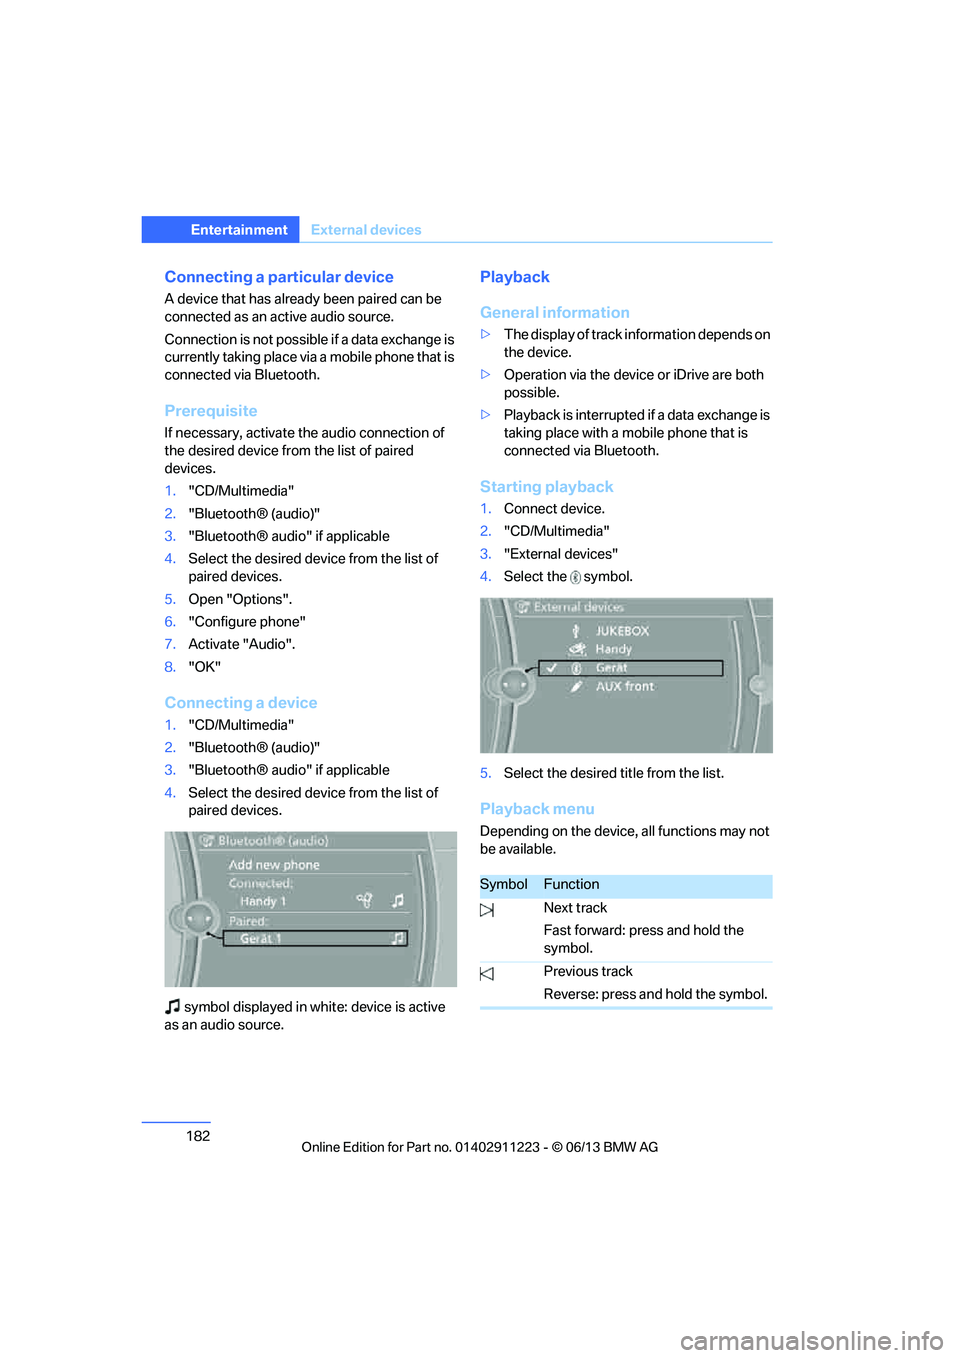
4. Select the desired device from the list of
paired devices.
symbol displayed in whit e: device is active
as an audio source.
Playback
General information
> The display of track information depends on
the device.
> Operation via the device or iDrive are both
possible.
> Playback is interrupted if a data exchange is
taking place with a mobile phone that is
connected via Bluetooth.
Starting playback
1. Connect device.
2. "CD/Multimedia"
3. "External devices"
4. Select the symbol.
5. Select the desired title from the list.
Playback menu
Depending on the device, all functions may not
be available.
SymbolFunction
Next track
Fast forward: press and hold the
symbol.
Previous track
Reverse: press and hold the symbol.
00320051004F004C00510048000300280047004C0057004C005200510003
Page 245 of 284
244
MobilityReplacing components
Headlight lenses
In cool or humid weather, condensation may
form on the interior of outside lamps. The con-
densation will disappear after a short time when
driving with the headlamps switched on. The
headlamp glasses do not need to be changed.
If the headlamps do not defrost despite driving
with the headlamps switch ed on, and additional
moisture builds up, for example water droplets
in the lamps, have them checked by your BMW
center.
Xenon lamps
These bulbs have a very long service life and are
highly unlikely to fail. If a xenon lamp fails never-
theless, switch on the fog lamps and continue
the journey with great ca re, provided that local
legislation does not prohibit this.
Have all work on the xenon lamp system
performed only by your BMW center. Due
to high voltage, there is a risk of fatal injury if
work on the xenon lamps is carried out
improperly. <
Removing the headlamp cover
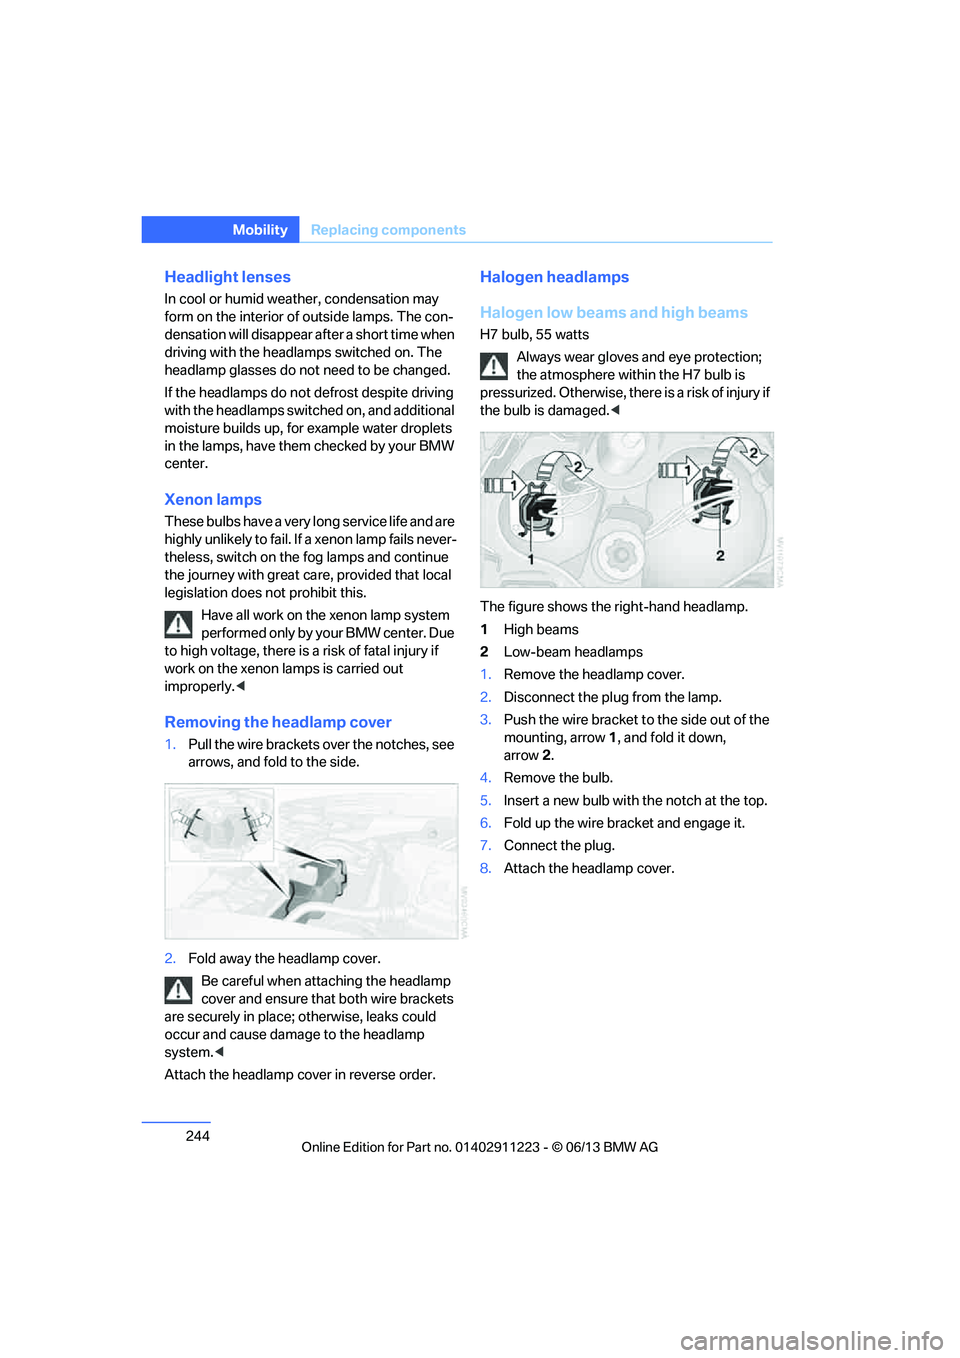
1.Pull the wire brackets over the notches, see
arrows, and fold to the side.
2. Fold away the headlamp cover.
Be careful when attaching the headlamp
cover and ensure that both wire brackets
are securely in place; otherwise, leaks could
occur and cause damage to the headlamp
system. <
Attach the headlamp cover in reverse order.
Halogen headlamps
Halogen low beams and high beams
H7 bulb, 55 watts Always wear gloves and eye protection;
the atmosphere within the H7 bulb is
pressurized. Otherwise, ther e is a risk of injury if
the bulb is damaged. <
The figure shows the right-hand headlamp.
1 High beams
2 Low-beam headlamps
1. Remove the headlamp cover.
2. Disconnect the plug from the lamp.
3. Push the wire bracket to the side out of the
mounting, arrow 1, and fold it down,
arrow 2.
4. Remove the bulb.
5. Insert a new bulb with the notch at the top.
6. Fold up the wire bracket and engage it.
7. Connect the plug.
8. Attach the headlamp cover.
00320051004F004C00510048000300280047004C0057004C005200510003
Page 249 of 284
248
MobilityReplacing components
Changing wheels
Your BMW is equipped with run-flat tires as
standard. This eliminates the need to change a
wheel immediately in the event of a puncture.
For information on continuing to drive with a
damaged tire, refer to Indica tion of a flat tire on
page 92.
The symbol identifying run- flat tires is a circle
with the letters RSC on the sidewall, refer to
New wheels and tires, page 230.
When mounting new tires or changing over
from summer to winter tires and vice versa,
mount run-flat tires for your own safety. In the
event of a flat, no spare wheel is available. Your
BMW center will be glad to advise you. Refer
also to New wheels and tires, page 230.
The tools for changing wheels are avail-
able as optional accessories from your
BMW center. <
Jack mounting points
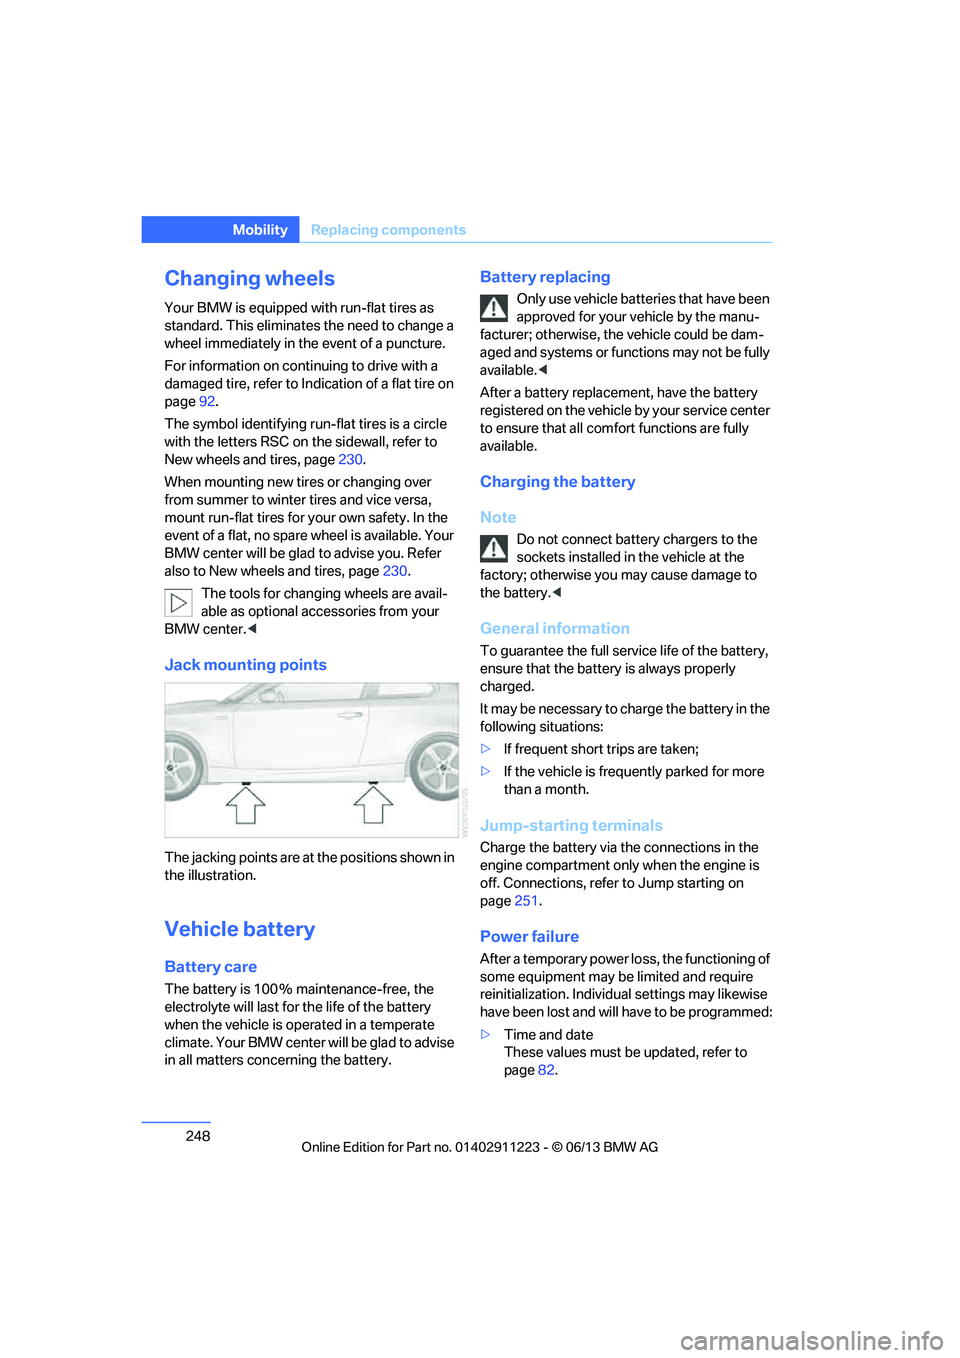
The jacking points are at the positions shown in
the illustration.
Vehicle battery
Battery care
The battery is 100 % maintenance-free, the
electrolyte will last for the life of the battery
when the vehicle is operated in a temperate
climate. Your BMW center will be glad to advise
in all matters conc erning the battery.
Battery replacing
Only use vehicle batteries that have been
approved for your vehicle by the manu-
facturer; otherwise, the vehicle could be dam-
aged and systems or functions may not be fully
available. <
After a battery replacem ent, have the battery
registered on the vehicle by your service center
to ensure that all comfort functions are fully
available.
Charging the battery
Note
Do not connect battery chargers to the
sockets installed in the vehicle at the
factory; otherwise you may cause damage to
the battery. <
General information
To guarantee the full serv ice life of the battery,
ensure that the battery is always properly
charged.
It may be necessary to ch arge the battery in the
following situations:
> If frequent short trips are taken;
> If the vehicle is frequently parked for more
than a month.
Jump-starting terminals
Charge the battery via the connections in the
engine compartment only when the engine is
off. Connections, refer to Jump starting on
page 251.
Power failure
After a temporary power lo ss, the functioning of
some equipment may be limited and require
reinitialization. Individual settings may likewise
have been lost and will have to be programmed:
> Time and date
These values must be updated, refer to
page 82.
00320051004F004C00510048000300280047004C0057004C005200510003